The Galant Center - Powered by vBulletin

Thread: My 97 ES build thread. (Update 5/20/2008)

Page 1 of 9 12345 ... LastLast
Showing results 1 to 20 of 169
  1. #1
    You are here entirely tooo much!! seth98esT's Avatar
    Join Date
    08-01-2002
    Location
    Keokuk, IA
    Posts
    8,348

    My 97 ES build thread. (Update 4/16/2011)

    Car: 1997 Galant ES
    Color: Monarch Green Pearl Metallic
    Miles 212,xxx miles

    Status: Sept 2009 Rebuilding...Est revival: Spring 2010?

    3/2/2008
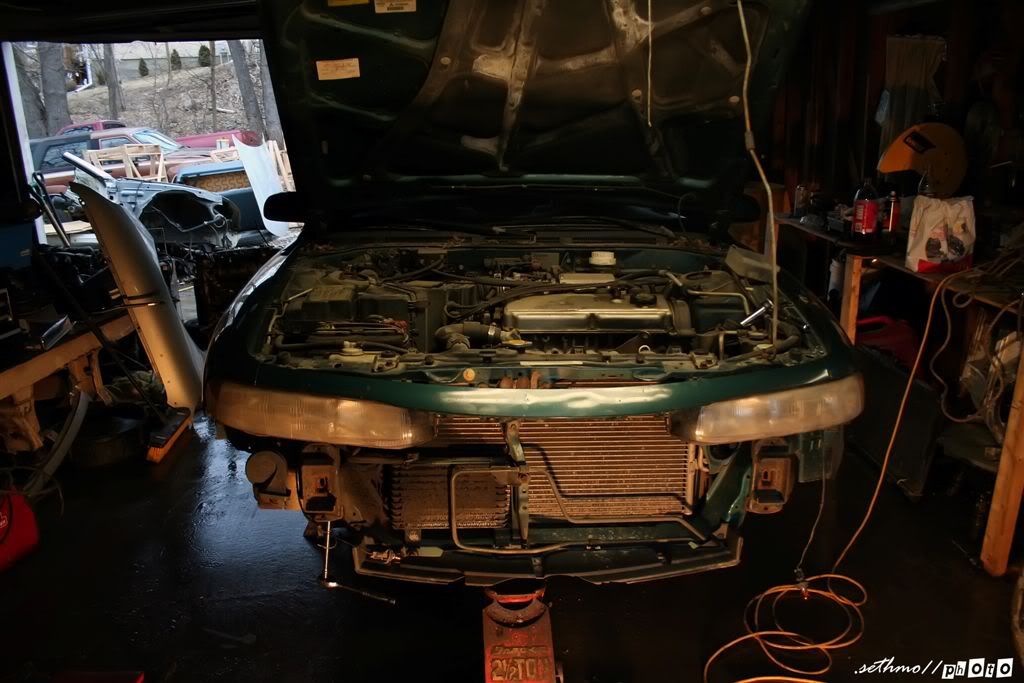
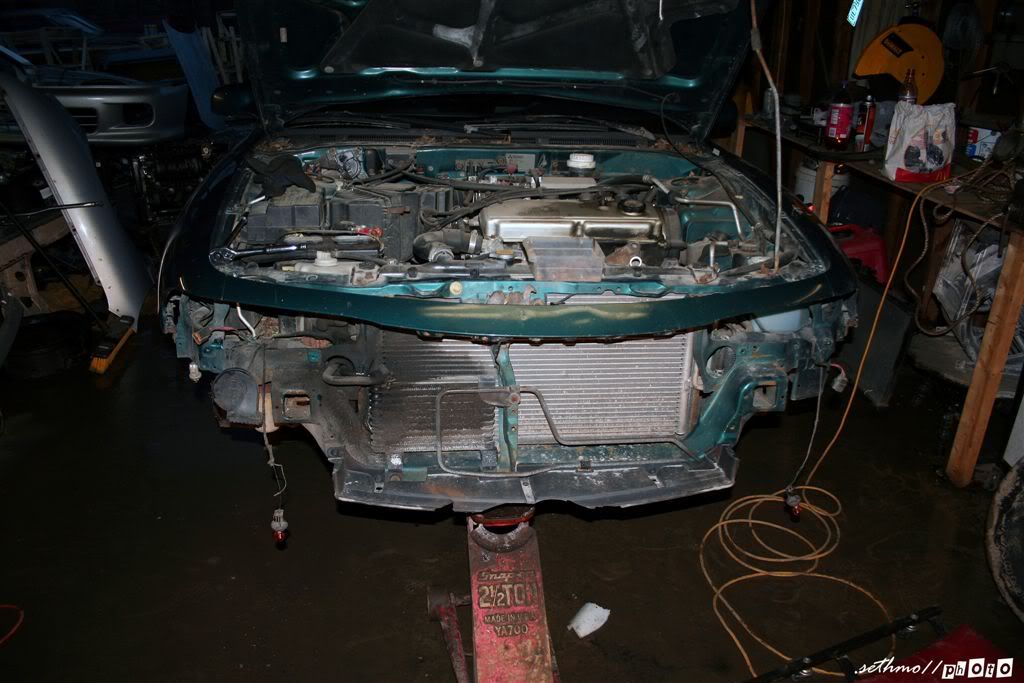
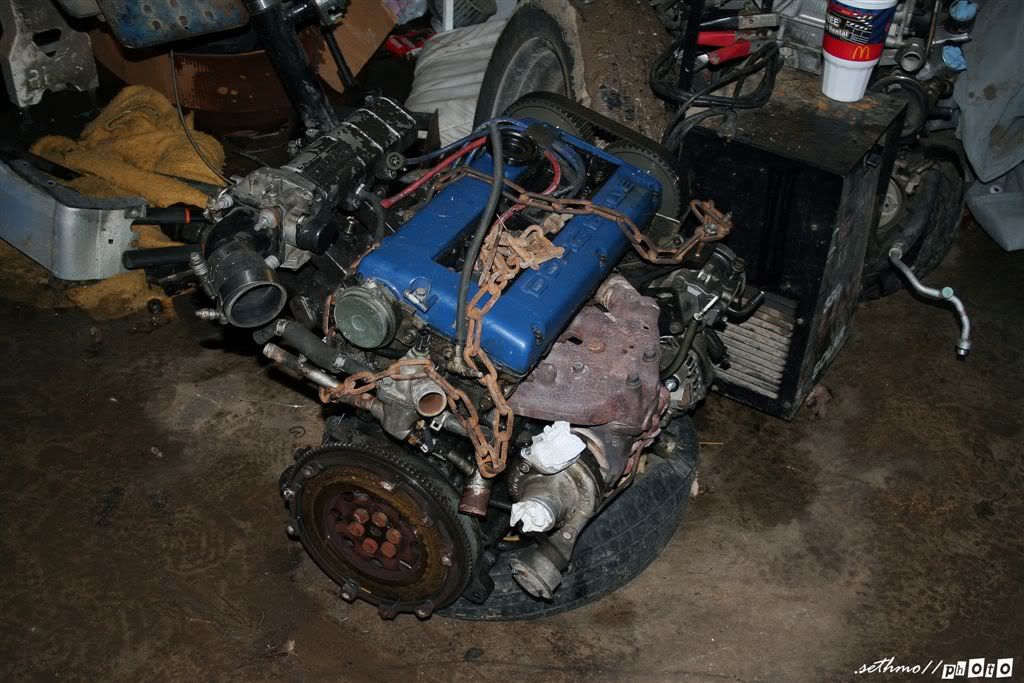
    Just started the swap yesterday. Got the trans out, had troubles removing the spacer. I am going to go get a torch tonight and try to heat it out. Pics:


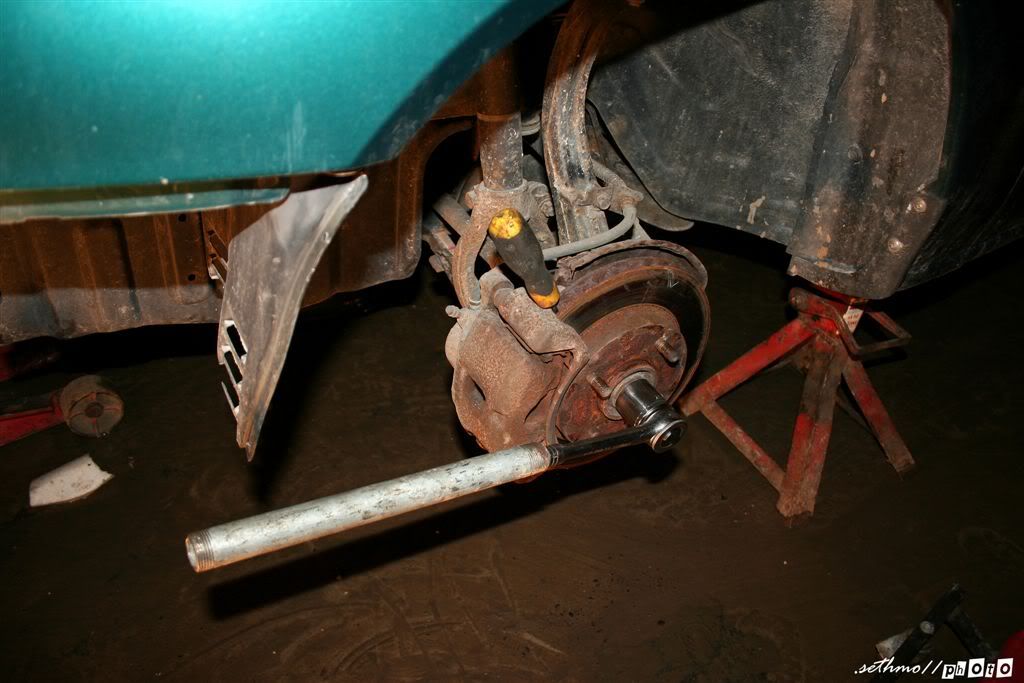
    Tips at getting the axle nuts off when you are working by yourself.


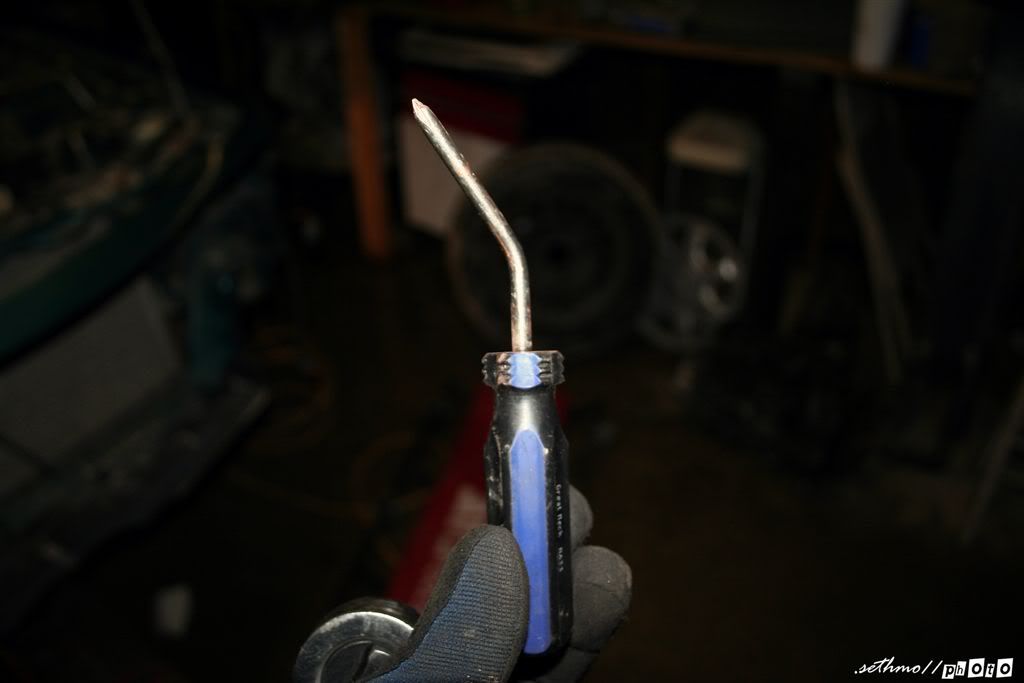
    Note to self, dont use cheap screw drivers while attempting the above:


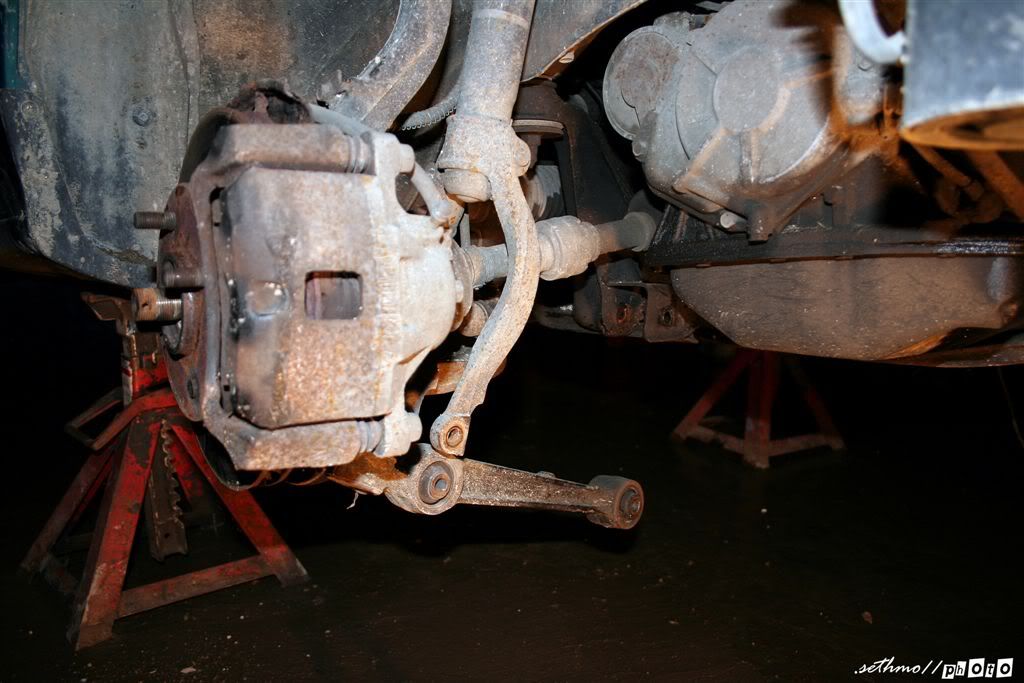
    Easiest way to get the axle out of the hub. Unbolt the suspension fork and the lower control arm from the chassis. From there the hub swings free:


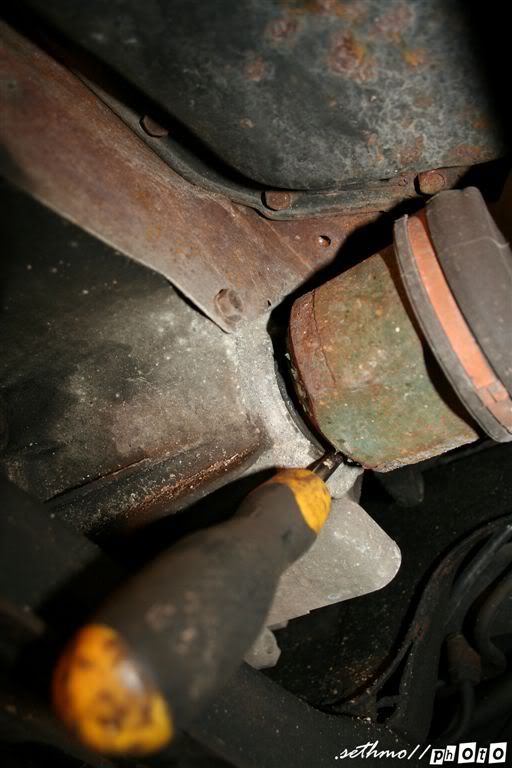
    Easiest way to pop out the axles. Stick a screwdriver between the axle and the trans, gently tap the screwdriver with a hammer:


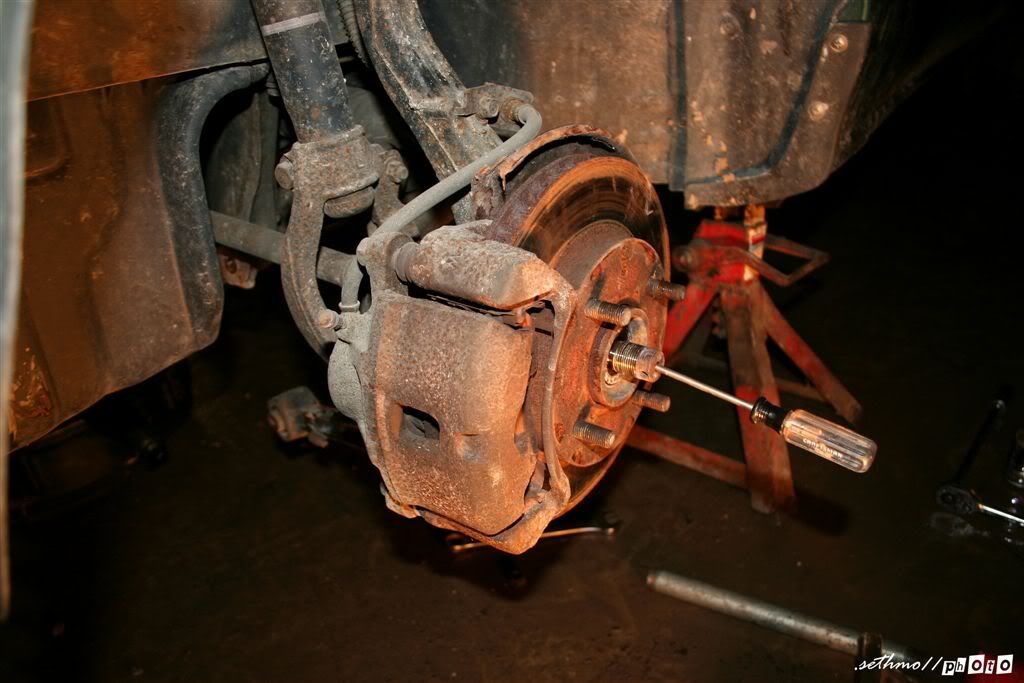
    If the axles dont slide out of the hub easily, do not use a hammer directly ln the end of the axle or you will risk damaging the threads. Instead get a small screwdriver and put it in the small hole at the end of the axle and tap the screwdriver:


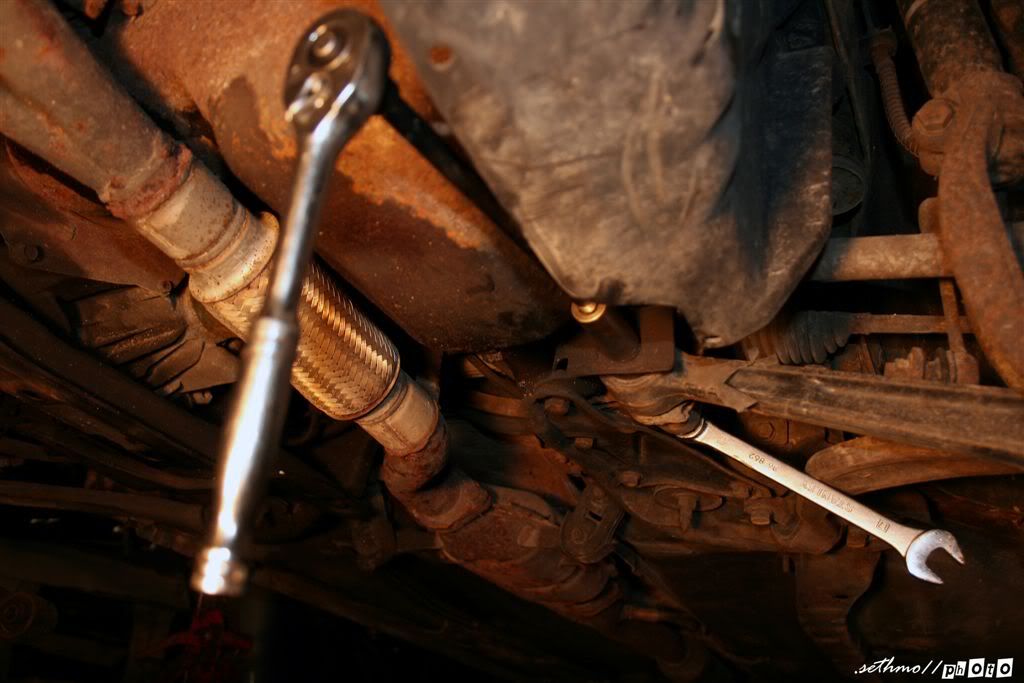
    Have to use a long extension in order to fit a socket wrench in on the driverside:


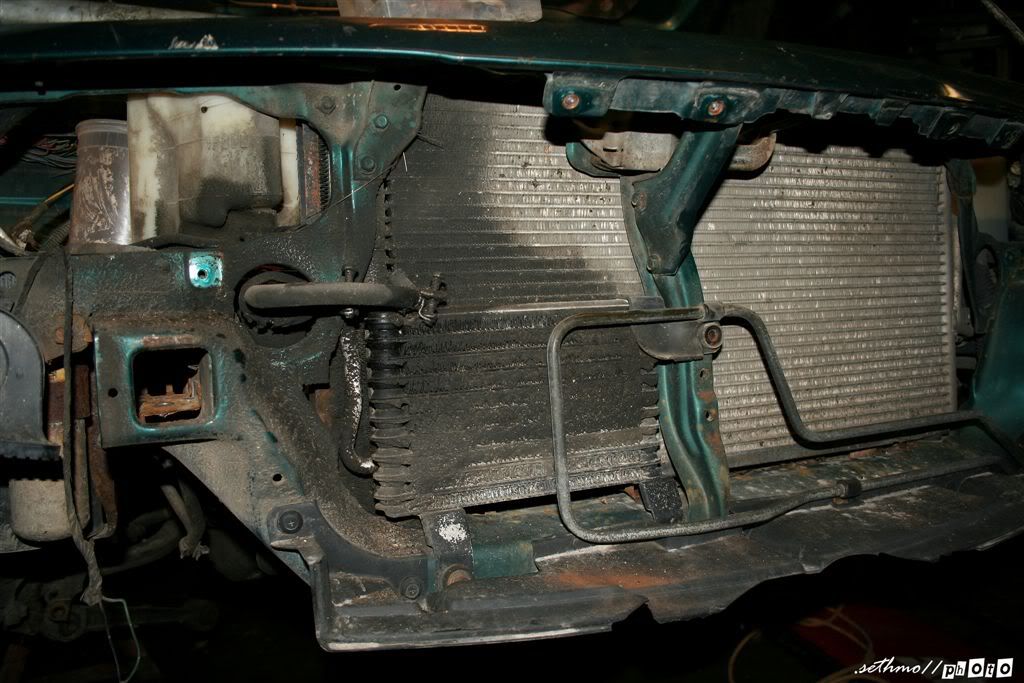
    More then likely the reason the trans failed. Looks like the lines had been leaking, probably ran itself out of fluid and overheated.


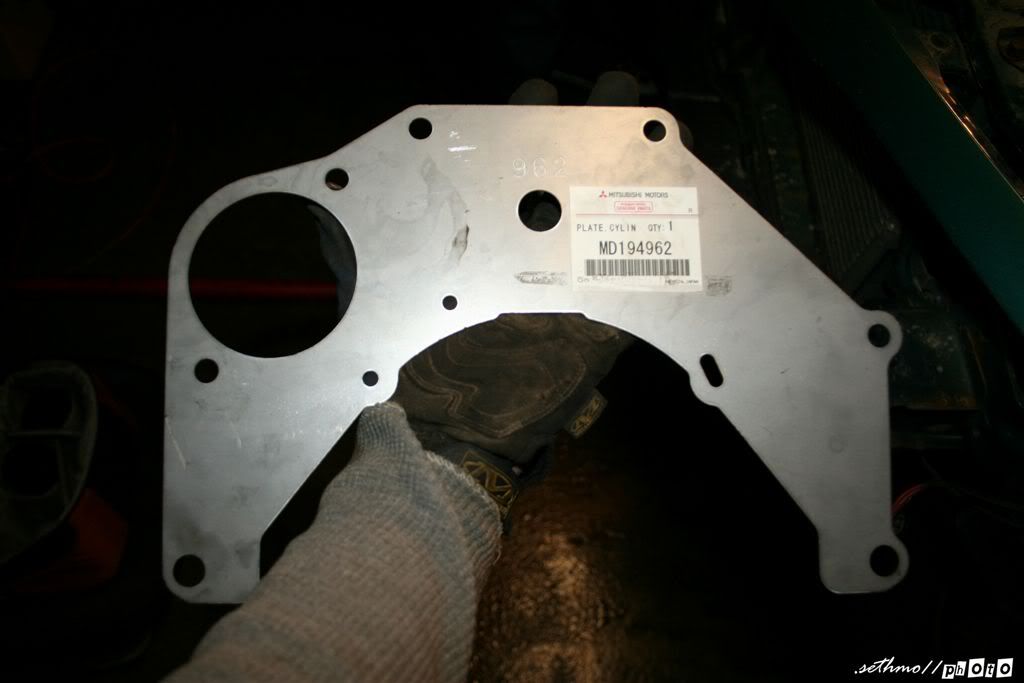
    5spd starter plate. Great way to spend $11


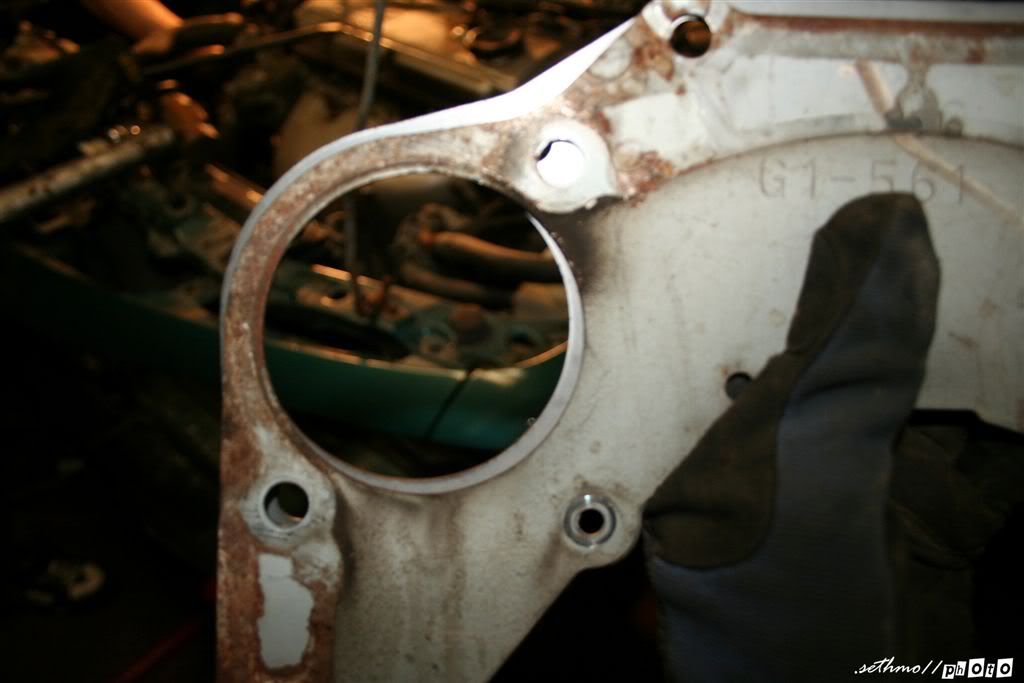
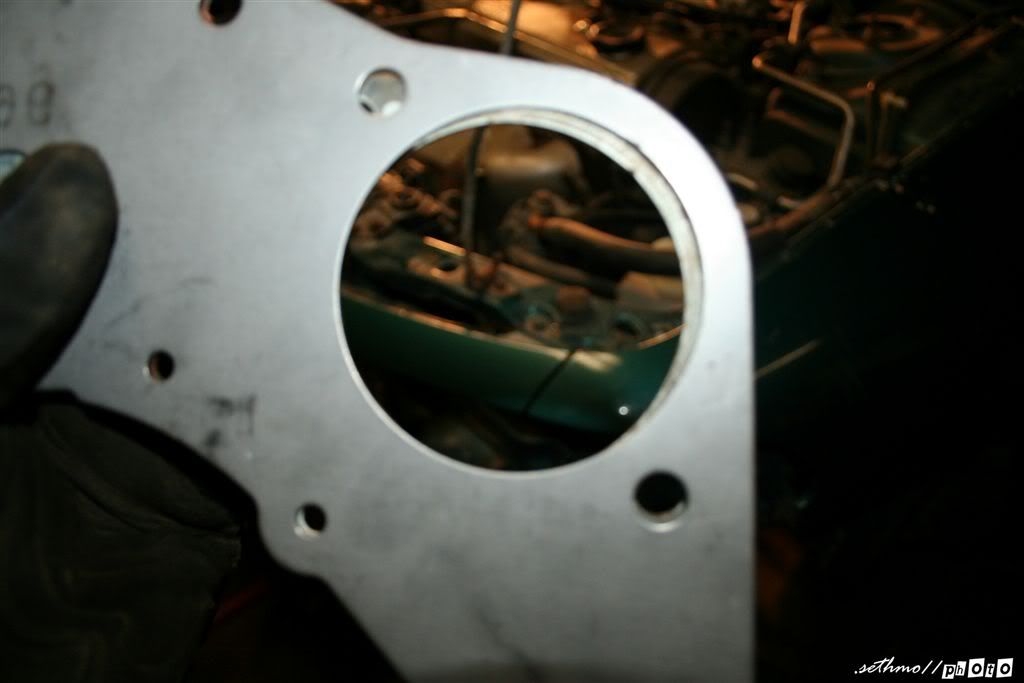
    Comparing auto to 5spd. Auto is on top.

    5spd on top


    And lastly some old memories and good times:
    Last edited by seth98esT; 04-16-2011 at 03:44 PM
    7g for life!

  2. #2
    You are here entirely tooo much!! seth98esT's Avatar
    Join Date
    08-01-2002
    Location
    Keokuk, IA
    Posts
    8,348
    3/8/2008
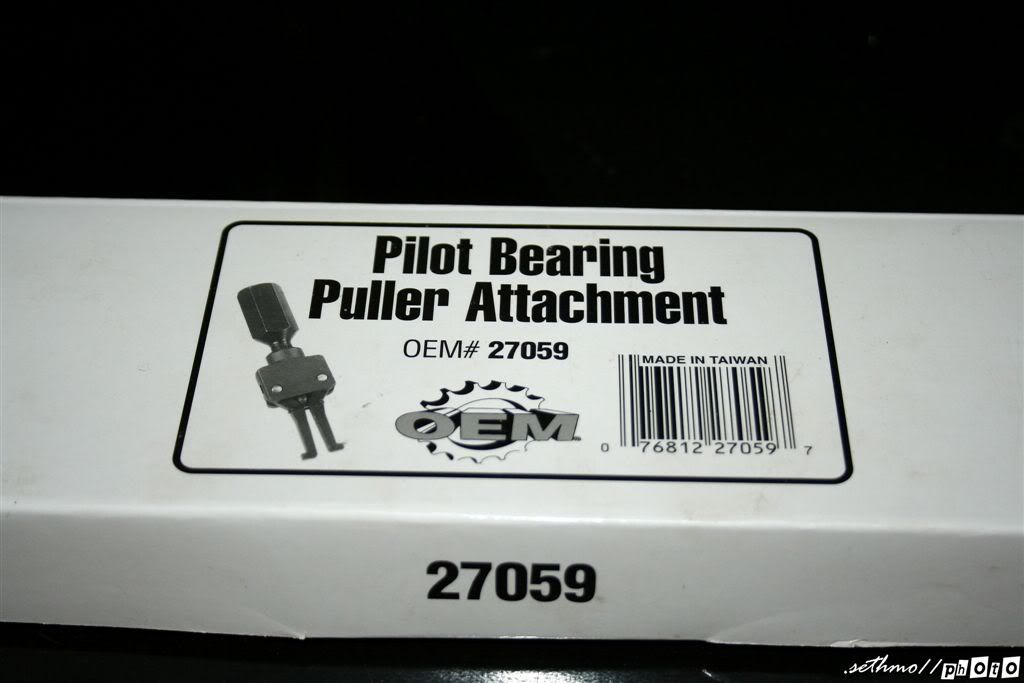
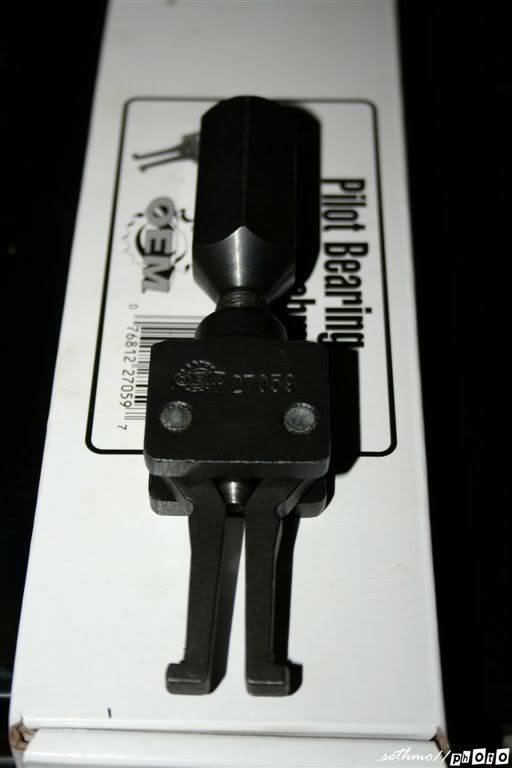
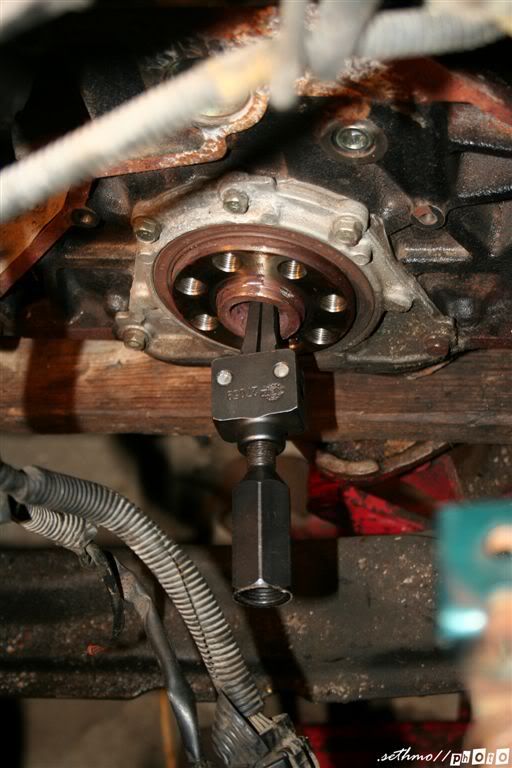
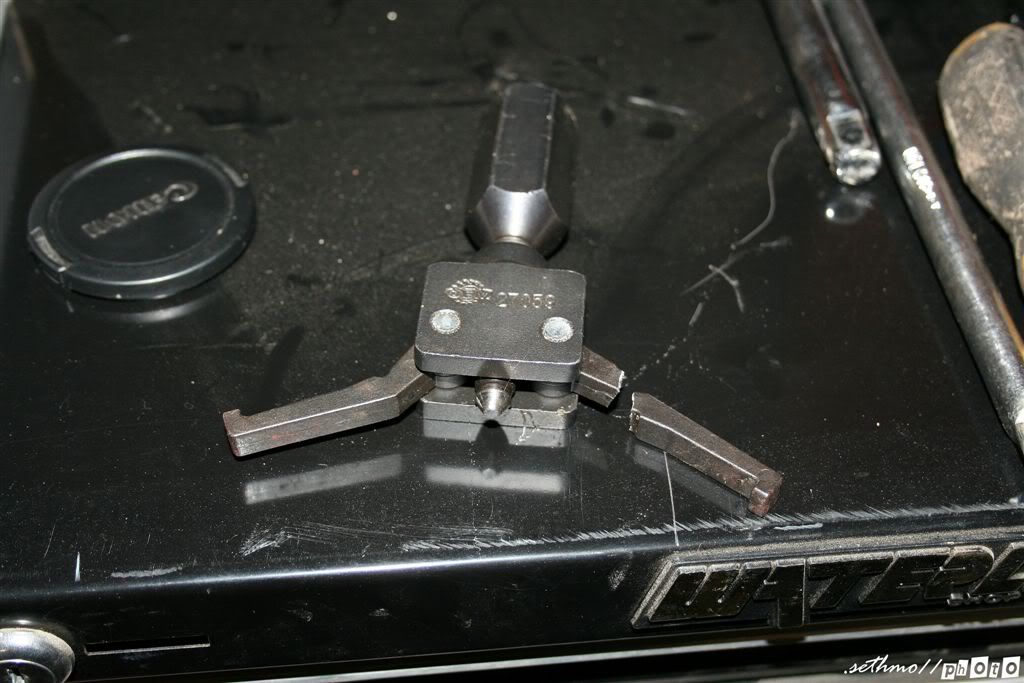
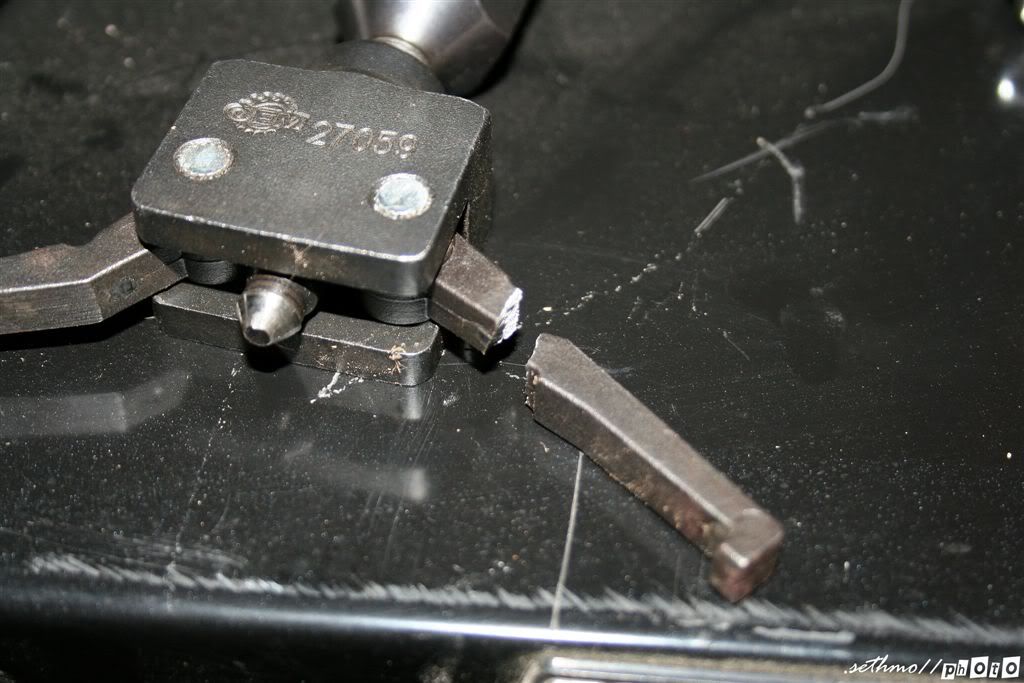
    Thought I was starting out smart today, got myself the recommended pilot bearing removal tool ...


    But it turned slightly crooked and ...


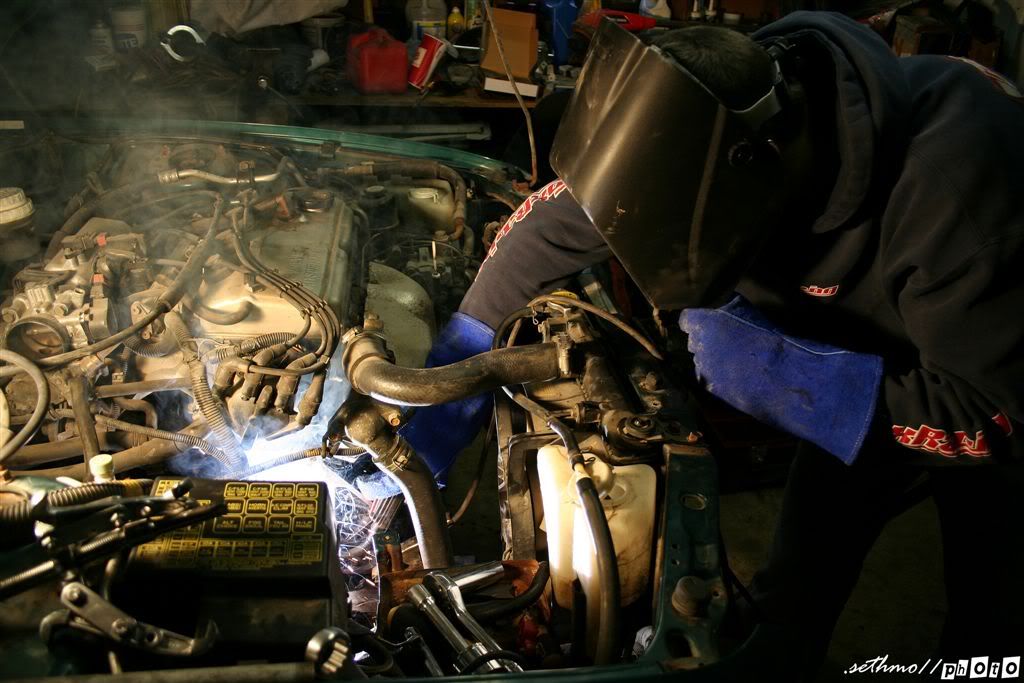
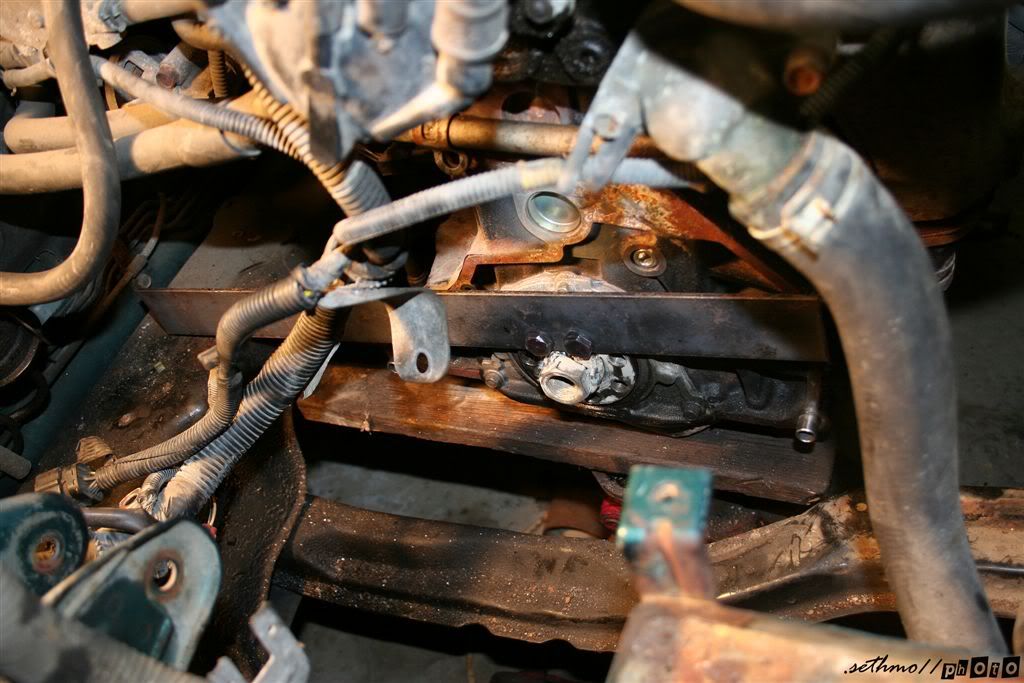
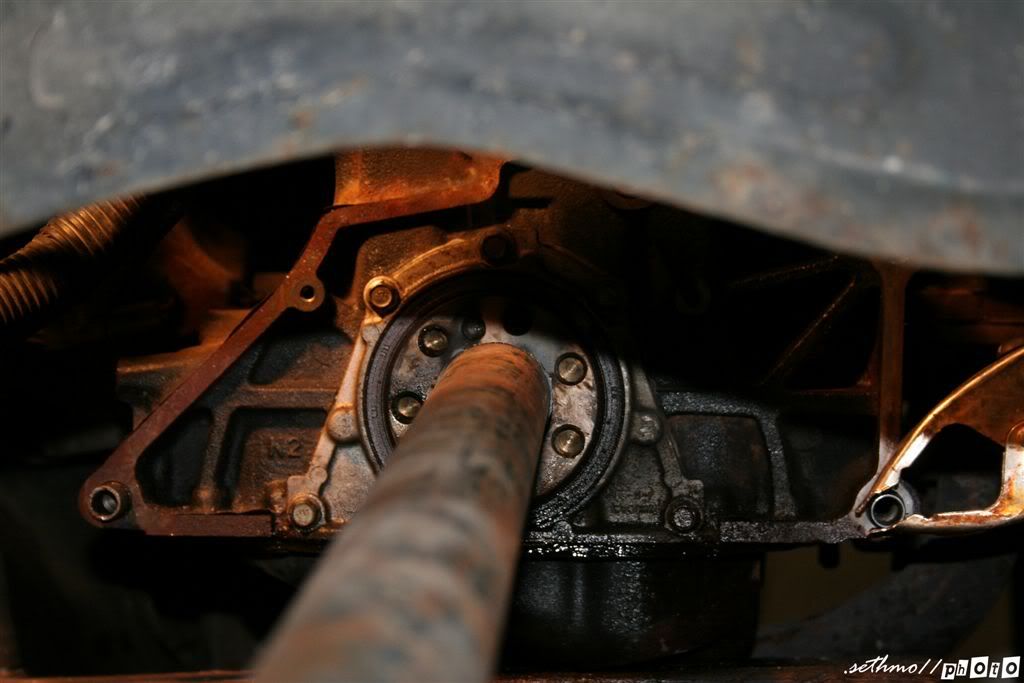
    The devil itself resides in this spacer, started cutting it, thought I could jiggle it out with the air hammer I just purchased.


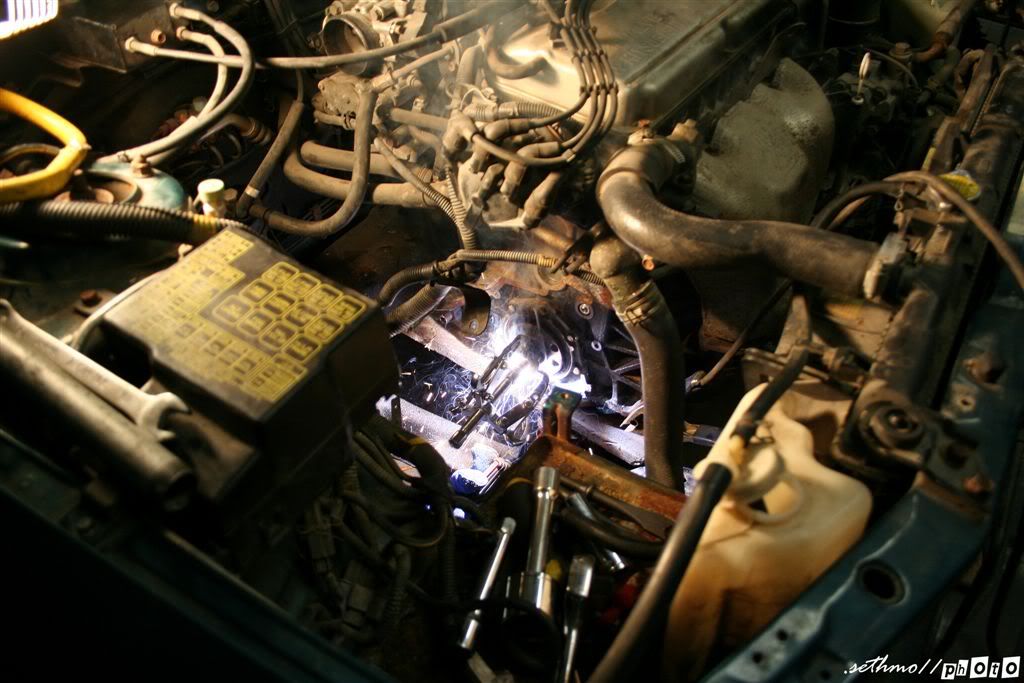
    But that didnt work, I just tore up the spacer. I could turn the spacer counter clockwise with the air hammer, but it didnt come out at all. So welding an axle nut to the spacer lolz. Had a wrench on the other end of the crank to hold it in place, but the huge pipe we were using to turn the spacer kept loosening the crank bolt that holds the crank pulley on, so we made a sweet uhhh I dont even know what to call it :p


    But yeah, we were able to turn the spacer a little but, but again it didnt move out of place, so more welding. We welded and axle washer to the outside of the axle nut so we could use this gear puller to pull the spacer out. But we just broke that puller as well haha.


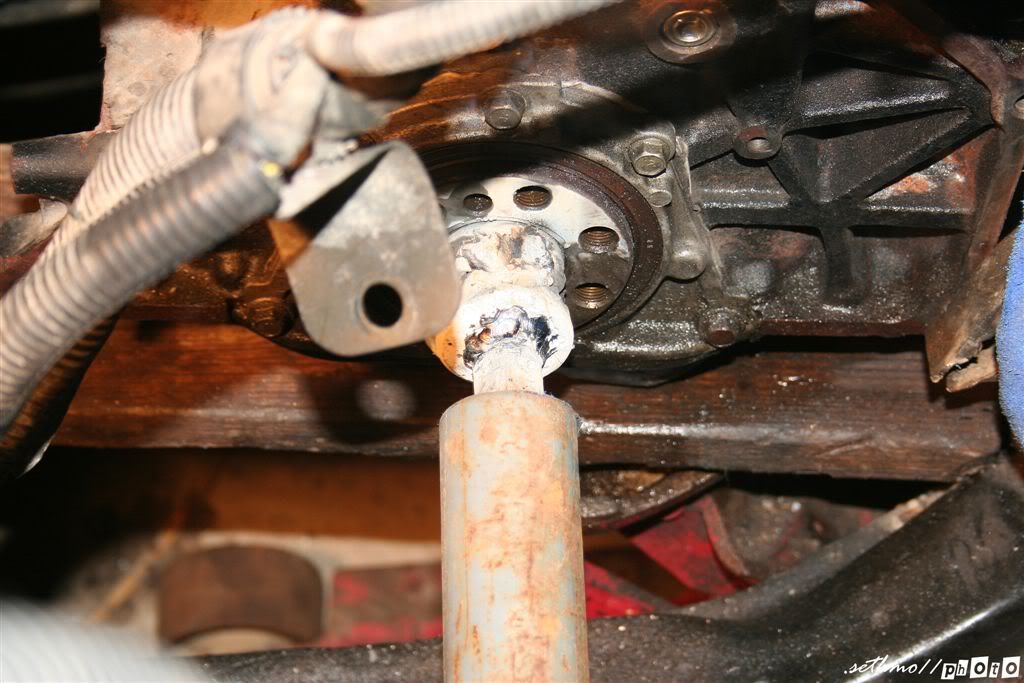
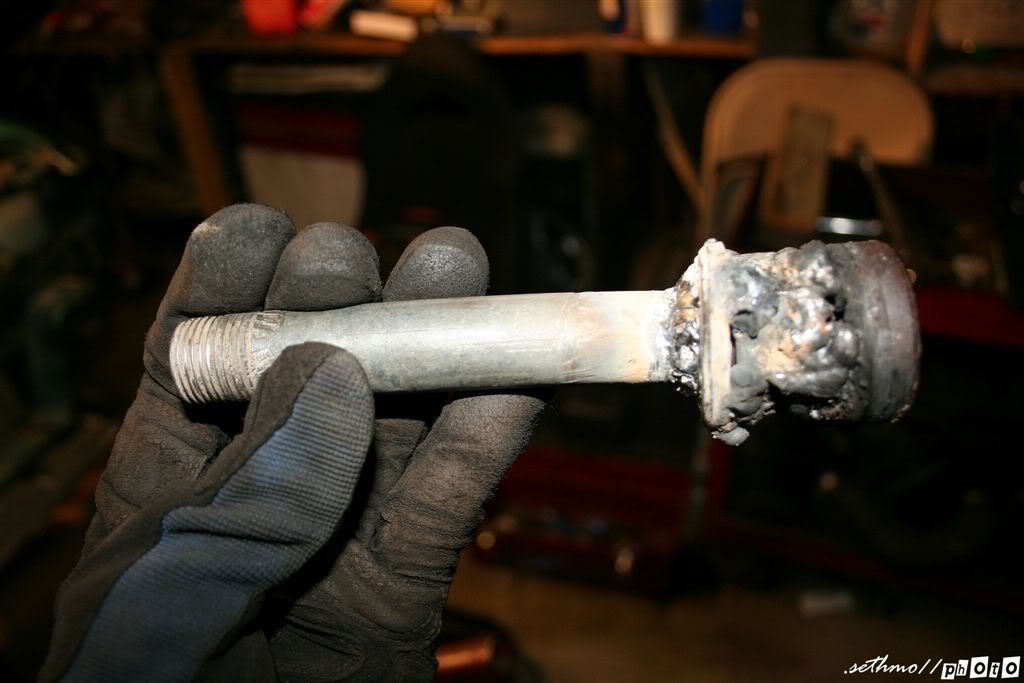
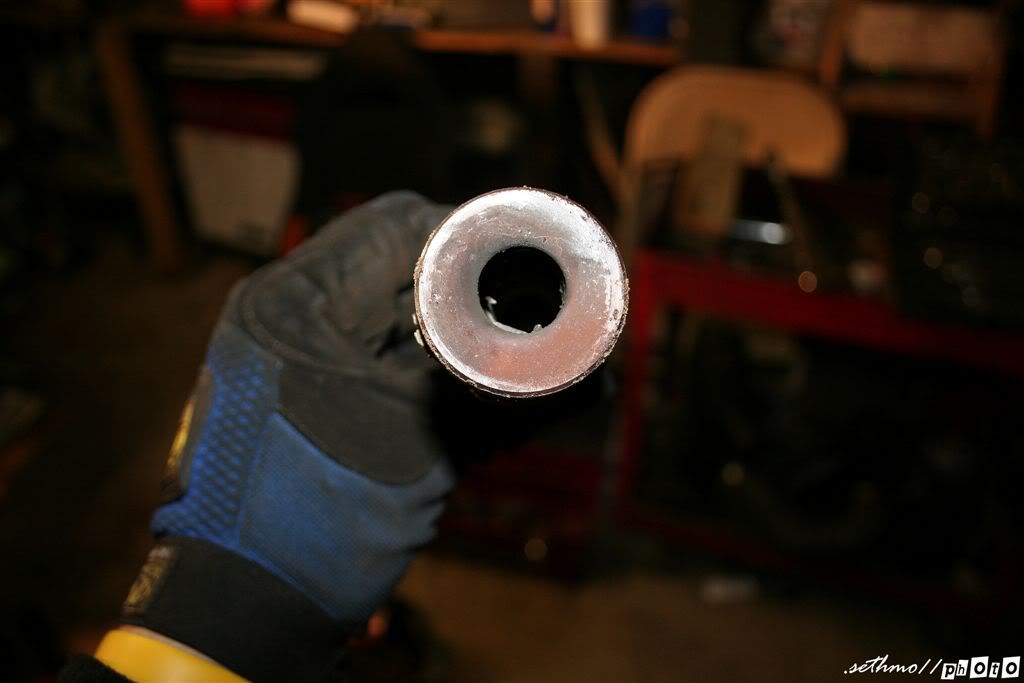
    Our last ditch effort, we threaded in a small pipe, welded that pipe to the spacer, welded in a few cracked welds from the last attempt, and used my nice handy dandy pipe to wiggle the spacer out as my friend used the air hammer on the beast.


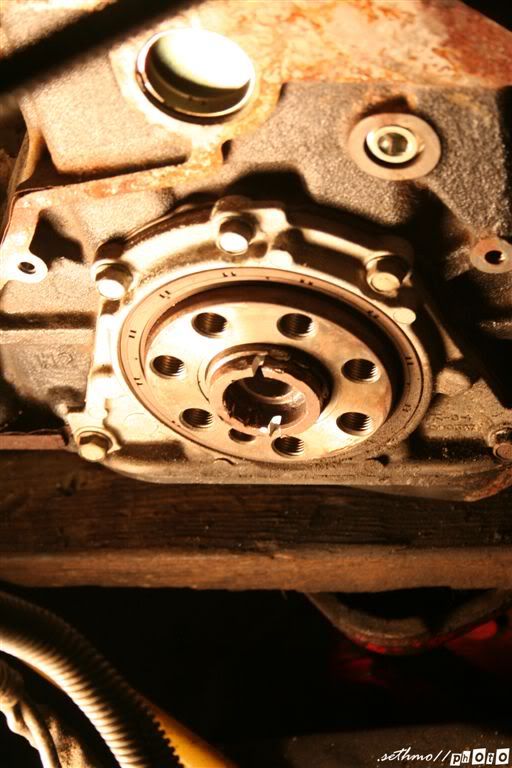
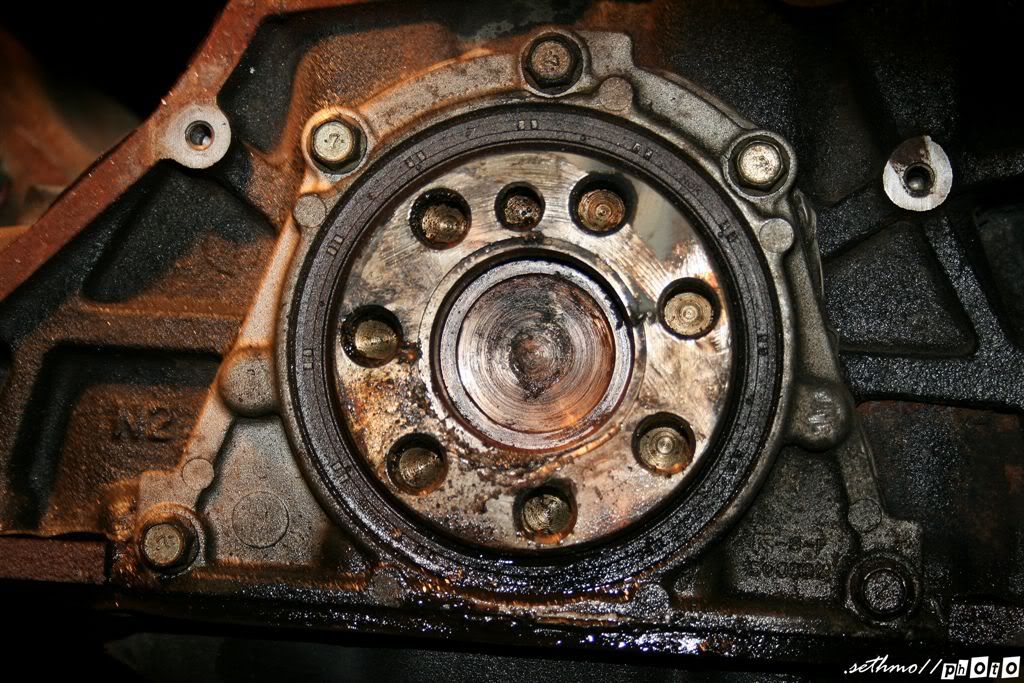
    And she is out! Took about 3-4 hours to get that one spacer out, guess after 212k miles, that sucker felt like it was at home.


    Now I can install my flywheel, but I need a new gasket, kinda burned it up with the torch/welder.


    And for all of you people who were able to wiggle that spacer out with no more then a pair of vice grips ...... I hate you all!
    Last edited by seth98esT; 03-08-2008 at 07:56 PM
    7g for life!

  3. #3
    Nice progress so far Seth. Thanks for the tips on getting the axles out since I need to replace one. :smt023


    222whp/250wtq

  4. #4
    WarmAndSCSI
    Guest
    Cool, cool.

    I think you should swap in a 6G72, though, and enjoy having a jackstand racer! ;)

    Damn, yeah, you definitely need a new rear main seal :o
    Last edited by WarmAndSCSI; 03-08-2008 at 08:01 PM

  5. #5
    You are here entirely tooo much!! seth98esT's Avatar
    Join Date
    08-01-2002
    Location
    Keokuk, IA
    Posts
    8,348
    Yeah a 6g72 swap crossed my mind, but Id use the "good" version of that motor out of the 3kgt ooooh :P
    7g for life!

  6. #6
    That's pretty cool that you welded a bar on there... You problem solver you...
    1997 Volvo 850 T5

  7. #7
    TGC Regular phizzalot's Avatar
    Join Date
    04-25-2007
    Location
    Orlando/Ft. Luderdale ex {phizz2k}
    Posts
    727
    Nice Work Seth!!! I see you had a lot of fun with the Pilot bearing as well :):) I just took the air jack hammer directly to the bearing and it gave in so to speak :)

    I guess you will be swapping over your old dohc head and turbo setup?
    ---||| 97Galant, E3 16G, Safc, 5spd,Drifter Body |||---

  8. #8
    Lol, that second post didn't load the last time I posted. Those are some "pretty" looking welds you got there man. :p Anyways glad to hear you got the spacer out and yeah, replace that seal.


    222whp/250wtq

  9. #9
    You are here entirely tooo much!! 4-G-rim's Avatar
    Join Date
    07-20-2003
    Location
    Orlando, FL
    Posts
    3,169
    Nice progress Seth..but seriously, you need to get a air gun. Your life would be soo much easier with one...especially when you wanted to remove the axle nut.

    1991 Galant VR4 1948/2000_________1996 Galant "S" 5 speed 2.4L turbo

  10. #10
    You are here entirely tooo much!! seth98esT's Avatar
    Join Date
    08-01-2002
    Location
    Keokuk, IA
    Posts
    8,348
    Quote Originally Posted by laxinwarrior View Post
    Lol, that second post didn't load the last time I posted. Those are some "pretty" looking welds you got there man. :p Anyways glad to hear you got the spacer out and yeah, replace that seal.
    Yeah I had the first post already typed out from last week, was in the process of making the second post. And my welder sucks. Its just a gassless Licoln mig, its about 10 year old. Doesnt make pretty welds anymore, it needs a new feed line as it doesnt feed as smoothly as it used to.

    Dude I had air tools! Used the impact gun to get the flywheel bolts off, used the air hammer/chisel on the pilot bearing, it just tore it up. I wish I would have taken a picture of the spacer before I welded the nut on there, it was basically a few strands of metal pointing out haha. I didnt have the impact gun at the time of axle removal, but my method is cake, I just step on the breaker bar a few times and the nut loosens with ease. Hopefully if the auto parts stores have the rear main seal in stock, I will have it on the road tomorrow.
    Last edited by seth98esT; 03-09-2008 at 12:43 AM
    7g for life!

  11. #11
    This is fun to watch.

    First one: Red 88 - 245whp/312wtq - HIN: Nightshift - Chicago '07 WINNER
    Second one: Durban 88 - Buckskin - SHP - Auto - Sold to more capable hands
    Next one: White 84 flatty - t3/t4 - VELNAS - More to come


    "...Remember: Don't crush 'em, restore 'em!"

  12. #12
    Senior TGC Member lonestar22's Avatar
    Join Date
    01-24-2005
    Location
    DFW/Stillwater
    Posts
    2,752
    i love build threads
    RIP GALANT, GOOD MORNING BMW 330i

    330i ZSP (E90) - S4 (B5) / hellaflush

  13. #13
    You are here entirely tooo much!! seth98esT's Avatar
    Join Date
    08-01-2002
    Location
    Keokuk, IA
    Posts
    8,348
    Neither parts store had the rear main seal in stock, will be here Tuesday. Didnt do any work on the Green g, just took parts off the silver car and called it a day.
    7g for life!

  14. #14
    You are here entirely tooo much!! seth98esT's Avatar
    Join Date
    08-01-2002
    Location
    Keokuk, IA
    Posts
    8,348
    Picked up the rear main seal today. Didnt get a whole lot of time to work on it, but accomplished a decent amount.

    Installed new rear main seal.


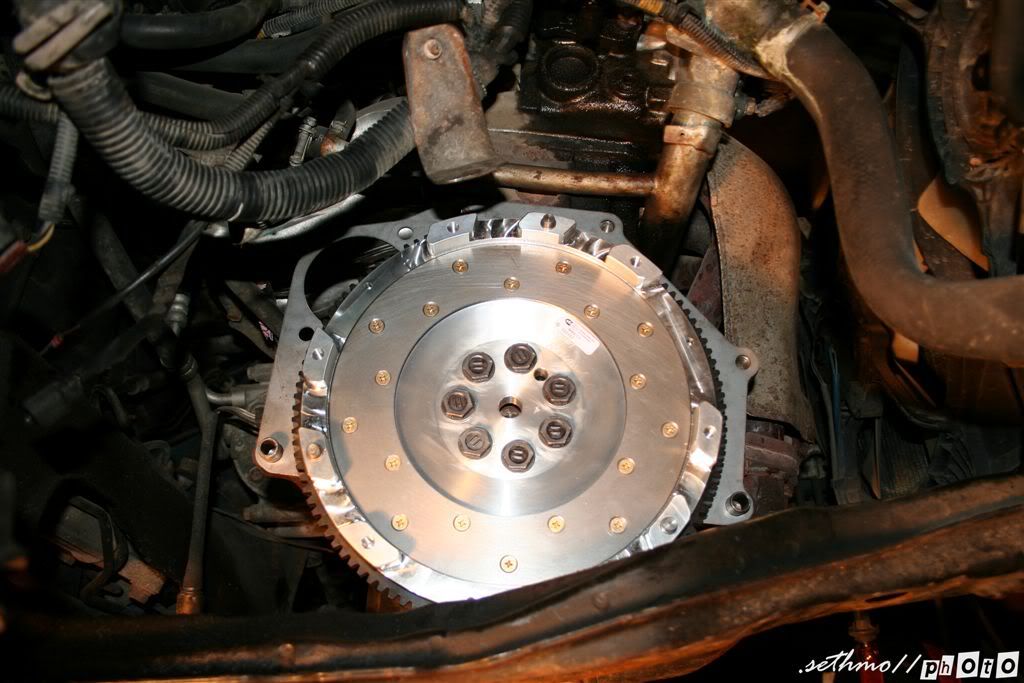
    Fidanza flywheel ooooooh.


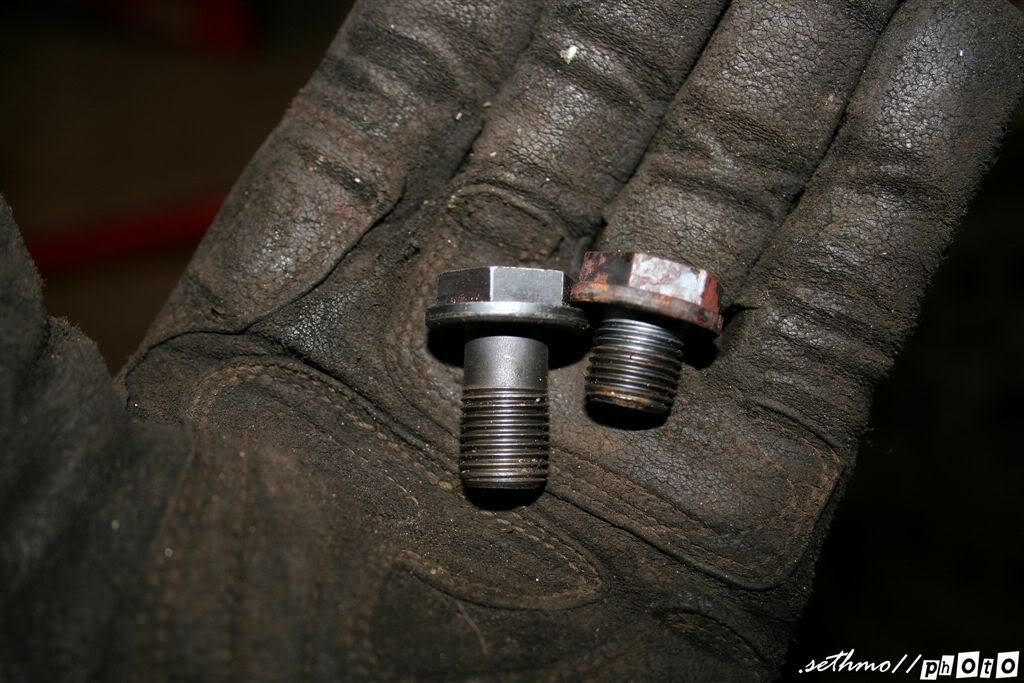
    5spd flywheel bolt ont he left, auto on the right ... you cannot use the auto bolts.


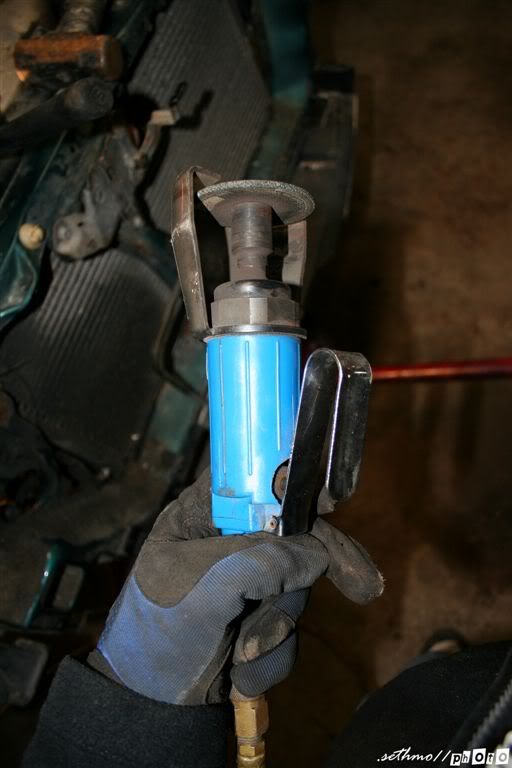
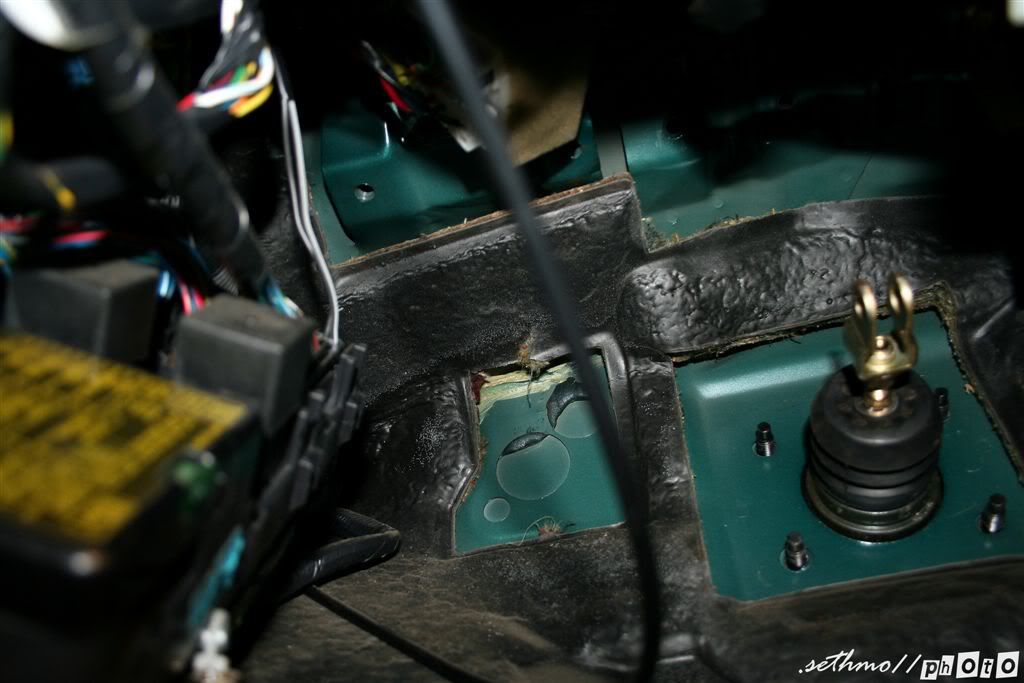
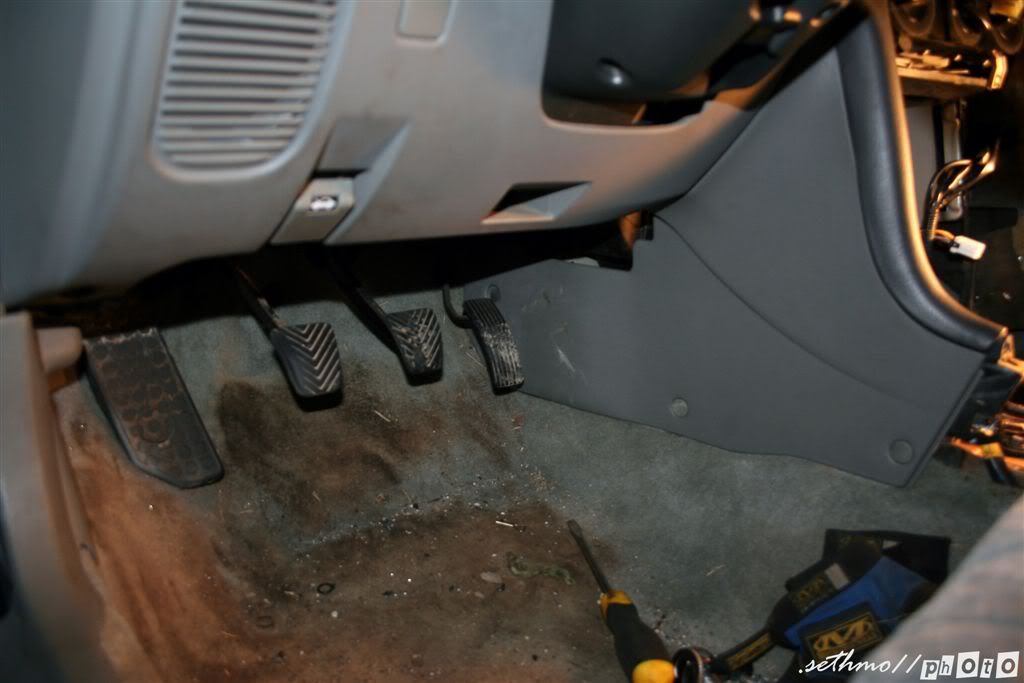
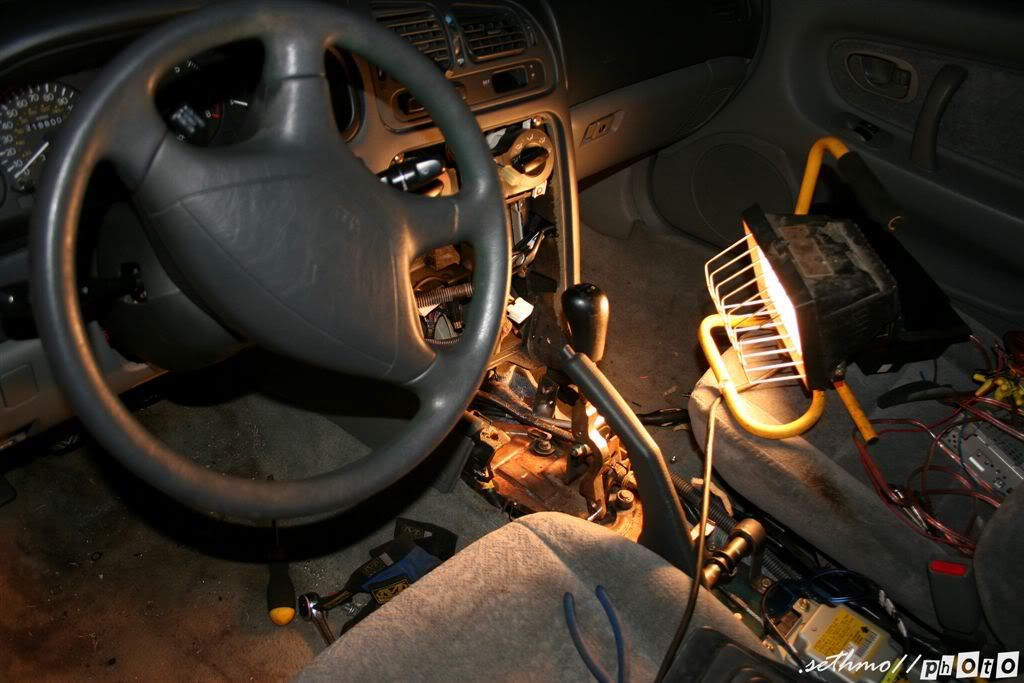
    Holes for clutch master cylinder already lined out for you, even the carpet padding is cut, you just pull it out. Dont be fooled though, the small bottum hole is correct, as is the middle big hole, but the top hole does should not be as big as it is outlined, it should be the same size as the bottum small hole. Maybe I have a 2g clutch master cylinder, but just something to make sure of before you start cutting. I used a drill to start the holes, then a air powered die grinder with a drill bit to cut the circles out, worked pretty good, just not the cleanest route.


    Tada!


    Im going to need some new carpet bah. Kinda boring the second time around haha.
    7g for life!

  15. #15
    Bro im lost probably cause i havent been here in a while, but you are getting rid of the silver g and got yourself this green one to start building her up or what are you doing to her.

    Sorry bro i havent been around
    1994 GS DOHC 2.4L 5spd (For Sale)
    1996 S SOHC 2.4L 5spd (Up and Running)

  16. #16
    You are here entirely tooo much!! seth98esT's Avatar
    Join Date
    08-01-2002
    Location
    Keokuk, IA
    Posts
    8,348
    Parted out the silver 7g. Had problems with the frame from a wreck a few years ago. Picked this one up with a blown auto trans, straight body, clean paint for $600. Havent decided what I want to do with it after the 5spd swap.
    7g for life!

  17. #17
    WarmAndSCSI
    Guest
    Hey, Seth did you make sure to seat the rear main seal at the same EXACT depth as before? Else, it might leak a little.

  18. #18
    awesome thread nice and detailed with pics

  19. #19
    You are here entirely tooo much!! seth98esT's Avatar
    Join Date
    08-01-2002
    Location
    Keokuk, IA
    Posts
    8,348
    Quote Originally Posted by WarmAndSCSI View Post
    Hey, Seth did you make sure to seat the rear main seal at the same EXACT depth as before? Else, it might leak a little.
    I tried, with my luck, it will probably leak.
    7g for life!

  20. #20
    WarmAndSCSI
    Guest
    Quote Originally Posted by seth98esT View Post
    I tried, with my luck, it will probably leak.
    Aw, yeah that's something I've gotta watch when I do this engine this weekend. I think I'll just reuse my rear main seal and housing since it's still perfectly OK. Depth is already set right since it's not leaking, so that's a plus!

    See, I found when I was doing mine last time that there's a small groove in the crankshaft/flywheel boss where the seal's lip is supposed to sit. It's easiest to just measure the previous depth and go from there, but you can always kind of guesstimate when it reaches that groove.

Page 1 of 9 12345 ... LastLast

Posting Rules

  • You may not post new threads
  • You may not post replies
  • You may not post attachments
  • You may not edit your posts
  •