OK TGC, this is my first "How To".
I have installed HID lights in my Reverse Light Socket for backing up in dark areas, I can also use them to blind a tailgater if they get me to that point.
Some of you may wonder, How do you do reverse lights "THE RIGHT WAY??"
"I didn't know there was a wrong way!"
Let me assure there is no right or wrong way, it's HID in your reverse lights it's not something you need.
The way I have done it is, an effective way to ensure maximum ballast and bulb life. Basically meaning, not killing your HID kit because you go to reverse so many times in one week (also having them on during the day) and when you go from Park to Drive it quickly kicks 12 volts to the back up bulb, that alone will have your ballasts begging for mercy in less than a month.
OK, on to what you clicked this thread for.
You will need:
10mm socket/ratchet
1 inch length screws
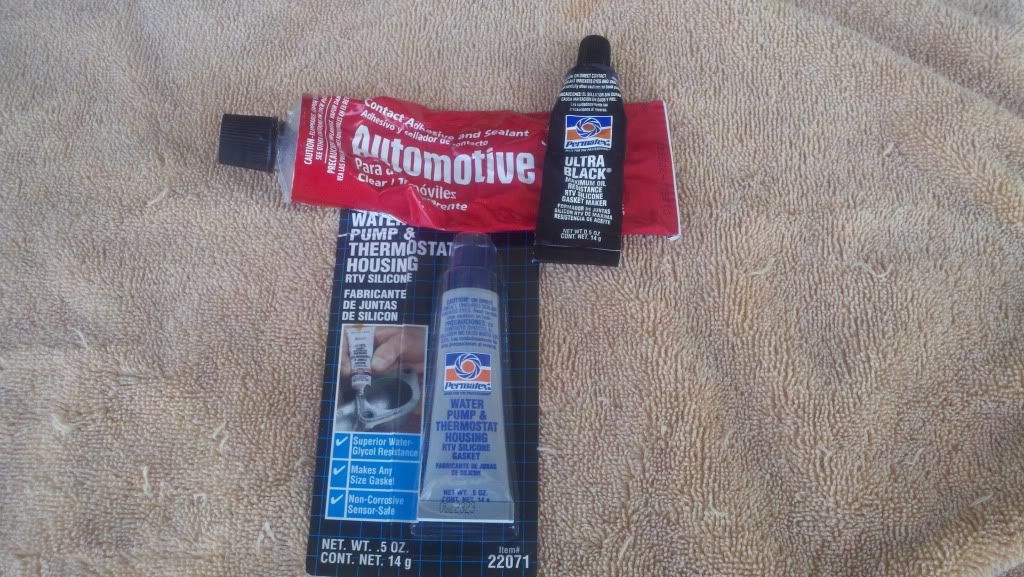
Silicone/sealant
20 ft 14 awg wire
10 ft 16 or 18 awg wire
Soldering iron and soldering wire or butt-connectors (I prefer solder to ensure best connection)
Electrical tape
Zip Ties
Self Tap Screws
Drill with phillips bit and a wire wheel bit to sand for good ground connections
3 12Volt Relays
1 Complete Dual beam HID Kit from VVME.COM (Pictured) Mine is 8000k 35w
So we start with what most of us have now. A Stock, Dim, Yellowish pair of lights.

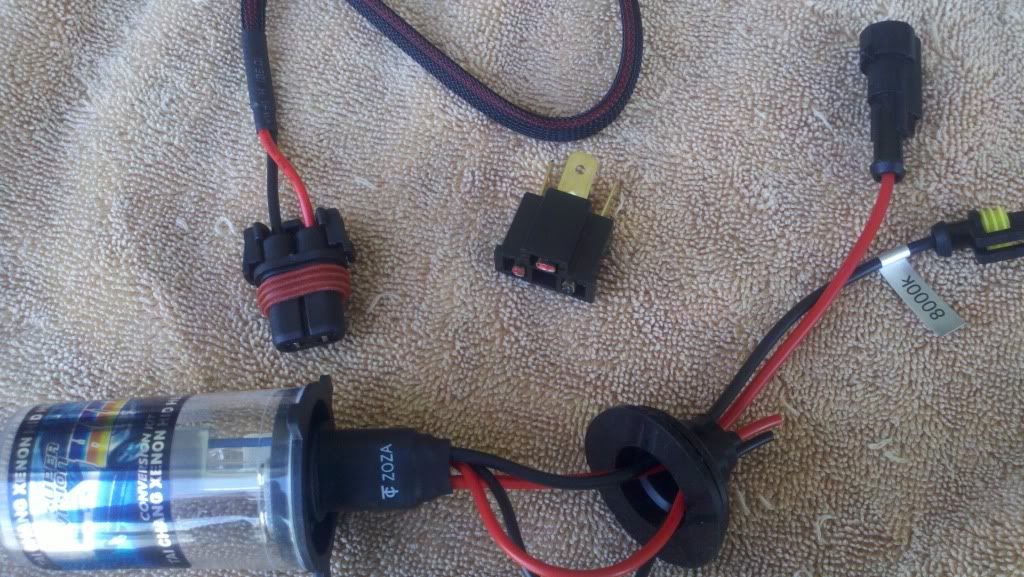
Here's the HID kit from vvme.com
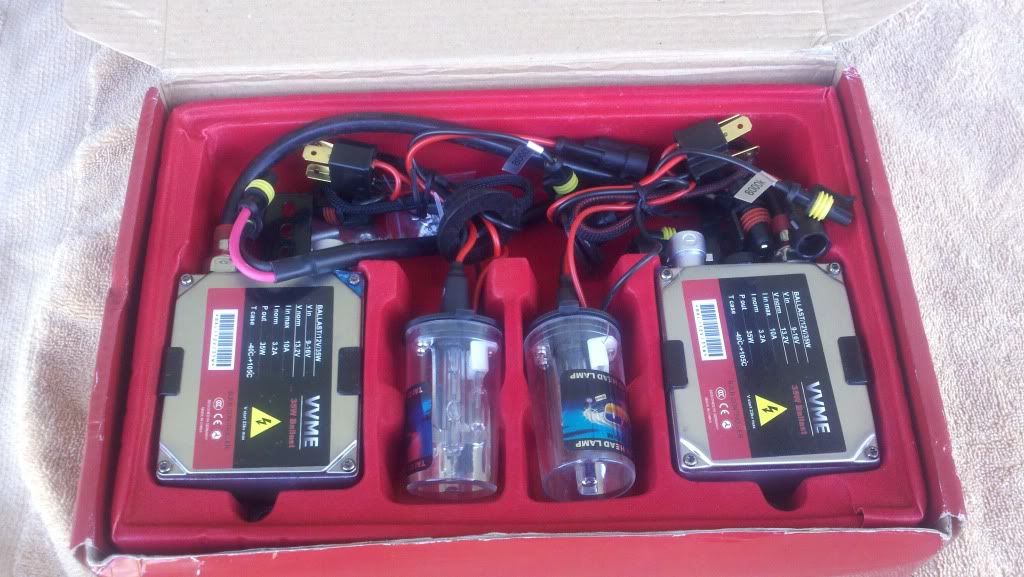
This is what makes this kit so special for this install. It's their H4-2 8000k 35w kit.
The bulb has to sides to it, one HID capsule and one 55w Halogen side for use of high beam.
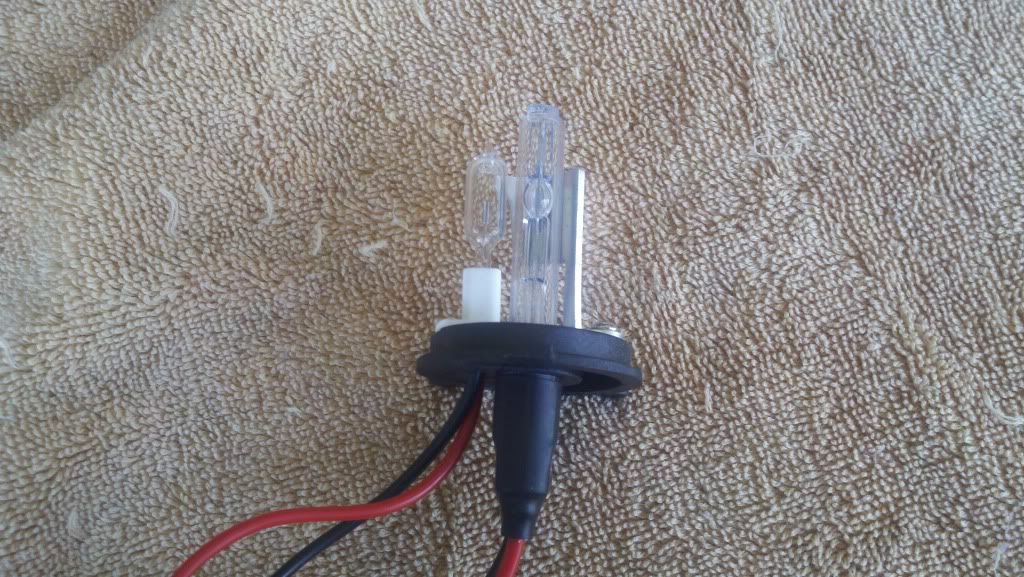
Close up. The HID side will be connected to run off a switch of your choosing, and the halogen side will be tapped straight to the Revers wires in your car.
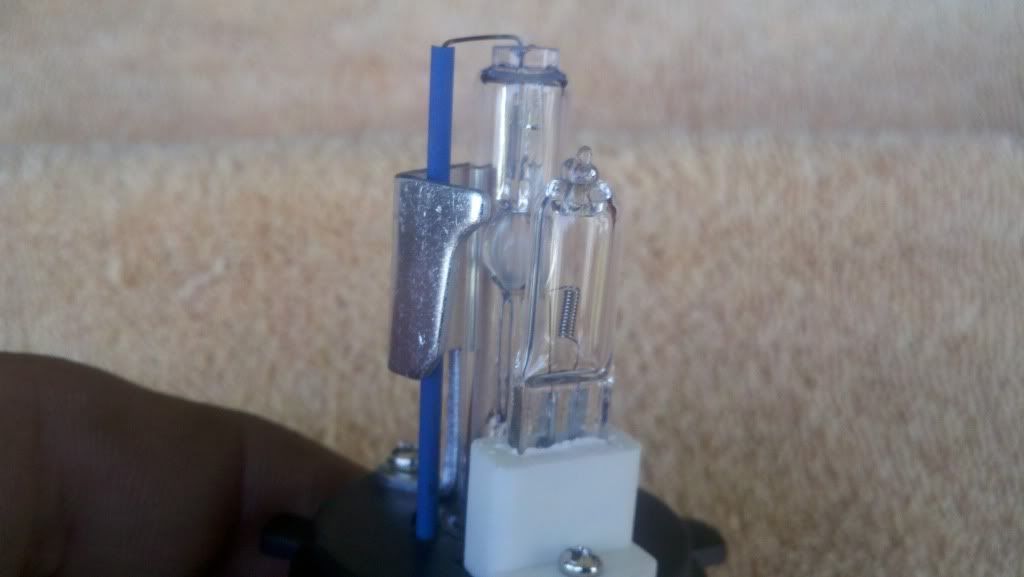
First step is to remove your tail light assembly
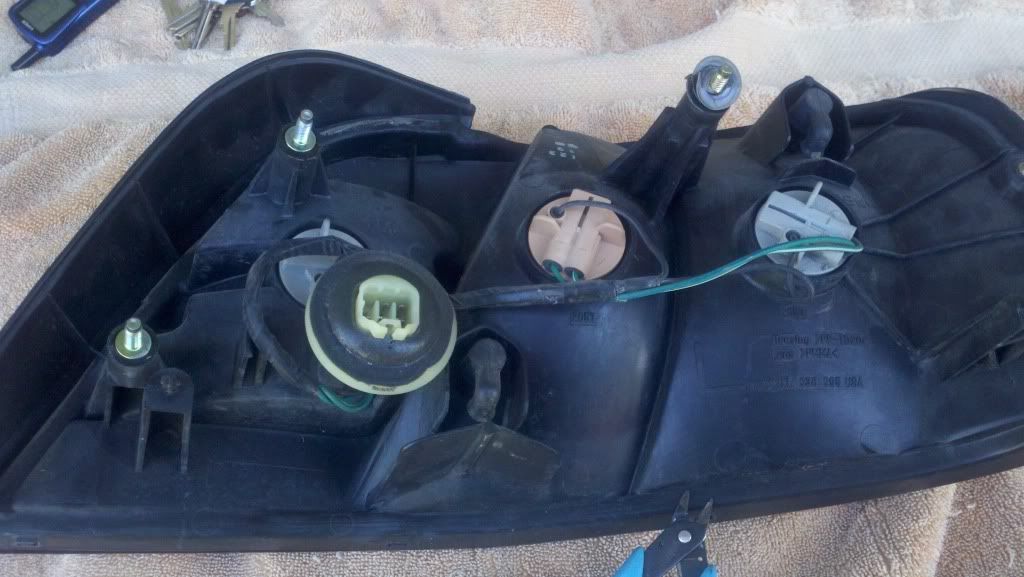
Then pull your stock 1156 out, mine is a silverstar which still wasn't enough for me.
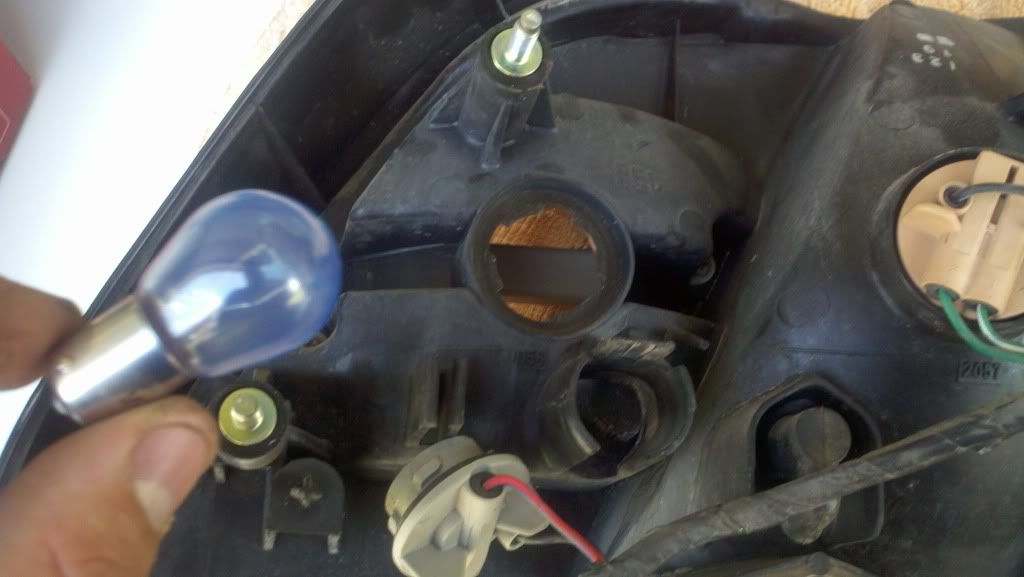
Next prep your bulb by cutting of the socket attached to it, removing the ballast harness and running your halogen capsule power wires through the grommet.
Next, test fit your bulb, it goes right into the opening without going through it, no need to modify whatsoever.
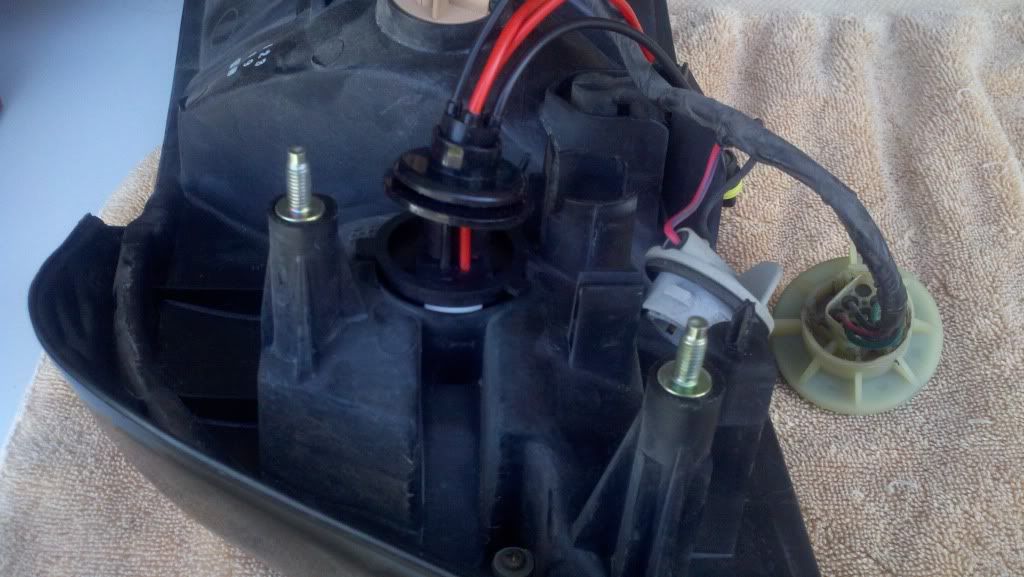
I used these to screw the bulbs in place, they were kind of long so I cut them, now they are a bit longer than the self tap screws.

Here's the bulb held down, nice and snug. Just enough to get the bulb held down for silicone to weather proof.
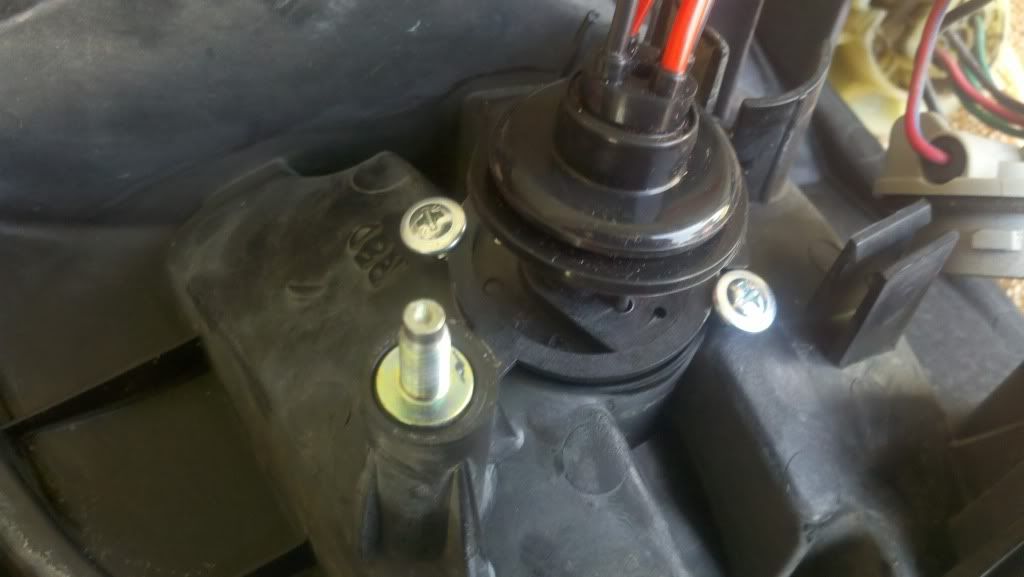
Whatever you have it doesn't matter, I used black on one side and goop on the other.
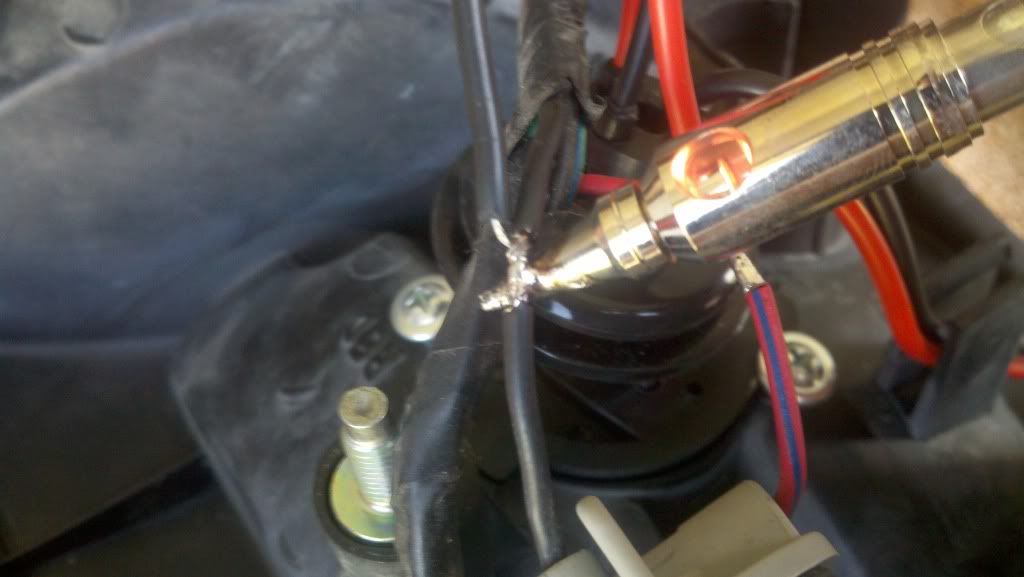
Connect/Tap into the reverse power and ground wires in the harness that is on the tail light, I prefer to solder.
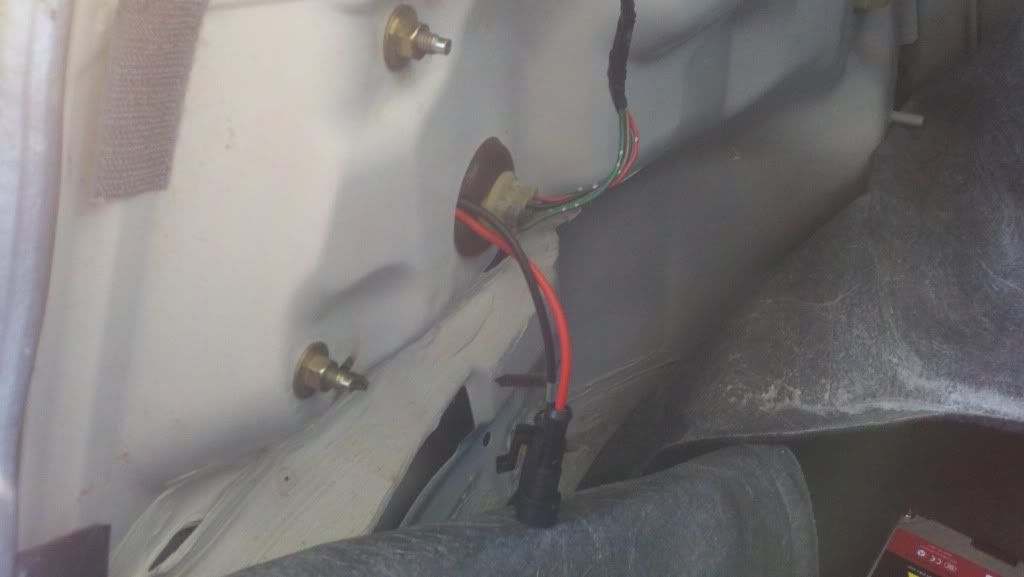
Here's the tail light back on with the HID wires ran through.
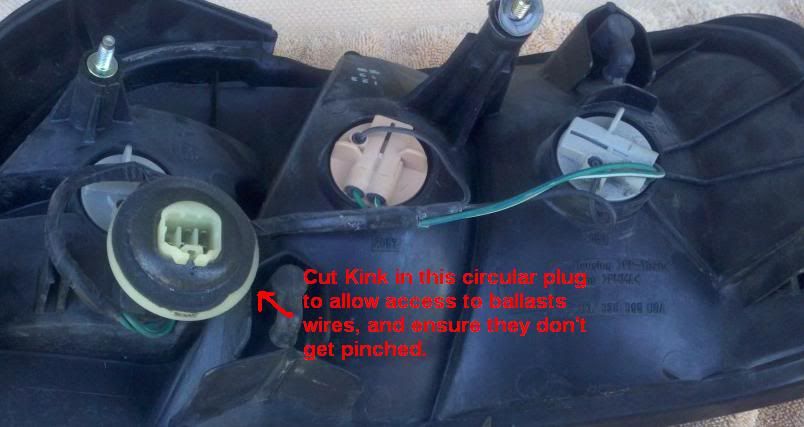
In order to avoid pinched wires
Here's my ballast mounted
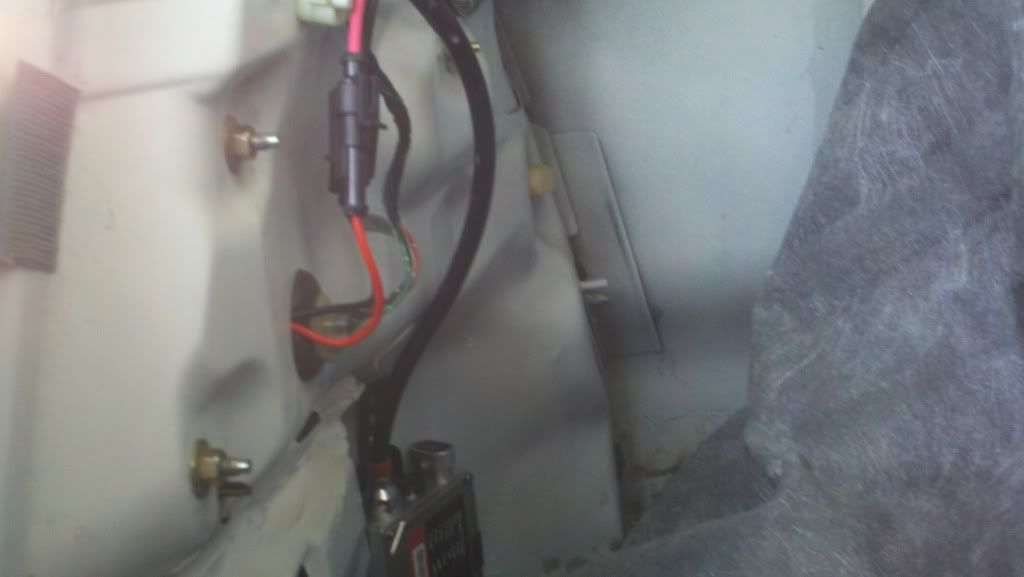
Wired up to power, quickly to test it then butt connector came off and soldered the connection.
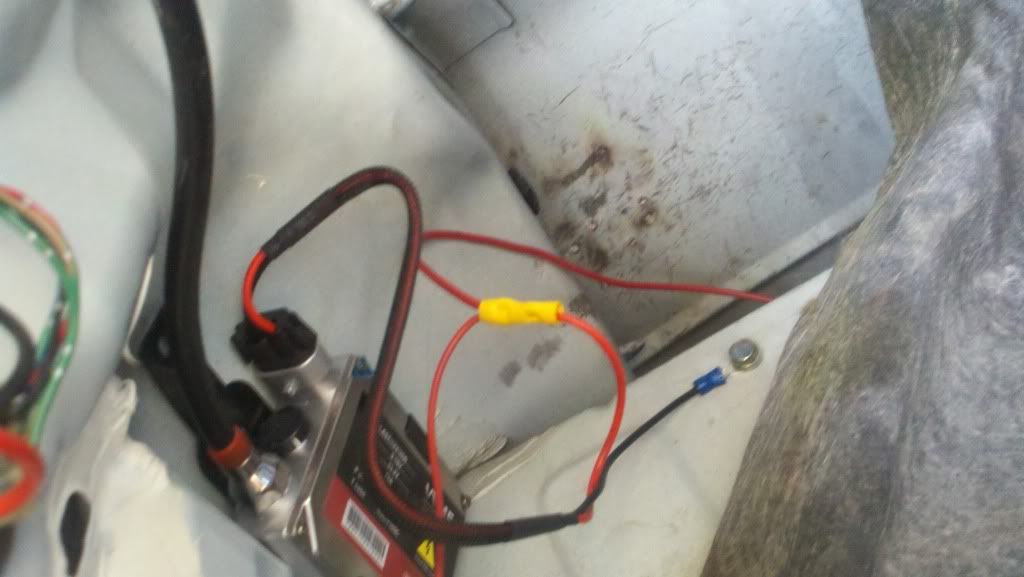
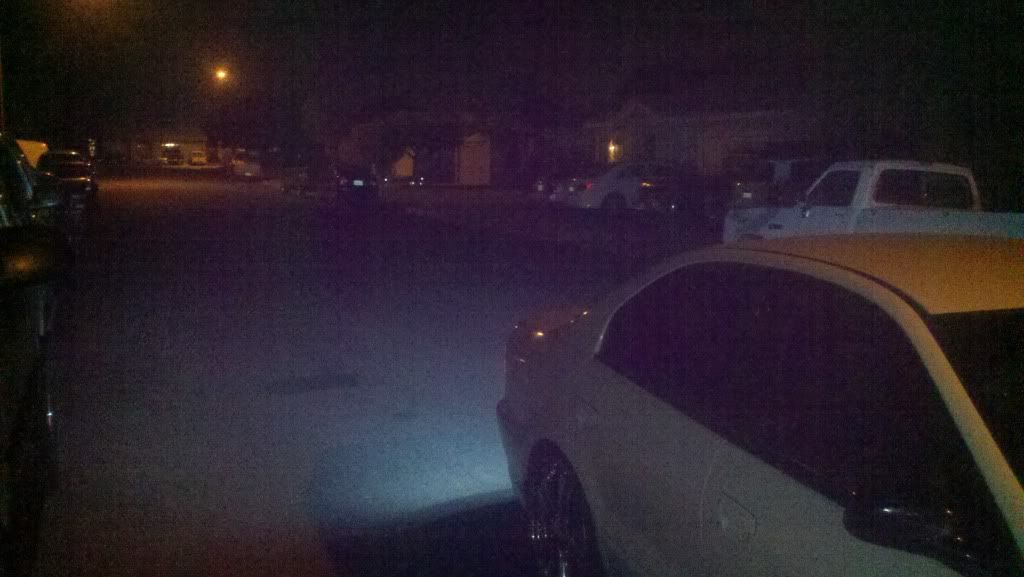
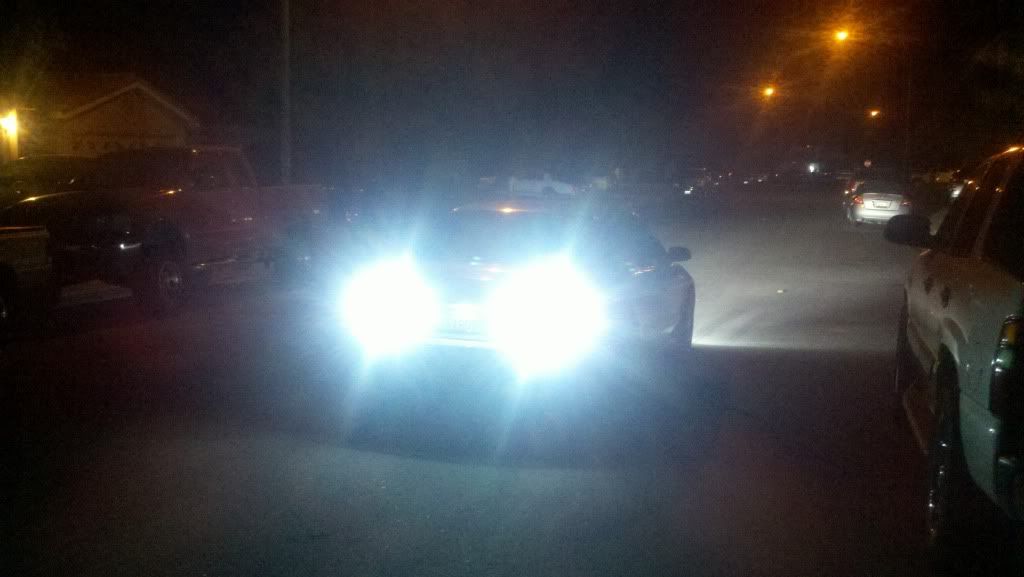
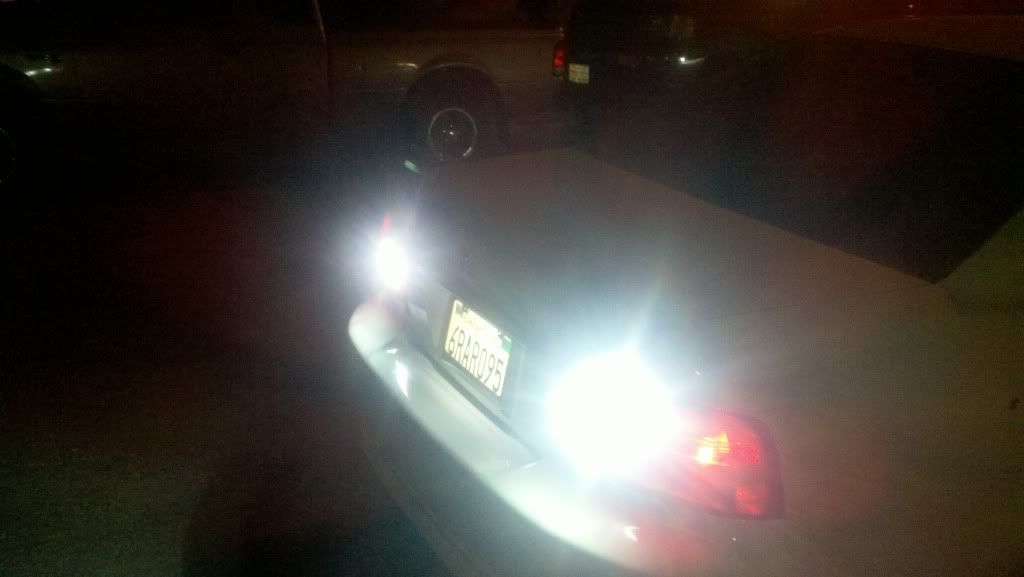
End Result
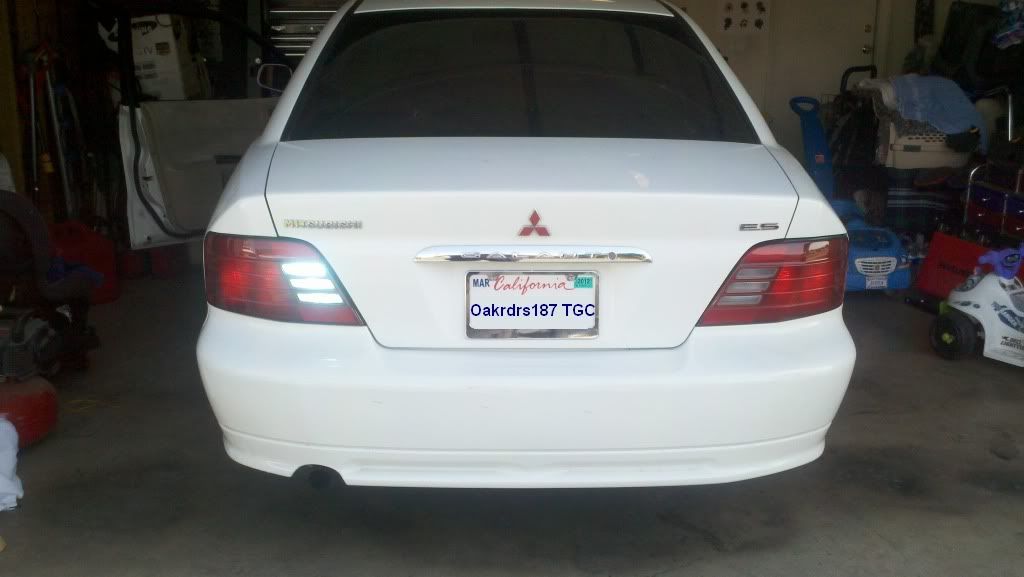
In this image, the drivers side is the Halogen side of the HID, and the passenger side is the Silverstar 1156 bulb, already the new halogen bulb is noticeably brighter than stock, even though mine is a pepped up stock bulb.
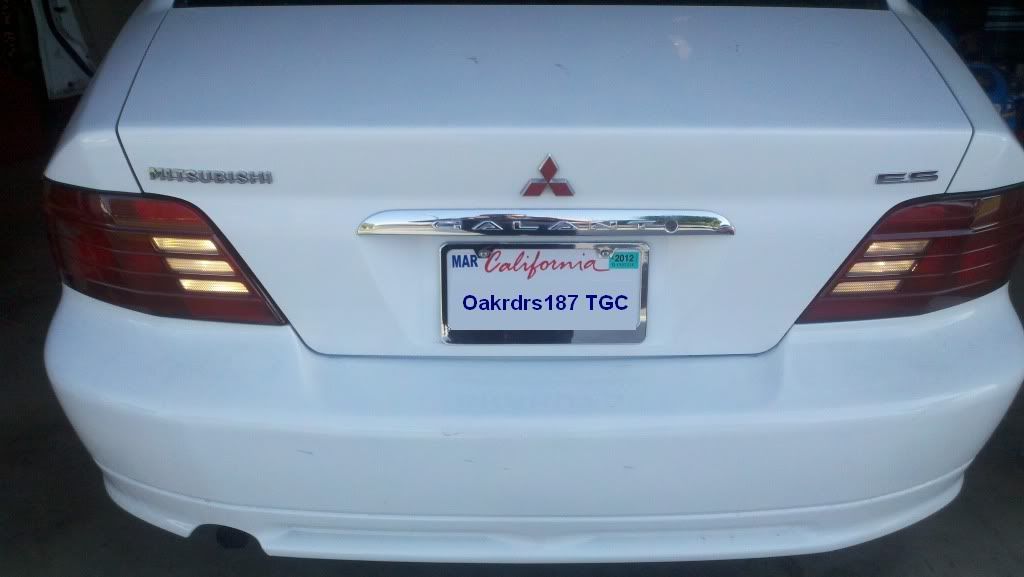
So how's it work?
The halogen side of the bulbs come on with reverse gear at all times.
The HID side comes on when I toggle them on, the car does not have to be in reverse.
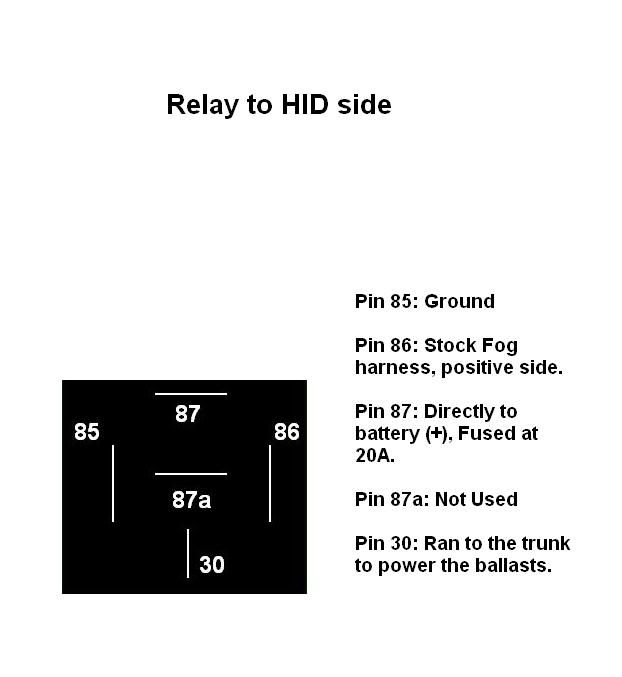
I have wired the HID's in back to my fog lights, since my fog-lights are tapped to a relay off the low beam ballast they always come on with lows and remain on with highs too, I have no use for the switch that's on the dash or the stock fog harness. So what I did is got the 12 volt wire from the stock fog harness on the drivers side and used it to trigger a relay to send direct battery 12 volts throught the 14awg wire I ran to the back. This wire then splits into each ballast.
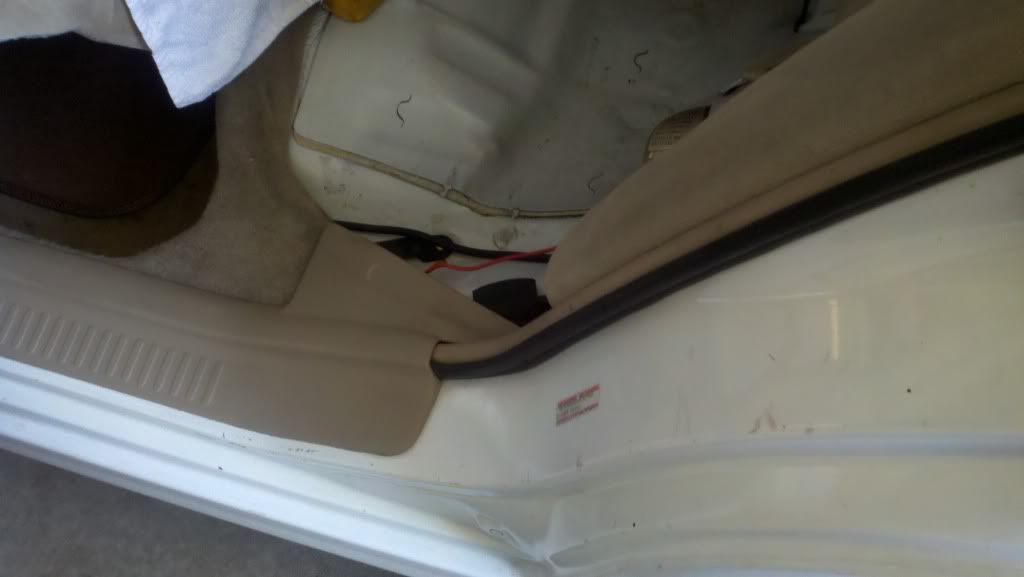
One very important thing I did to assure the housing does not melt when youre backing up with the car in reverse and the HID's are on.
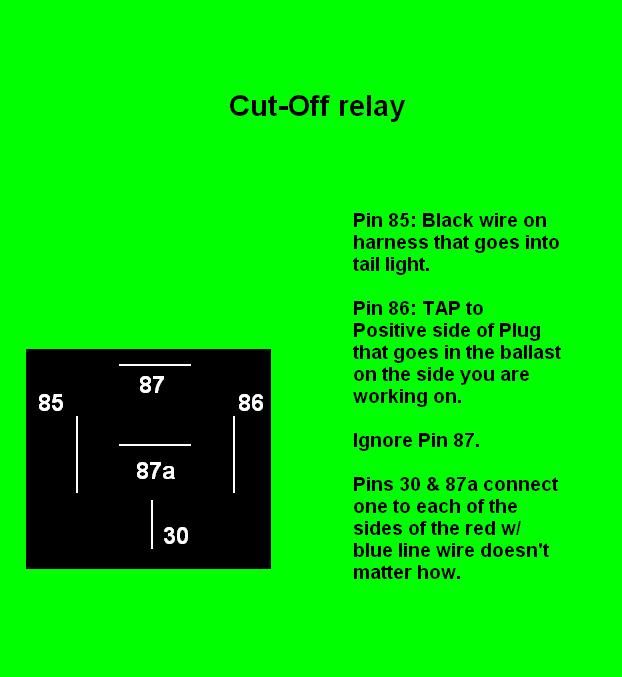
If you don't use a relay to cut power to the halogen bulbs whenever the HID's are on you will have two bulbs in a very small area turned on together and that will heat up real fast.
Start by cutting the red with blue line wire like so.
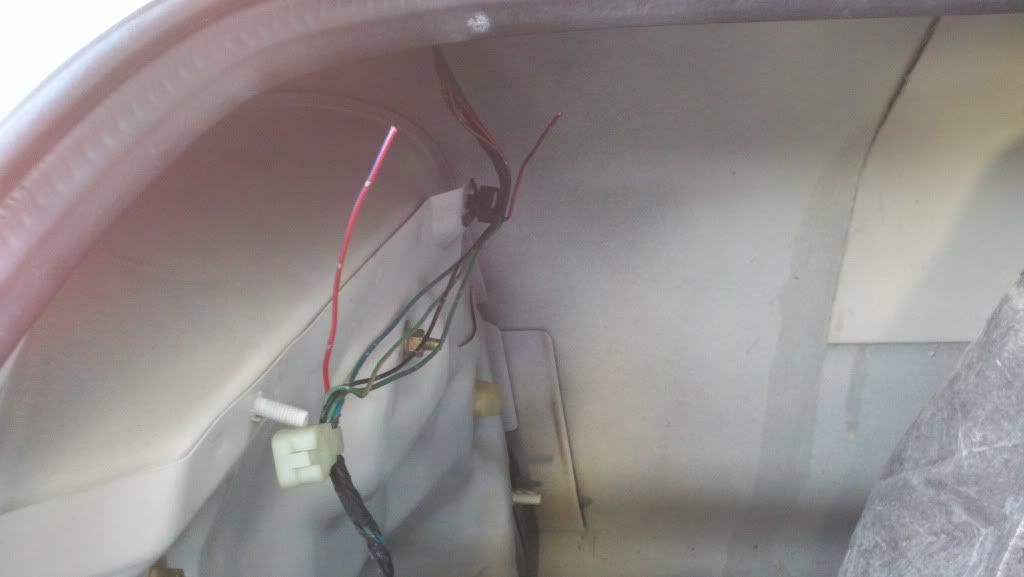
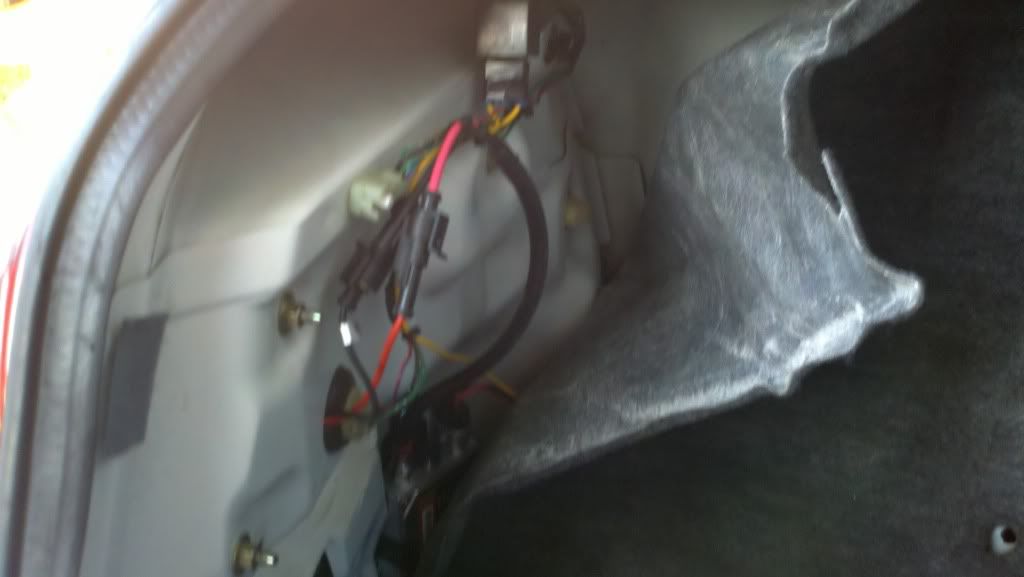
Next you want to wire up a relay on each side
Finished installation with cut-off relay.
These are some quick diagrams for those of you who aren't that relay savy.


Bookmarks