-
New Member 9G Retrofit
Hey everybody,
I have been reading this forum for such a long time, and am excited to finally be able to contribute to it! This is the first time I'm attempt at doing anything like this, and thank god for this forum and it's members for all their help. I wanted to do something new and different , at least within the Galant community, so I did triple UV "black light" demon eyes, and converted the fresnel plastic lenses in the turn signal wells into mounting brackets for 2" lenses I purchased from an HIDP member. My initial goal was to do a "bargain retrofit" as I am just finishing college, and consequently, am broke. Even with buying the cheapest(priced) available parts, and bargain basement pieces it still took me over a year to cumulate all the parts I needed. After it was all said and done I realized I ended up spending around $500 total on the retro, which to me was like "WOAH!", but in the retro-scene where a set of oem ballast and bulbs can cost that much, I guess it's not too bad. I know there are already some things I am going to change, and if any of the experienced retro-fitters have good pointers I am all ears. Also, I still have to get around to restoring the housing lens, I know, but finals and this crap Illinois weather have kept me from doing so. So, without further adieu, my retrofit.
Parts/Prices:
1) '12 Nissan Murano Projectors(3)(purchased from a HIDP member through eBay) - $100
2) Sti-R lenses(TRS "value" - found absolutely ZERO flaws on these, either a mistake, or you guys are awesome) - $35
3) Panamera Shrouds (TRS "value") - $20
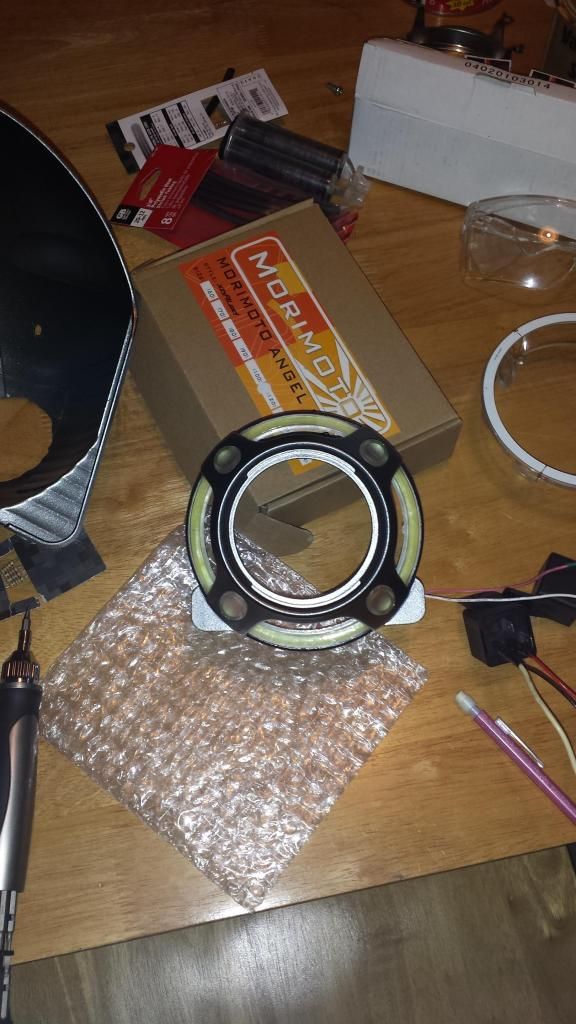
4) Morimoto xBa 120mm Halos - $75
5) DDM Tuning 55W 6000K Kit - $70
6) 2 LuxDrive Buckpucks with Dimmer(replaced voltage regulators on halos because of too many reports of them failing, and the dimmer function is tits. - Thank you Soundman98) -$30
7) UV leds for Demon Eyes(8) and resistors (Radioshack) - $20
8) Morimoto 9007 relay harness - $35
9) Misc. Parts (sealant, paints, mounting hardware, 2" lenses, etc.) - $120
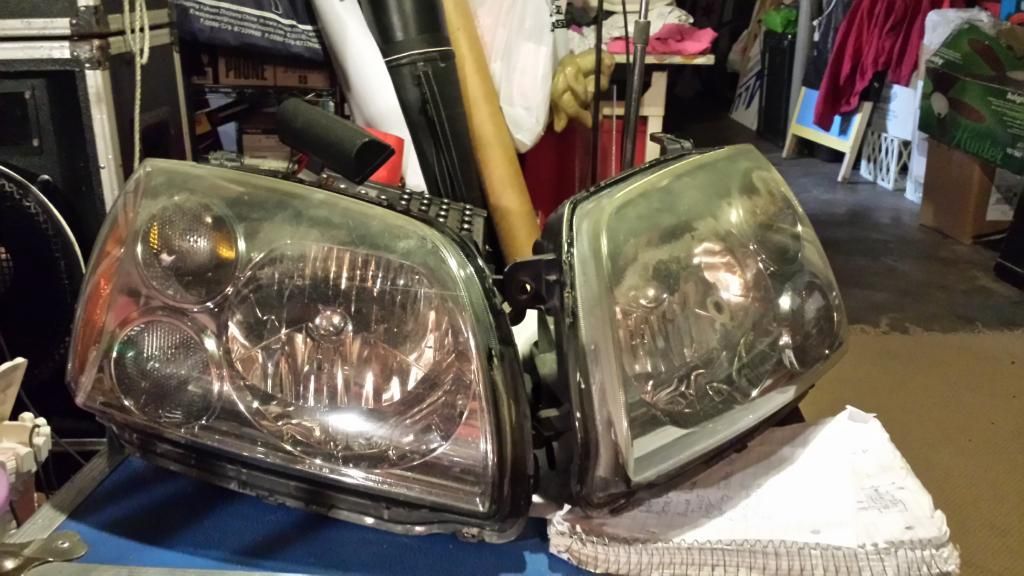
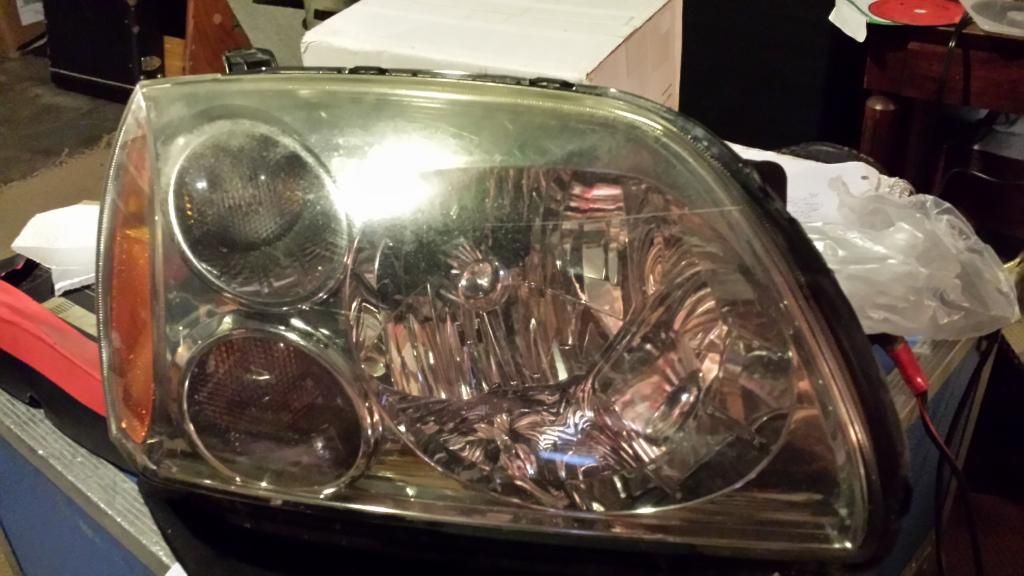
So this is how the headlight looked stock.
Picture of the one of the projectors with a shroud around it, mmmm
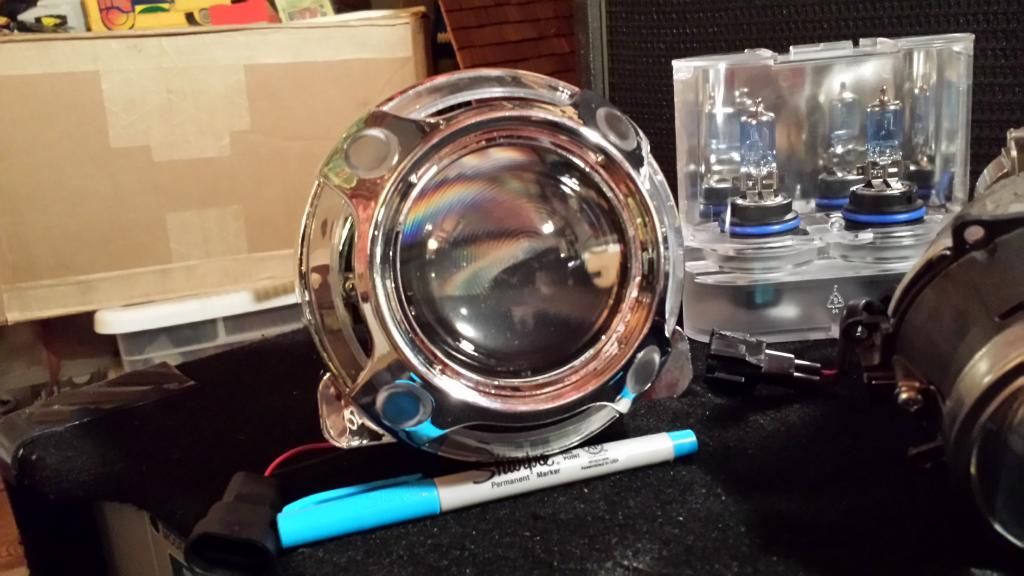
I went with the Panamera's because the oem bell housing is hugee, and I hate the look of a tiny projector in a big open space.
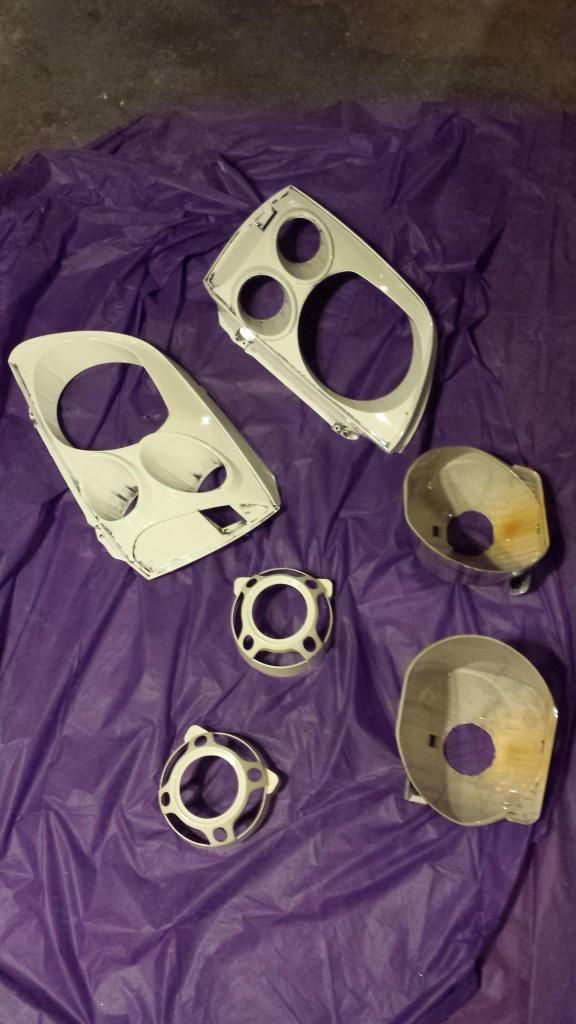
Started by stripping all the pieces to be painted using oven cleaner
This was my first attempt to alter the oem housing to fit the projectors(fail, I'll explain why later)
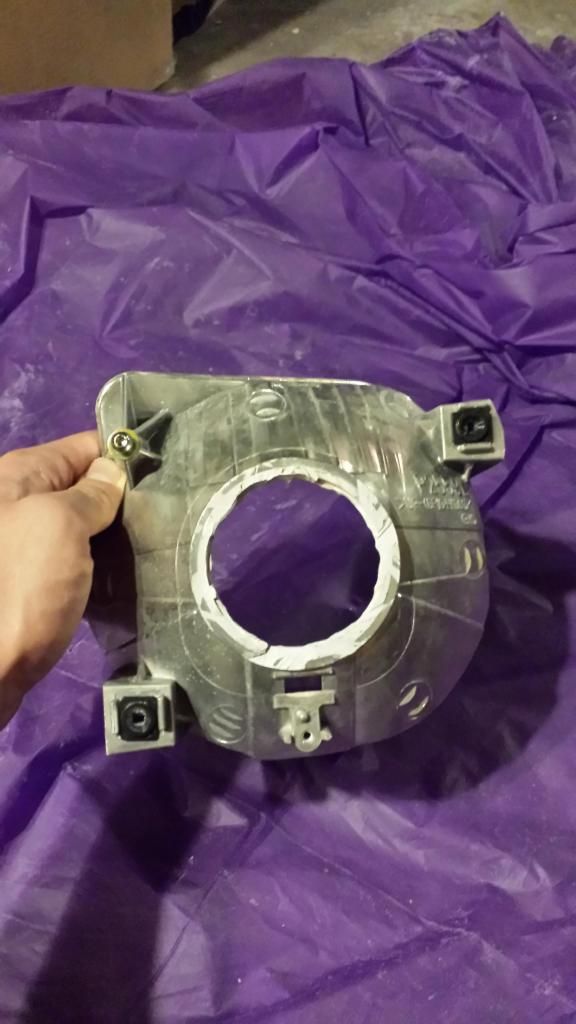
After getting further into the retro I realized why this guy did the same thing, haha
https://www.thegalantcenter.org/show...-THE-LEGALWAY)
Next came the primer, I used the duplicolor plastic primer, stuff worked great.

Here are the halos with the buck pucks wired in. These things are awesome! Both the halos and the buckpucks, the dimmer works much better than I had anticipated. I thought they would dim to about half brightness, but they go from full off to full on, very handy.
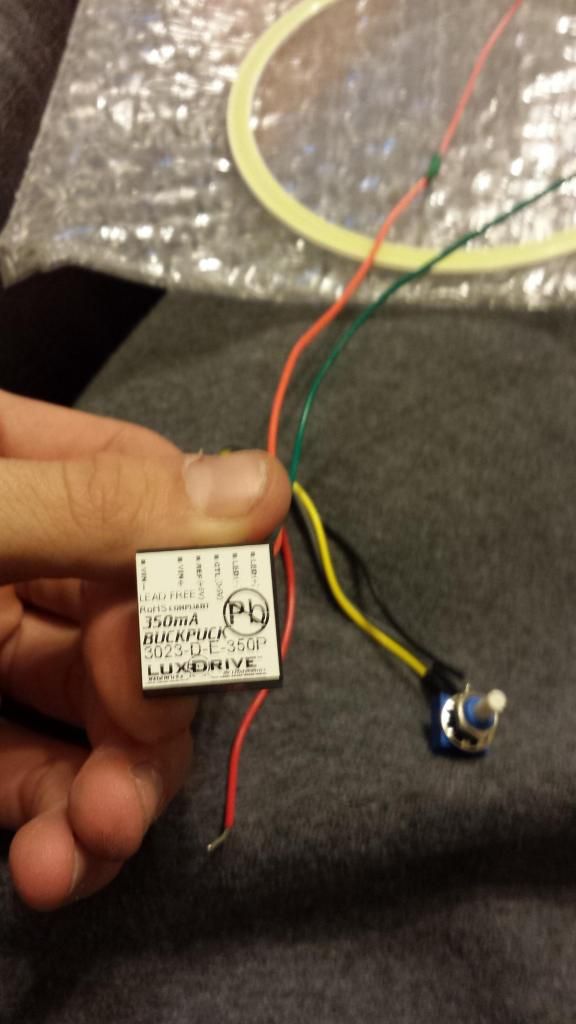
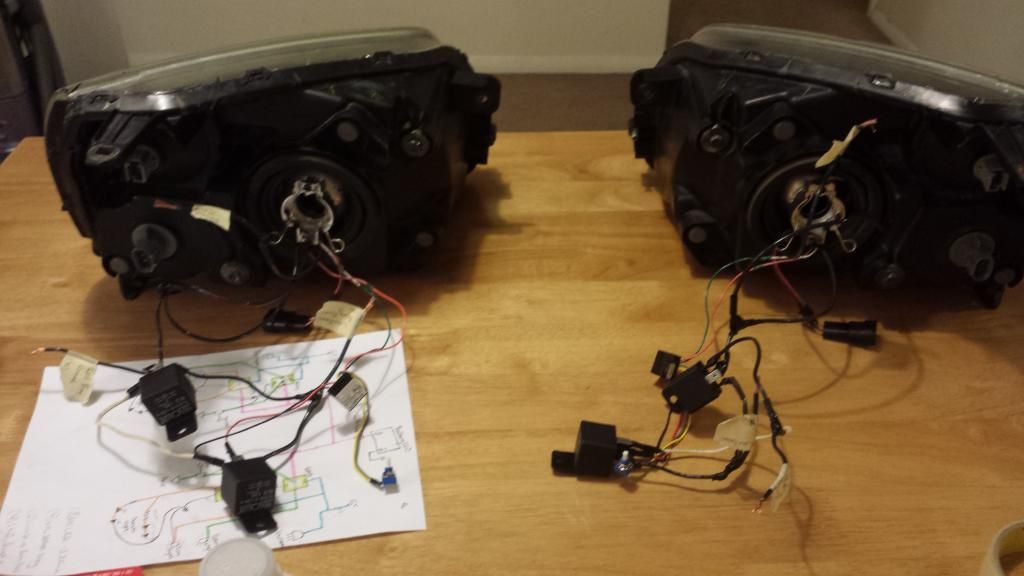
I was freaking out with this, 1. because they are effing $80 led rings, and 2. because I have never wired anything in my life before the start of this project. Hence, the probably incorrect/poor wiring I did overall.
It took me some time to think of a material in which to fabricate the auxiliary light, clear lens brackets. Then it dawned on me... the plastic lenses that are there!
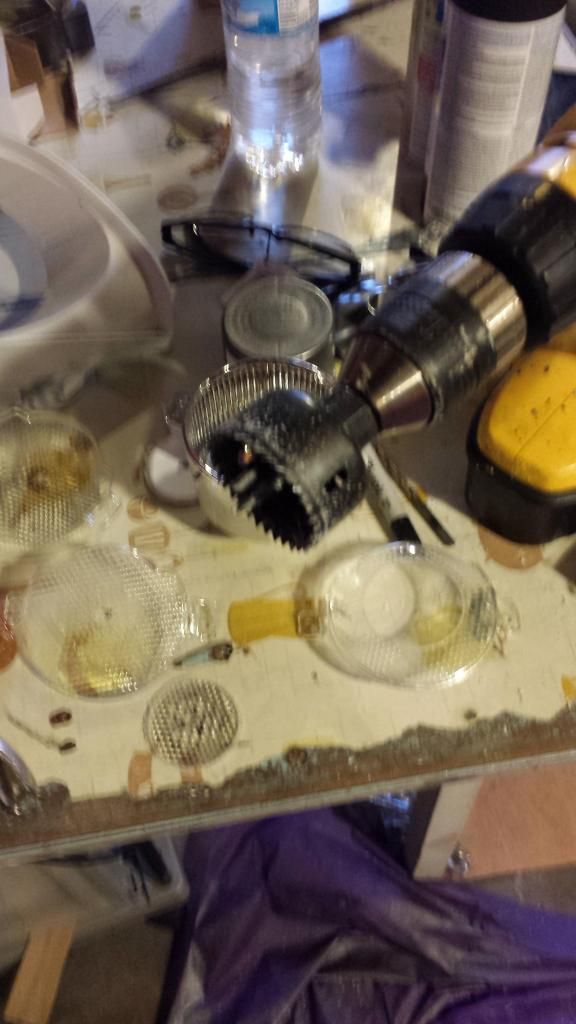
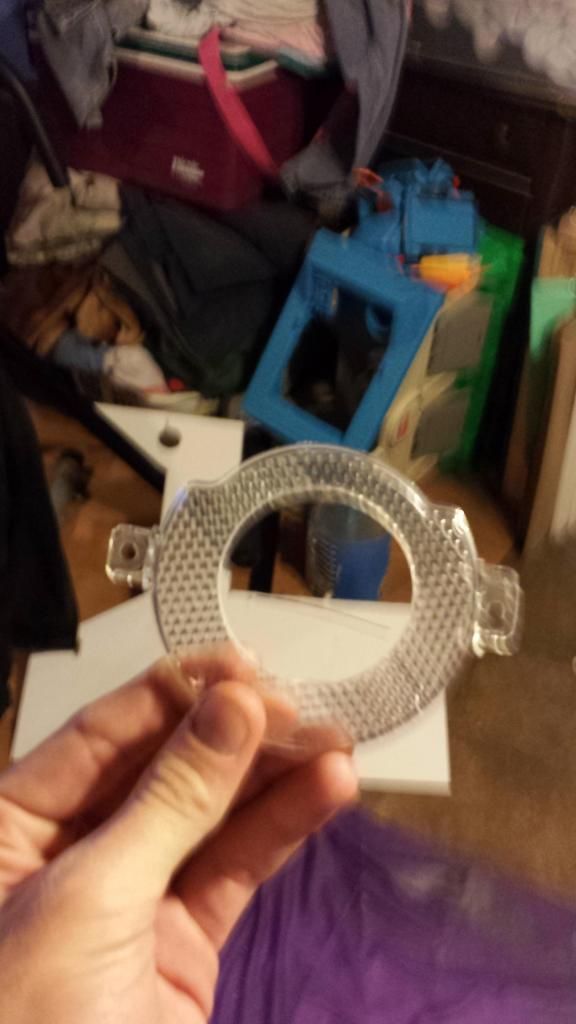
Tada!
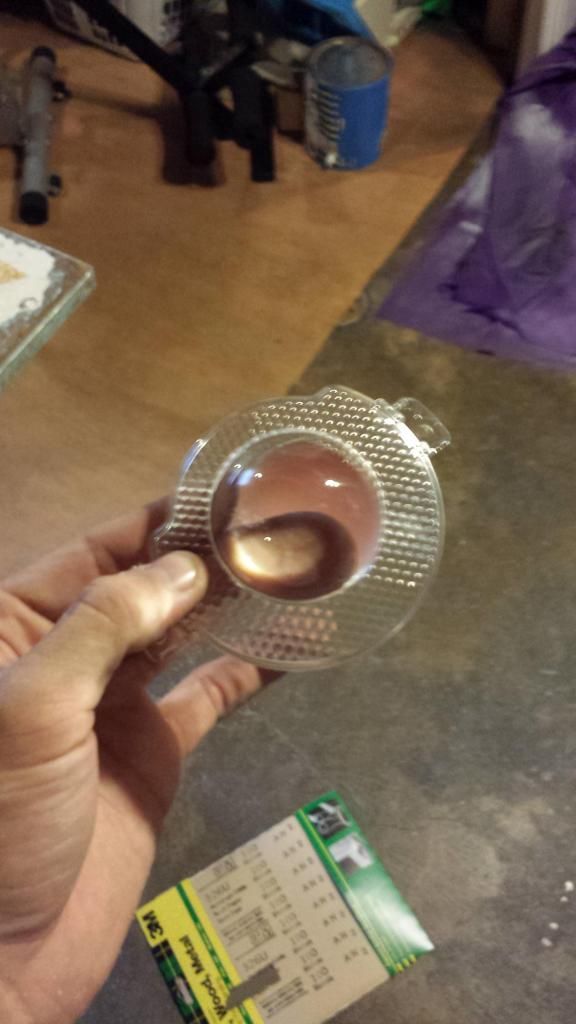
They were also then hit with primer and paint and this is how they turned out.
...not too shabby
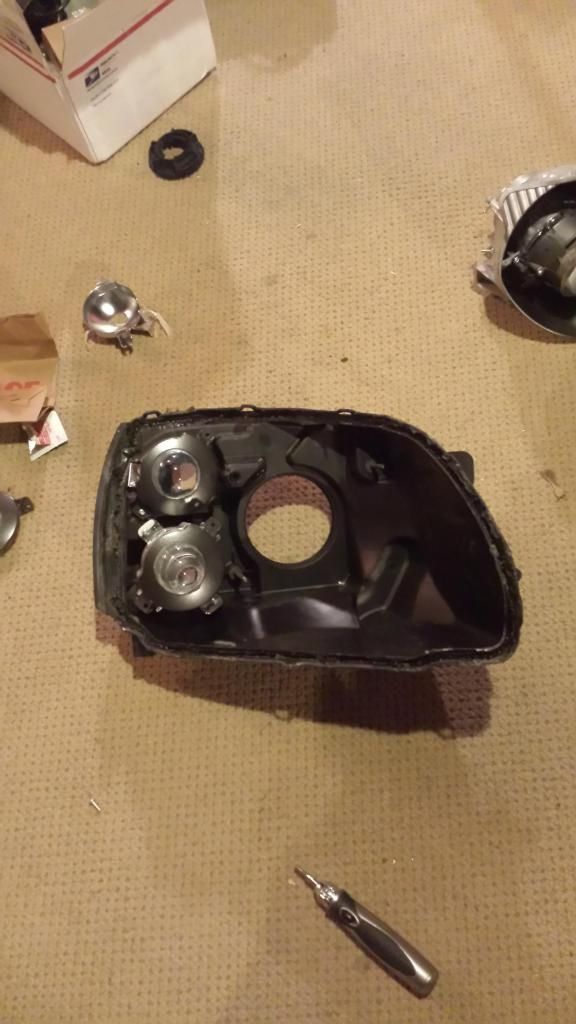
So, as I said earlier, the original mounting plan was a fail. I found this out when time ran out (I tried to do the whole project in 2 days... I'm an asshole) and I had to throw the lights together to drive back to school. I originally used these mounting brackets bent to the angles of the housing. 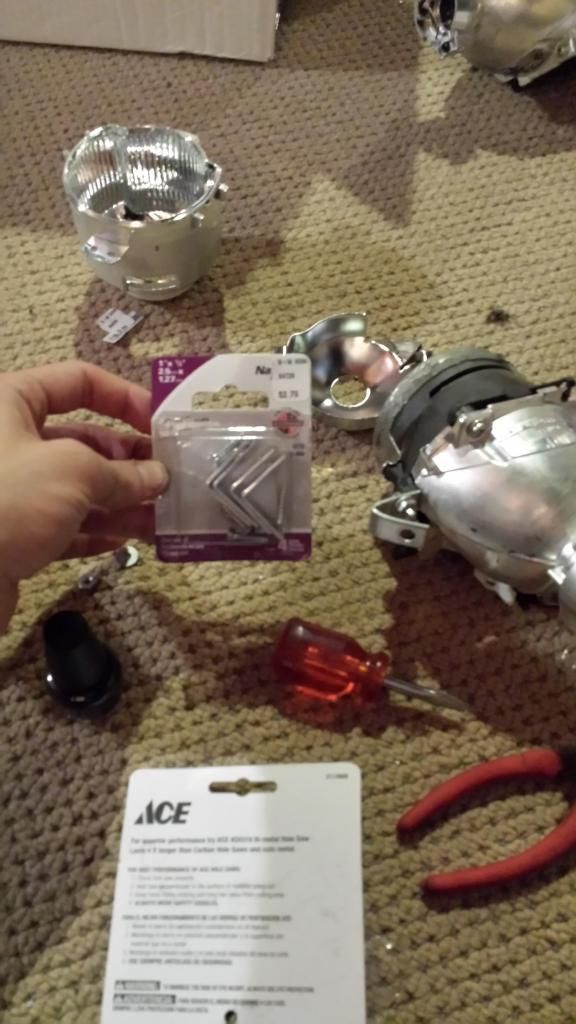 worked really well actually until I went to put the shrouds on...
So, this is how I had to drive back...
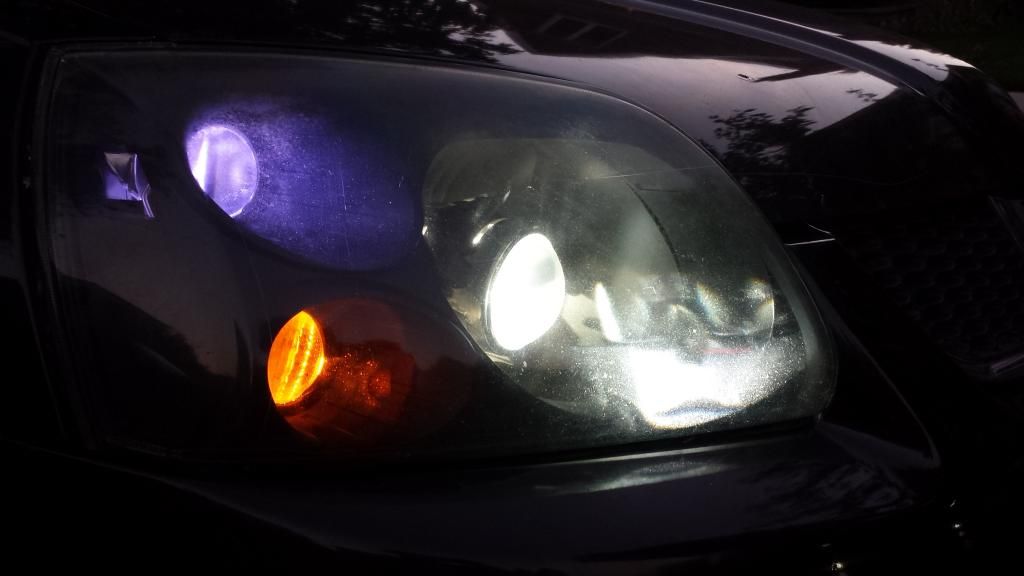
haha.
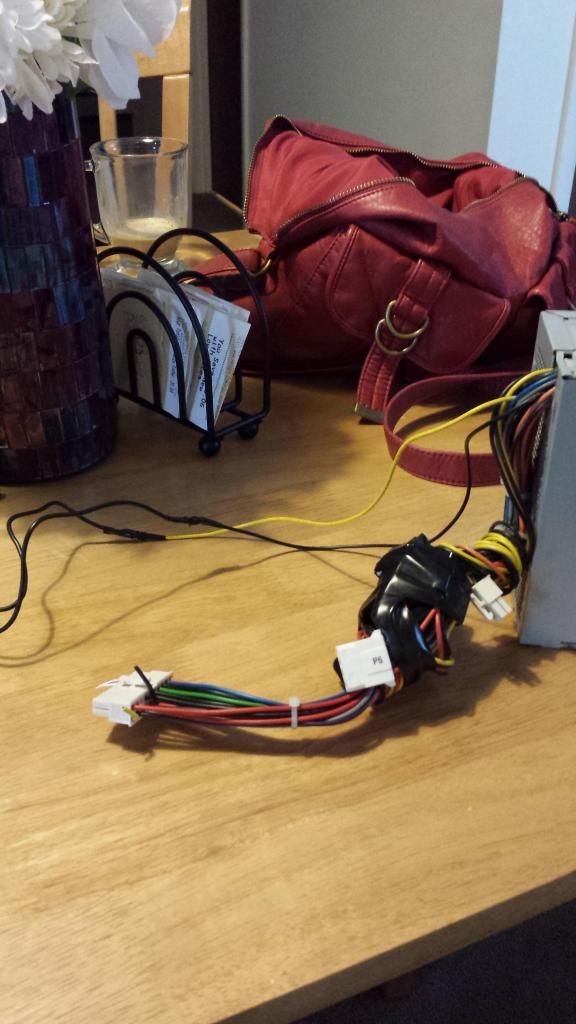
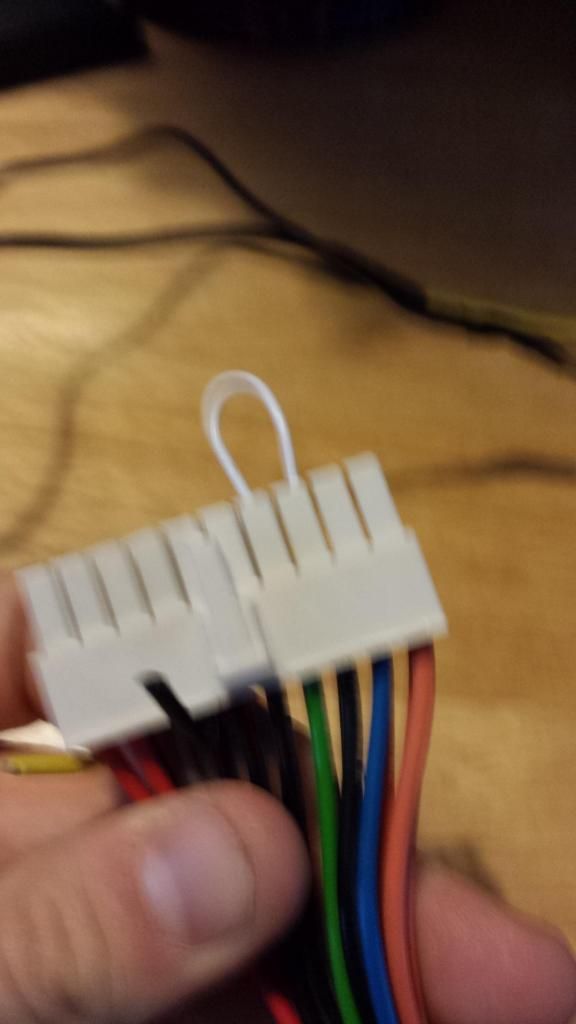
When I found more time back at school, I got back to it. First I realized how necessary an indoor power source for the ballasts is. So I went and made one from a old PC power supply, thanks to a how-to I found on this site :)
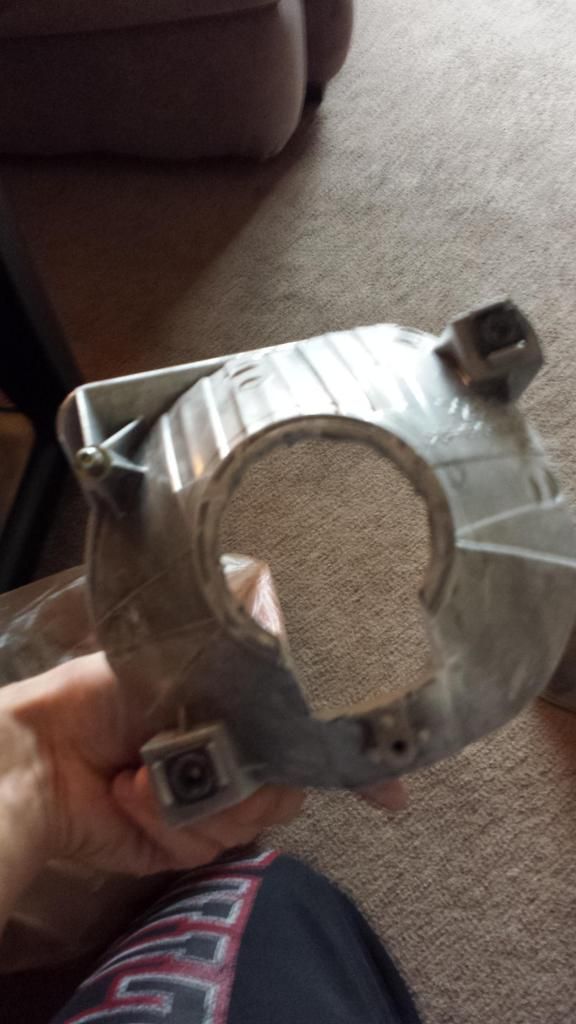
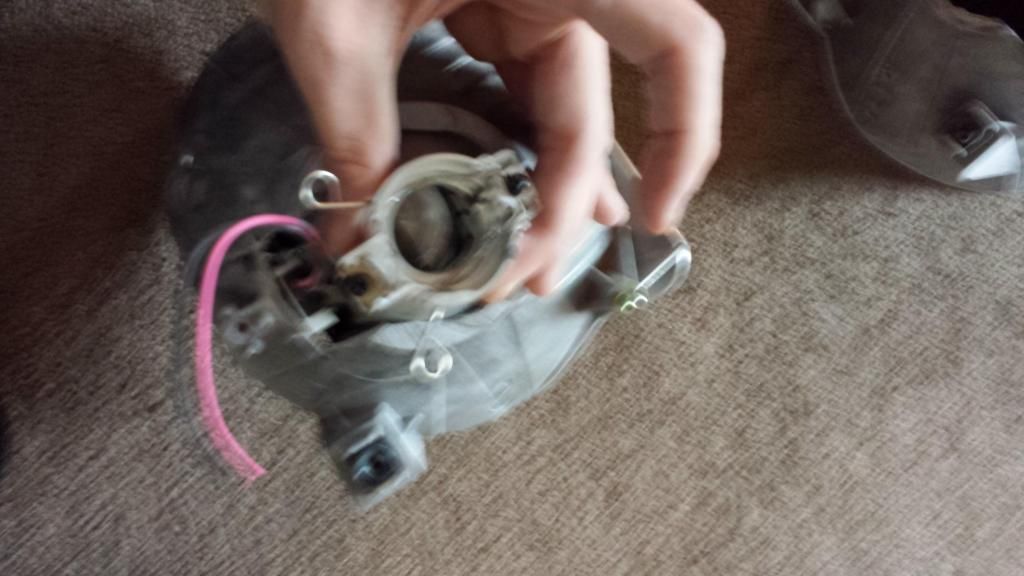
Next, I had to strip pretty much all the painting I had done and had to re-dremel the reflector bowls and shrouds.
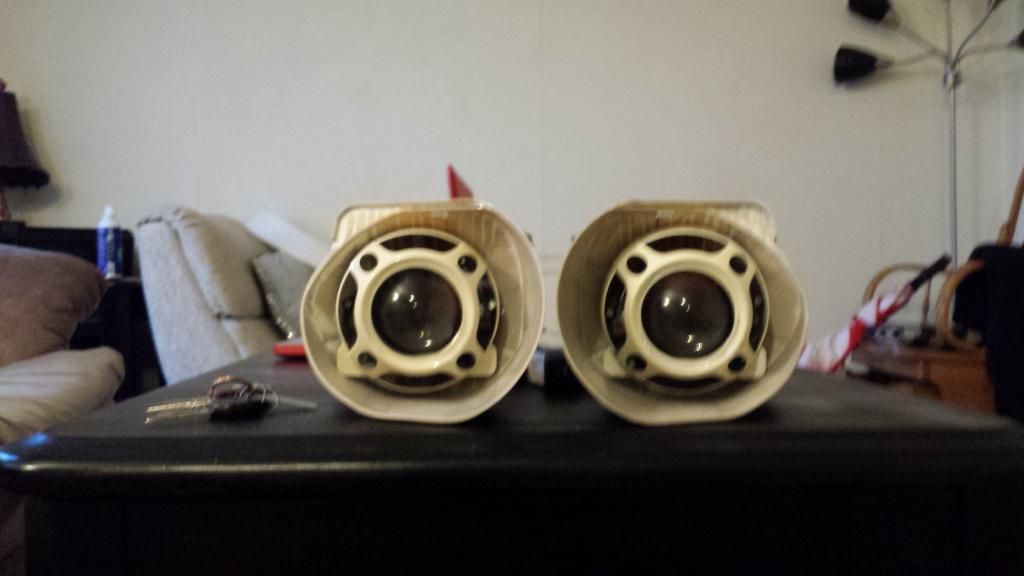
Once I had all the pieces repainted, I started on the wiring portion of the project. If you read earlier, you will remember me saying I am a novice when it comes to this, and as proof here is the comical "wiring diagram" I sent to Soundman98 for questions.
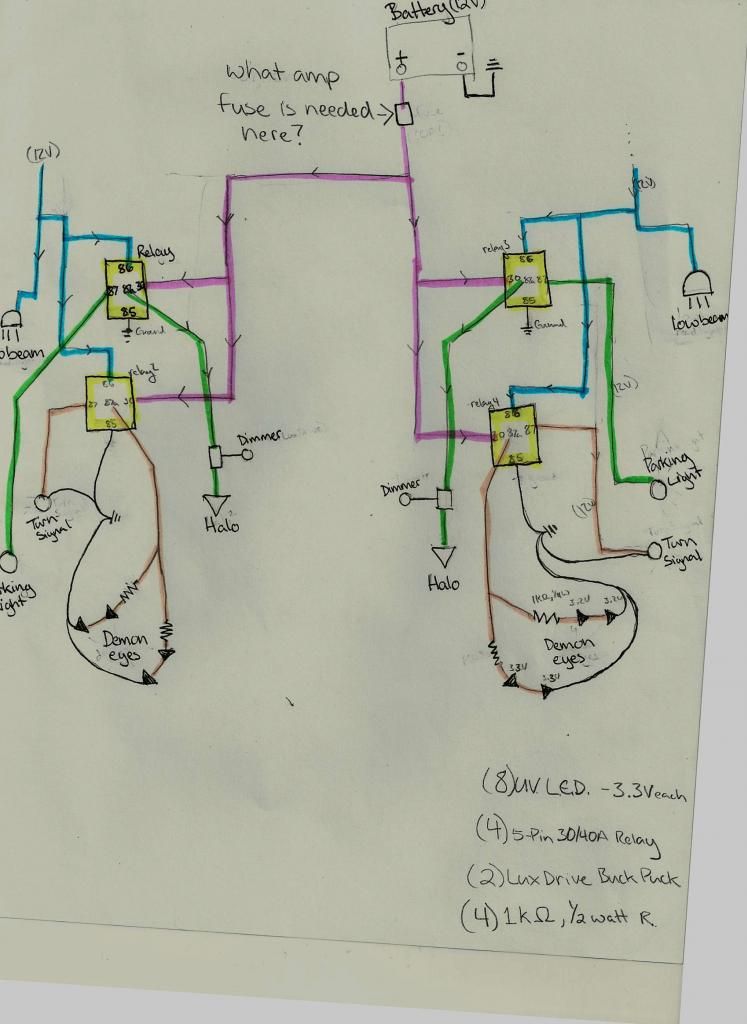 haha looks like a 5 year old's doodle
and the painted parts
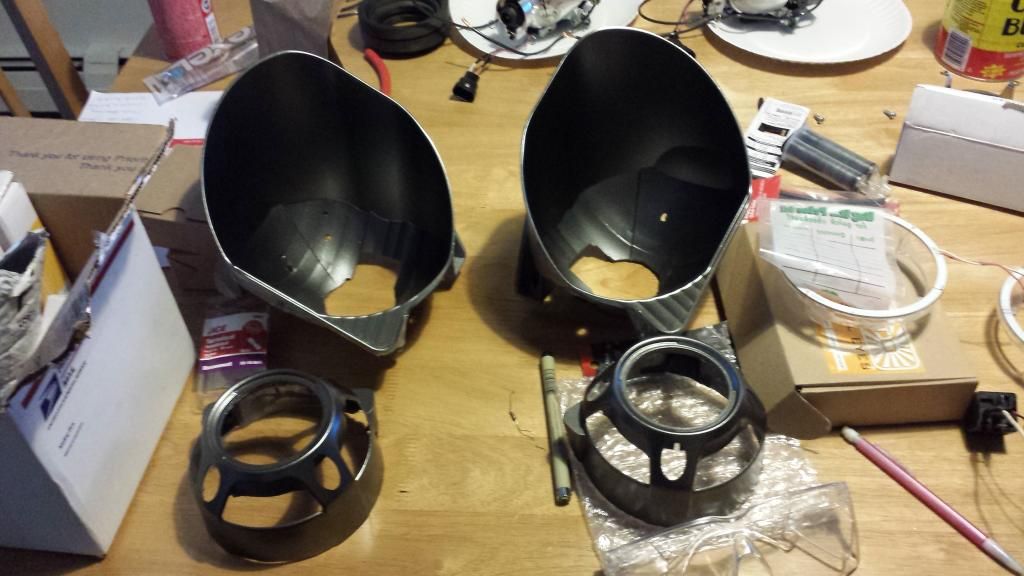
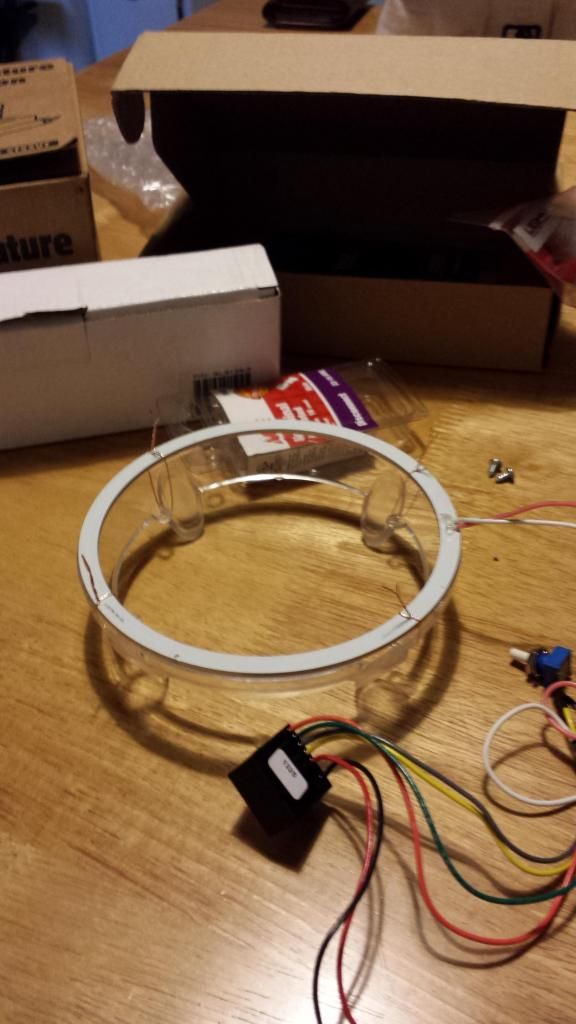
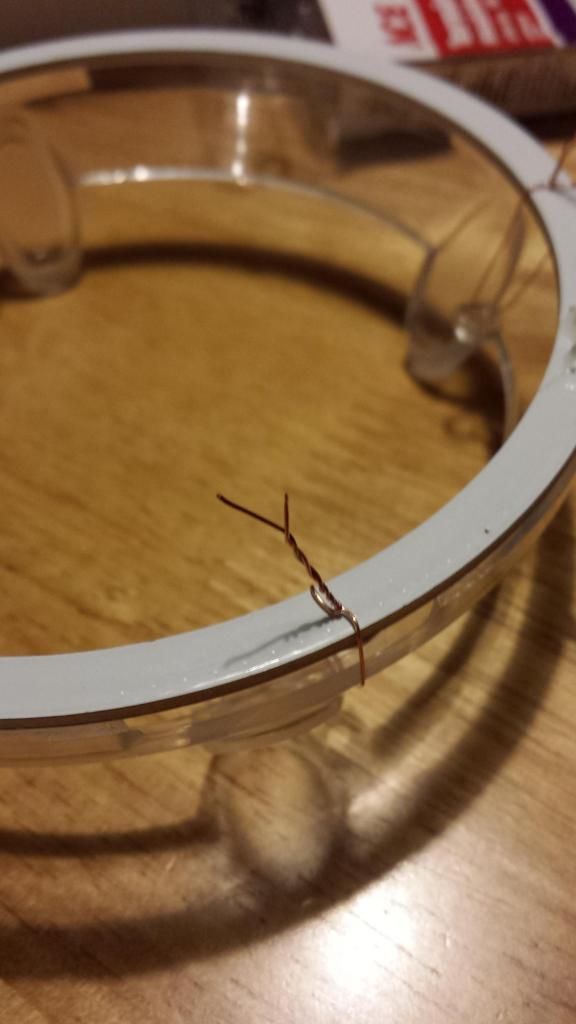
The first thing I did(because it was so easy) was mount the halos to the clear rings from the panamera shrouds using single strands pulled out of 12G wire.
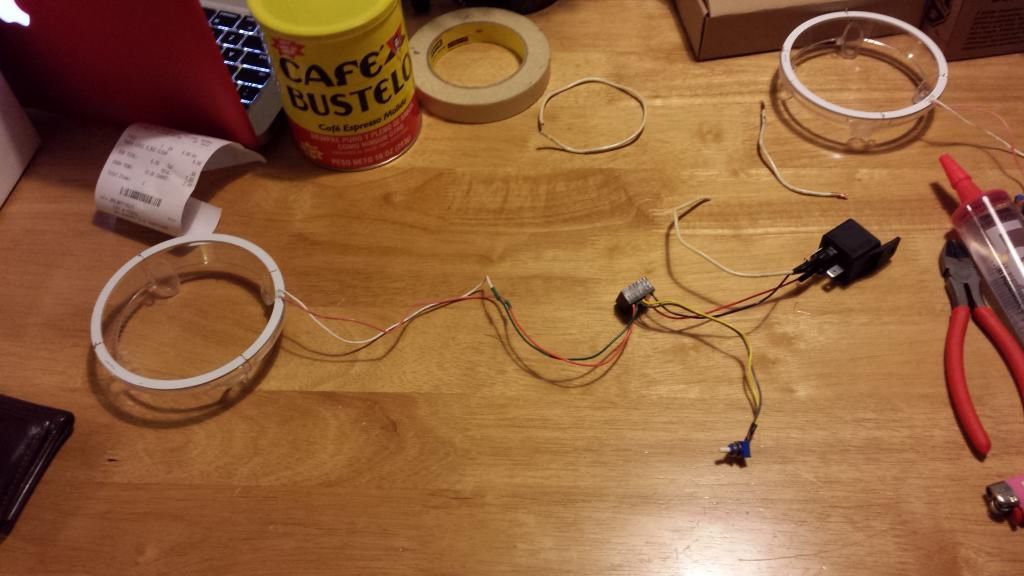
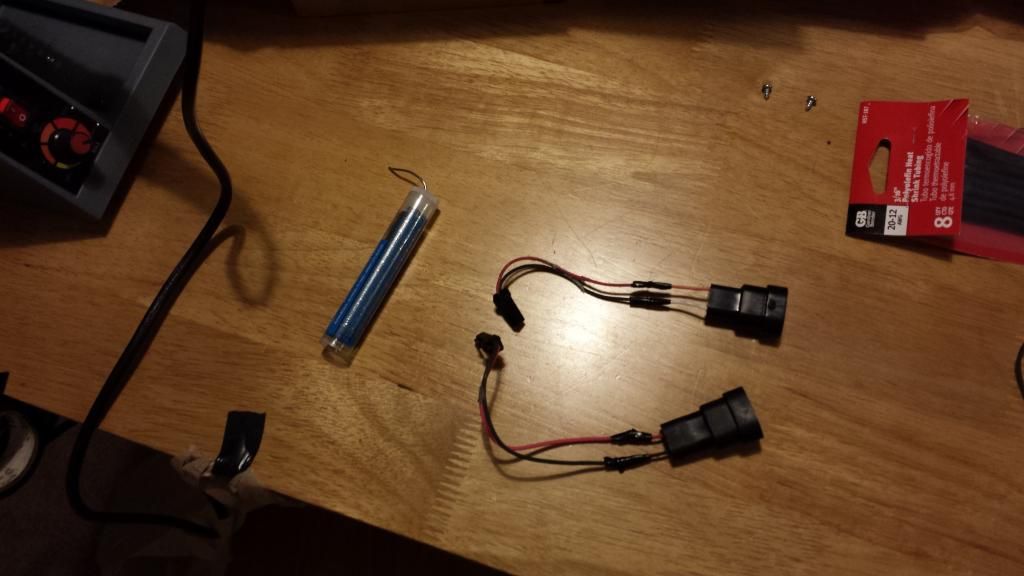
Then, I tested my soldering skills on some spare parts I combined to make the 9006 to bi-xenon solenoid plug.
Once I was finished with that, I started on the demon eyes, heres the first one mounted and wired.
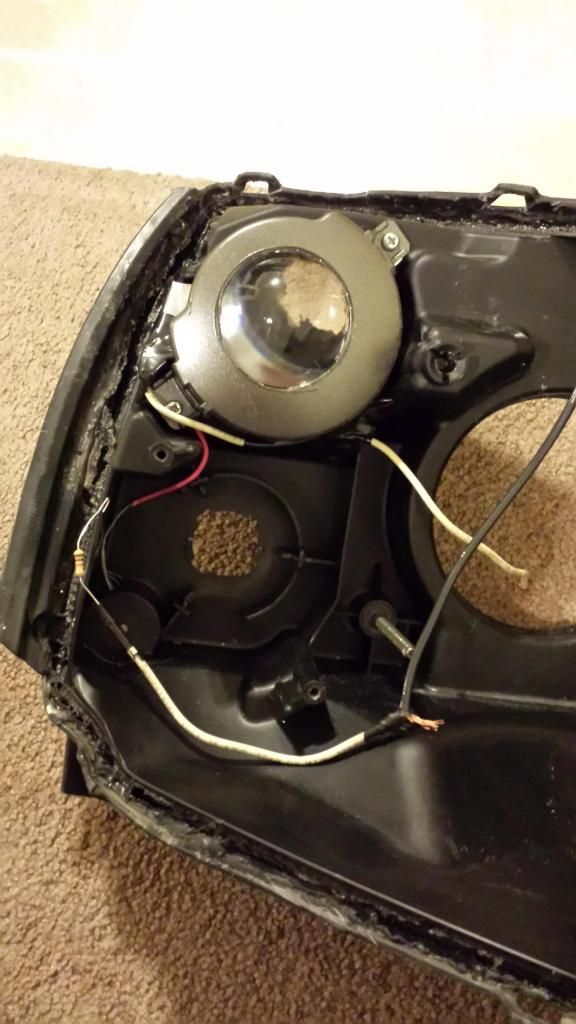
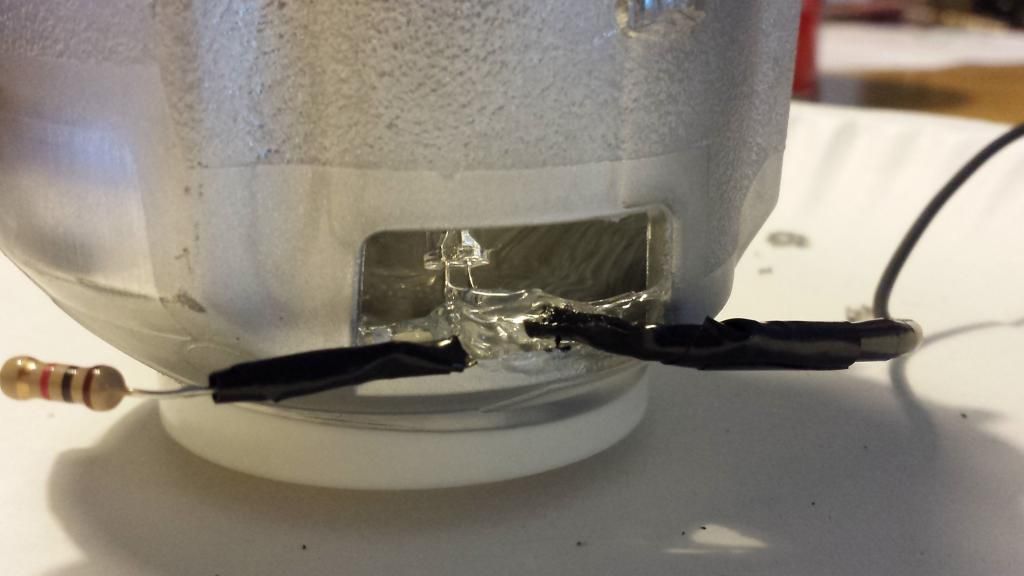
I used Lexel clear caulk. It is the same stuff Soundman98 used in his demon eye retro, worked really well but it was more expensive than I thought it should have been.
First side done
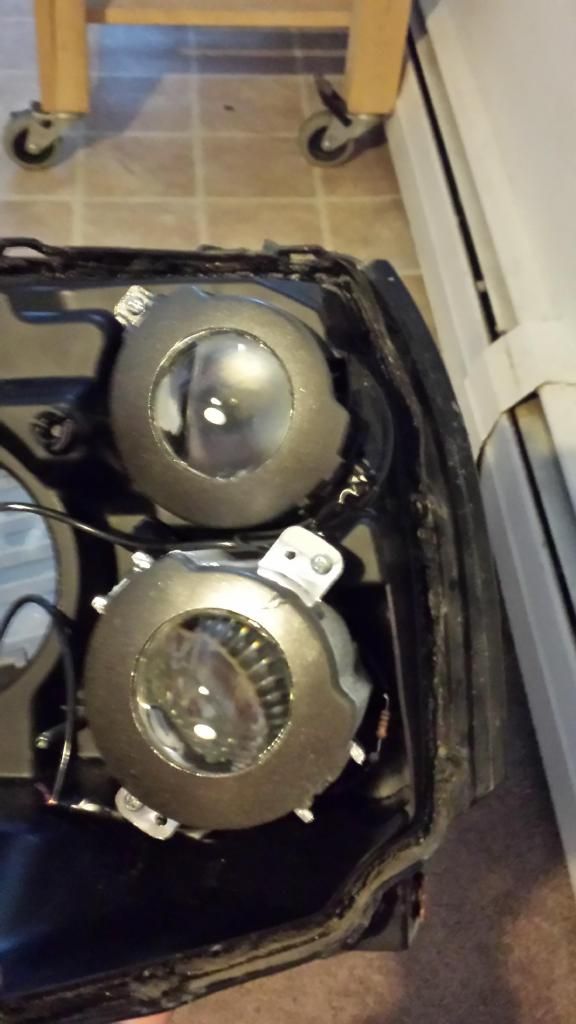
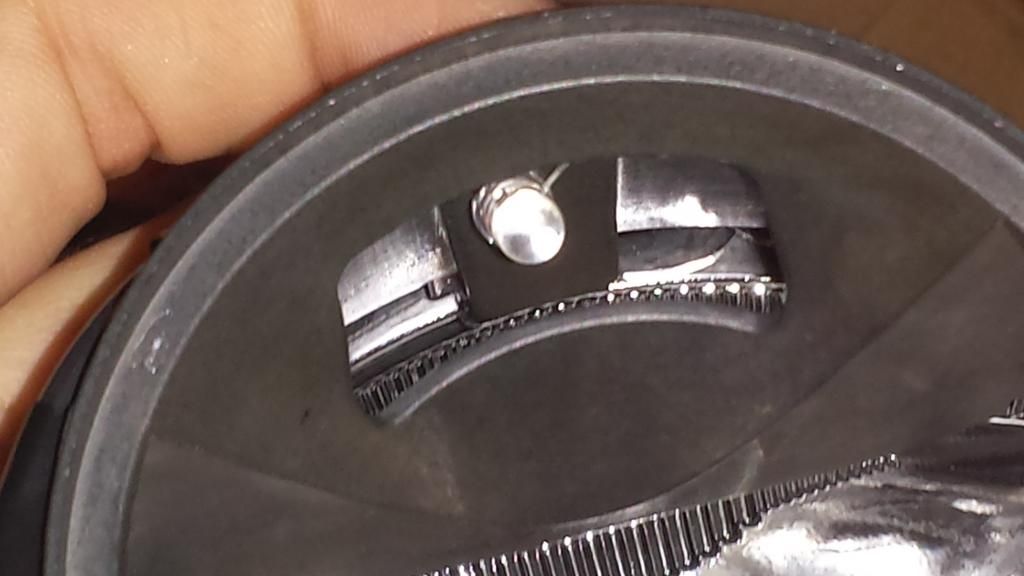
Heres the projectors with the leds mounted, the projectors pretty much came with a space specifically for demon eyes lol.
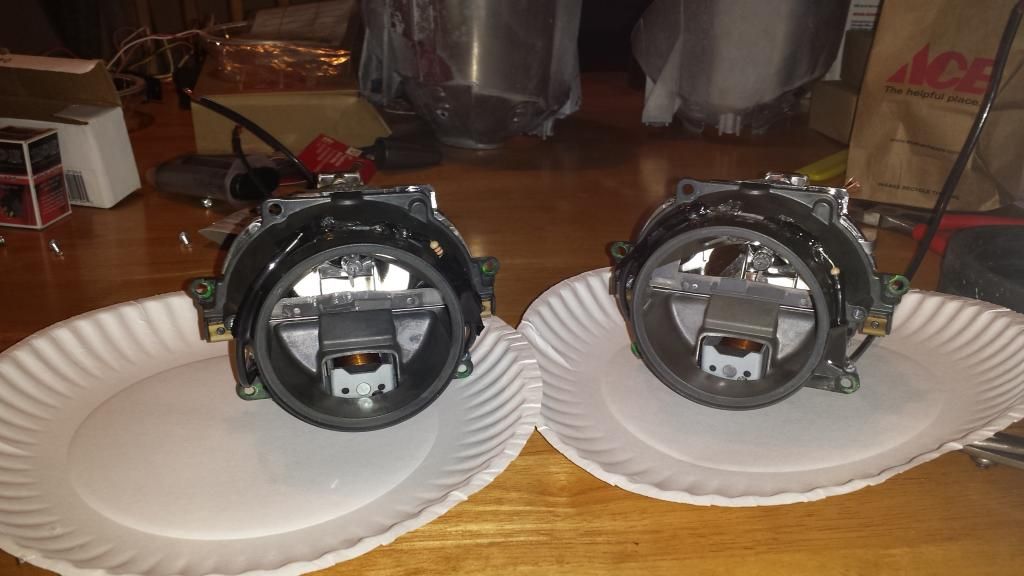
The halos behind the shrouds, when I take them back apart I may lightly night shade the clear part, not because the halos are too much just because the yellow there looks bad to me.
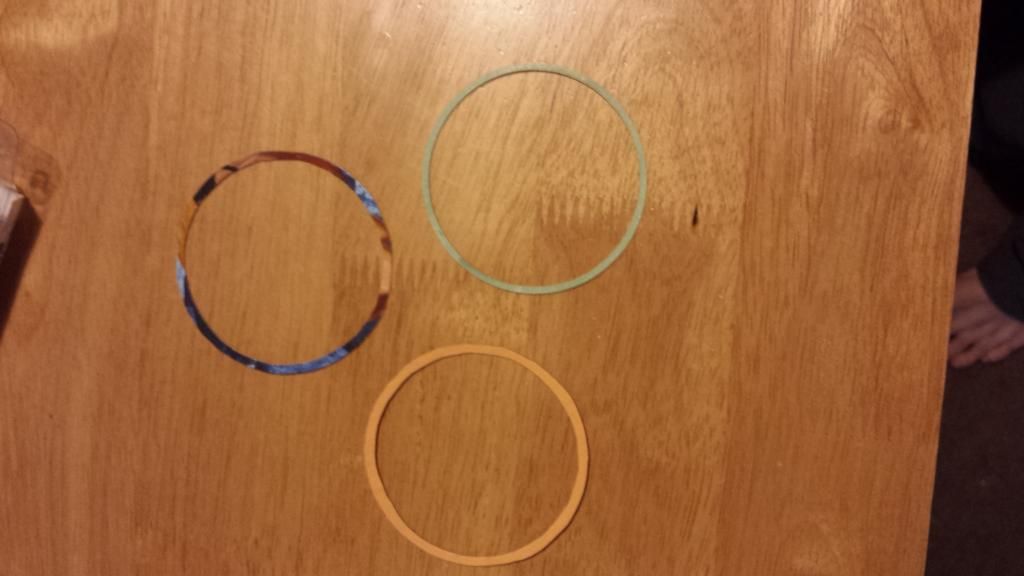
I made some lens spacers from a cereal box then the cover of a notebook by using the oem one as a stencil.
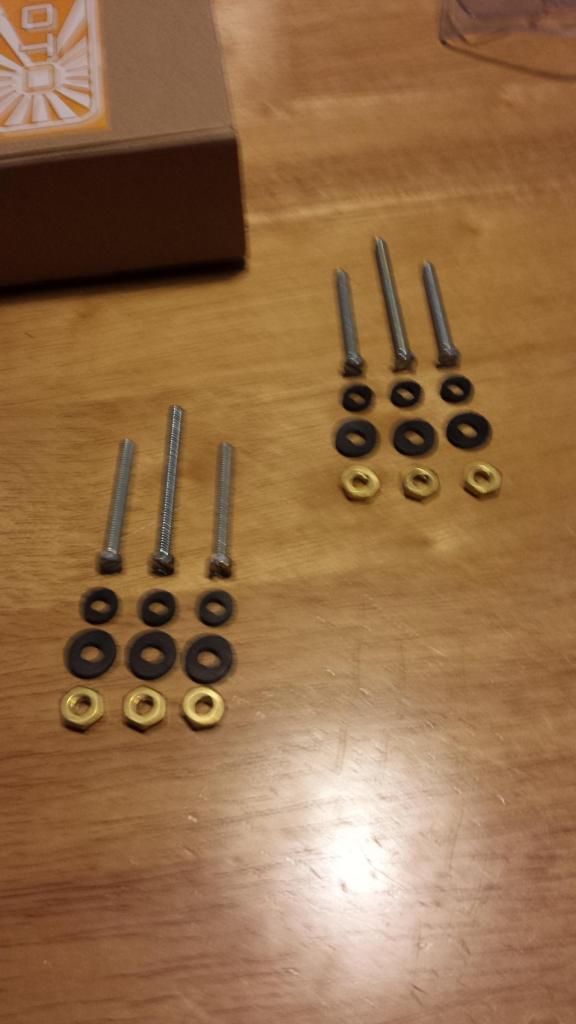
Finally it came time to mount the projectors, in retrospect my measurement process was abysmal. The process was very long and complicated, and although it ended up working, I will definitely use a different method next time. My mounting process however was not bad. I had to figure out how to mount screws to a curved surface, so I bought a series of rubber washers with descending diameters until I found the ones that worked.
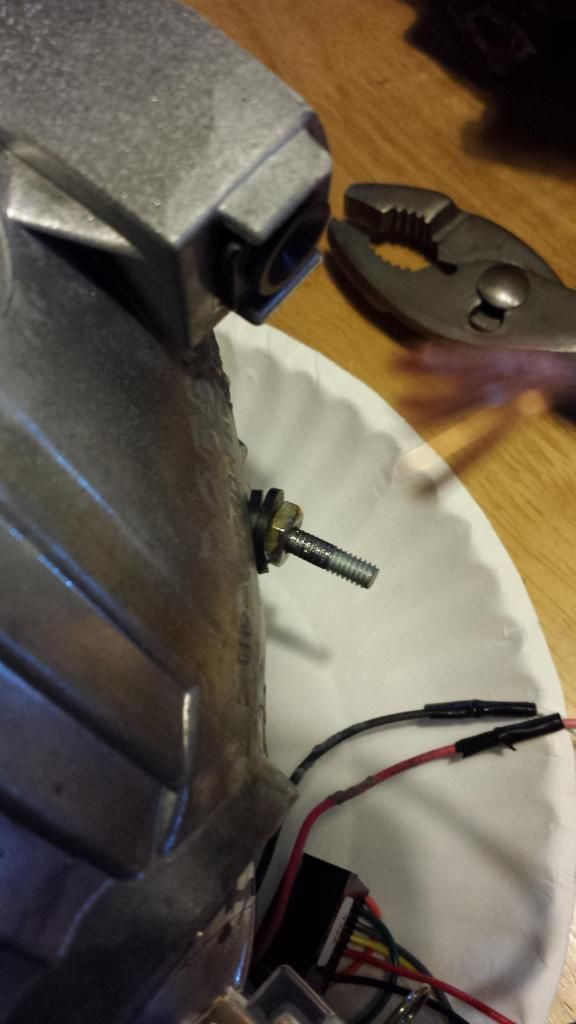
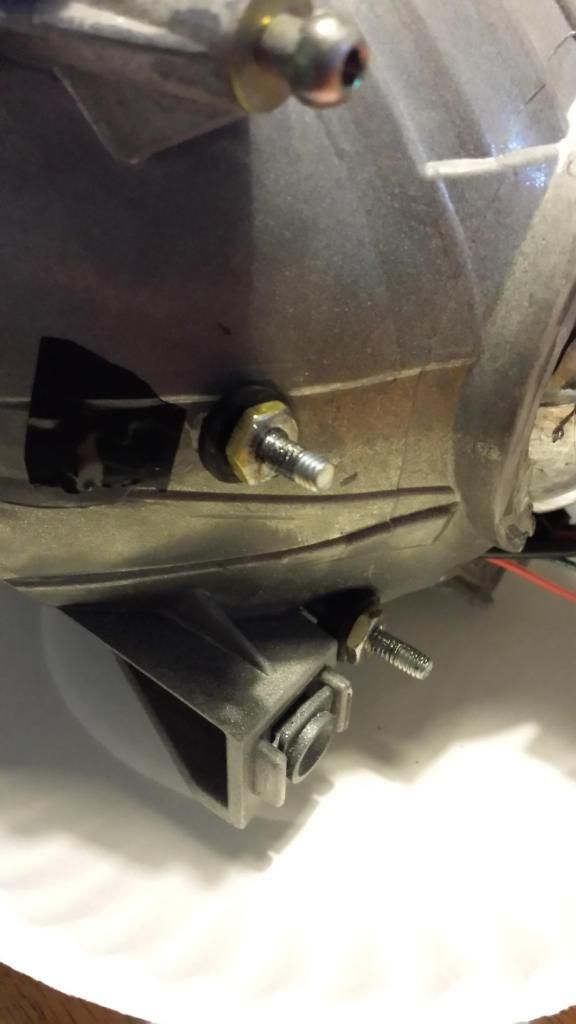
And here they are without the lenses back on!
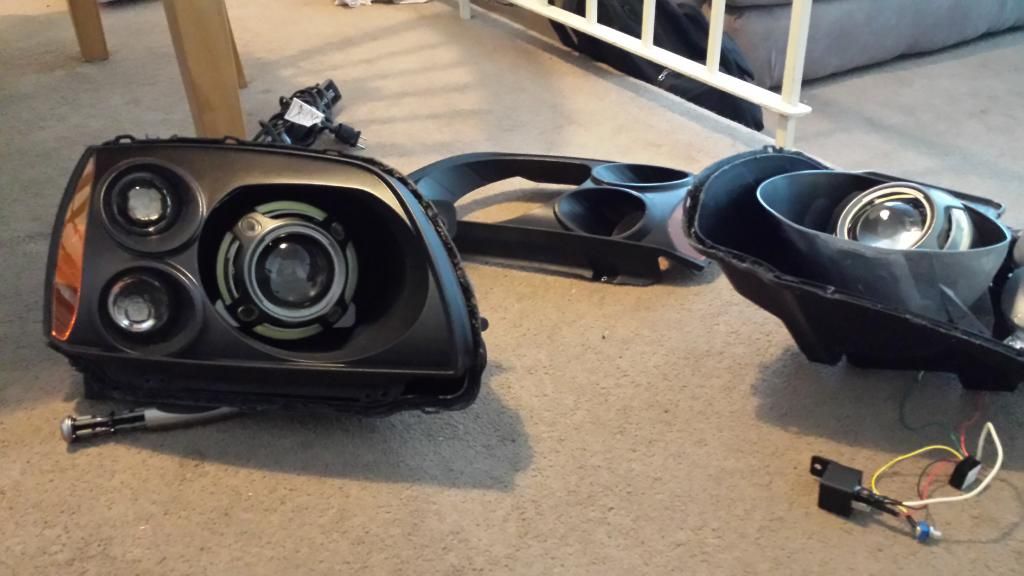
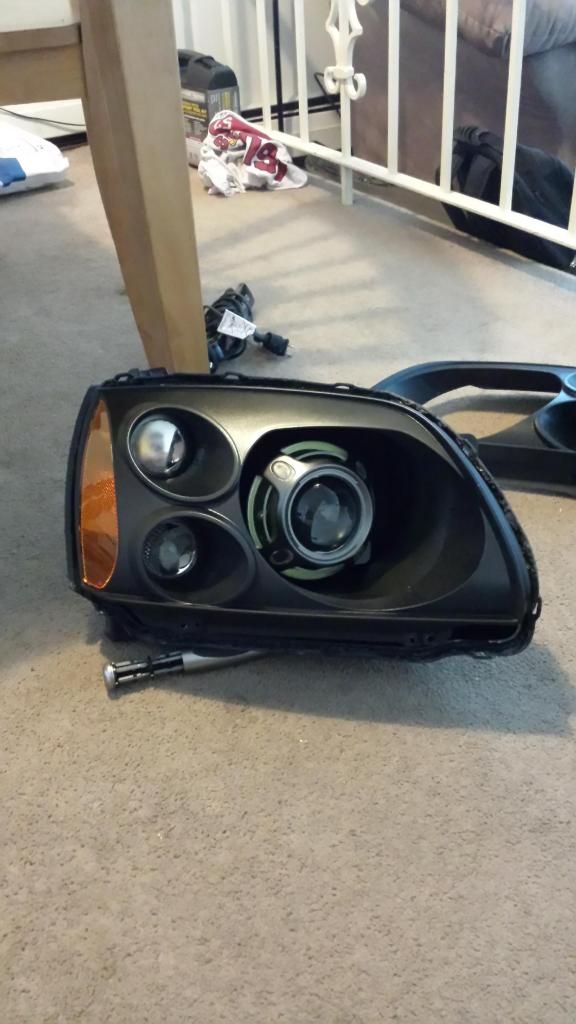
Here with the crap factory lenses making them look half as good
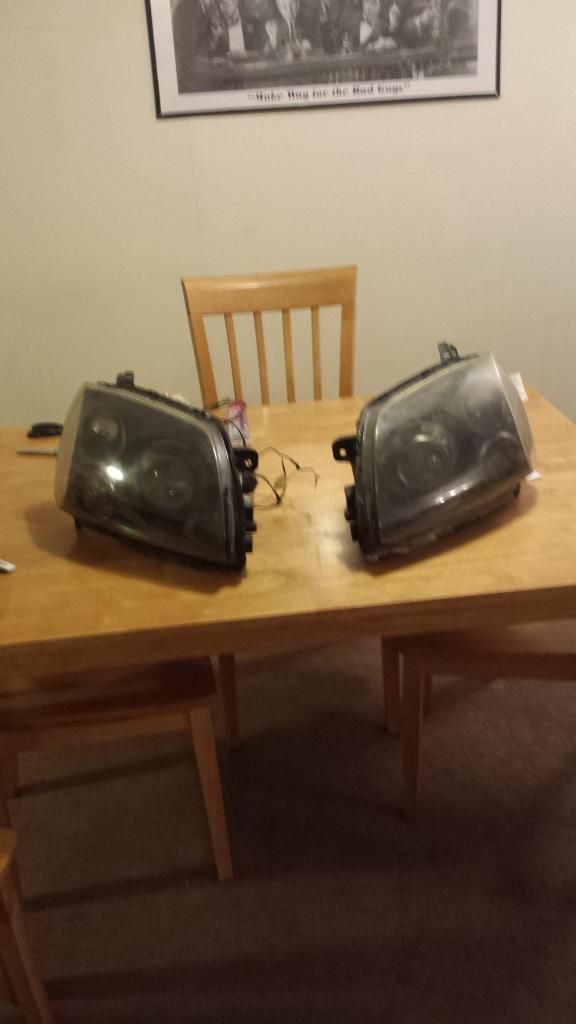
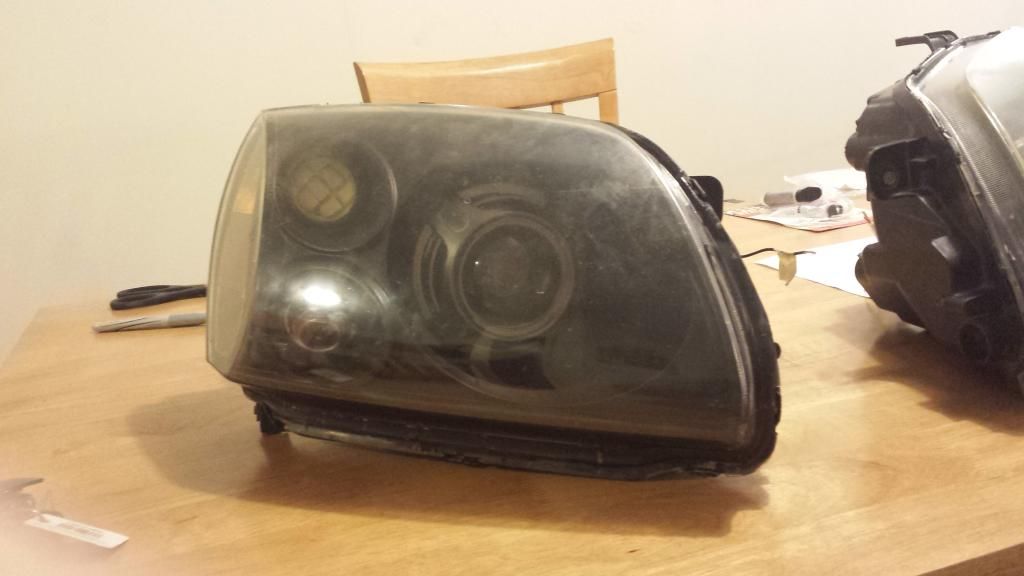
My wiring after they were all sealed up
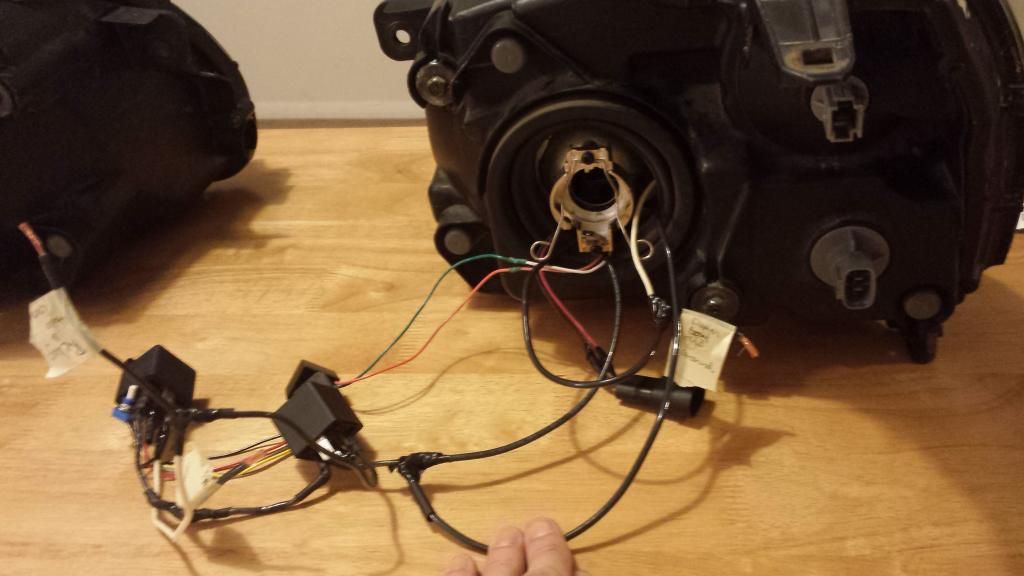
Close up of the halos
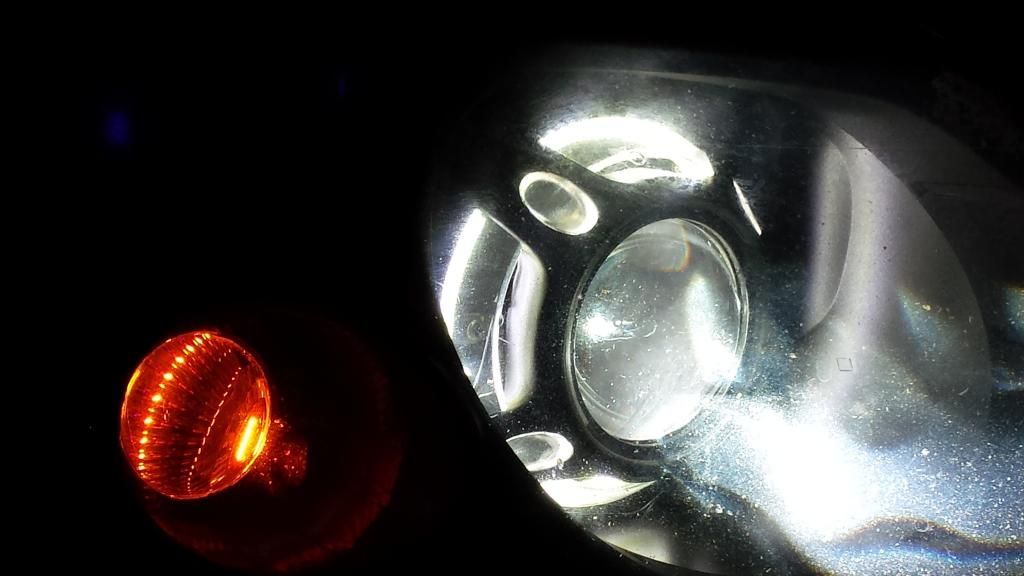
I could not get any far shots, I only have the camera on my phone, and it was either too far or glare, I'll have to dim them and snap some.

And the demon eyes(which turned out even better than I expected)
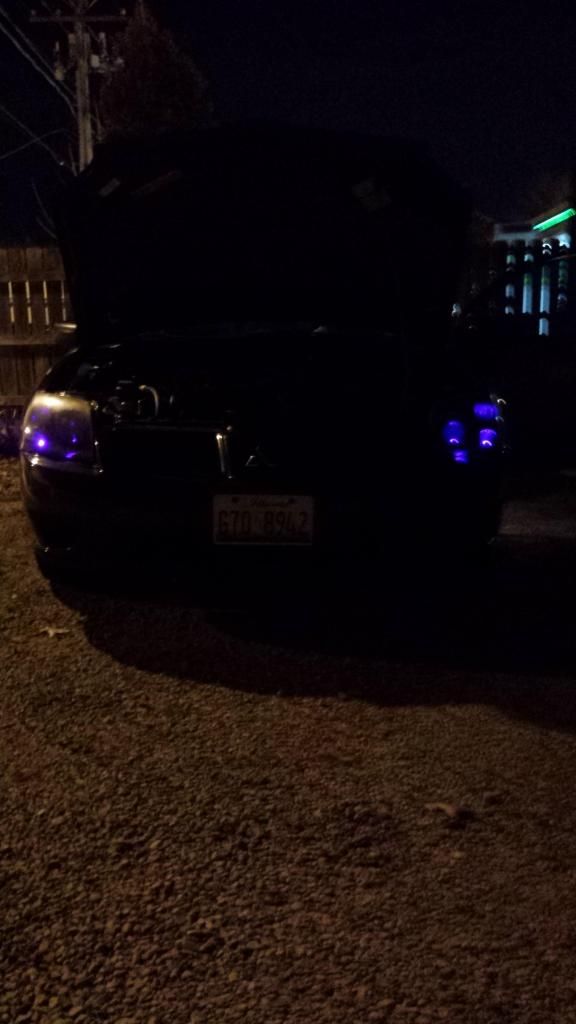
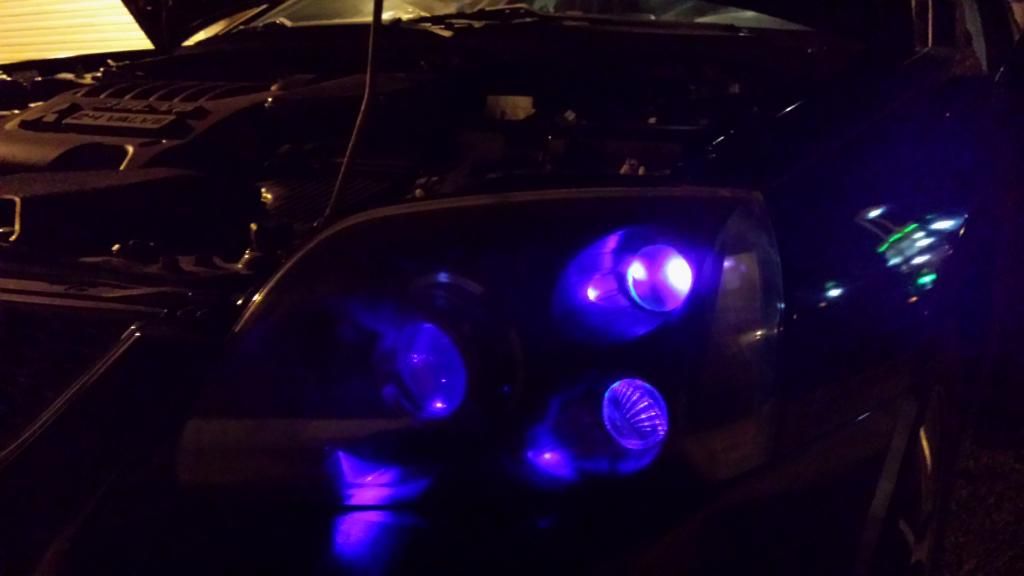
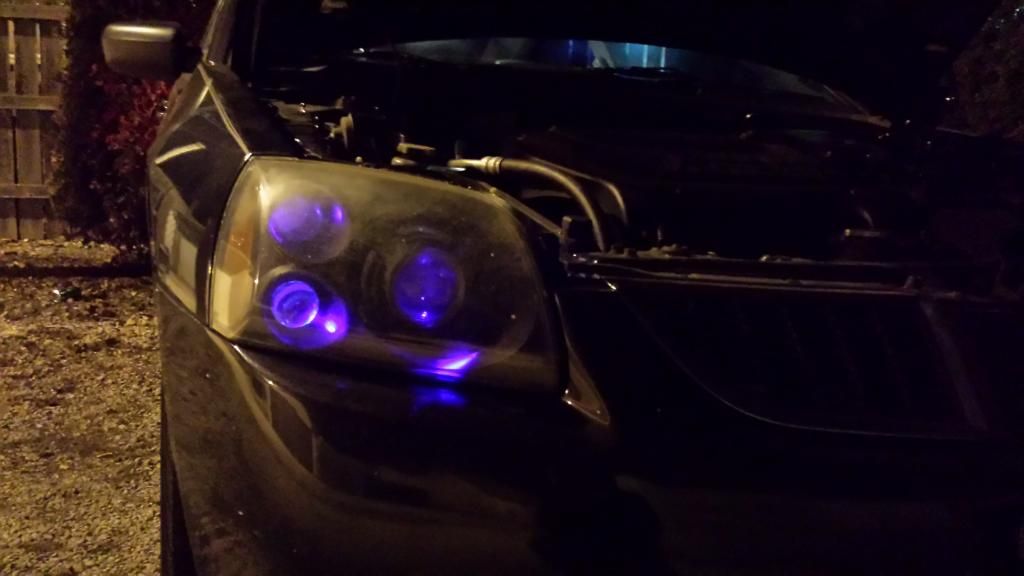
I know I need to get some output shots as well as some halo pictures, and I will as soon as the semester is over in a few weeks.
Anyways, I am pretty satisfied with the results, the output is muchhh better than the OEM. The halos look awesome in the panamera shrouds, and the demon eyes I do have a few questions though. Obviously I intend on upgrading the hid system, what I want to know is will putting better quality bulbs in, say xb35s, improve the lumens output? Or, will it just last longer because of the superior quality?
Thanks for any advise, or comments.
-
In short cuz i'm at work...

Kudos given...
-
^ Ditto
Great work, especially for it being your first time wiring.
Wrap up/protect those wires now and get those lens covers crystal clear and you'll be golden.
-
This is excellent work! Very detailed write up, amazing first post!
IIRC XB35's are brighter as well as quality bulbs, so you should have long-lasting brighter bulbs with them.

-Greg
"I smashed up the grey one, bought me a red;
Every time we hit the parking lot we turn heads!"
-Pimp C, "International Players Anthem"
-
I just remembered there's a member here who will remain nameless, who needs to get it together with his retrofit.....
......Greg!
-
-
Man, I got so much on my plate right now I can't even think about a retrofit. Maybe I can devote some time to it after the wife gives birth. Shoo, I'm putting off maintenance work because I'm so busy.

-Greg
"I smashed up the grey one, bought me a red;
Every time we hit the parking lot we turn heads!"
-Pimp C, "International Players Anthem"
-
Hey guys,
Thanks for all the comments. 2 things, first I didn't realize there was a section specifically designated for 9G modifications, could one of the mods please move it there? Also, if anyone is interested in doing this i would be more than happy to help with any questions either through the forum or even a video chat for more complicated ones. Additionally, arrangements could potentially made for me to do it for you at a cost. But anyways, thanks again for all the positive feedback, as soon as this stupid Chicago weather permits, I will have my lenses cleaned up and some better output shots.
-
Looks good. As far as the lenses go, there are different levels of haze. The first step I would( and which i wished I had started with before cleaning mine) try is rubbing compound. It will let you know how bad it is. If it removes some then I would go that route...
Sent from my SPH-L710 using Tapatalk
-
Yea I tried rubbing and polishing compounds and no dice. The lenses are in pretty bad shape, the pictures actually make it look better, or less yellow at least. I see you are from Raleigh, NC, I am considering moving to NC for grad school, how do you like it there? If you don't mind my asking
-
It's great if you can get past the natives not being able to drive in snow...
Sent from my SPH-L710 using Tapatalk
-
NEWBIE

 Posting Rules
- You may not post new threads
- You may not post replies
- You may not post attachments
- You may not edit your posts
-
Forum Rules


worked really well actually until I went to put the shrouds on...

haha looks like a 5 year old's doodle


Bookmarks