 Log in
 Register


 Reply With Quote
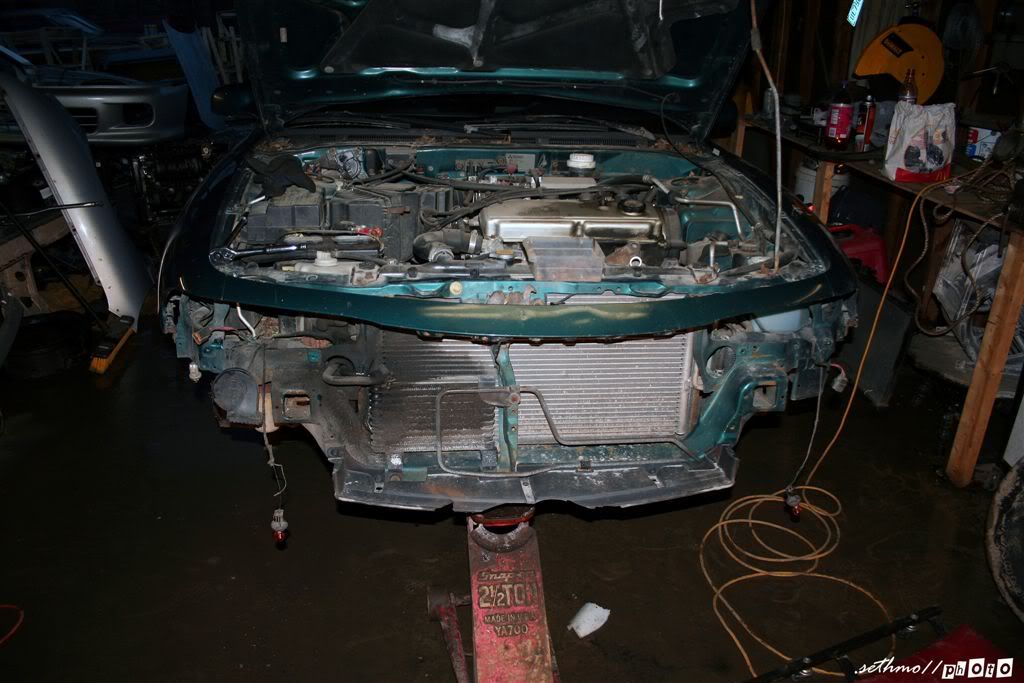
3/8/2008
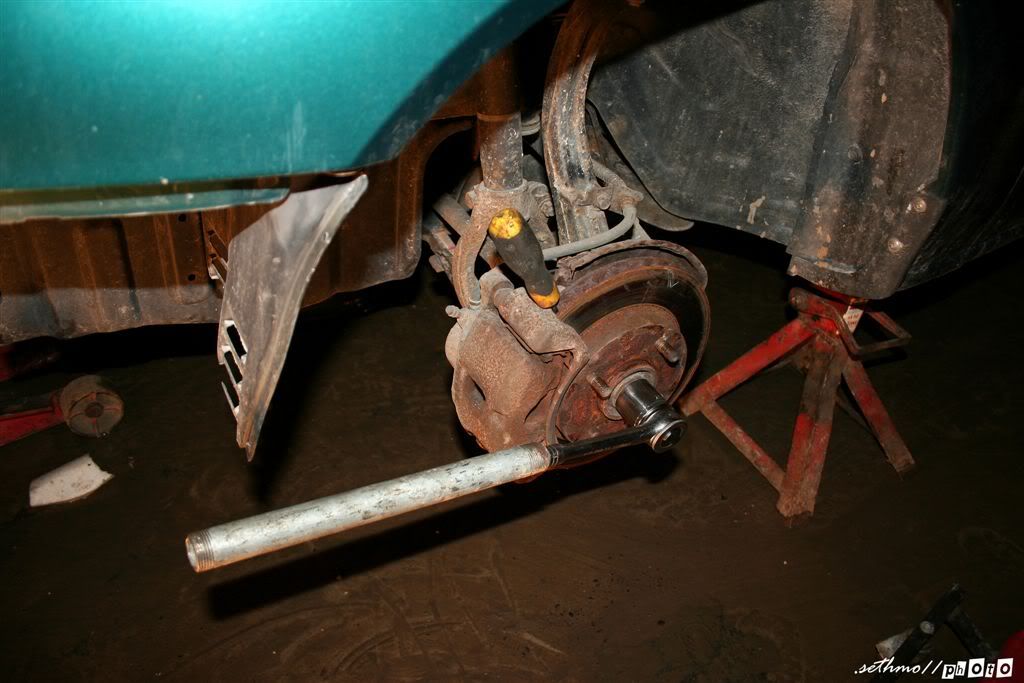
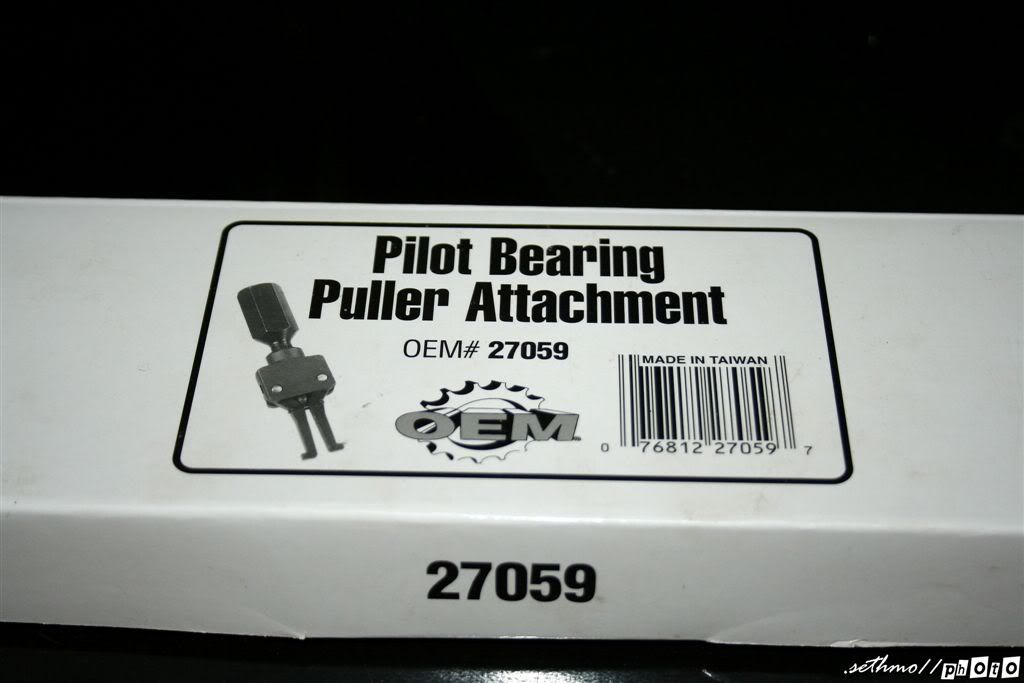
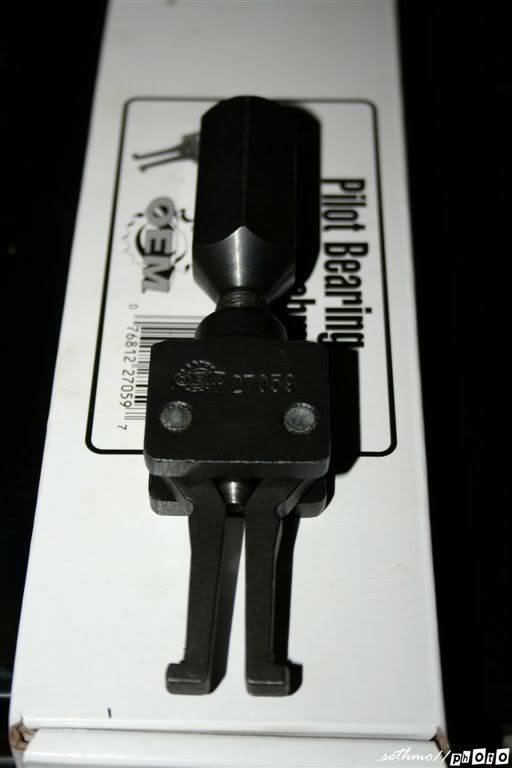
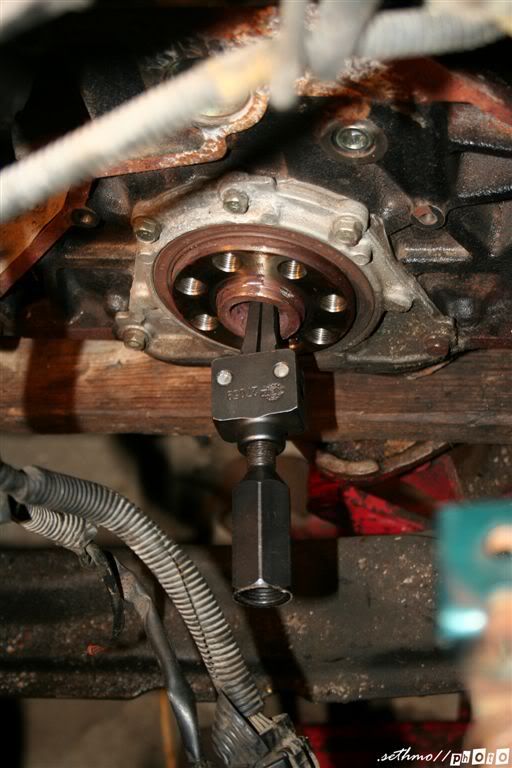
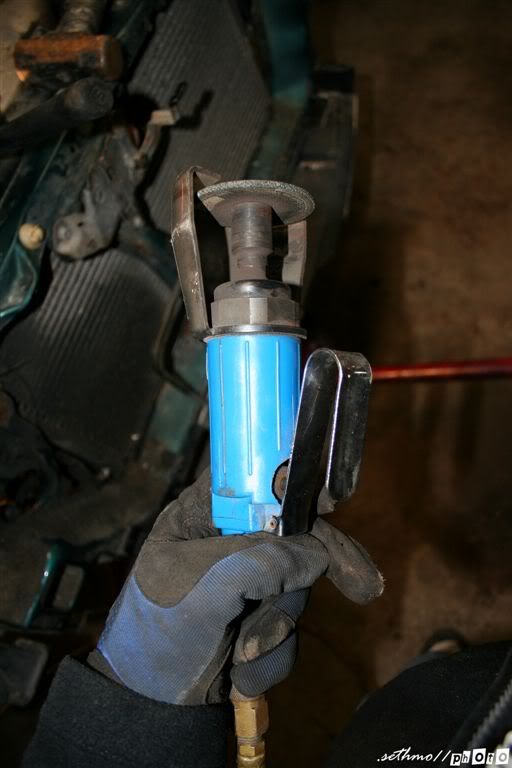
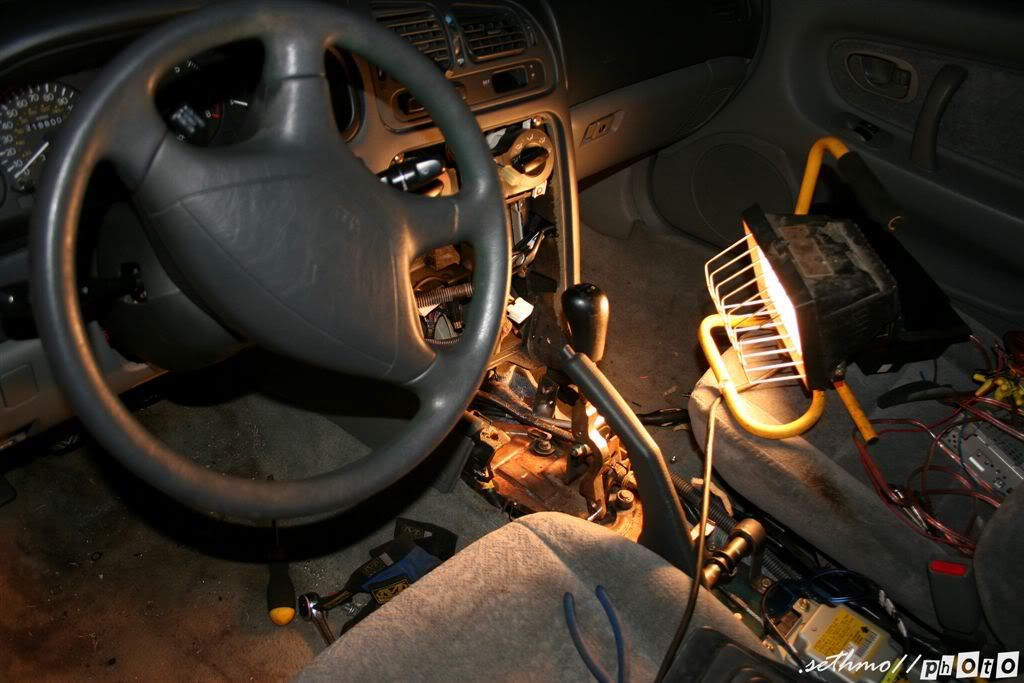
Thought I was starting out smart today, got myself the recommended pilot bearing removal tool ...
But it turned slightly crooked and ...
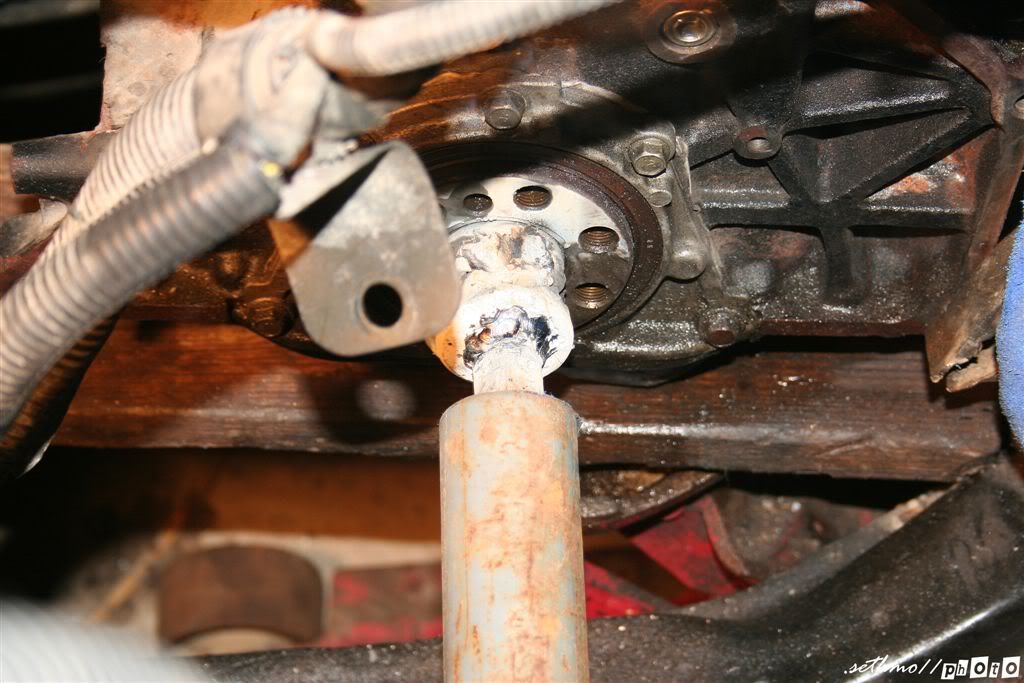
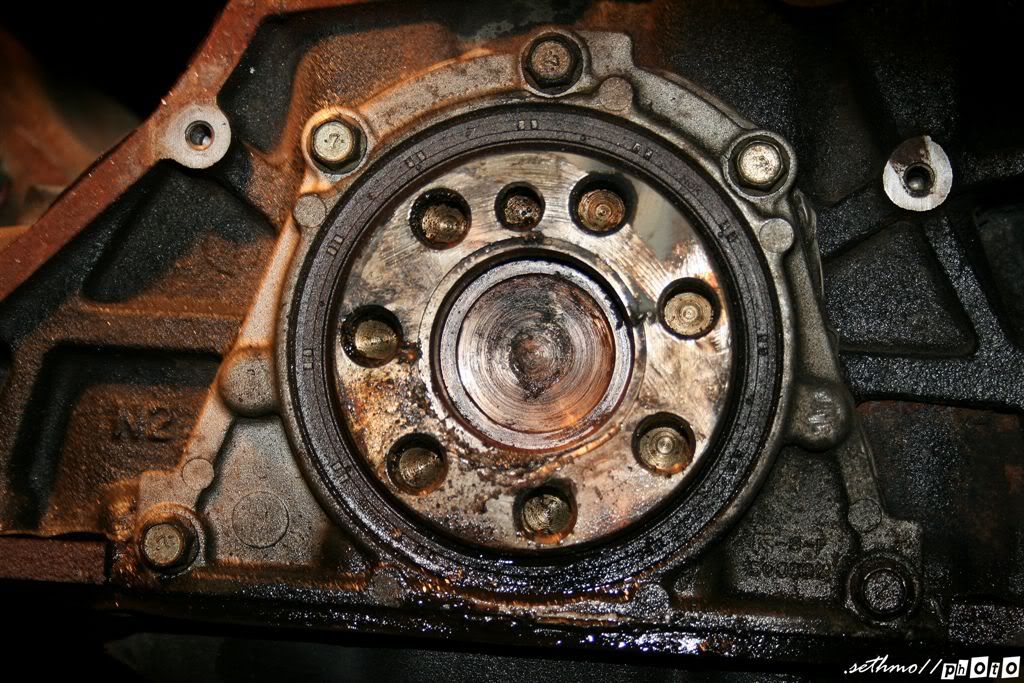
The devil itself resides in this spacer, started cutting it, thought I could jiggle it out with the air hammer I just purchased.
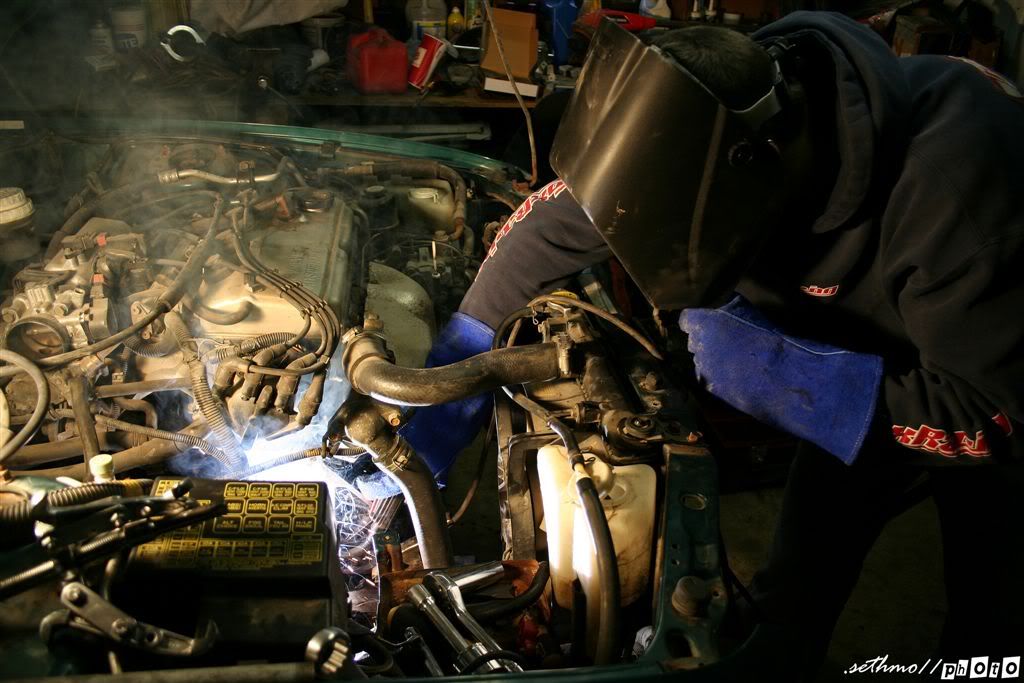
But that didnt work, I just tore up the spacer. I could turn the spacer counter clockwise with the air hammer, but it didnt come out at all. So welding an axle nut to the spacer lolz. Had a wrench on the other end of the crank to hold it in place, but the huge pipe we were using to turn the spacer kept loosening the crank bolt that holds the crank pulley on, so we made a sweet uhhh I dont even know what to call it :p
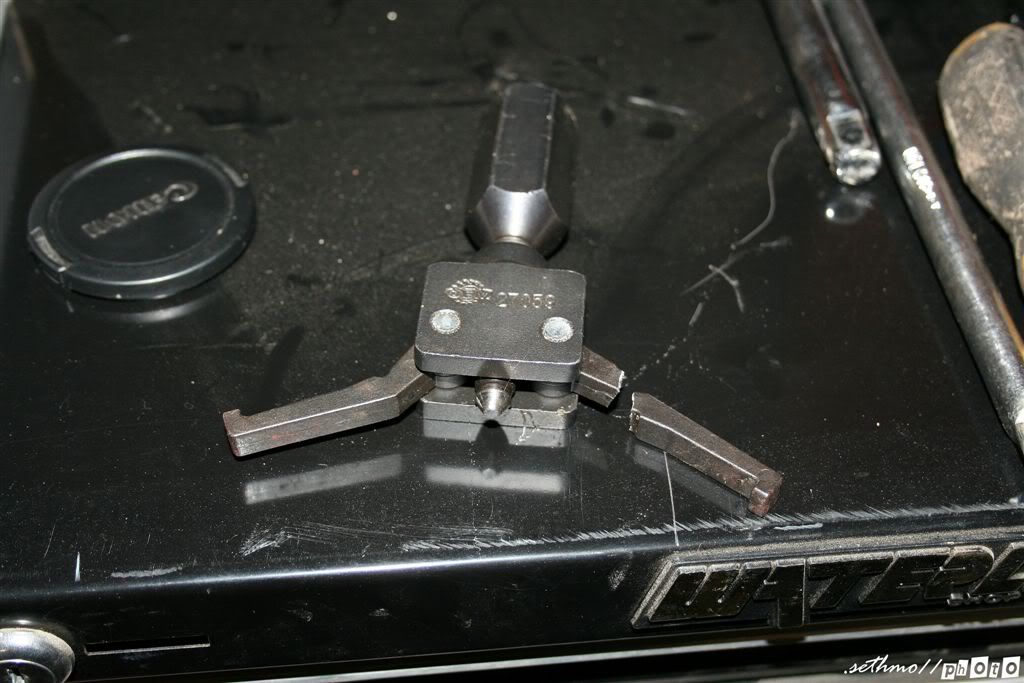
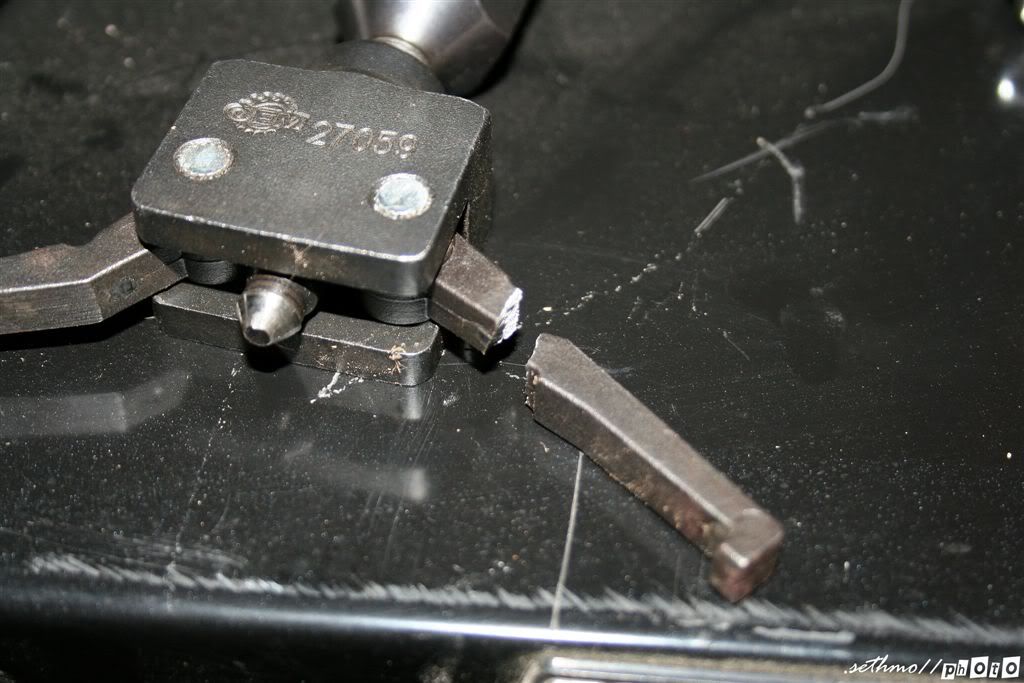
But yeah, we were able to turn the spacer a little but, but again it didnt move out of place, so more welding. We welded and axle washer to the outside of the axle nut so we could use this gear puller to pull the spacer out. But we just broke that puller as well haha.
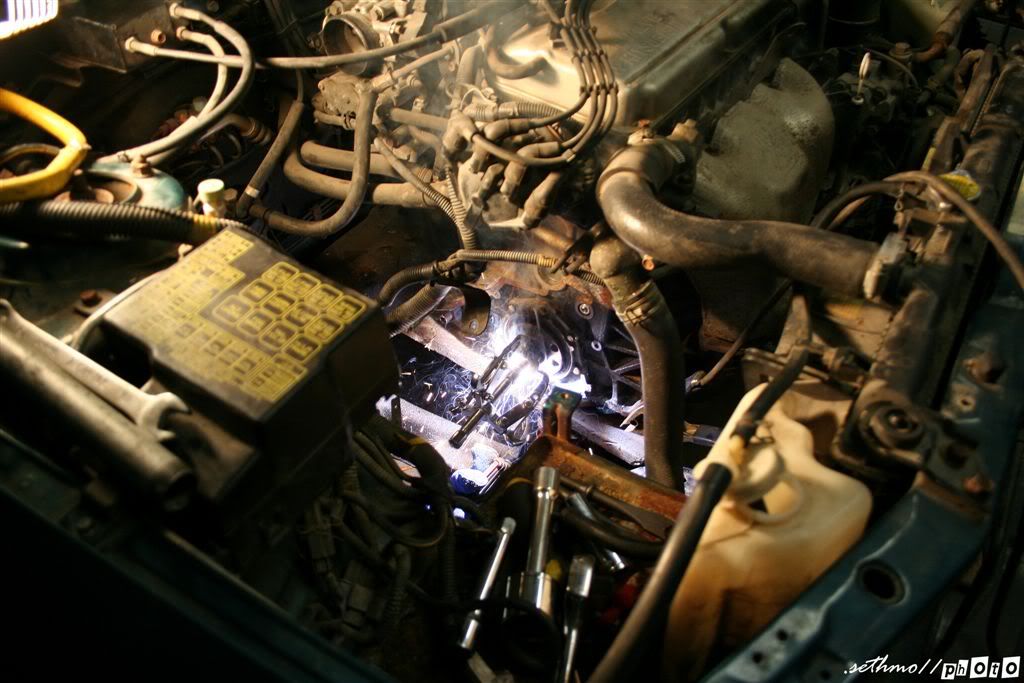
Our last ditch effort, we threaded in a small pipe, welded that pipe to the spacer, welded in a few cracked welds from the last attempt, and used my nice handy dandy pipe to wiggle the spacer out as my friend used the air hammer on the beast.
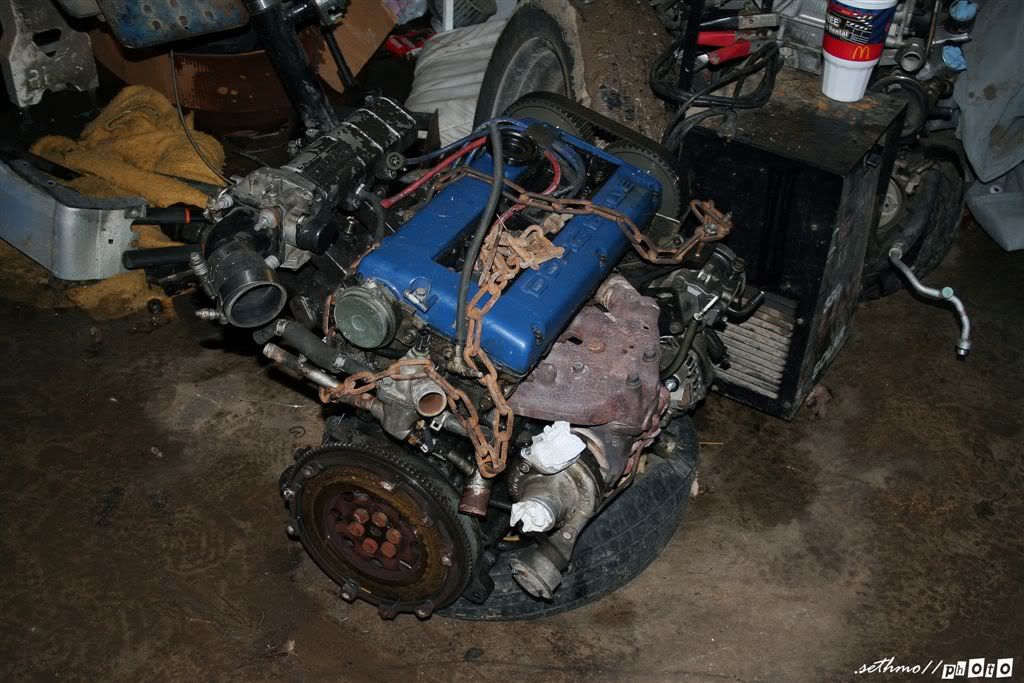
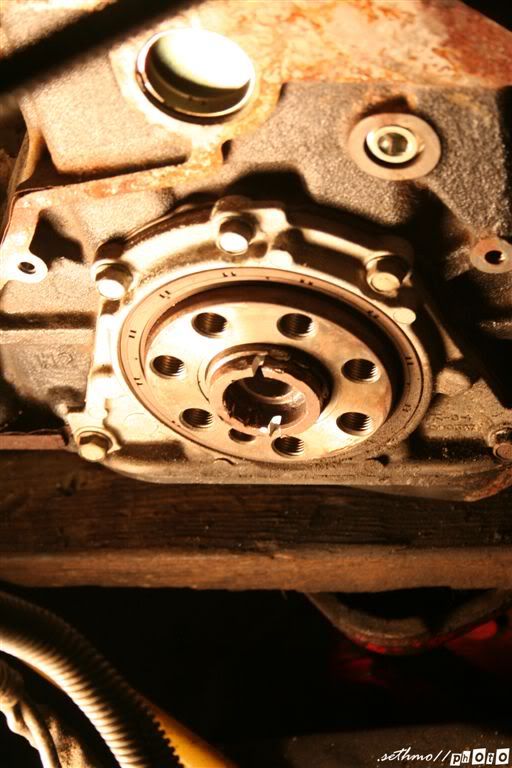
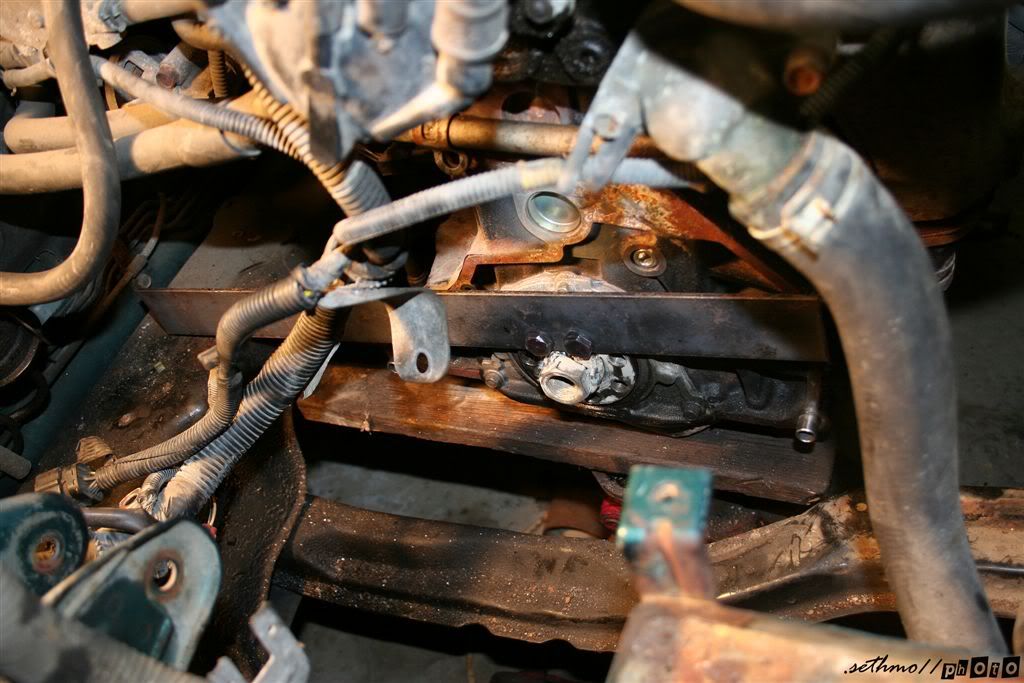
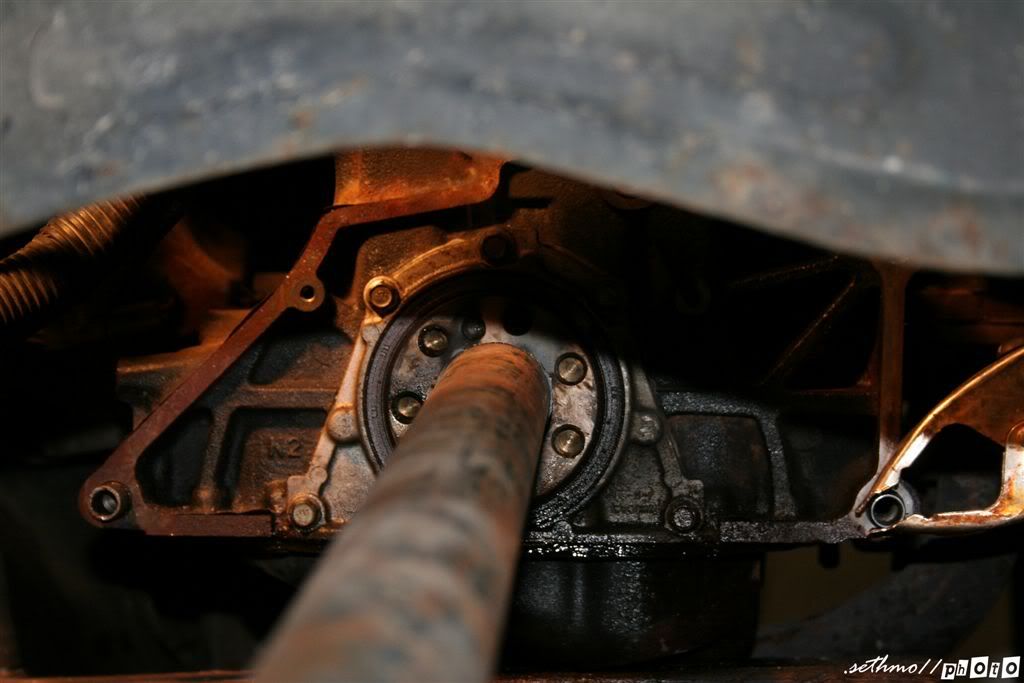
And she is out! Took about 3-4 hours to get that one spacer out, guess after 212k miles, that sucker felt like it was at home.
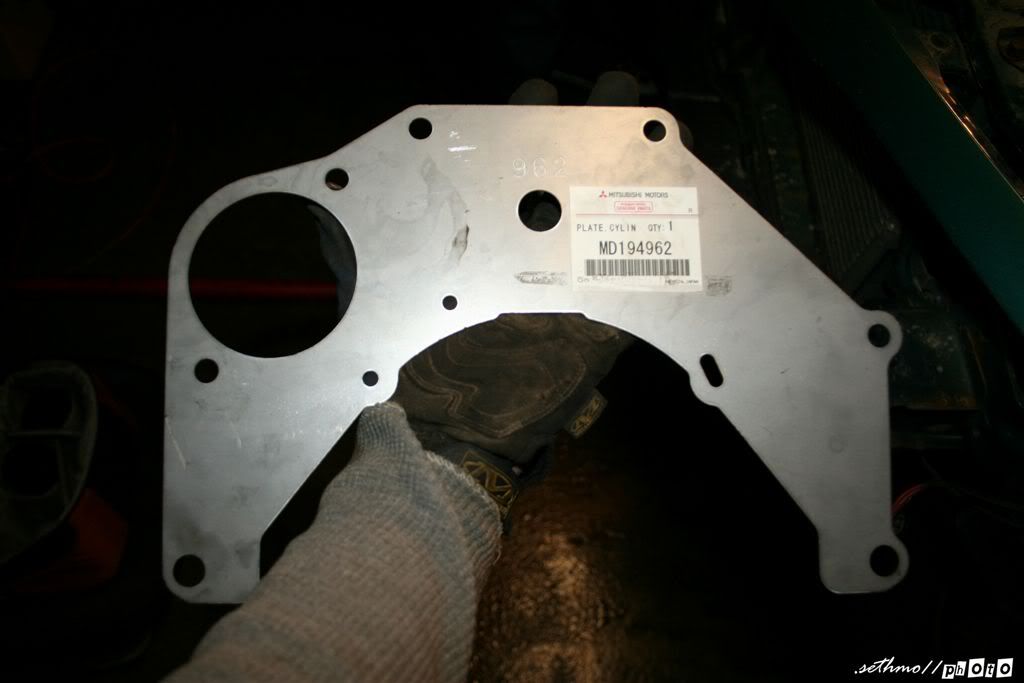
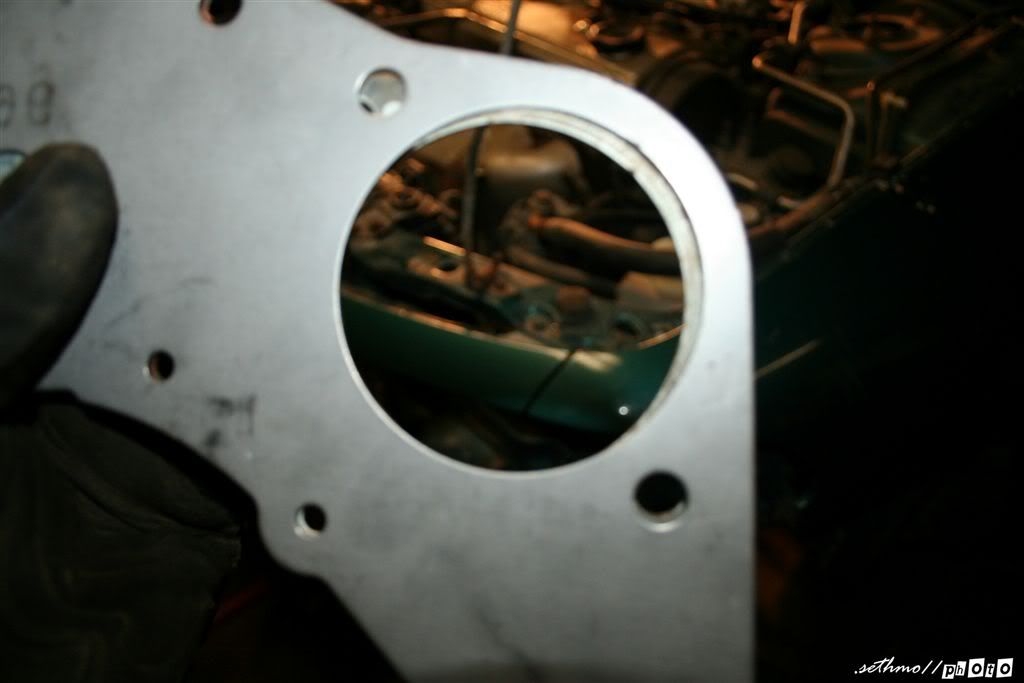
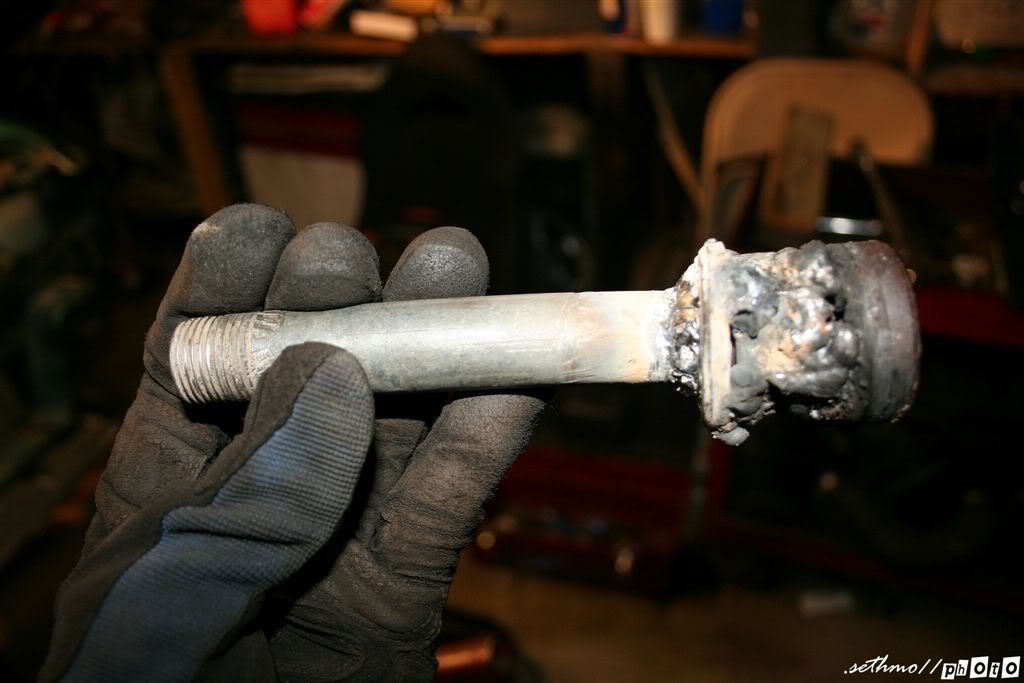
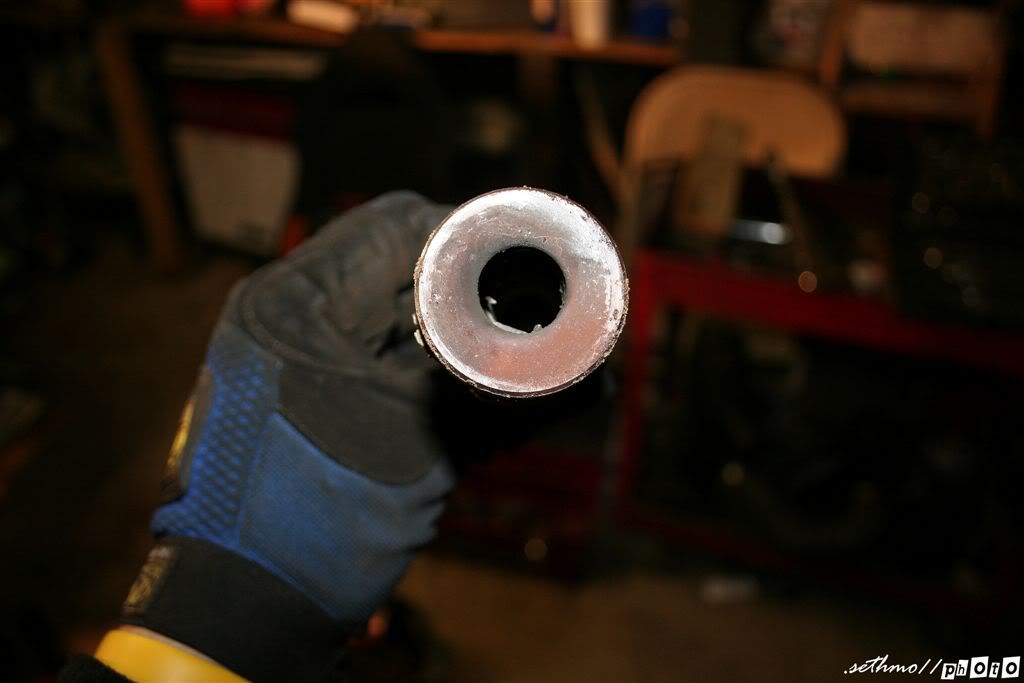
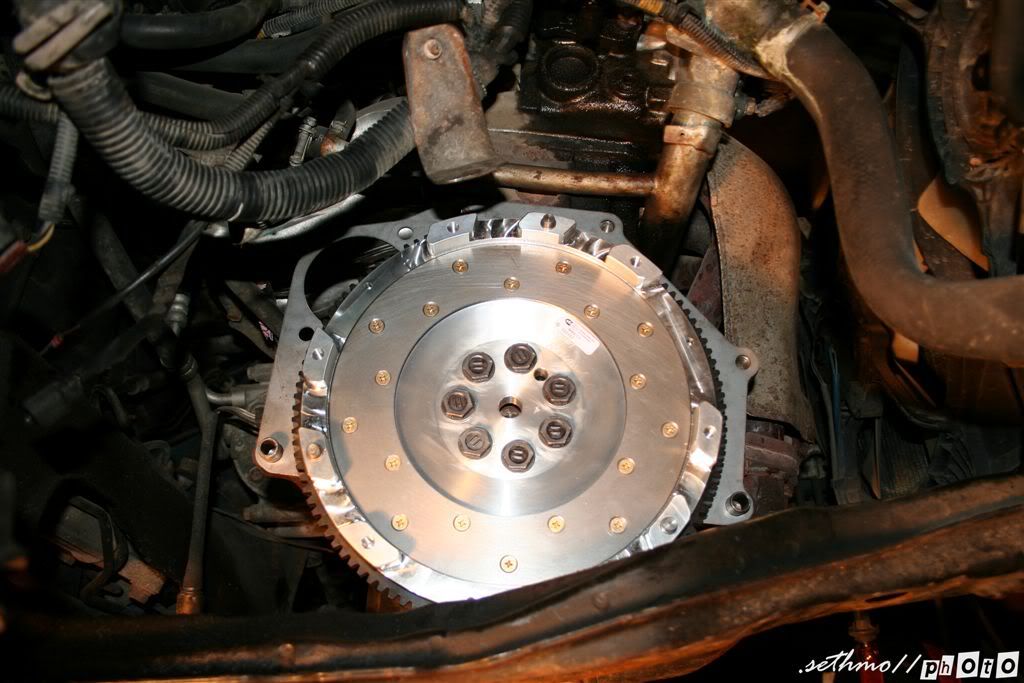
Now I can install my flywheel, but I need a new gasket, kinda burned it up with the torch/welder.
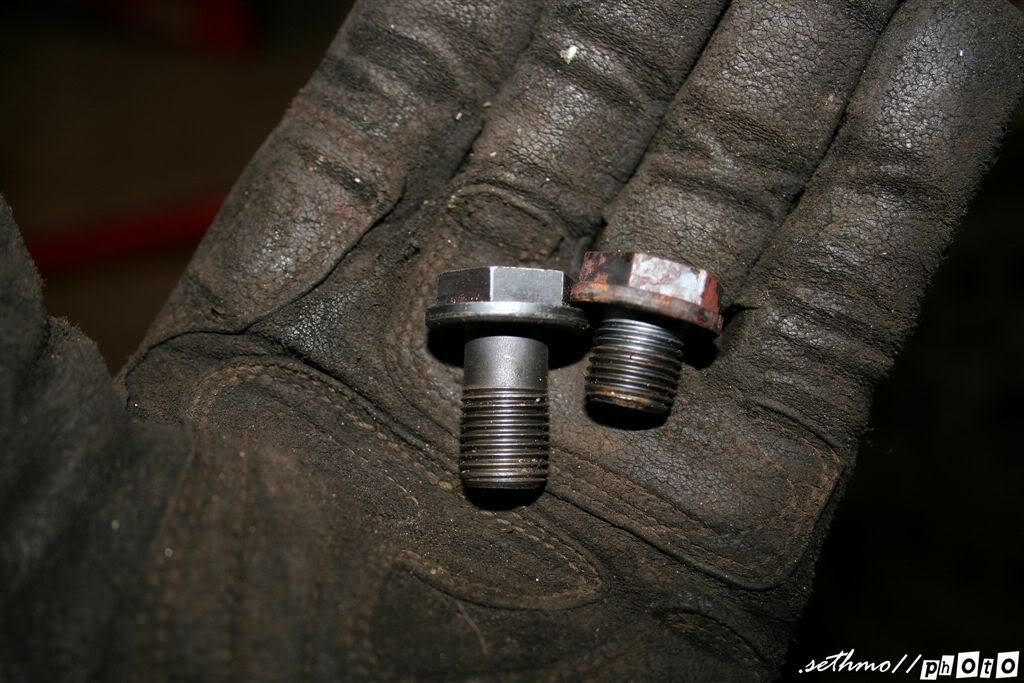
And for all of you people who were able to wiggle that spacer out with no more then a pair of vice grips ...... I hate you all!


Bookmarks