-
how to: indipendent fogs - "stock" switch
this does use the stock switch but modified slightly and places another switch behind the stock one so it looks and feels stock, indicator comes on in the dash as well
http://www.youtube.com/watch?v=QPDXYMr181I
this gude looks longer than it really is i made it as idiot proof as i possible could
go here for descriptions on the pics photobucket
i would like to thank AUTO for sending me his switch so i could take real pics as well as fliegendaffe for helping me a bit with the wiring
pm me or reply if you have any questions
reqirements
tools
dril
Dremal (or similar tool)
Soldering iron
hairdrier
skrew drivers (phillups and flat head)
wire strippers
supplies
18 gauge wire
spst relay for example or you can get one at radio shack
crimp on disconnectors (7-8 female) for example
crimp on ring connector ( 3-4) for example
push button switch ( for example ,needs to have a flat bottom, can be sourced from a flashlight, the type that click when you push the button down)
a piece of plastic about te size of a pencil (with) a plastic hanger for instance
goop for example
crazy glue
a pop can
electrical tape
zip ties
a flat four pin extra bright whie led
22 gauge wire
470 ohm resistor
about 3 hair clips (just like these )
solder
heat wrap ( op )
electrical tape
:::WARNING ::: I HAVE NOT FULLY TESTED THE NEGIVIE REPERCUSSIONS OF THIS MOD, DO AT YOUR OWN RISK ALWAYS DISCONNECT YOUR NEGITIVE TERMINAL ON YOUR BATTERY - DOING THIS WILL MAKE YOUR RADIO GO INTO ITS SEQURITY MODE - YOU WILL HAVE TO CALL THE DEALERSHIP WITH YOUR SERIAL NUMBER, VIN, AND PROOF OF OWNERSHIP TO GET THE CODE TO UNLOCK IT I AM NOT RESPONSIBLE FOR ANY DAMAGE
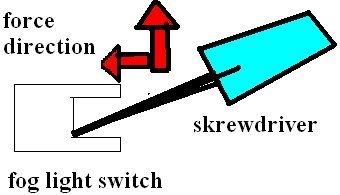
1. pop out the fog switch by taking the whole piece out, carefully poping the snaps off
2. go inside 8p with the fog switch and heat ip up with the hair drier, with the fog switch in your hand there will be 2 sides with snaps, one hs a grove and the other is flat, stich a sharp knife in the flat side so the snaps will clear, then look at the other side, wedge a flat head skrew driver under it and wedge it up like this then pull the bottom off
3. heat up the switch again, pop the button part off the switch, you have to use a bit of force
4. you will see a circuit board inside, from the hole where the fog button was out your flat head in there and pop out the circuit board
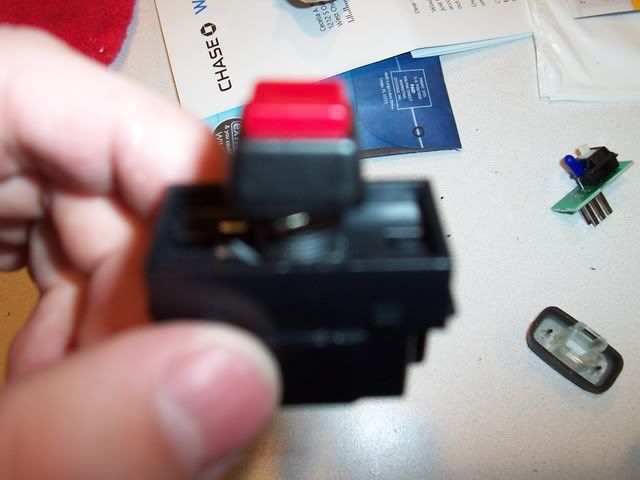
5. take your pushbutton swich and line it up one the first bottom piece we took off so it will be on the inside where the circuit board was or if you used a switch with the contacts on the bottom, you will have to drill the bottom piece like this 
6.now take take your pieae of plastic and line it up like this [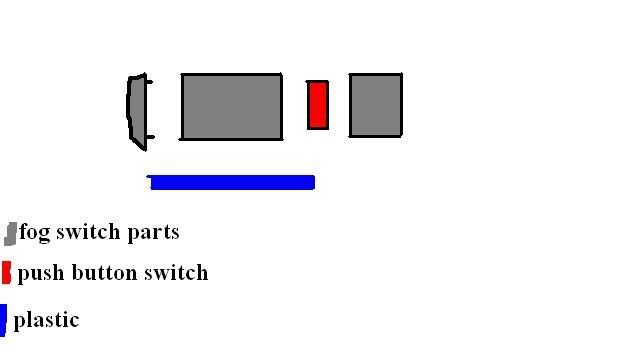 push the pieces as close as possible (without snapping them together and cut your plastic so its from the top of the switch to your push button
7. cut it and dry fit it trim it untill it fits (inside) the switch and doesnt touch like this but when you snap it together it will just push the switch when you press on the fogbutton 
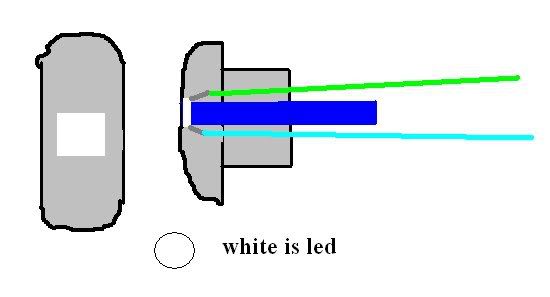
8. ok take your led and goop it to the top of the plastic like this 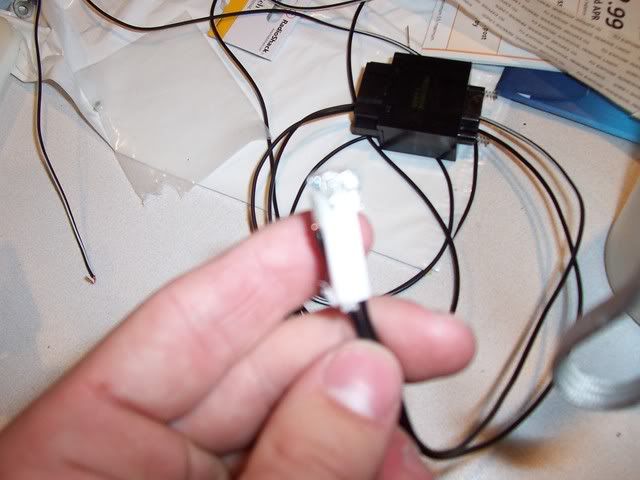

9. ok take a 2 lengths of 22 gauge wires (pref 2 colors) about 7 inches long each and solder the wires to the pins like this , look at the top of the led (if its a 4 pin) solder a wire to red and the other wire to blue 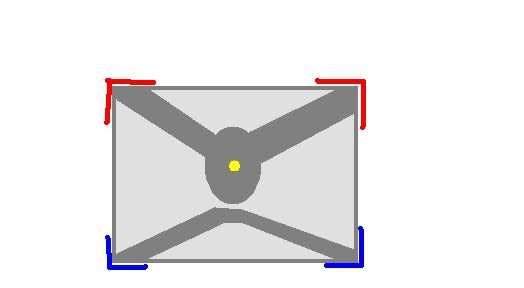
10. get a battery and try each end of the wires with the led, when it light up remeber the positve side or mark it or write it down
11. pull the led's wires threw the bottom like this 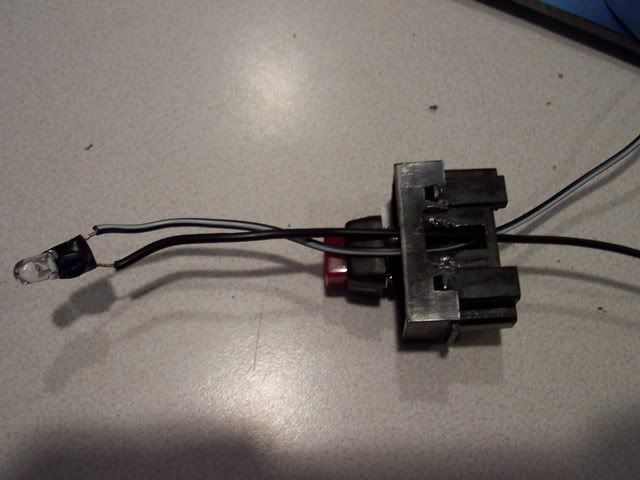
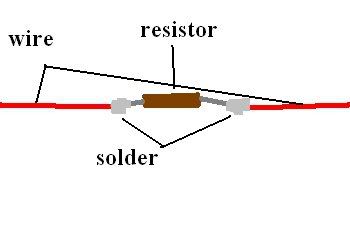
13. now take the positive wire and cut three inches off the bottom, strip .5 inch off the new bottom and the part that we just cut off, then solder the resistor on after you solder the resistor test the led with your batery again 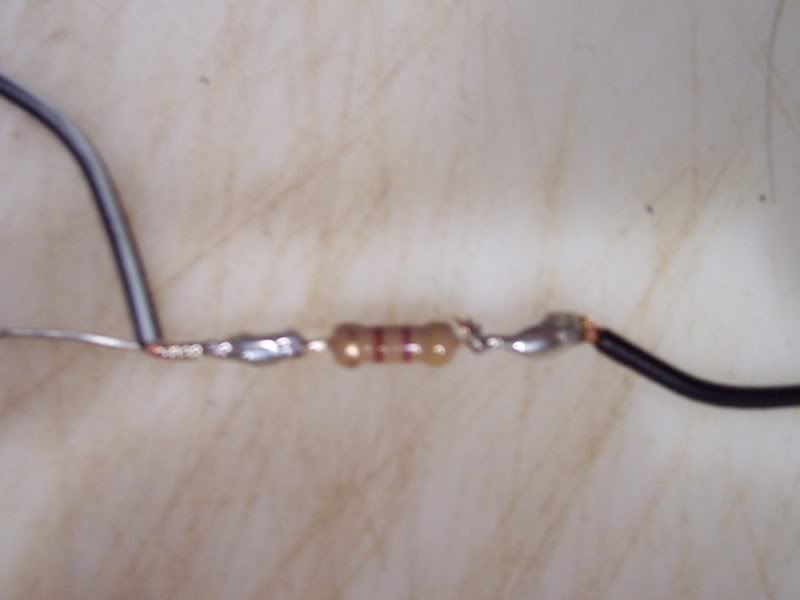
14. crazy glue the switch like this 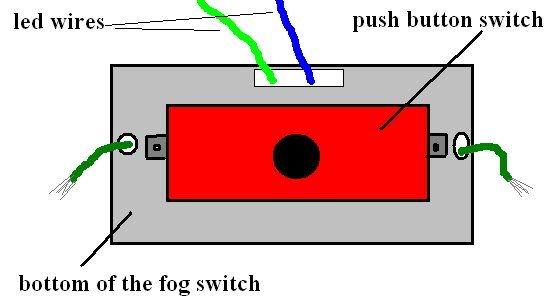
 goop the plastic like this
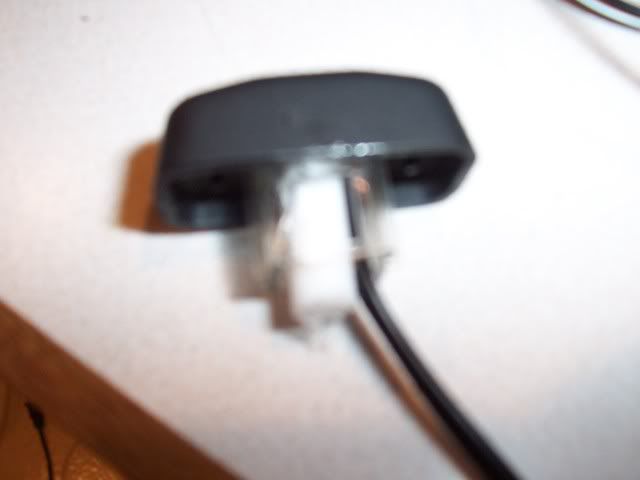
 test the led again
15. cut two 18gu wires (3 ft long) in preferably two colors strip .25 inch off one end of each wire and put a female dis-connector on each. take one and stip another .25 inch off the end of it, put an O-connecter on the end
16. take the other wire and put it aside, take one of the hair clips and cut the ends off so you get what looks like four pins, take one and put it aside for a second, go out to your car open your engine fusebox, take one o the relays out, go back inside and put the pin next to the one of the pins on the relay then mark it so its just shorter than it by a few mm, bend it in a pair of pliers, then bend it again so it looks like a strat z or like this 
17. take an 8in piece of 18gu wire stip .25in off both ends and solder it onto one pin/peg of the switch, then place a female dis-connector onto the other end.
18. take a one foot piece of wire, strip .25 in off both ends, and solder one end onto the oher pin/peg of the switch, take another pin (from the hairclip) and one fuse from your car put the pin next to the one of the pins on the fuse then mark it so its just shorter than it by a few mm, bend it in a pair of pliers, then bend it again so it looks like a strat z or like this
19. take another one foot piece of wire (strip .25in off both ends) put a female dis-connector on one end and an o-ring on the other
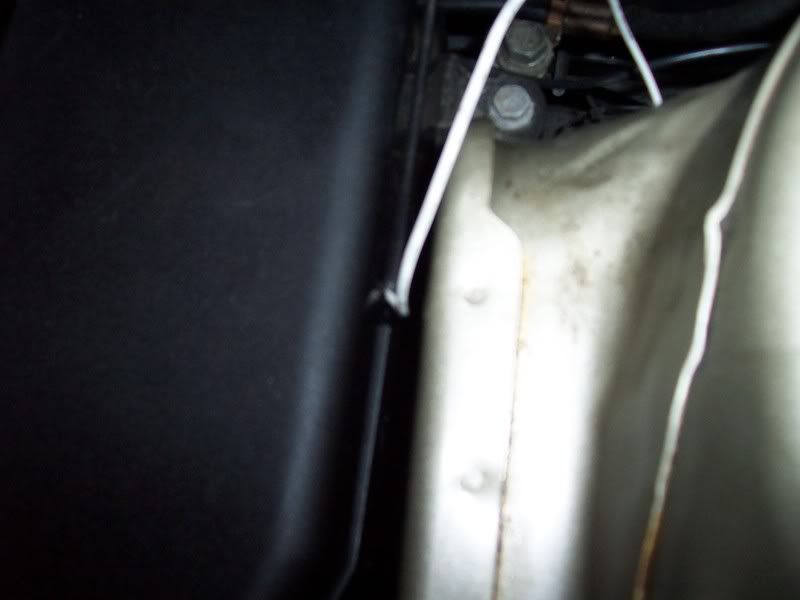
20. k now the fun part, you need to drill a hole in your firewall to get 2 wires (the battery wire and the fog relay wire) threw when you get them threw cut a small rectangle out of the can, cover it in elect tape, and put it in the hole to protect the wires from rubbing against the firewall or get a grommit https://www.thegalantcenter.org/showthread.php?t=29280
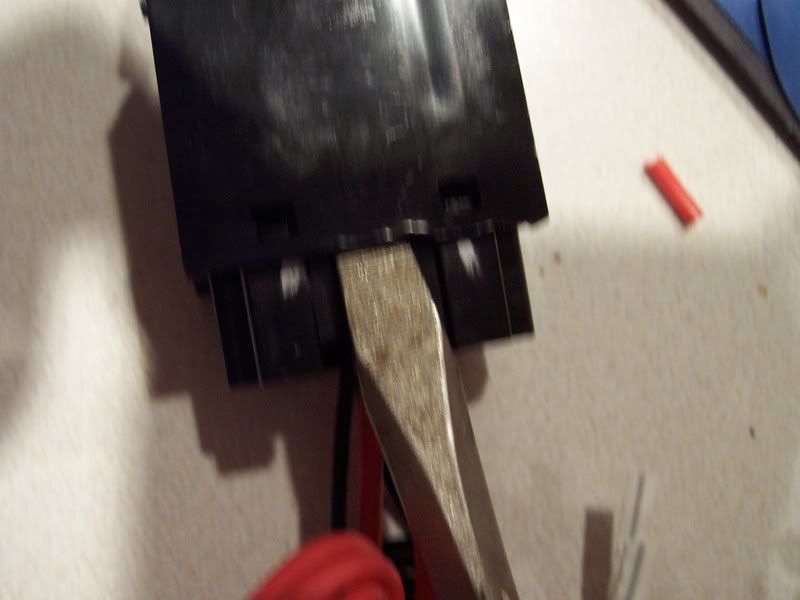
21. look in the hole where the fog switch was, push out the old connector.
23. assemble the switch back together except for the bottom part with your new push switch
24. push all the wires from the switch threw the "fog hole"
25. wire it all up like this 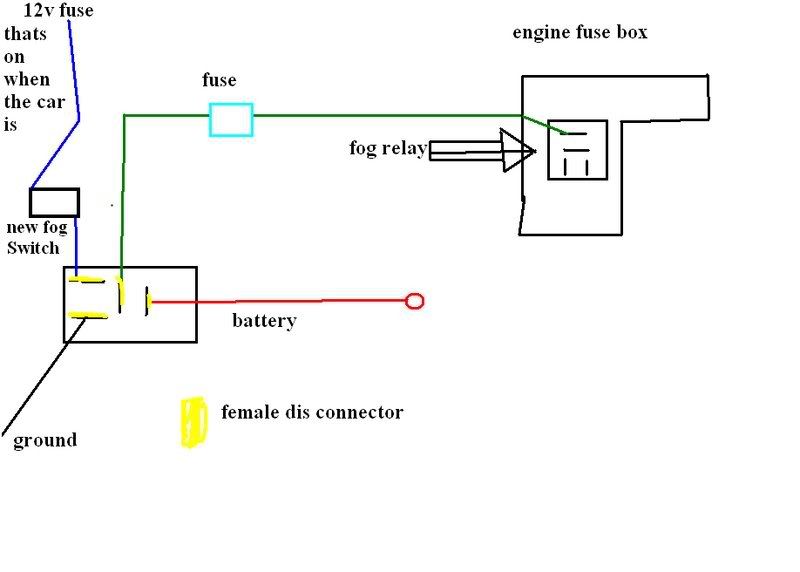
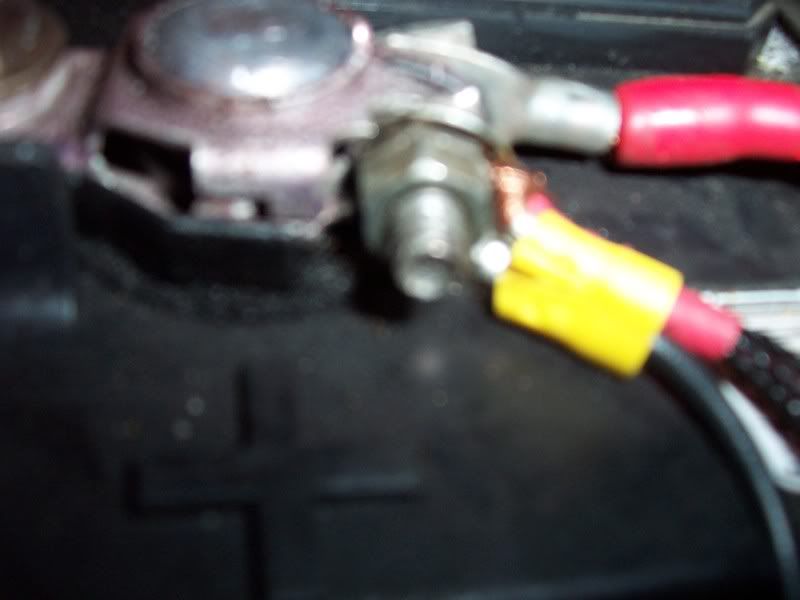
power wire on the batery
12v fuse tapped
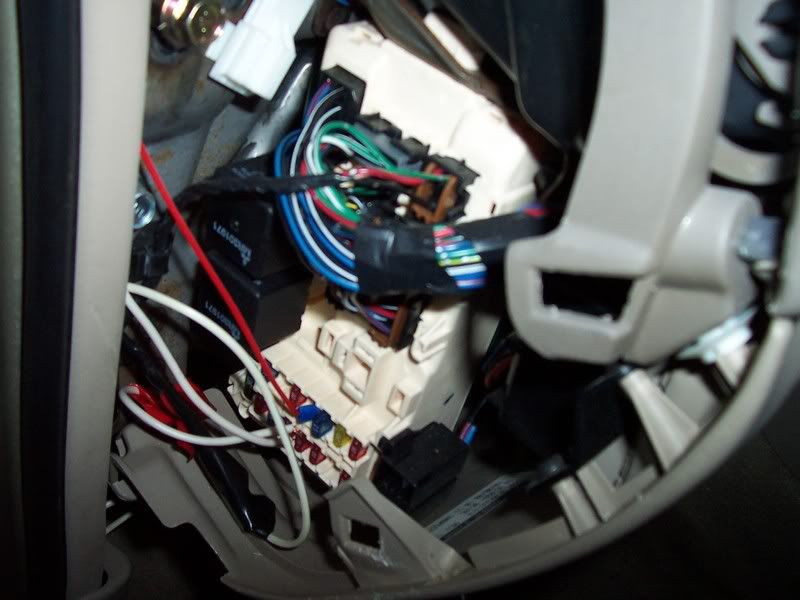
you will need to drill a small hole on your engine fusebox to get the fog relay wire in
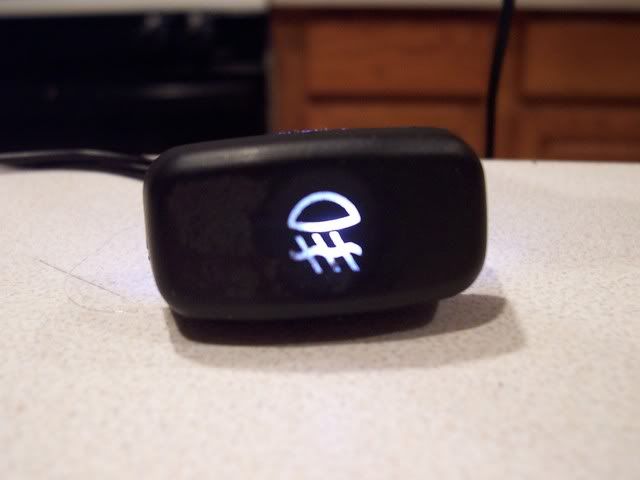
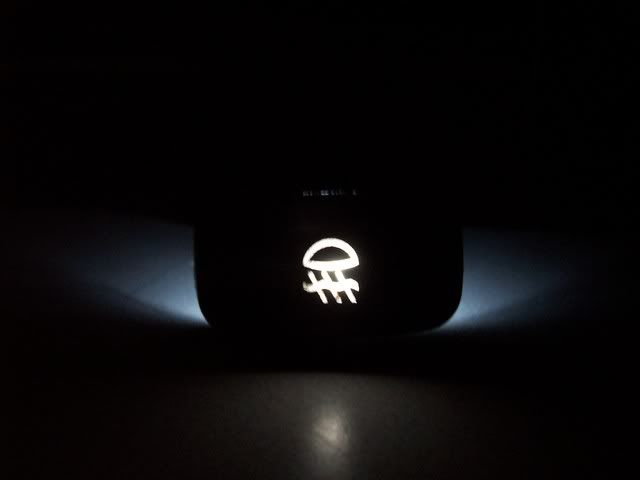
and wire the led like this
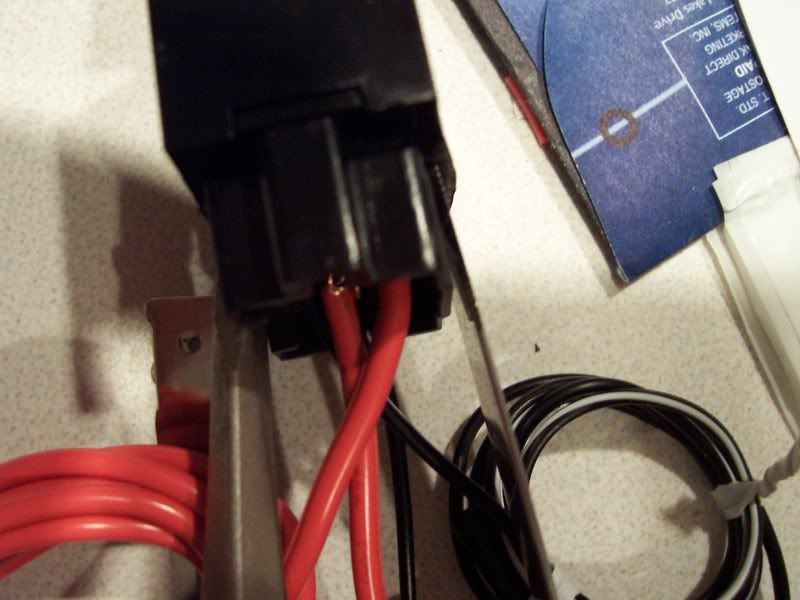
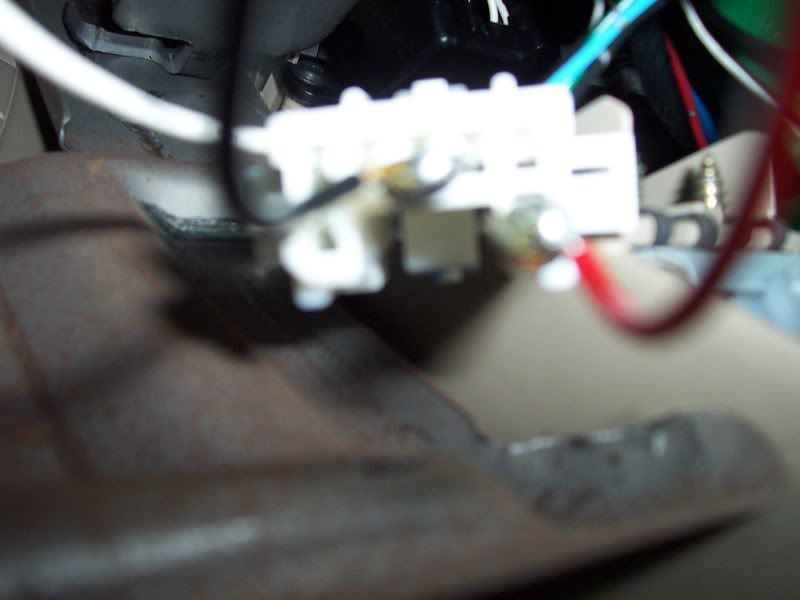
 a bad pic but i will work, the white part is what was pushed out of the fog hole
26. put the negitive bak on your car and put the key in the car, in the on position, and test your switch, if it doesnt work double check your wiring watch for sparks or anything that may result from bad wiring
27. now test your led (put your parking lights on) if it dosnt work switch the pins, if it doest work again check your wiring
28. put it all back togeher and zip tiethe wires away so they are hidden
29. enjoy
youshould have a few connectors left, they were extras incase you messed one up
Last edited by dwjp90; 05-08-2008 at 01:42 AM
-
would have been better if you took real pics
-
sorry for no real pics, if someone wants to send me their switch i will do it for them all they have to do is pay for shipping (both ways) plus some money for a few prts
-
-
-
added steps for led, still in progress tho will be completed withing 24hrs
-
waiting for the goop to dry
-
almost done, will b posting pics within the hour and rewreiting my guide
-
guide completed with real pics, in the future i may redo the guide again
-
will be re-doing some of te pics soon, camera was dieing at the time
Tags for this Thread
 Posting Rules
- You may not post new threads
- You may not post replies
- You may not post attachments
- You may not edit your posts
-
Forum Rules
 Log in
 Register
 Reply With Quote


Bookmarks