 Log in
 Register
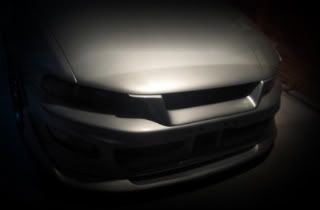

 Reply With Quote
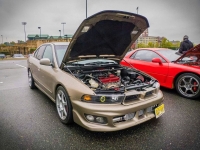 2000 Mitsubishi Galant ES
did u have to cut the edge of the radiator on the passenger side ??? did the headlight hit the condenser bracket ???


I started cutting the crash bar yesterday night.. I'm done cutting both side 45 degr's.. Unfortunately my camera was broken.. But will buy one later..I'll post some pics of it..
"Mitsubishi Galant(e) for Life"
Tuned 2013 Evolution X GSR PB
-> Follow me on IG @blackblurr_x | 5-Speed | Check out my Build Here

did u have to cut the edge of the radiator on the passenger side ??? did the headlight hit the condenser bracket ???
'00 Mitsubishi Galant ES 4g64T (Samantha)
'01 Mitsubishi Galant ES 4g64 (Daily)
'02 Mitsubishi Galant ES 4g64 (SCRAPPED)
'00 Mitsubishi Galant ES 4g64 (SCRAPPED)
'91 Volvo 740 Turbo B230FT (SOLD)
'88 Mitsubishi Mighty Max (SOLD)
'91 Kawasaki ZX7 (SOLD)
'95 Kawasaki ZX9R
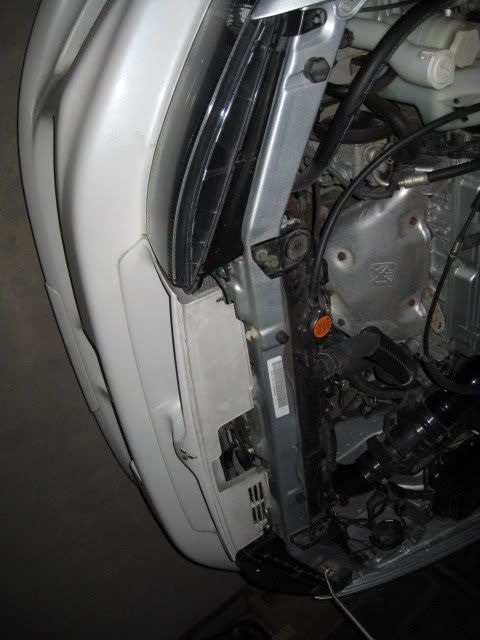
Yes, it has to be cut too so the headlight will fit. It hit the condenser bracket (I trimmed the condenser bracket a bit w/ dremel tool) that's why you have to remove the bolt that holds it and replace it with a longer one, put a hole on the headlight tab so you can secure it on there. It will push in when you tighten it..
Last edited by Galante; 08-15-2008 at 02:51 AM
"Mitsubishi Galant(e) for Life"
Tuned 2013 Evolution X GSR PB
-> Follow me on IG @blackblurr_x | 5-Speed | Check out my Build Here
i trimmed the bracket with the dremel and still no luck i will figure something out hopefully, if it didnt rain tonight i would have my front and rear doneOriginally Posted by Galante

'00 Mitsubishi Galant ES 4g64T (Samantha)
'01 Mitsubishi Galant ES 4g64 (Daily)
'02 Mitsubishi Galant ES 4g64 (SCRAPPED)
'00 Mitsubishi Galant ES 4g64 (SCRAPPED)
'91 Volvo 740 Turbo B230FT (SOLD)
'88 Mitsubishi Mighty Max (SOLD)
'91 Kawasaki ZX7 (SOLD)
'95 Kawasaki ZX9R
Btw, I also trimmed the side of the headlight plastic a bit that have contact to the condenser bracket..
"Mitsubishi Galant(e) for Life"
Tuned 2013 Evolution X GSR PB
-> Follow me on IG @blackblurr_x | 5-Speed | Check out my Build Here

if you remove the two bolts holding the condensor it will give you the wiggle room you need. you can get longer bolts or remove them all together the condensor weights next to nothing.
Different version but same idea..
Last edited by Galante; 08-22-2008 at 02:33 PM
"Mitsubishi Galant(e) for Life"
Tuned 2013 Evolution X GSR PB
-> Follow me on IG @blackblurr_x | 5-Speed | Check out my Build Here
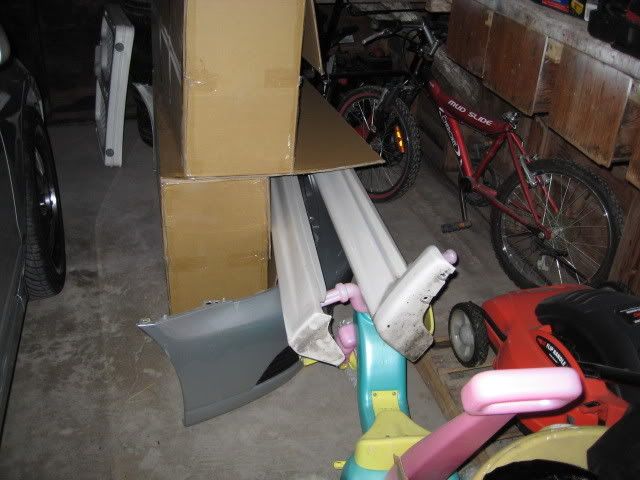
Today I bought a new Canon camera to replace the broken sony one.. I have taken some pics of my progress.. Too bad I was not able to take pics during the process..
Some part came..
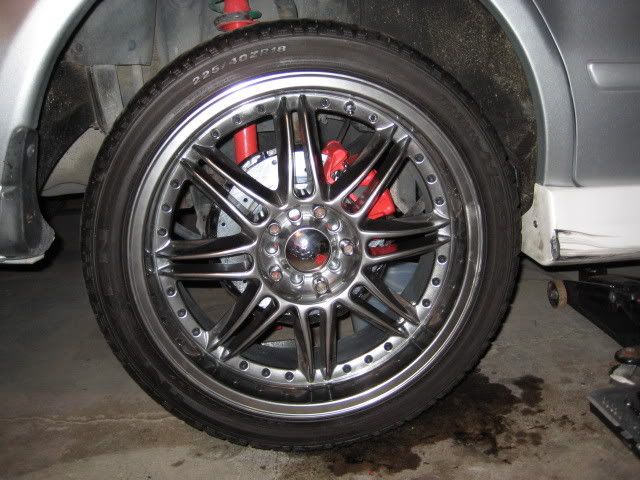
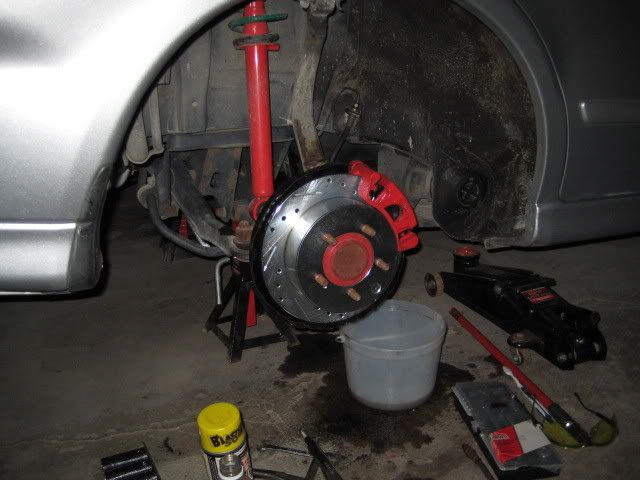
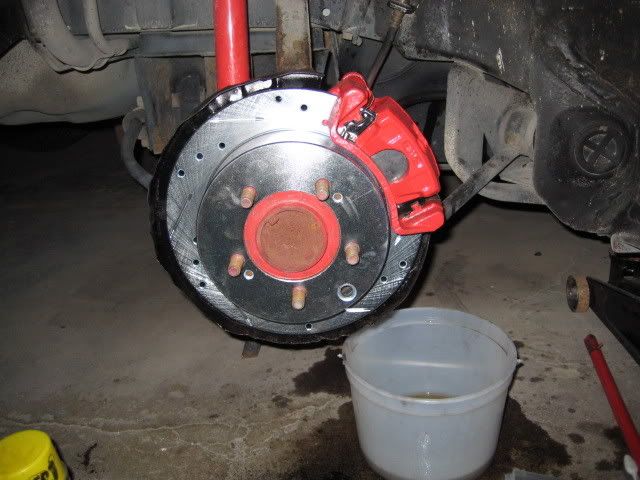
Converted the drum to disc brake.. Only one side for now though I need to order a flex hose for the other side..it was cut during shipment..
Installed front bumper today.. only top view pic for now.. no space to take front view..
More pic soon..
"Mitsubishi Galant(e) for Life"
Tuned 2013 Evolution X GSR PB
-> Follow me on IG @blackblurr_x | 5-Speed | Check out my Build Here

That's pretty fuckin sexy..

hellz yeah boi!! looking good!!
The "Tumbler" Is HereStock Longblock/Stock PCM | Custom Garrett 50-1 | 17 Psi | Weighing 2xxxLbs3xxWHP/3xxWTQ [Current]

Looks good dude.

Looks great man, keep the pics coming.
OZ Rally Crew #001, Quaife Club member :D
Thanks guys..
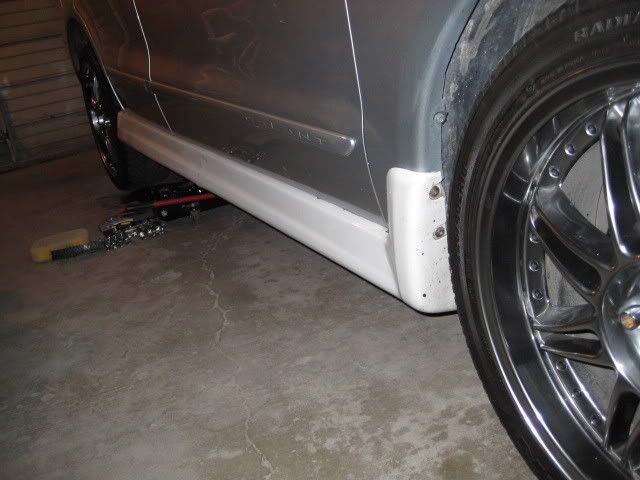
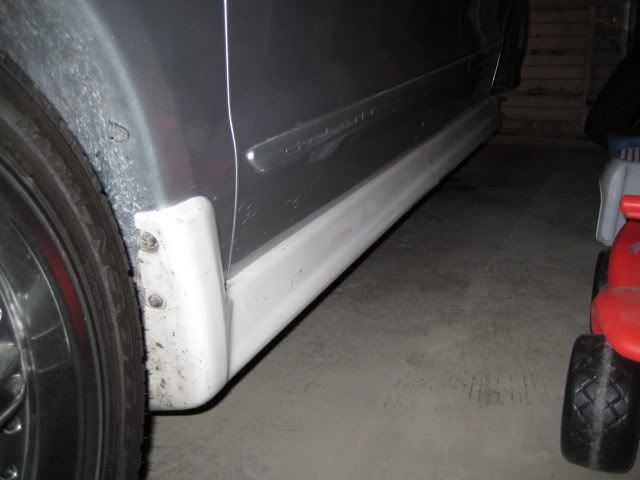
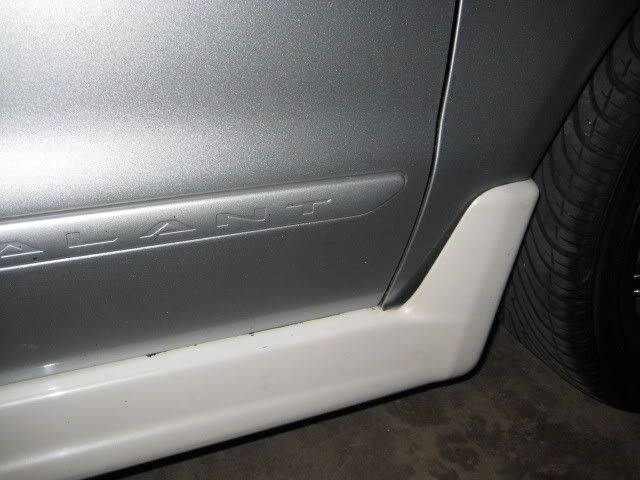
I test fitted the skirts today.. (not final yet)
A little gap in front.. Need to trim the bottom of the skirt more so I can push it in.. Thanks to Ray on showing me how to do this..
Installed the wheels to test how it looks w/ the disc on rear..
Last edited by Galante; 08-18-2008 at 11:33 AM
"Mitsubishi Galant(e) for Life"
Tuned 2013 Evolution X GSR PB
-> Follow me on IG @blackblurr_x | 5-Speed | Check out my Build Here

push the back rear of the skirt in more, its supposed to sit flush, not flare out

lookin good man.

nice progress!! glad to see things coming along well
2002 Mitsubishi Galant ES 2.4L 4G64 */* !!NEW!! 03 Honda CBR F4i
* a little done -*- more to come *
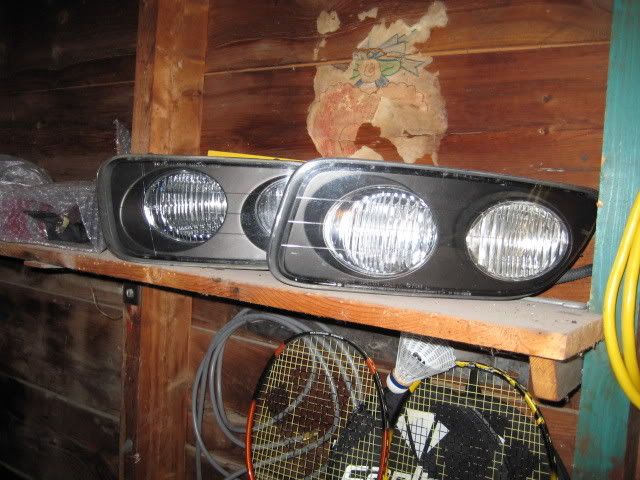
My Dual Halo H3 Projector Project
In the middle rear of the skirt which flareout is the spot it was folded upon shipment.. It should sit flush when I install screws on the bottom after painting.. thanks
"Mitsubishi Galant(e) for Life"
Tuned 2013 Evolution X GSR PB
-> Follow me on IG @blackblurr_x | 5-Speed | Check out my Build Here

lookin good!
i want skirts :(
'00 Mitsubishi Galant ES 4g64T (Samantha)
'01 Mitsubishi Galant ES 4g64 (Daily)
'02 Mitsubishi Galant ES 4g64 (SCRAPPED)
'00 Mitsubishi Galant ES 4g64 (SCRAPPED)
'91 Volvo 740 Turbo B230FT (SOLD)
'88 Mitsubishi Mighty Max (SOLD)
'91 Kawasaki ZX7 (SOLD)
'95 Kawasaki ZX9R
Ask Galant Kid if you can borrow some of his..
 Posting Rules


 2001 Mitsubishi Galant ES


Bookmarks