 Log in
 Register


 Reply With Quote
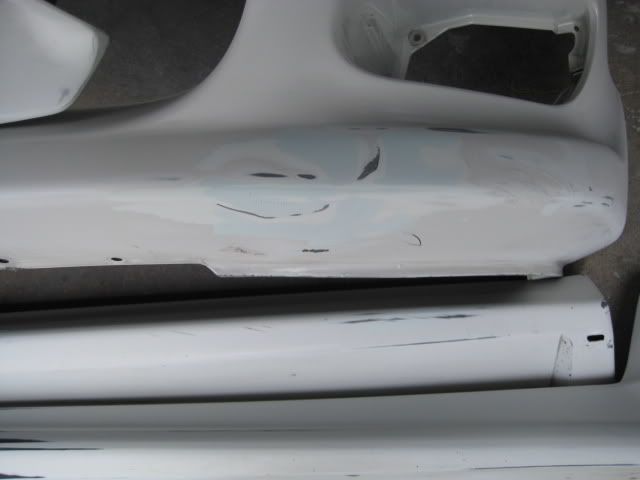
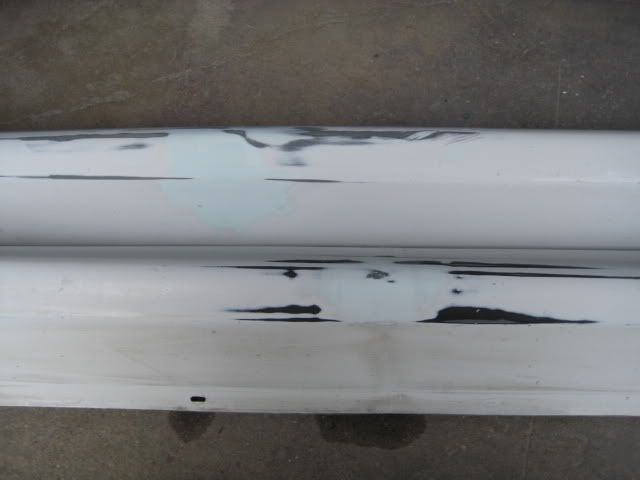
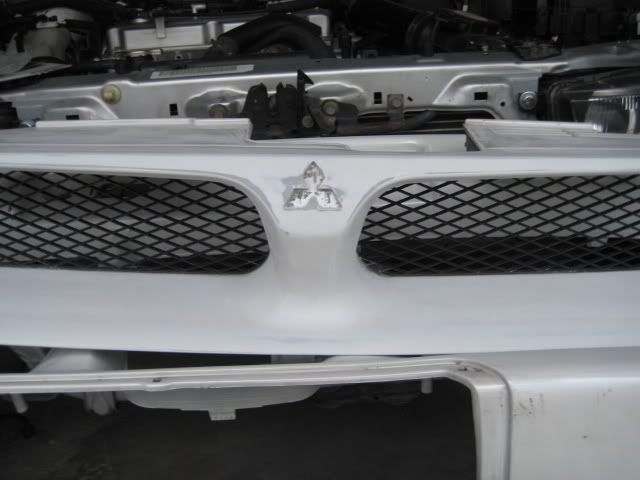
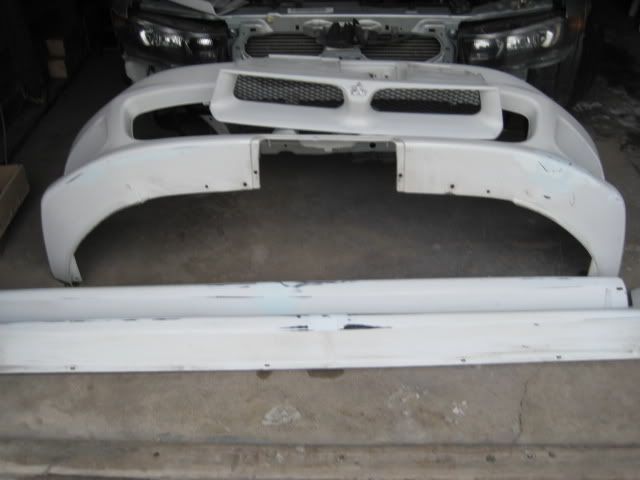
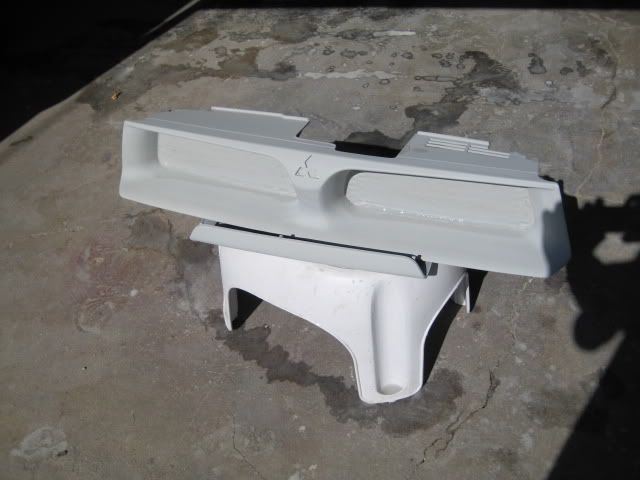
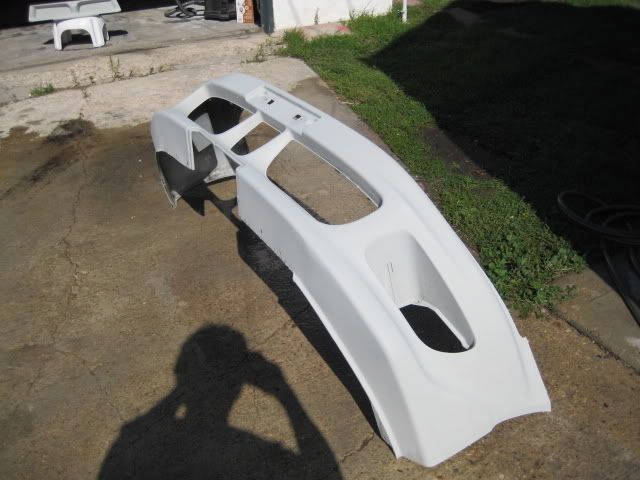
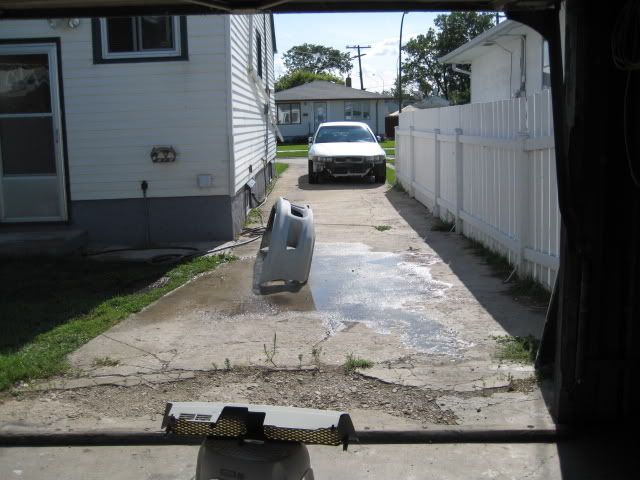
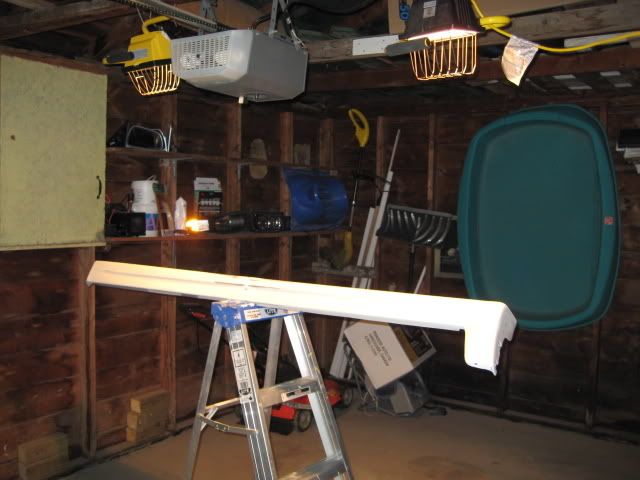
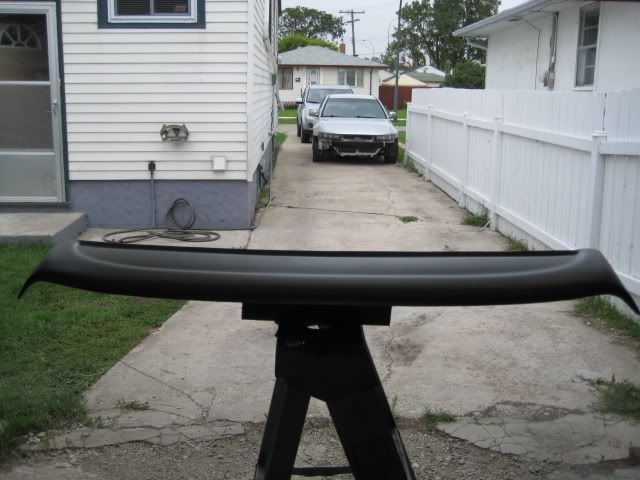
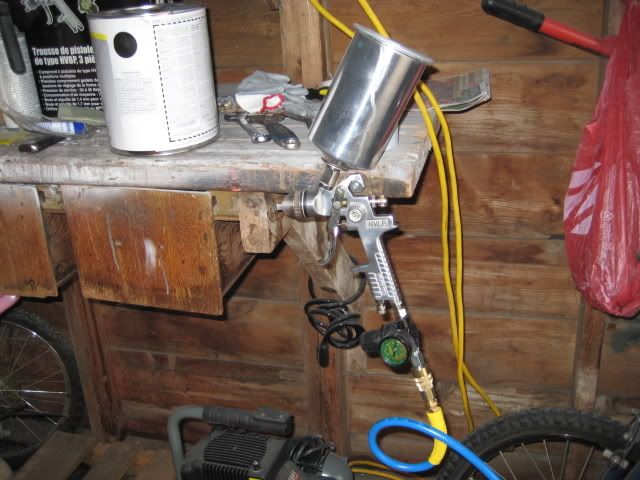
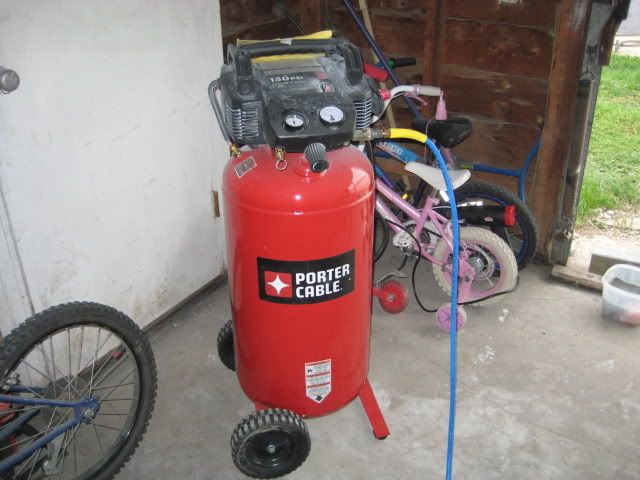
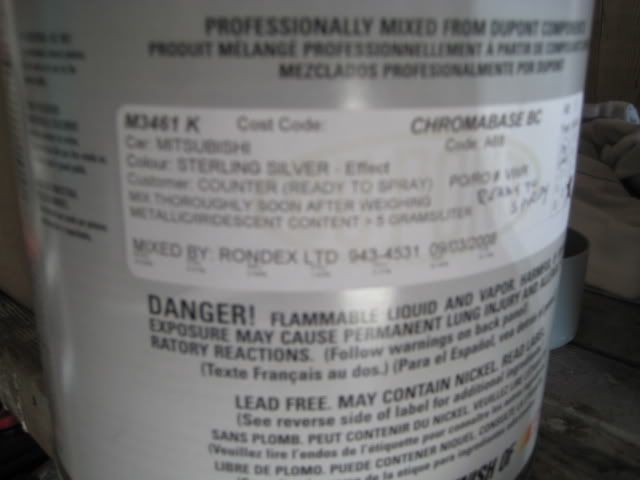
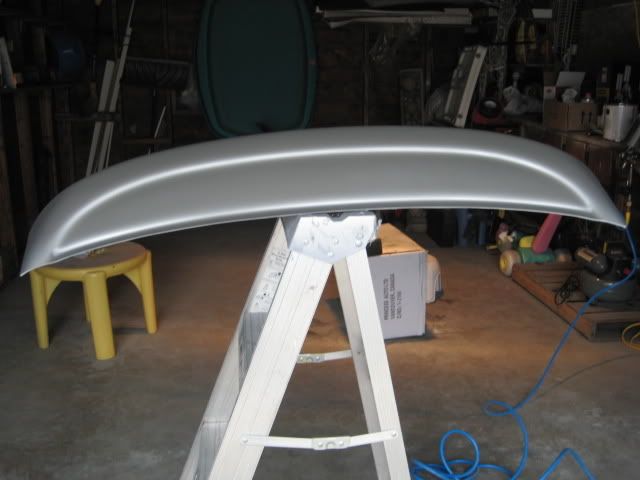
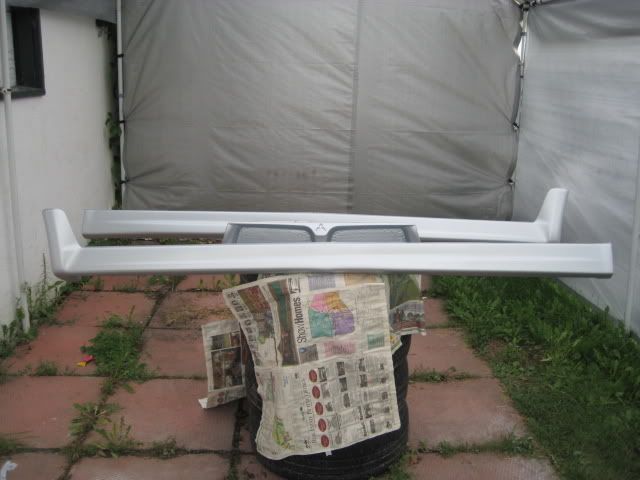
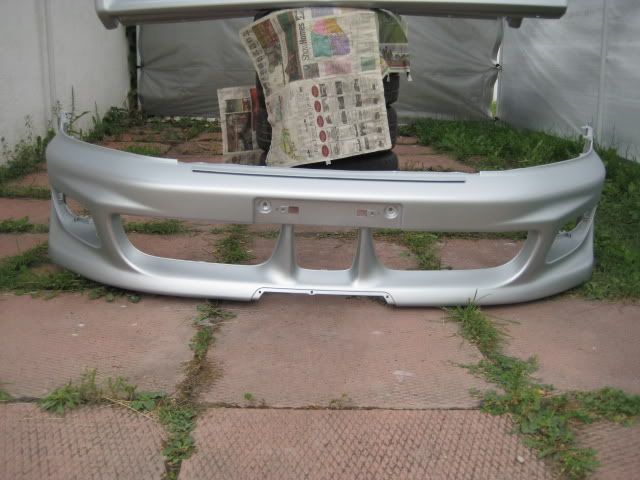
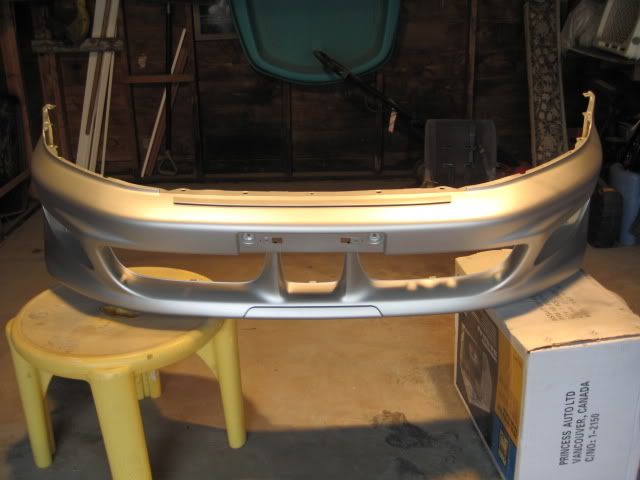
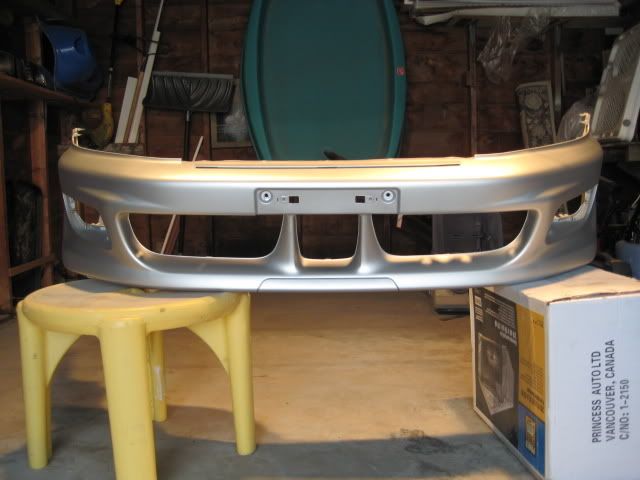
Change of plans. I went to some paint shops the other day and all quoted me aroung $1200 - $1300 to paint the bumper and skirts. Damn that's a lot of money. I'm only expecting something around $700 - 800. Anyhow, I decided to get me hands dirty and diy the painting of these stuff. No matter how hard it is I know I can do this. I've started doing research on how to prep / sand / polish / paint. I'll be heading on local auto paint shop tomorrow to get supplies and tools..

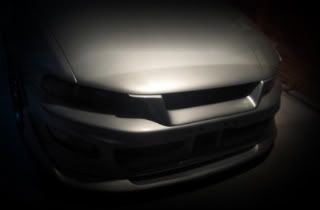
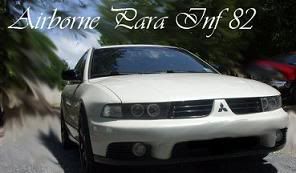
 2000 Mitsubishi Galant ES
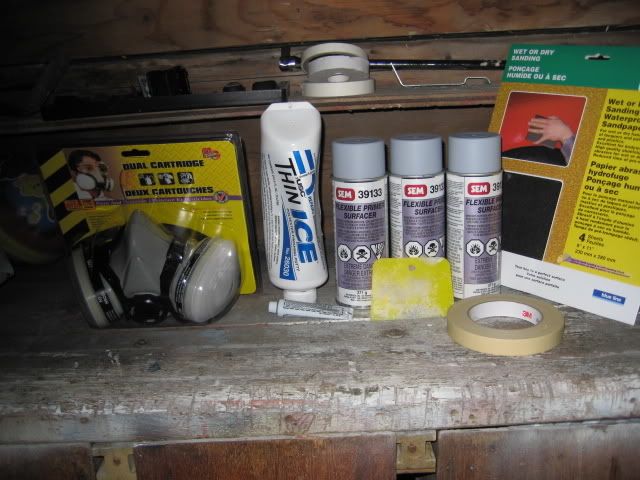


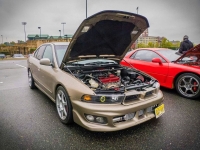
 2001 Mitsubishi Galant ES


Bookmarks