 Log in
 Register
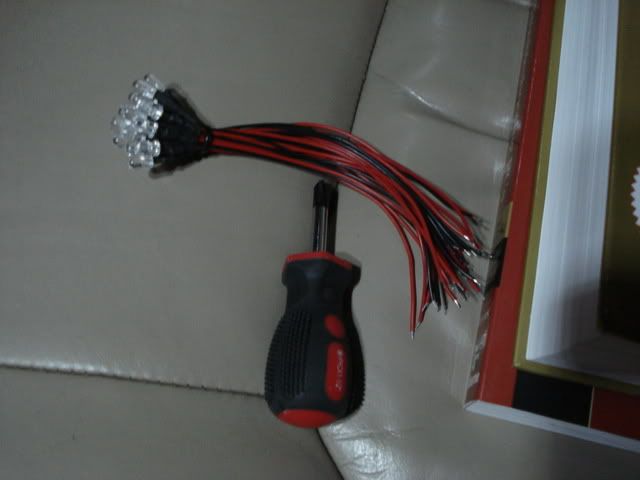


 Reply With Quote
Thats a good solution to what I was planning, but my approach idea is different my approach gets rid of the triangle piece all together.


You can NOT sue me if you f*ck your sh*t up. :)
A few people have asked me how its done.. Here ya go..
Things needed: A stubby screw driver (philips) LED (color of your choice)
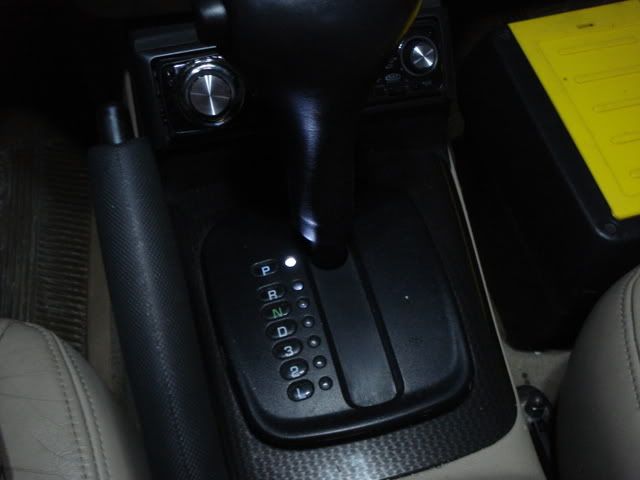
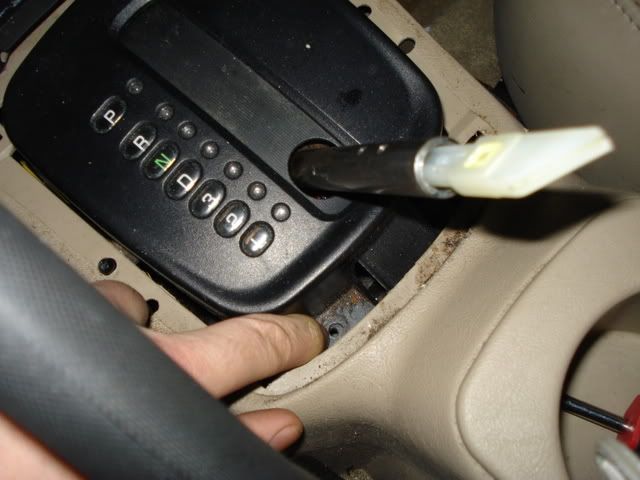
First you need to locate your A/T shifter.
Once you do that, you could go ahead and put the shifter in L: Make sure that you E-Brake is all the way up so that your car will not move!! Also, your ignition has to be turned to the on position.
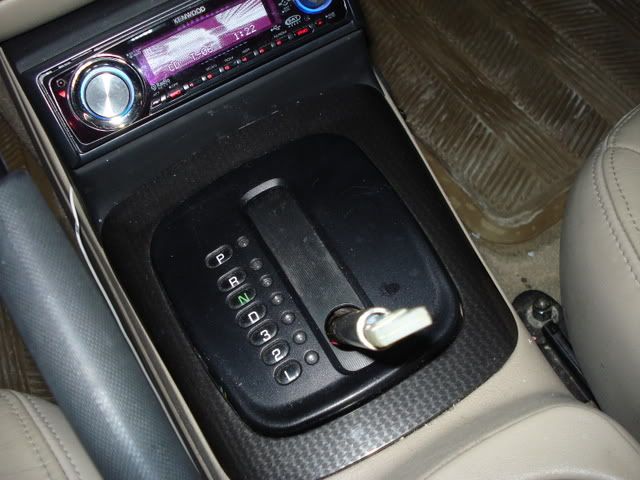
Locate the two phlips head screws that are facing your radio and remove them.
Pull off the shifter while holding the button in. If you don't hold the shifter button in the button will fly off and you could possibly lose the spring.
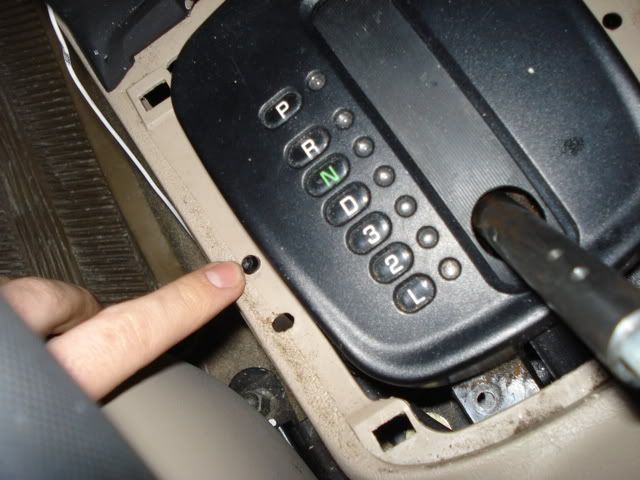
It should look like this once the shifter is off.
You could then go ahead and remove your shifter trim. Easy to pull off using your hands or a flat head screw driver. There are clips on the four corners that just pop out.
It should then look like this:
Once you get to this point, you could remove the two screws that are holding the black plastic down. Where I'm pointing there is one, the other is on the adjacent side.
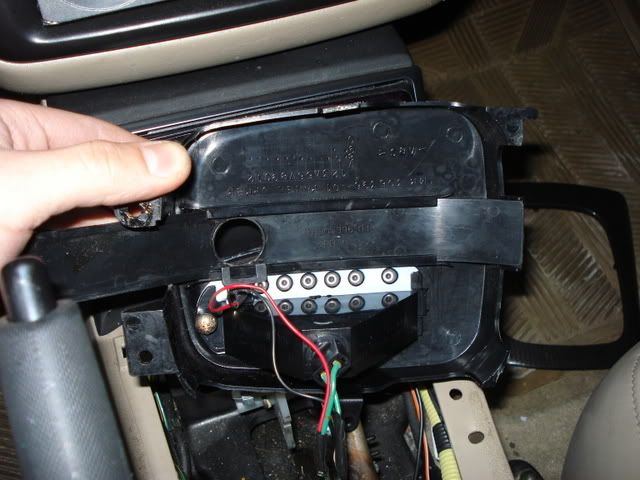
Once you get those out, there are tabs on the sides. Push those down with your screwdriver but be careful not to snap them.
Once you get it off be careful not to pull too hard because there are wires attached to the bulb that lights up your PRND32L. You could twist that socket so it comes right out.
You should have this(socket is still in)
Next, you could pull out the sliding piece that slides along the base when you shift gears. It comes right out through the front or back.
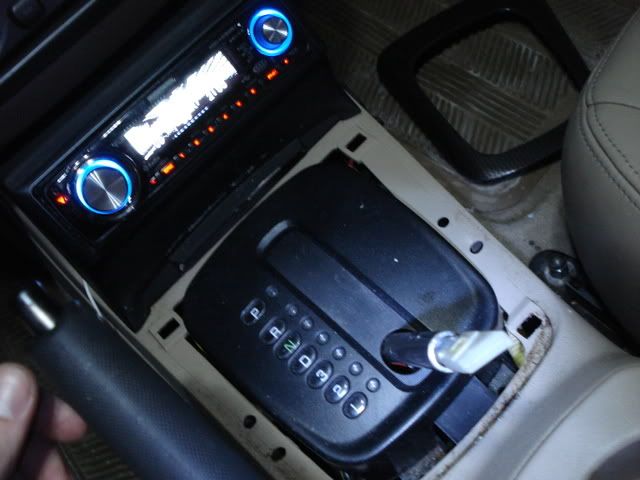
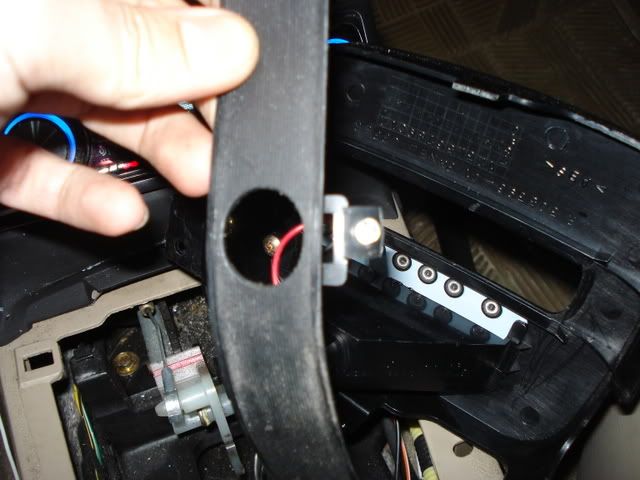
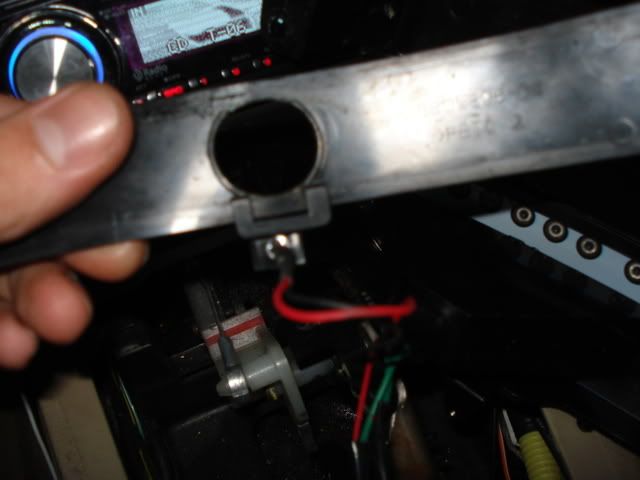
Then you locate the tab on the right side. Yours will be orange. What you want to do with that tab is poke a hole through it using a sharp object. Not too big. You want just a small enough hole so that the LED, when pushed in, will stay in there because it's a tight fit.
It should look like this when the LED is pushed through.
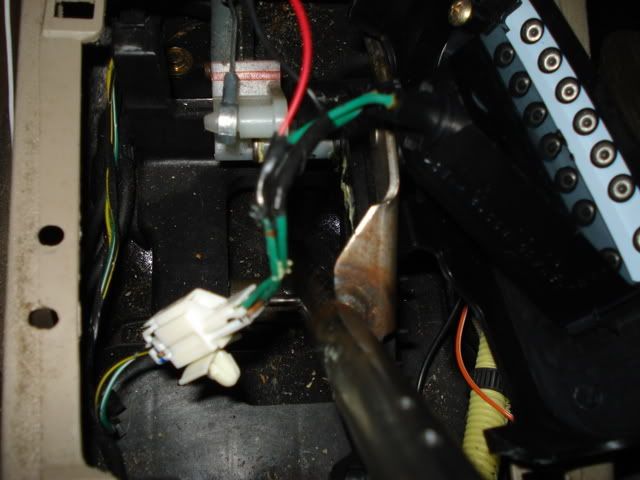
Now, wiring. What you want to do is just go to your local auto parts store and locate some wire taps. All you have to do is tap the two wires going to the bulb that lights up your PRND32L and that will be your power source. Once that is tapped, it should look like this
Dont use electrical tape, like I did. I have yet to redo this job.
Now that everything is tapped and working. (Verify by turning the parking lights on) Put it all back together. Dont forget to twist the socket back in. Just follow these steps backwards to put it back together.
Any questions, please ask.

Thats a good solution to what I was planning, but my approach idea is different my approach gets rid of the triangle piece all together.
That is a good idea.. For the actual letter to light up instead of the clear part next to it.. I might try that.. lol
im working on it right now im cutting the piece now with a heat gun and a razor
Make a tutorial! Take pictures!
lol told you my camera is mia
bah i dont had any 40 40 the piece is cut im trying to figure out what to bond it with maybe ill run by the garage tomorrow and see if they will let me use 40 40

great tutorial Jeff!
03-Galant-ES, also waiting for your tutorial, i like your idea better!
Ok guys well i finished prototype one and took pics of it in the car does anyone have picture texts that can then upload them to here? I can text u the pics
nvm i can send it to myself pics will be up in 5 mins
lol damn cheap .3 mega pixel cameras
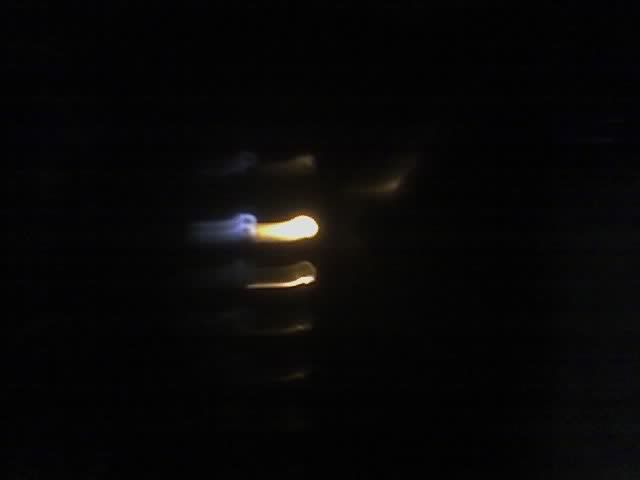
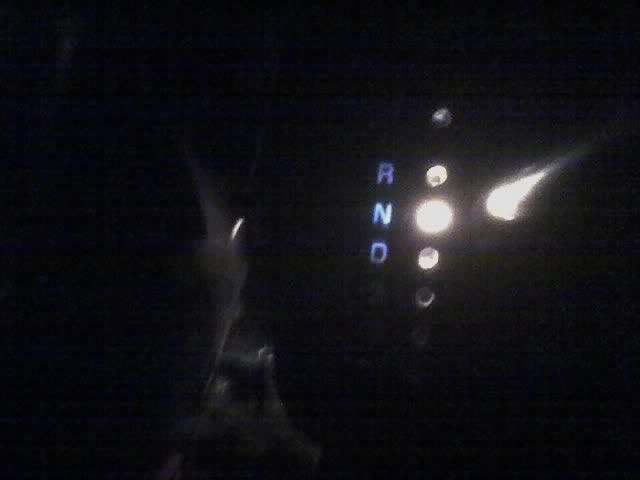
as you can see with the original design that i worked on a total of like 40 mins shines into the other letters and wholes a little bit, I may change that i may not. If its good enough for you and you want to know how to make it ask me and ill make a tut if you're not interested then I may refine my idea then make a tut
You should suround the LED with something so that it only lights up the letter that you are on..
like i said its still in progress, thats the stock light bulb too hehe but as far as im concerned it works pretty well for a first attempt using crazy glue a razor and a heat gun(lighter)Originally Posted by Jeffylou87

so possible solutions that Im thinking about is either a plastic cone that goes around the bulb kinda like a lamp shade thats opaque or plastic bars that separate each letter. I cant make the piece any longer that hold the bulb because it will hit stuff trying to put it in.

Hey 03 you should start your own tutorial since your idea is different than jeff
And jeff please add this to your tutorial:
Do not leave the key on the on position after moving the shifter to the L position or you might fry your coil packs so turn the key back to ACC
'00 Mitsubishi Galant ES 4g64T (Samantha)
'01 Mitsubishi Galant ES 4g64 (Daily)
'02 Mitsubishi Galant ES 4g64 (SCRAPPED)
'00 Mitsubishi Galant ES 4g64 (SCRAPPED)
'91 Volvo 740 Turbo B230FT (SOLD)
'88 Mitsubishi Mighty Max (SOLD)
'91 Kawasaki ZX7 (SOLD)
'95 Kawasaki ZX9R

nice tutorial!
i might do this as well, thanks :D
02 Mit. Galant 5 Spd -> 2010 Mit. Lancer Sportback 5 Spd -> (current) 2014 Mit Evo GSR 5 Spd
run1206's Rear Disc Tutorial
run1206's CF Hood Resurface Tutorial
Ill be making a tut once i finish and find my camera
found my solution look for my tut in the next few days.
https://www.thegalantcenter.org/show...169#post471169
There is my tut its not very professional at all i know this but it works.

 2000 Mitsubishi Galant ES

Bookmarks