The Galant Center - Powered by vBulletin

Thread: Building an 8G Monster

Page 1 of 3 123 LastLast
Showing results 1 to 20 of 44
  1. #1
    Banned
    Join Date
    08-25-2005
    Location
    SLC, UT
    Posts
    762

    Building an 8G Monster

    This thread will showcase the history of my 2001 Galant ES V6 starting from square one. To preface, here is the current state. Each post after this will describe a particular project or state of my car using mainly photos.

    I hope everybody enjoys!

    Up-To-Date Build Thread

    CarDomain Page

    Mod list

    Cylinder Block
    6G72 3.0 L V6 - 100% of tuning and assembly labor done my myself, raw machining done by Casey's Machine in WVC, UT to my specs
    3SX custom forged rods
    ARP main studs
    ARP ARP2000 rod bolts
    Balanced rotating assembly (5-7 in-lb of unbalance @ 8000 RPM)
    Clevite 77 main bearings
    Clevite 77 rod bearings
    Clevite 77 thrust washers
    CP Forged 2618 alloy pistons, 8.8:1 static CR, 1.00 mm overbore
    OEM Forged Crank (brand new from Mitsubishi), balanced (as stated before) and chamfered
    Sealed Power Rings gapped to 0.024" up top, 0.030" second ring

    Cylinder heads
    6G72 SOHC 24 V cylinder heads w/ stock cams
    ARP undercut head studs
    Mild port & polish
    Refreshed w/ 3-angle valve job

    Forced induction
    750 HP FMIC - approx 26x12x4"
    eBay 2.5" intercooler piping
    Garrett GT3582R aka GT35R turbocharger with 2.5" T31 0.82 A/R hotside
    Garrett turbine heat shield
    Hallman Pro MBC
    HKS Super SQV Blow Off Valve
    HKS Super Mega Flow filter in sunset orange
    Injen 2.5" upper intercooler pipe for Evo VIII
    NAPA T-bolt clamps
    Powder coated compressor cover (candy orange)
    Snow Performance Boost Cooler Stage 2 - 625 cc/min nozzle
    TiAL 38 mm wastegate
    XTech turbo exhaust piping, T03 flange

    Fuel
    3000GT VR-4 fuel rail
    3SX -6 AN fuel fittings
    Ford Racing/Bosch Green-Top 42# injectors
    Generic AFPR
    Stainless steel fuel lines in -6 AN w/ black hose ends
    Walbro 255 L/h fuel pump

    Ignition
    Magnecor KV85 custom-crimped coil wire
    Magnecor KV85 spark plugs wires
    Modified stock distributor cap with MSD coil tower
    MSD Blaster HVC II coil
    MSD 6A ignition
    NGK BKR7E spark plugs gapped @ 0.025"
    Sun Auto Hyper Ground system

    Engine management
    AEM UEGO wideband
    Fixed barometer signal (for Speed Density setup)
    GM open-element IAT sensor (for Speed Density setup)
    GReddy E-Manage Ultimate (set up in MAF-less Speed Density mode)
    GReddy pressure sensor (for Speed Density setup)
    MAF delete (for Speed Density setup)

    Cooling
    170 Degree Thermostat
    CSF 2-row 2779 radiator
    HKS radiator cap (1.1 bar)
    OBX silicone radiator hoses

    Exhaust
    2.5" downpipe, 4-bolt flange
    3" mandrel-bent "cat"-back
    Aero 3" resonator
    Catalytic converter delete
    Magnaflow Race Series 3" inlet, 4" tip oval muffler

    Other bolt ons
    Air conditioning delete
    Diamante 65mm throttlebody
    Eclipse GTS intake plenum
    EGR delete
    Fidanza lightweight aluminum flywheel (9.5 lb)
    Golden Eagle vacuum manifold
    HKS oil filler cap
    K&N Performance Gold oil filter HP-1004
    PCV delete
    Power steering delete
    Red Line 10W-40 fully synthetic oil
    Turbo XS catch can with one 1/2" vent hose from each valve cover

    Transmission
    Energy suspension front and rear mounts
    F5M51 manual swap
    GReddy counterweight shift knob
    Ingalls Stiffy torque damper
    Kartboy shifter base bushings
    Kartboy shifter linkage bushings
    Megan Racing short shifter
    SPEC Stage 3+ clutch

    Suspension
    D3 Designs mid chassis brace
    D3 Designs rear chassis braces
    Eclipse GT OEM front strut tower bar
    Addco rear anti-sway bar - 22 mm
    Megan Racing rear lower tie bar (solid)
    Megan Racing Street coilovers
    Mevotech front endlinks (MUCH thicker than stock and better balljoints)
    Whiteline adjustable rear endlinks (fronts from an STi)

    Wheels & tires
    Enkei ZR-1 Wheels in 17x7.5 +40 mm offset
    Bridgestone Potenza RE01R in 245/45ZR17
    H&R TRAK+ 5 mm hubcentric spacers up front (brake clearance)

    Braking
    ABS removed by means of accidentally severing the ABS harness (whoops)
    Ksport front big brake kit
    - 330 mm (13 in) 2-piece rotors
    - 8 piston calipers anodized in black
    - Ceramic street pads
    - Stainless steel brake lines
    ATE Super Blue DOT 4 racing brake fluid

    Exterior
    3rd Gen JDM tails (tinted)
    02-03 Black housing headlights
    Carbon fiber Mitsu emblem
    Cleared corner reflectors
    Custom carbon fiber-wrapped rear trunk garnish
    Custom carbon fiber-wrapped USDM grille
    Daytona Sunset Orange Metallic Paint (Corvette C6 color)
    FormulaONE Tint
    Halo 8000 K 9003/H4 HID conversion
    OEM GTZ spoiler
    Powder coated valve cover (candy orange)
    Sylvania SilverStar turn signal bulbs

    Electronics
    Auto Meter Carbon Fiber Boost Gauge
    Auto Meter Carbon Fiber Oil Pressure Gauge
    Beltronics Vector 995 Radar Detector
    Optima Red Top Battery
    Pioneer Premier DEH-680MP Head
    Pioneer 4-way 6.5" fronts
    Pioneer 4-way 6x9 rears
    Python 700 2-Way security system

    Videos

    Pull vids, dyno vid 530 WHP:

    http://www.youtube.com/watch?v=XUFNjCBzoqA

    Ride-Along, Night Drive:

    http://www.youtube.com/watch?v=Z3DfcNocl0w

    Ride-Along, Outside:

    http://www.youtube.com/watch?v=ug6uhiX05xs

    Dyno vid, 488 WHP:

    http://videos.streetfire.net/video/4...ant_205914.htm

    Exhaust vid:

    http://videos.streetfire.net/video/G...New_199854.htm

    The Best Vid

    And me at the Utah Nissans meet, featuring some Skylines and a super-fast Z32TT. Pushing ~400 WHP. I'd beat every single one of those cars as she sits now ;)

    http://videos.streetfire.net/video/T...eet_204080.htm
    Last edited by WarmAndSCSI; 05-24-2009 at 09:26 PM

  2. #2
    Banned
    Join Date
    08-25-2005
    Location
    SLC, UT
    Posts
    762
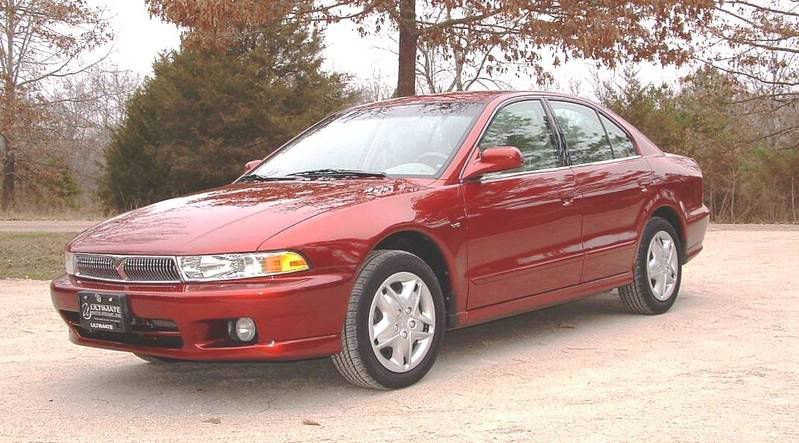
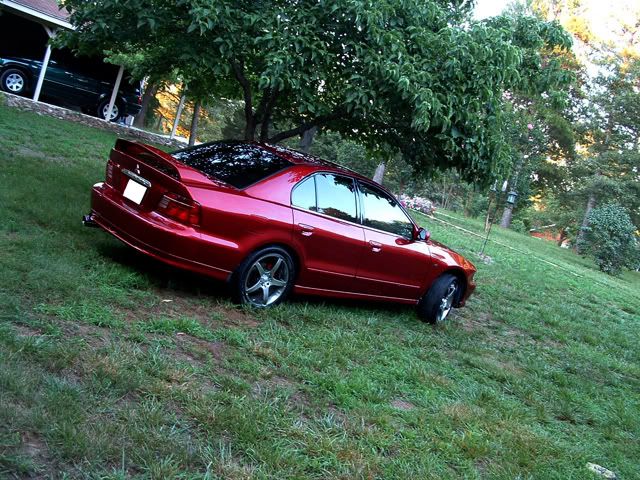
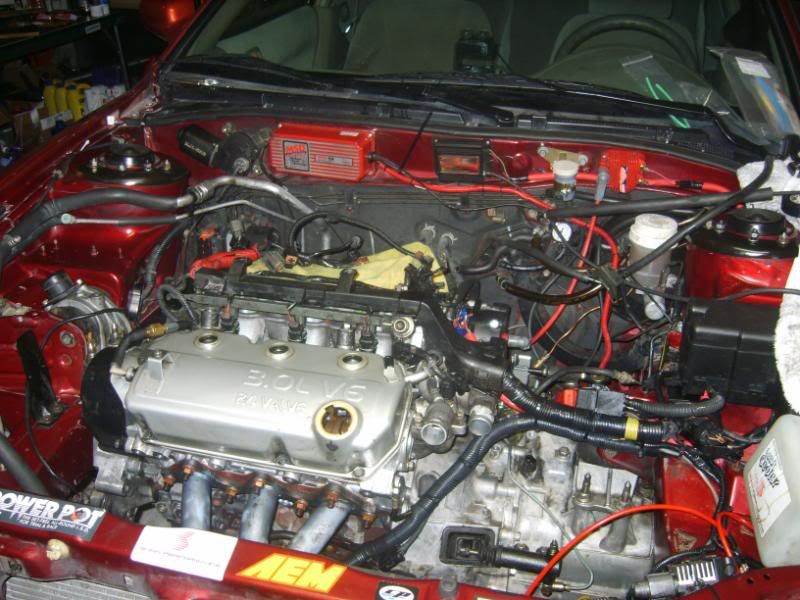
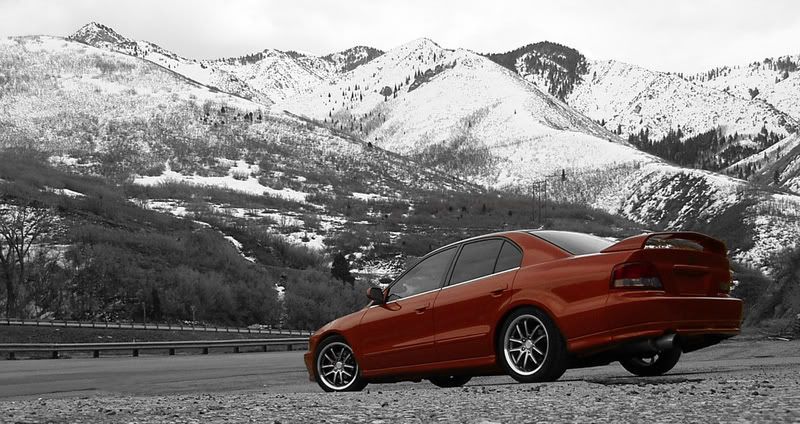
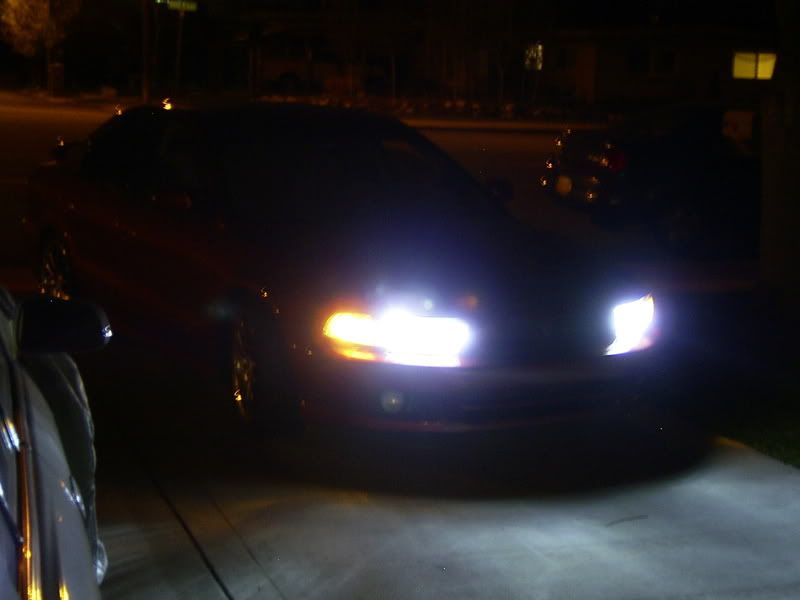
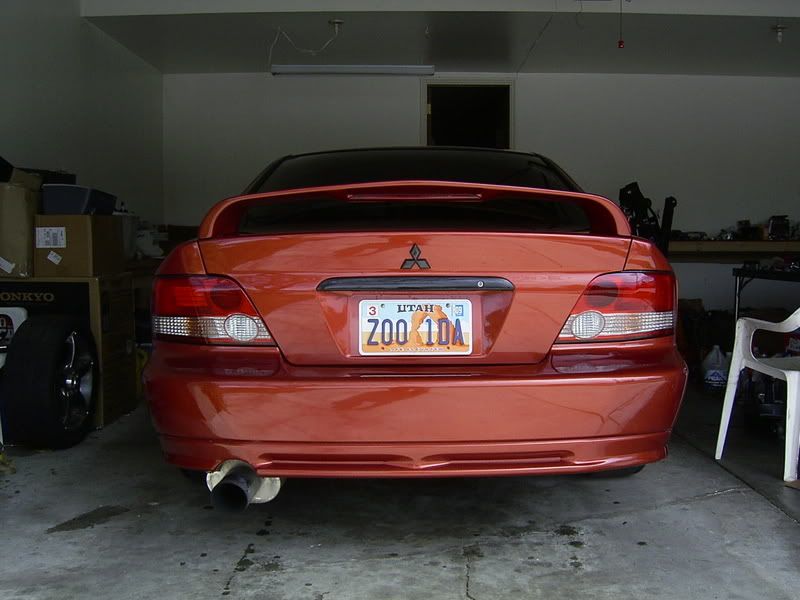
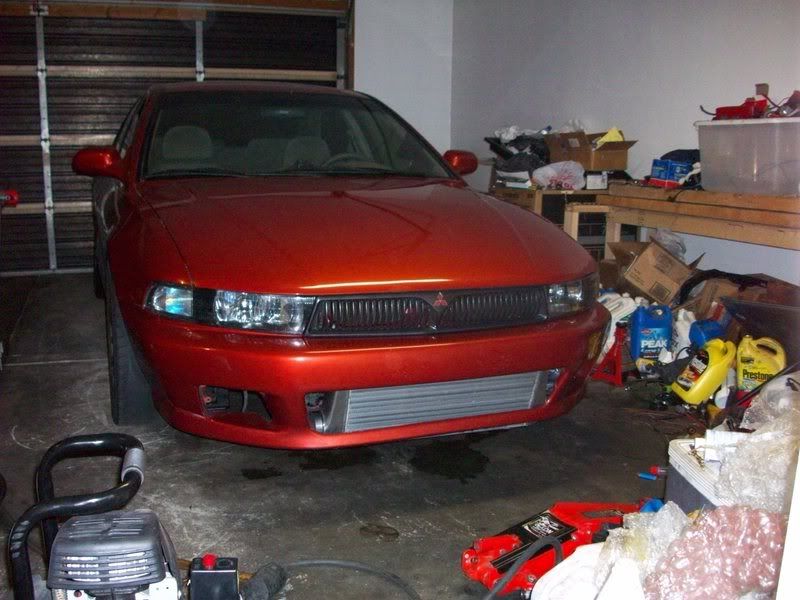
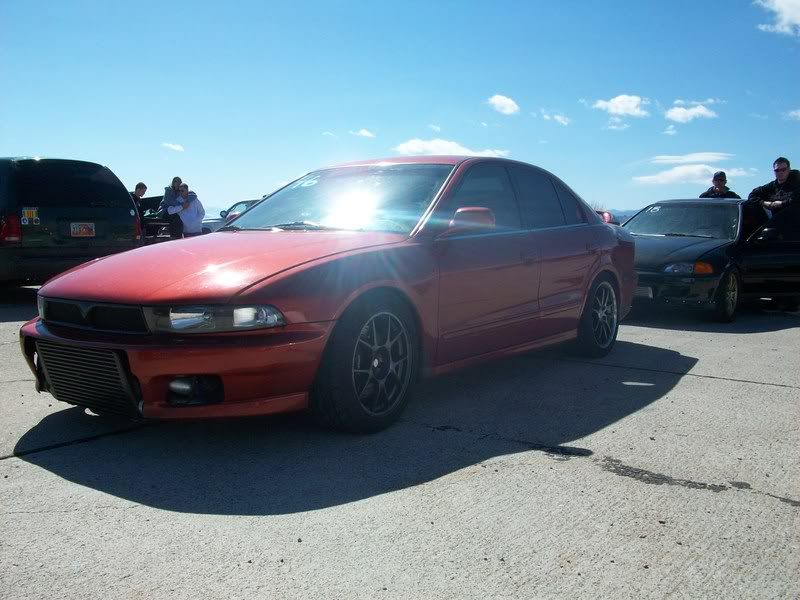
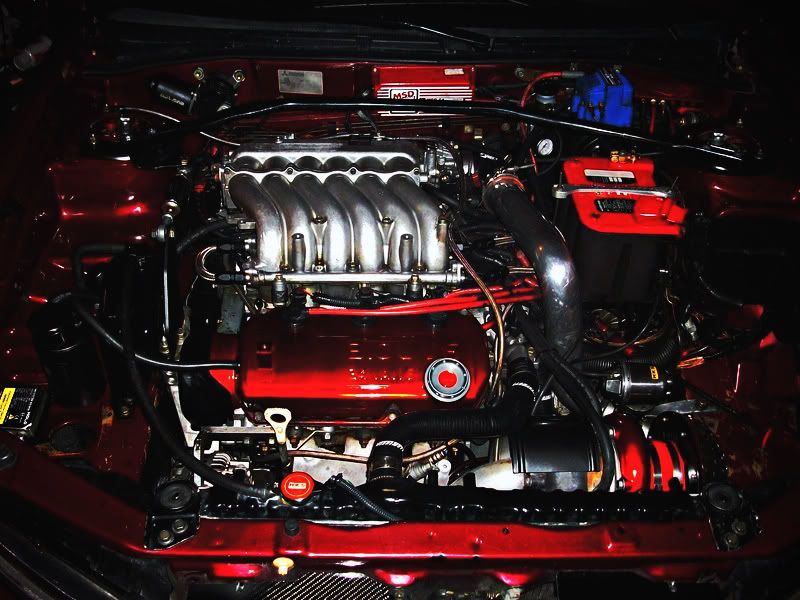
    Ground Zero - Stock - Early Winter 2004


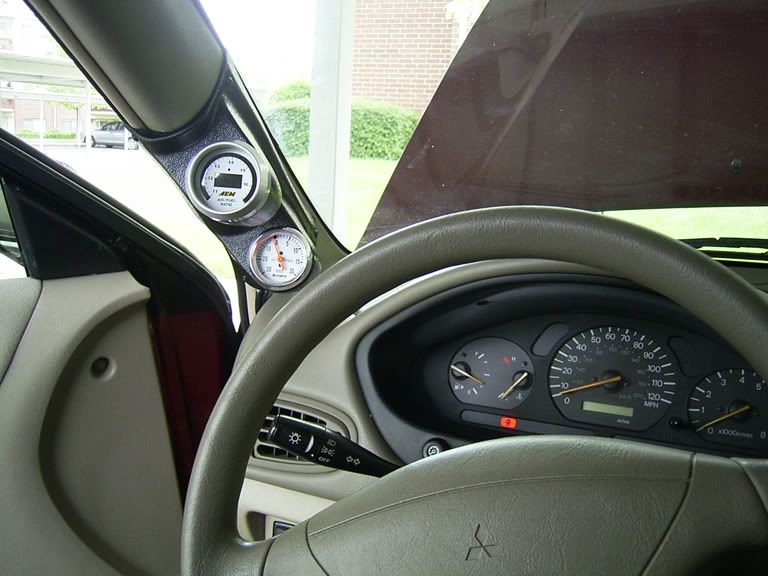
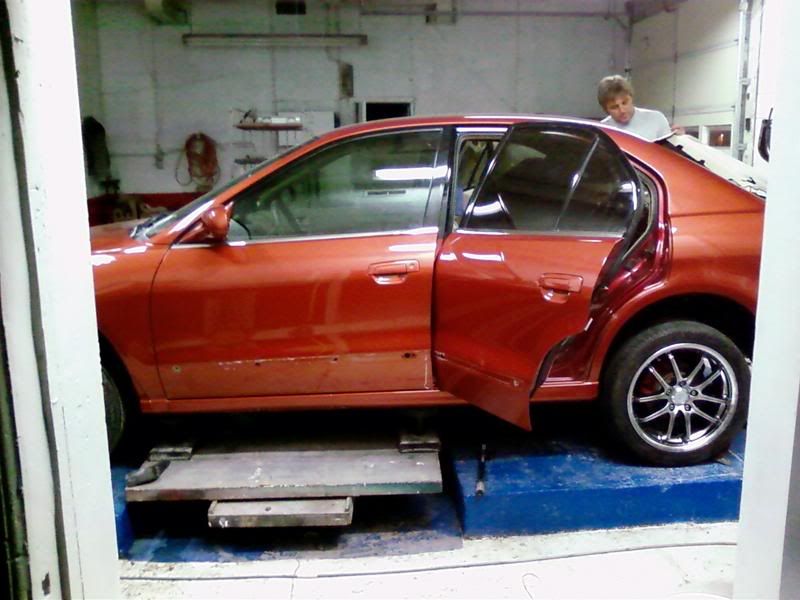
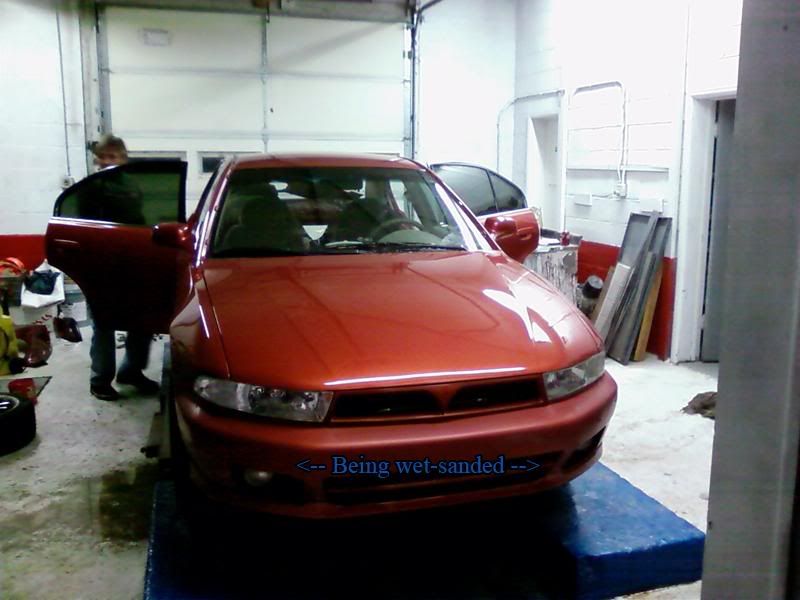
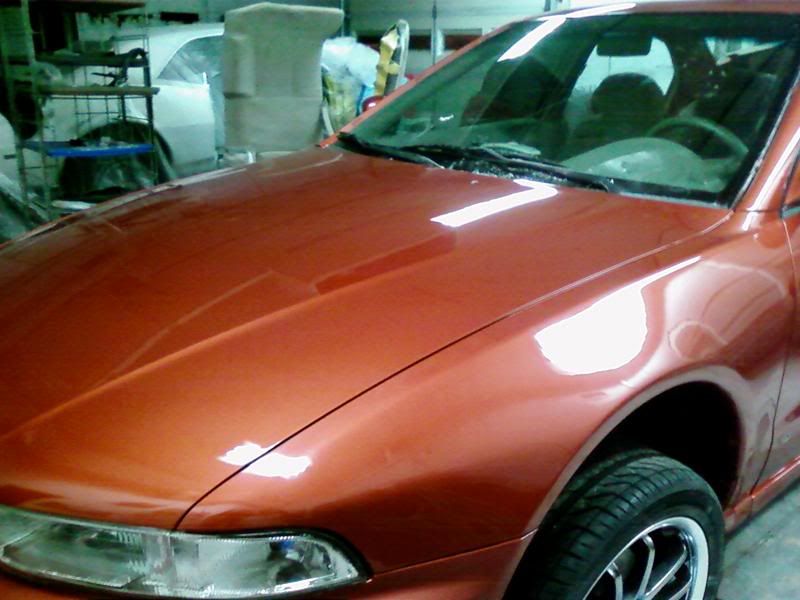
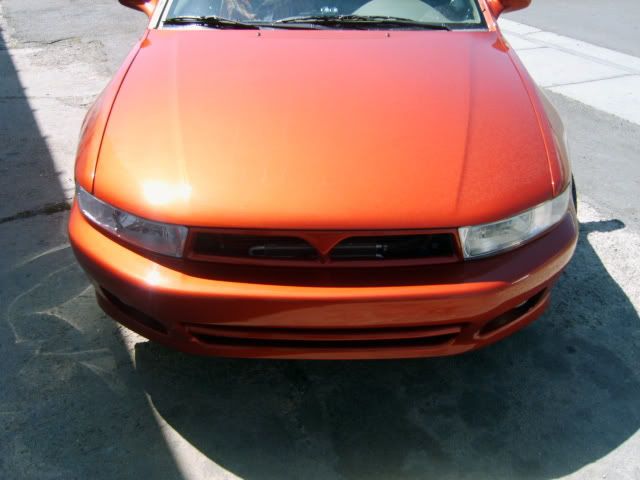
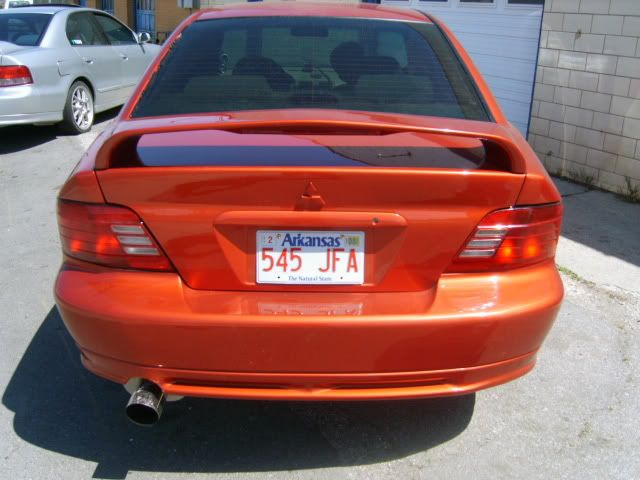
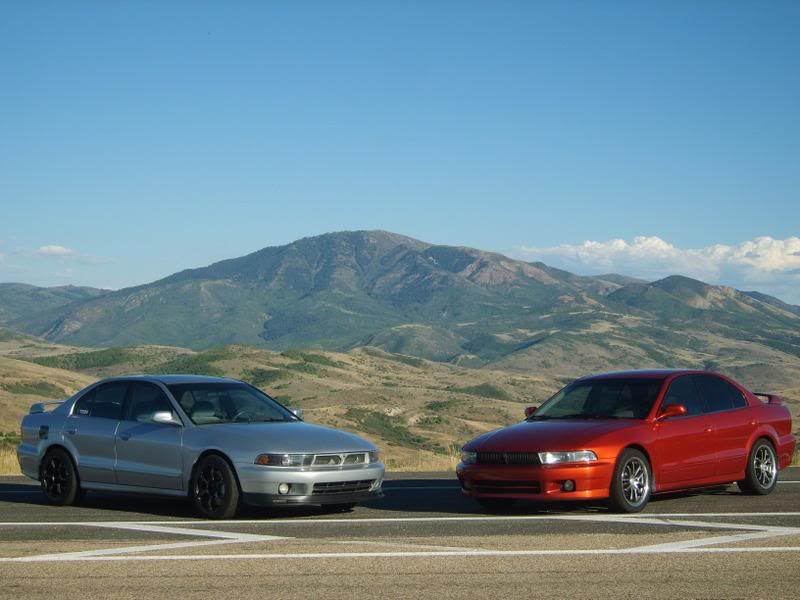
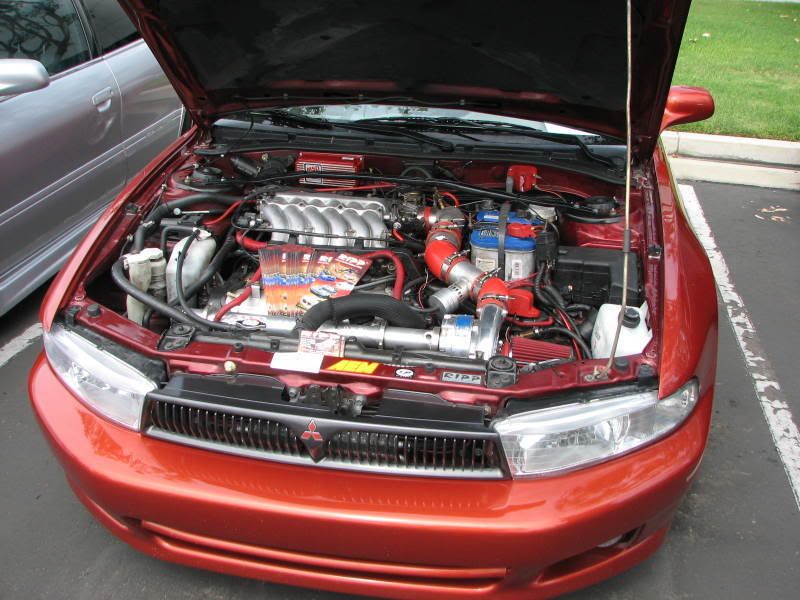
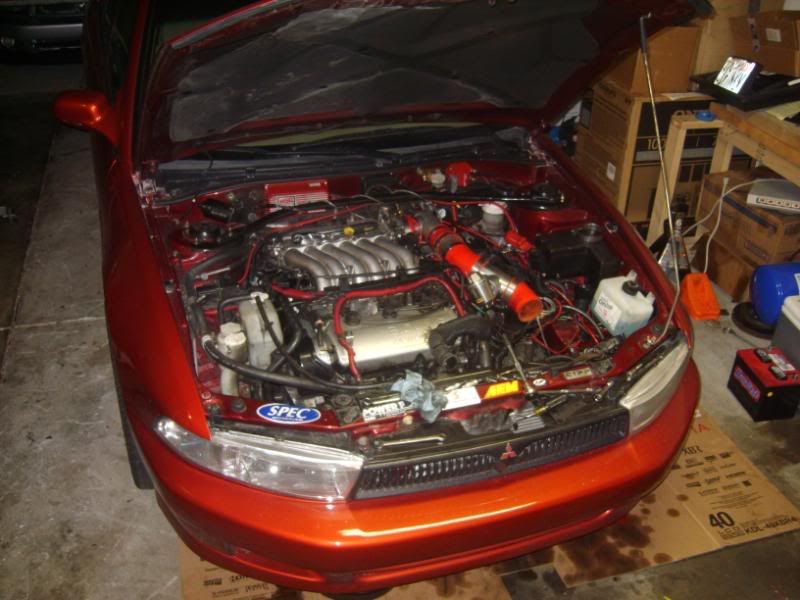
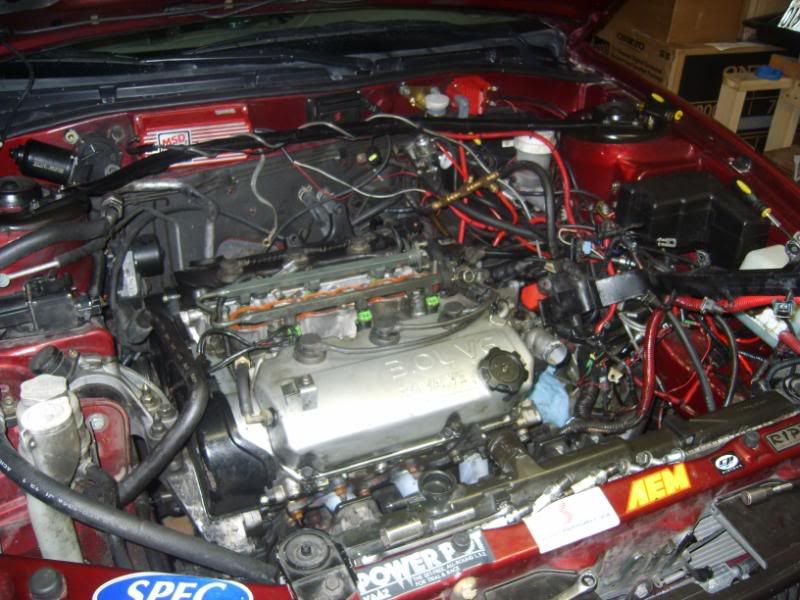
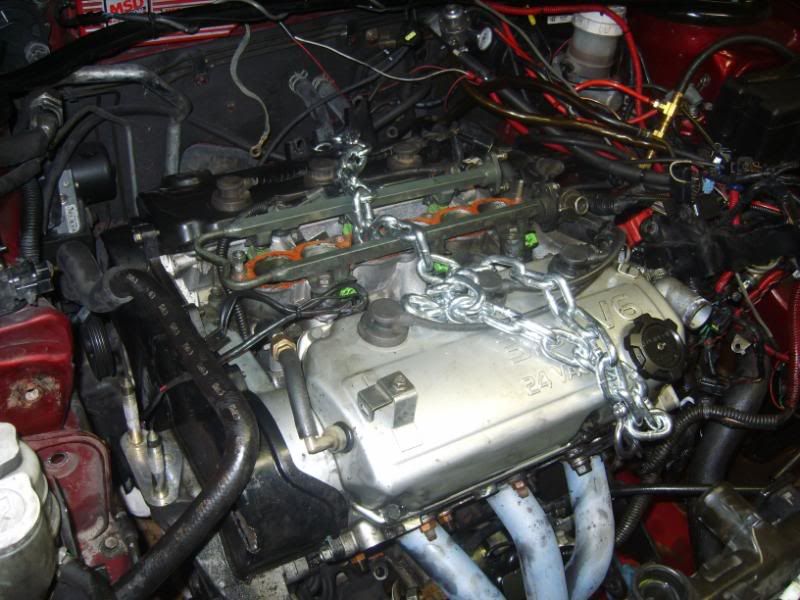
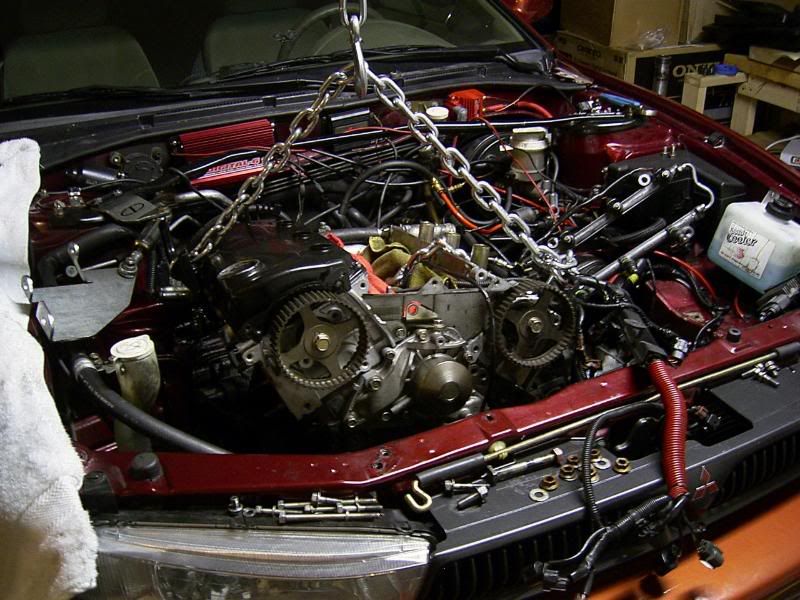
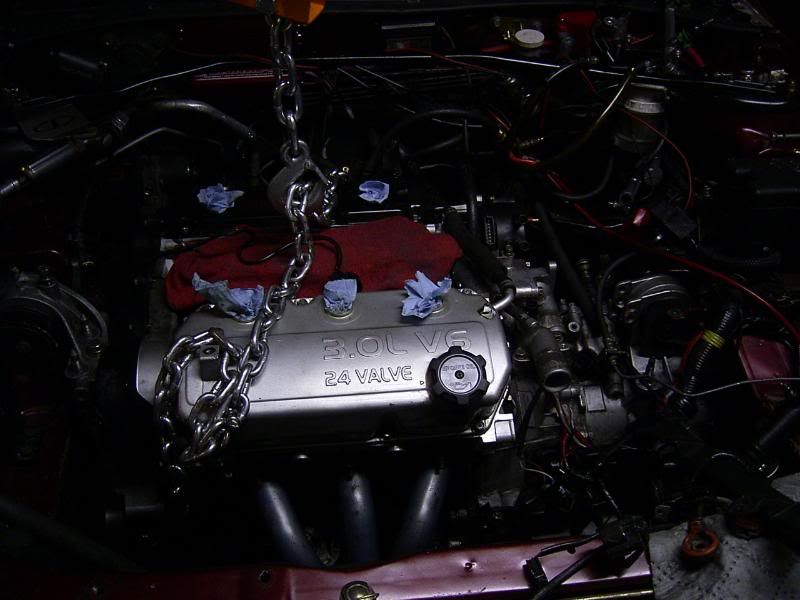
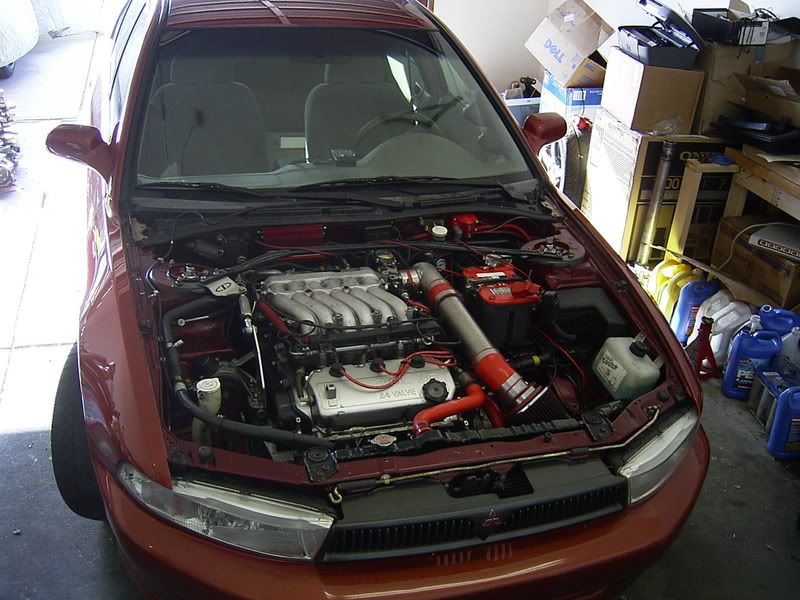
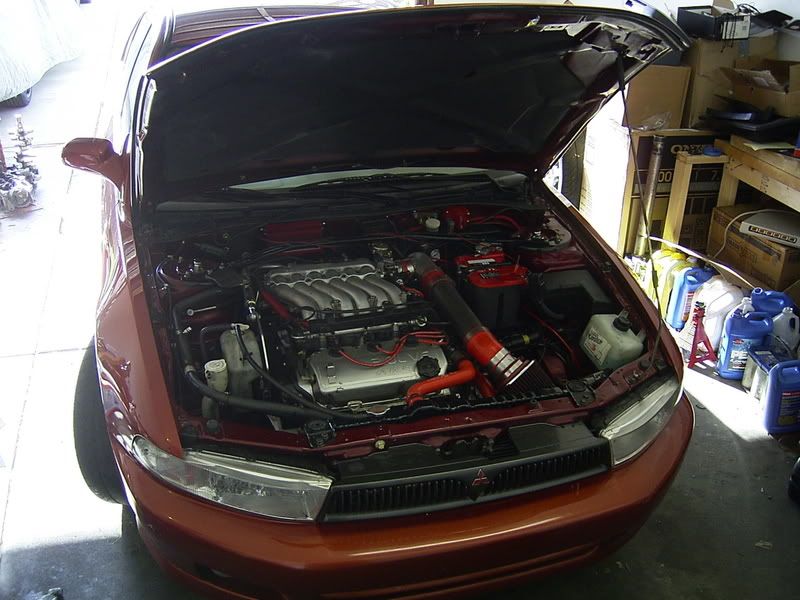
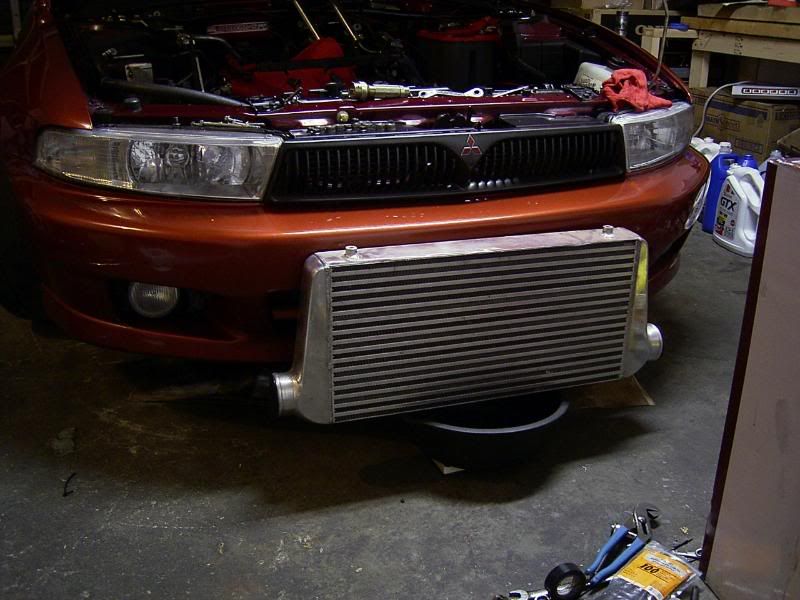
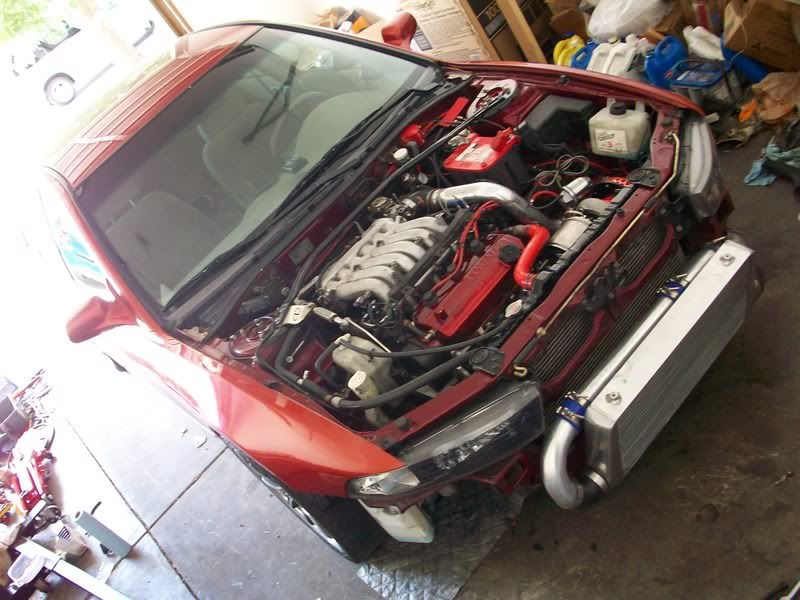
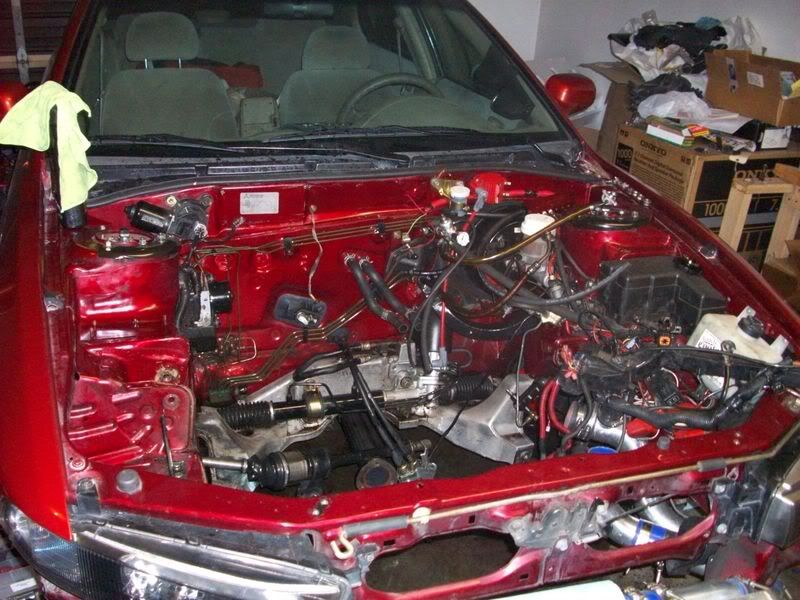
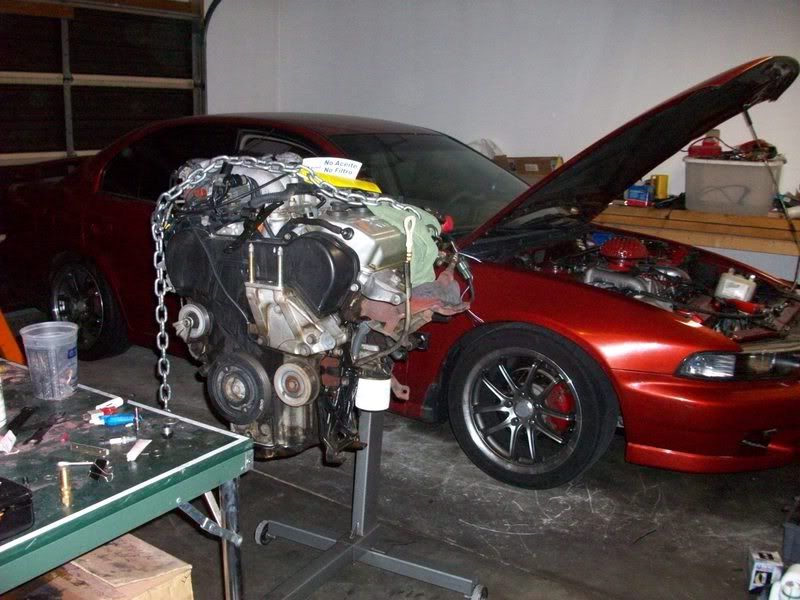
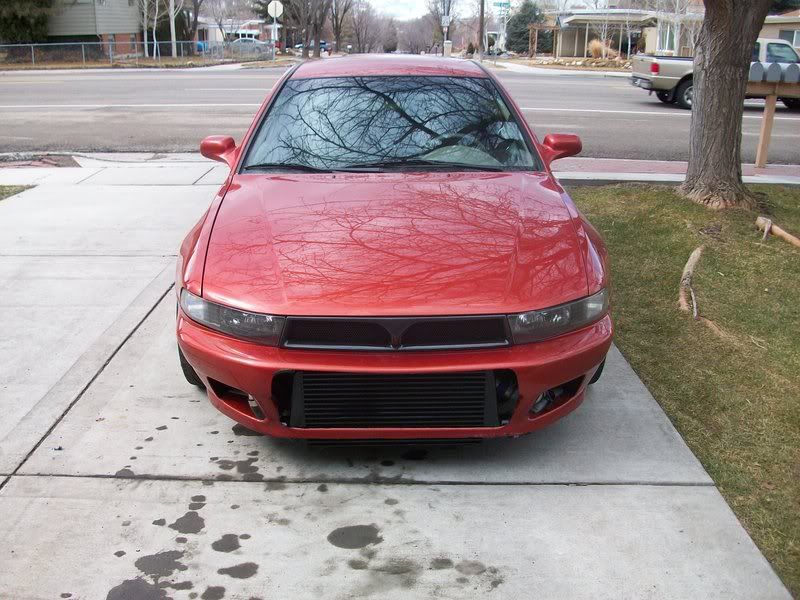
    At this point, the car was 100% bone stock. My dad helped me buy it as I was going off to college the following year, out of state, so I'd need a car to get around.

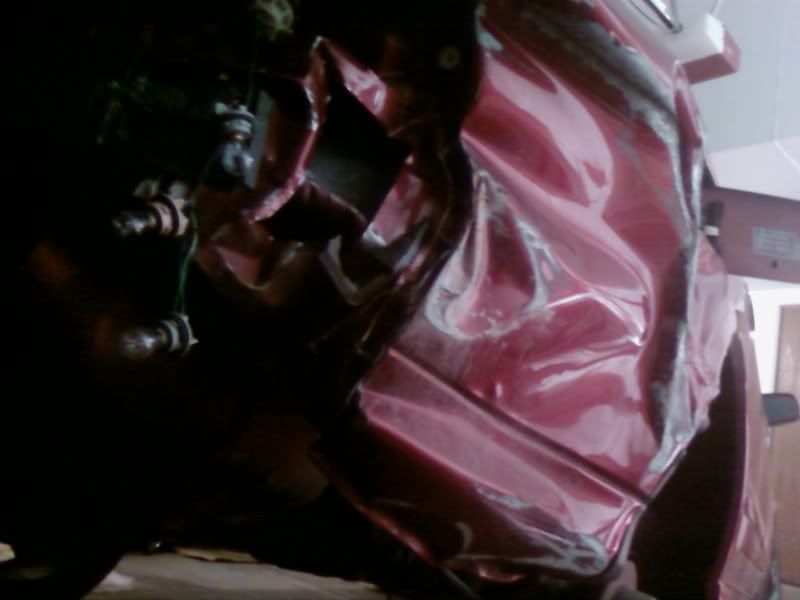
    Purchased for about $7500; 29,000 miles, one owner, some minor front-end damage that had been repaired.
    Last edited by WarmAndSCSI; 05-25-2009 at 12:24 AM

  3. #3
    Banned
    Join Date
    08-25-2005
    Location
    SLC, UT
    Posts
    762
    Stage 1 - Visual Mods - Winter 2005


    Started out with some clean 5-spoke wheels and tires, and a blacked-out grille. Woo hoo!


    Awesome Arkansas lawn... ugh. Added tint at that point, car fully detailed, looking shiny. Also, a Magnaflow oval muffler and 2.5" piping. Sounded GOOD. Had that exhaust up until the first stages of my turbo project.
    Last edited by WarmAndSCSI; 05-24-2009 at 11:34 PM

  4. #4
    Banned
    Join Date
    08-25-2005
    Location
    SLC, UT
    Posts
    762
    Stage 2 - Stock Engine + SDS - Spring and Summer 2006


    Installed it all myself in the garage @ my apartment. Got the tuner version of the Stage 1 SDS and tuned using the E-Manage Ultimate and AEM UEGO wideband. For a short time, I was running the stock manifolds and cats with the wideband located after one of the cats (throws off the AFR reading 0.1-0.2 points or so from what I found).

    The header install was going to be a pain, and I was looking around at the time for a shop to do the welding for me, but ended up saying screw it and my dad and I tackled it when I visited Arkansas that summer.

    It made 231 WHP uncorrected on a Mustang Dyno at 4500 feet. Around the same torque. I'll find the dyno sheet later.

    Here is a video of me running at RMR, still slow because of the automatic, but about 2 seconds faster than stock (stock V6 auto Galants run 18's up here).

    http://s123.photobucket.com/albums/t...t=MVI_0334.flv

    Dead Transmission

    After all of that, I ended up frying the stock automatic transmission. No photos of that, because I was still too green at the time to complete a transmission swap. I let the dealer do that for me. Replaced the stock torque converter with a Rezlo Pro High Stall. Turns out the dealership completely screwed the install, will get to that later.
    Last edited by WarmAndSCSI; 05-24-2009 at 11:35 PM

  5. #5
    Banned
    Join Date
    08-25-2005
    Location
    SLC, UT
    Posts
    762
    Stage 3 - Piston Swapped Engine + 14 PSI SDS and the death of the car - Winter 2006

    Not a single photo of my piston swap, but I swapped in a set of drop-in CP 2618 alloy forged pistons after blowing the stock ones at 14 PSI (RIPP SDS Stage 2). Didn't know crap about engines at the time, but got the set of pistons for Christmas from my parents and went at doing my first engine rebuild.

    That setup ran great for almost a year, but I ran into a bump during that time...


    One thing you have to respect is raw power. This happened after it had snowed and I hit some snowplow runoff going 100+, caught the spin after pulling a 360 at 80+ mph, and clipped the ass end of my car on the way out. If I didn't know how to drive at that point, I would have been dead. Limped the car home and then took the photos above.

    I was devastated, but glad to have been alive. This was literally right after boostzealot's 6G74 swap we did in that very spot... very, very bittersweet.
    Last edited by WarmAndSCSI; 05-24-2009 at 11:37 PM

  6. #6
    Banned
    Join Date
    08-25-2005
    Location
    SLC, UT
    Posts
    762
    Stage 4 - The Rebuilding and Making 350+ WHP - Spring thru Summer 2007

    I spent two weeks deciding on the color I wanted to paint the Galant... finally settled on Daytona Sunset Orange Metallic from the C6 Corvette. I saw the color on a Corvette during those 2 weeks and absolutely fell in love.

    Took some time to get the car repaired. I ended up arranging to get the complete rear suspension and ass end of a black 8G Galant to rebuild mine. We took the rear clip, trimmed off the entire damaged area of my Galant, tweaked things a bit, and then welded on the donor car. Turned out perfect, they did a great job.

    A quote from another body shop was around $12,000 to get it fixed. I spent half that, with a new paint job.

    Picked up some new Enkei ZR-1's and tires at the same time due to the damage to my old wheels.


    Absolutely brilliant paint job...

    Then I lowered it with some Eibach Pro Kit springs, courtesy of boostzealot.


    The Big Comeback


    So after all this, I got all of the components I needed to start running 21+ PSI. Installed the smaller shaft pulley from RIPP along with their overdrive crankshaft pulley.

    Ended up dyno-ing 363 WHP corrected on a Mustang Dyno at 4500 feet. Still with the automatic.

    The SDS shaft ended up fracturing at the foot of the supercharger and I had to send it all back to RIPP for repair. Though it was clearly their crappy workmanship at fault (bad welds), they charged me over $800 for the whole ordeal. Fuck RIPP.

    After that, was the trip to MOD, where I would find out that the dealership absolutely failed at installing my torque converter (no Loctite on the flex plate fasteners).


    God the car was so fast at sea level. At least making 380-390 WHP at 25 PSI if not more.
    Last edited by WarmAndSCSI; 05-24-2009 at 11:40 PM

  7. #7
    Banned
    Join Date
    08-25-2005
    Location
    SLC, UT
    Posts
    762
    Stage 5 - Dead Automatics, Manual Swap, Death of My First Built Engine - Fall 2007

    Well 500 BHP takes its toll on an automatic. I ended up fracturing the stock flex-plate, mainly due to a torque converter bolt that backed out (thanks stealership). The dealership should have paid for it all due to their ineptitude, but of course the weren't going to due to the high level of modification.

    Dunno if I have any photos of the flex-plate, but it was pretty sorry. Boostzealot and I ended up replacing it, and my torn-up bellhousing up at Hill AFB and then the whole thing ended up failing because somebody *cough* forgot the outer bearing race on the bellhousing side. :)

    Good thing, though, because I got to do this:


    I received the trans for free from a local Club3G guy who had sold his Eclipse and got a GTO (thanks again, Charlie). His diff had blown, but I replaced it with a Kaaz unit from RIPP. SPEC Stage 3 clutch, Fidanza lightweight flywheel, the works. This was a very good setup and lasted me a year of abuse.

    Took all of this, got it dyno'd and hit up the track.

    http://s123.photobucket.com/albums/t...t=MVI_2564.flv


    374 WHP / ~300 lb-ft torque @ 21 PSI

    http://s123.photobucket.com/albums/t...nt=RaceDay.flv

    Then the fateful day... ended up at the track with a smashed plug, but 100% OK compression (engine was trying to tell me something! And I didn't heed the warning). Turns out the E-Manage Ultimate was picking up some noise through its inputs and MASSIVELY cutting fuel at certain times. It took me a YEAR to figure this out, and countless dollars spent on replacement pistons and ignition components.

    Anyway, at the track... one pass, I let boostzealot drive and the vacuum line blew off my E-Manage pressure sensor, cutting all boost-added fuel and completely toasting the engine as he didn't let off when it started to bog. :( Sad day.


    5 forged 2618 alloy pistons blown. One completely gone; corresponding rod bearing seized and rod/crankshaft ruined. That is the worst engine carnage I had ever seen - and I drove it home 90 miles like that, and a week to/from work following.
    Last edited by WarmAndSCSI; 05-24-2009 at 11:42 PM

  8. #8
    Banned
    Join Date
    08-25-2005
    Location
    SLC, UT
    Posts
    762
    Stage 6 - Built Lower End - Fall 2007

    I'm going to mainly let the pictures do the talking here. This was my first major engine rebuild, and like every single one, was flawless minus the crazy glitches in my tuning setup. :( All removal, engine assembly, and installation done by myself with grunt work help from boostzealot (thanks again, bro :) ).

    The first few shots are of the donor engine given to me by boostzealot. Was his original 6G72. You can see the rod he bent hydrolocking the SOB, too!


    Didn't last very long, due to some major tuning equipment issues. Then again, and again, and again. More detail in the following posts.
    Last edited by WarmAndSCSI; 05-24-2009 at 11:54 PM

  9. #9
    Banned
    Join Date
    08-25-2005
    Location
    SLC, UT
    Posts
    762
    Stage 7 - Back to N/A, taking it easy, more visual and suspension mods - Winter 2007 thru Spring 2008


    Lowered on coilovers, new tails, other visual tweaks.

    Then... all hell broke loose with the engine and I decided to go back to N/A after doing a full rebuild. I used my originally blown block as the core engine and had the crankshaft ground undersize.


    Ended up doing that ^^ to the oil pump o-ring and had to pull it and replace the o-rings while the engine was already in the bay. Never a fun job.

    The results, being N/A, weren't bad. Here are my dyno sheet and quarter mile run.


    http://s123.photobucket.com/albums/t...t=100_0010.flv
    Last edited by WarmAndSCSI; 05-24-2009 at 11:58 PM

  10. #10
    Banned
    Join Date
    08-25-2005
    Location
    SLC, UT
    Posts
    762
    Stage 8 - Low Boost Turbo Build - Summer 2008

    So during this trial and error period with the engine, I had been accumulating some turbo parts. The turbo was a genuine Garrett T3/60-1 0.63 A/R hotside.


    More Bad News - First Bearing Spin

    Got everything installed and tuned at 8-10 PSI. Car was running great, minus an ignition misfire which I later solved. BUT, I ended up spinning a rod bearing due to a combination of poor rod resizing, main alignment/roundness, and fuel dilution. That resulted in a necessary full lower-end rebuild with all new pistons, balls-to-the-wall at that point. Head studs, main studs, totally built lower end. Also ruined my turbo, and I was forced to get a new T3/60-1, this time with a 0.82 A/R hotside. You can see below where I pulled apart the old turbo to find it pretty much unsalvageable.


    Was a good setup after that, but once again...
    Last edited by WarmAndSCSI; 05-25-2009 at 12:05 AM

  11. #11
    Banned
    Join Date
    08-25-2005
    Location
    SLC, UT
    Posts
    762
    Stage 9 - No Stopping Me Now, High Boost Turbo Build - Fall thru Winter 2008

    2nd Spun Bearing

    And it happened again. Spun bearing. This time due to main alignment and poor rod big end alignment. I wasn't giving up. Rebuilt her again with a brand new crankshaft; and this time I ported and polished the heads in preparation for huge power. AND switched to a GT35R with an inlet oil filter in case I would spin another bearing.

    Each time, I'm going further and further in to improve upon this inherently poor engine design. I'll let the photos do the talking.


    w00t! And then it happened again...
    Last edited by WarmAndSCSI; 05-25-2009 at 12:09 AM

  12. #12
    Banned
    Join Date
    08-25-2005
    Location
    SLC, UT
    Posts
    762
    Stage 9 - Continued... Success Comes.

    And again, spun another bearing. I made the decision this time to go with a new machine shop suggested to me by a very knowledgeable local 3SI member. Casey's Machine in WVC, UT. I didn't say much about this rebuild... same old failure again. Main bearings experienced excessive wear and sent bearing shavings up to 2 of the rod bearings, causing them to fail. I picked up a new junkyard engine to use as my new core. Transferred the pistons, rods, and turbo kit; and had the brand new cranked turned 0.010 under on the main journals and 0.020 under on the pins. Perfect crankshaft job, thanks to Casey and Dan! They know their stuff and actually give a damn.

    The Arrival of the New Engine


    And somehow between then and a few weeks later, I rebuilt it all without taking any photos this time. Spent 4 days pulling, rebuilding, and reinstalling along with making some major improvements. My dad came out from Arkansas to help out.

    After getting everything back together, I ended up making the following numbers on the crappy exhaust at 15 PSI:


    Differential Failure

    The Kaaz LSD went out and I replaced it...


    Then I re-did the exhaust...


    Later, I re-did it again and added a resonator.

    The exhaust made some nice gains (NOTHING else changed, boost PSI was equalized to what it was before after the exhaust was installed):


    And there was my record for 6G72 SOHC 24 V power. The most I'd OFFICIALLY seen before that was 383 WHP.
    Last edited by WarmAndSCSI; 05-25-2009 at 12:11 AM

  13. #13
    Banned
    Join Date
    08-25-2005
    Location
    SLC, UT
    Posts
    762
    Stage 9 - Continued Success...

    Still 2008, I made a few more improvements to the ignition system and electronics, added the GTS intake manifold back, and re-tuned a bit at 17 PSI.


    You can see the new SS in-bay fuel system there as well. And the new CF grille. Love it.

    I hit up the dyno after that and made 488 WHP.


    http://s123.photobucket.com/albums/t...t=100_1236.flv

    More CF crap and rice...


    New brakes.


    And more bling.


    Blew a head gasket somewhere in-between and fixed it up:


    Then broke my record again with 531 WHP / 551 lb-ft torque. The weird dip at the end is from the ignition cut rev-limiter.

    Last edited by WarmAndSCSI; 05-25-2009 at 12:13 AM

  14. #14
    Banned
    Join Date
    08-25-2005
    Location
    SLC, UT
    Posts
    762
    Stage 10 - Finding Stability and Building a Full-Out Track Monster - Late Winter 2008 and on

    See the first post for the best videos. They really showcase how f-ing fast this car is. I love driving it, but I had to get another car so I could have a reliable DD. Enter Sonic the Octane Blue Evo X :)

    But I've continued to fix small items and I have huge plans for the car still...


    And the progress will continue...
    Last edited by WarmAndSCSI; 05-25-2009 at 12:18 AM

  15. #15
    Banned
    Join Date
    08-25-2005
    Location
    SLC, UT
    Posts
    762
    Thank You!


    This is the present... Pumpkin just chilling in my driveway, waiting for whatever is next!

    This thread was a showcase to what my car has been through, and how dedicated I am to my automotive projects. I have a lot of people to thank for your encouragement and help throughout the life of my car. BJ, Mike Romney, Corinna, Denver, Joe, Kenny, Kyle, Adrian, Jason, Matt, Mike from work, and anybody else I'm forgetting... thank you very much for encouraging me to keep on building up this car! It's cost me hundreds upon hundreds of hours of my life, and tens of thousands of dollars, but it was all worth it. I have a car now that I am truly proud of. Thanks again guys... and thanks to many of the online car communities that have helped me build this beast. Thanks to the local shops who show massive respect for my car and allow me to use their facilities and equipment at discounted rates. Couldn't have done it without those guys, either.

    This is just the beginning, you can trust me on that... you can keep up-to-date on my Galant here: http://mitsubishipowered.com/project...built-t24.html

    -TJ
    Last edited by WarmAndSCSI; 05-24-2009 at 10:13 PM

  16. #16
    You are here entirely tooo much!! seth98esT's Avatar
    Join Date
    08-01-2002
    Location
    Keokuk, IA
    Posts
    8,348
    Only qualm I have with that setup is the way you ran your IC piping. Other then that, everything looks good.
    7g for life!

  17. #17
    Banned
    Join Date
    08-25-2005
    Location
    SLC, UT
    Posts
    762
    Quote Originally Posted by seth98esT View Post
    Only qualm I have with that setup is the way you ran your IC piping. Other then that, everything looks good.
    There is practically no other way on the 6G72. What I need is a same-side outlet intercooler.

    Thanks otherwise.

  18. #18
    Senior TGC Member ricky_db's Avatar
    Join Date
    03-12-2007
    Location
    Dallas TEXAS
    Posts
    2,041
    mad props on the build(s)

  19. #19
    Banned
    Join Date
    08-25-2005
    Location
    SLC, UT
    Posts
    762
    Quote Originally Posted by ricky_db View Post
    mad props on the build(s)
    Thank you.

    I've changed most of the images to thumbs now so the thread should be a lot more bearable.

  20. #20
    Experienced TGC Member 02redgalant's Avatar
    Join Date
    02-07-2007
    Location
    ORLANDO
    Posts
    1,599
    wow thats great.......how much money can you honestly say you've dropped on this project? if you dont mind of course..

Page 1 of 3 123 LastLast

Posting Rules

  • You may not post new threads
  • You may not post replies
  • You may not post attachments
  • You may not edit your posts
  •