The Galant Center - Powered by vBulletin

Thread: Help in NY

Page 7 of 8 FirstFirst ... 345678 LastLast
Showing results 121 to 140 of 148
  1. #121
    great, glad to see the shop didnt fuck up the transmission

    what morons

  2. #122
    Started her up, she needs a tune, ISUARIO WHERE ARE YOU??!!!!

    and im getting a weird sound when i press the clutch pedal down.
    heres a video:


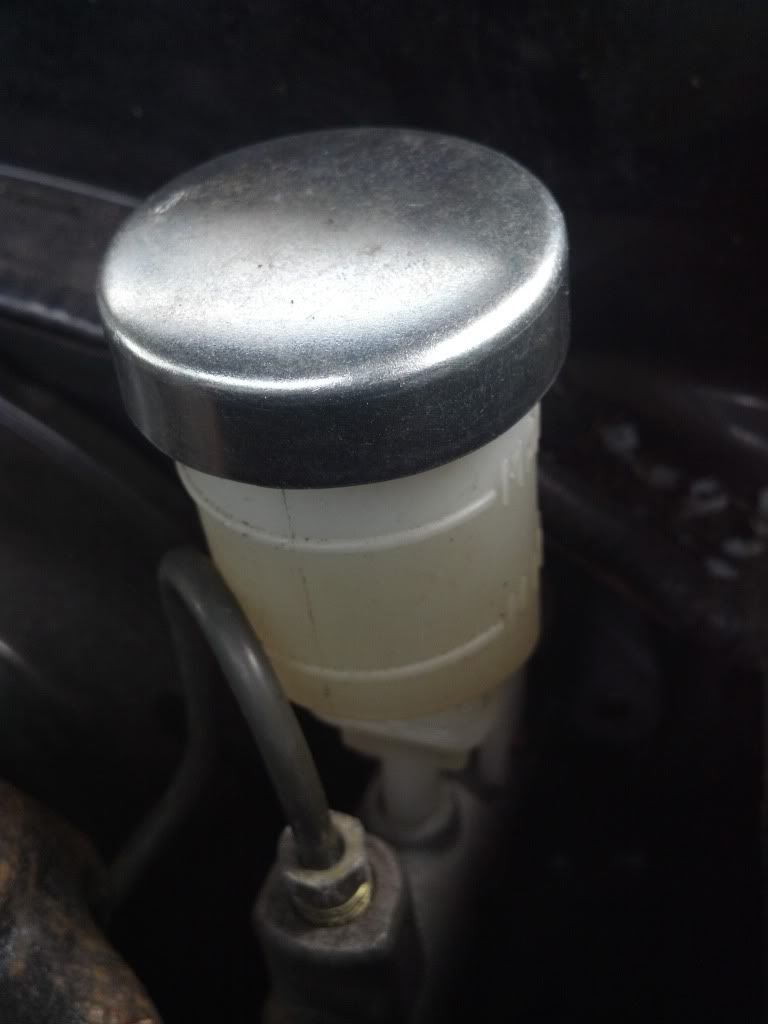
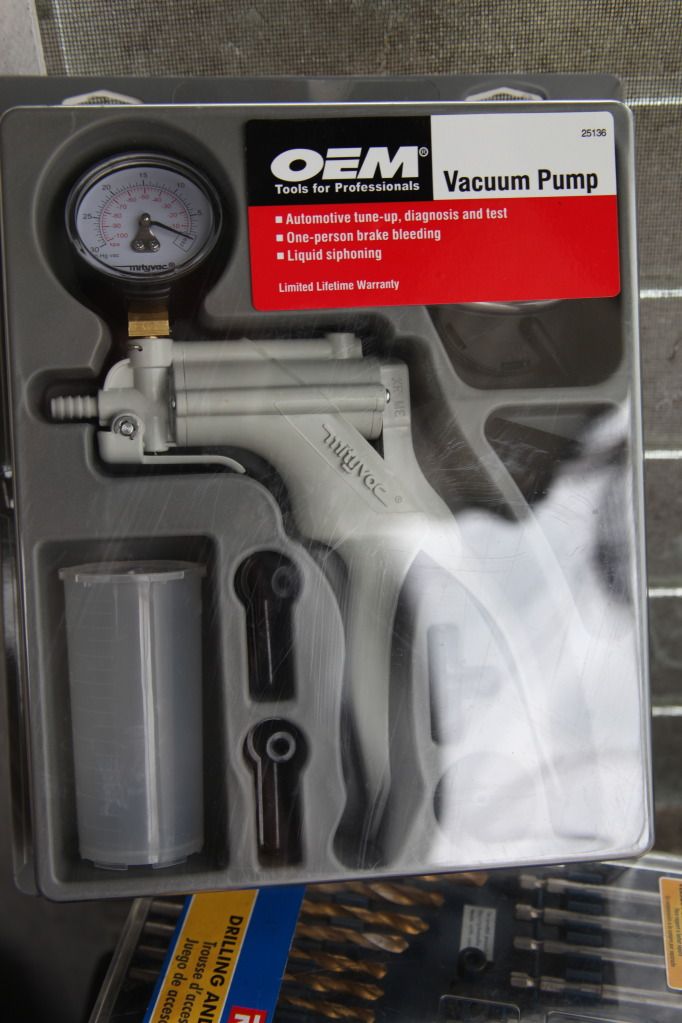
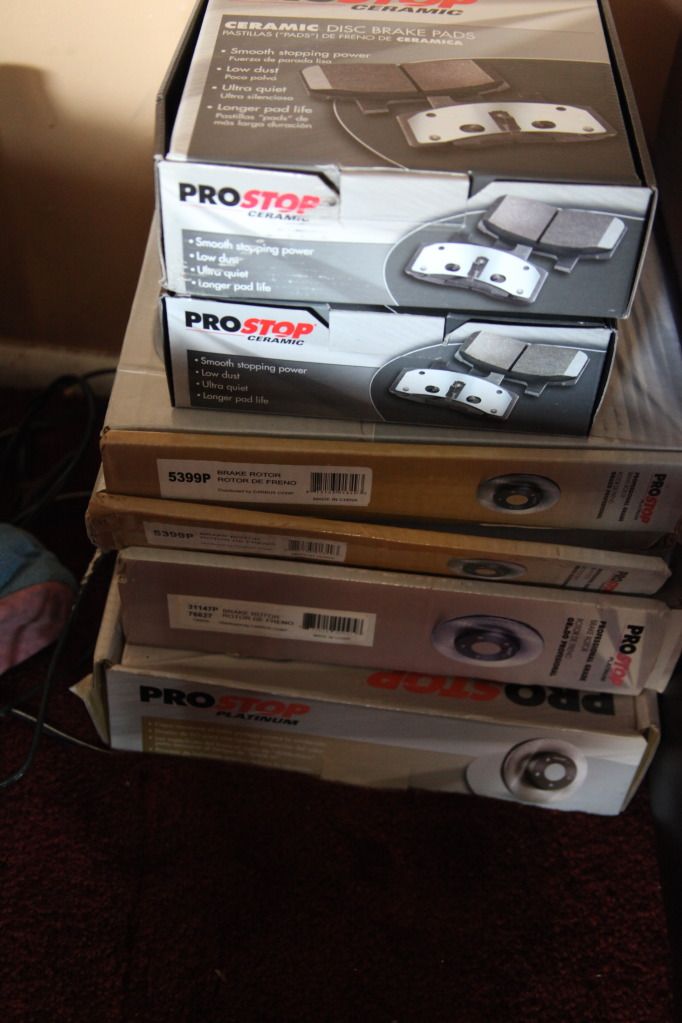
    All the pedals are way to loose for my happiness anybody got a brake bleeder they can come and help out with.

    oh and i couldnt remember how to stiffen up the gas pedal.

  3. #123
    If you want to bleed your brakes by your self you should look up bleeding brakes backwards. Did it on my prelude took about 5 minutes from having barley any pressure at all. And i dont think you can stiffen up the gas pedal? you can make it more responsive at the TB. Good progress whats next on the list?

    Only sonata f5m42 swapped. N/A build in motion.

  4. #124
    swap two doors, swap front seats to my leather ones, but dashboard and center console back in, install ingalls rear camber kits, instal SOCAL adjustable rear arms, swap fuel assembly for one in storage, install quick release steering wheel, drink some vodka, change front tires, splice new driver abs clip, wheel alighnment and inspection, strip off all old paint and prime her and some other minor things,....

  5. #125
    side skirts , gonna strip em and prime em


    Swapped out first door and mirror and installed tweeter bracket....however my cover is missing..........


    Radiator fan took an Asstastic crap on itself


    Made my own metal cover for the Clutch Resivior, used a exacto with straight edge and shaved down resivior side arms one thin sliver at a time


    Prepping for start of interior install tomorrow; pulled out the cloth seats and put leather with mitsu Embrodery in back seat area.


    pulled off both fenders as well so i can start prepping for paint removal, that will be SOOO much fun.....NOT...

  6. #126
    Quote Originally Posted by jubeiaire View Post
    swap two doors, swap front seats to my leather ones, but dashboard and center console back in, install ingalls rear camber kits, instal SOCAL adjustable rear arms, swap fuel assembly for one in storage, install quick release steering wheel, drink some vodka, change front tires, splice new driver abs clip, wheel alighnment and inspection, strip off all old paint and prime her and some other minor things,....
    A lot of work to do! keep it coming

    Only sonata f5m42 swapped. N/A build in motion.

  7. #127
    so i decided to tear into the nightmare of a rear suspension on this car and give her a pedicure, mind you this rear is not mine and the previous owners racked 213k miles on car and i dont think they ever fixed anything.

    In preperation i bought a bunch of new tools cause i knew this bitch was gonna try and break my heart and act a fool like any women getting her feet done for the first time


    Tap/Die set


    Map gas tourch kit with o2 tank


    Eye, Ear and Hand Protection....and it came in handy


    For stubborn parts and agrivation relief


    Full Punch/Chisel set-Not sure why i didnt have one of these allready i had 4 of them when i was in the army.....


    For the do it yourselfer


    i dont remember but i nneded for something to do with the brakes....oh shit now i remember it was for the resplicing of the abs sensor


    Hopefully she appreciates a man that lubes it up first


    you should know what this is for....making pudding......

  8. #128
    So heres the work......I almost put this bitch up for parts ask Dees and isuario i texted them said you need something..........


    start with passenger side....look at this nastyness. Fucking horrible scary down right disgusting that they would let a car get that bad....and now i have the plessure of fixing it......


  9. #129
    My rear suspension needs an overhaul too I have new sway bar links and struts but I have rattle somewhere else. Sadly I don't have the money for it.
    '00 Mitsubishi Galant ES 4g64T (Samantha)
    '01 Mitsubishi Galant ES 4g64 (Daily)
    '02 Mitsubishi Galant ES 4g64 (SCRAPPED)
    '00 Mitsubishi Galant ES 4g64 (SCRAPPED)
    '91 Volvo 740 Turbo B230FT (SOLD)
    '88 Mitsubishi Mighty Max (SOLD)
    '91 Kawasaki ZX7 (SOLD)
    '95 Kawasaki ZX9R

  10. #130
    This is what well be installing


    Ingalls camber Kit And the rear adjustable bar thingy Designed by Cali..TY Cali


    Ceramic Pads Rear Ceramic Rotors Rear..i have fronts too but thats a diff day...


    New calipers rear left and right only one box shown in pic...they dont come with the bracket so ill have to clean up my old ones.


    Energy suspension bushings ill only be putting in the outer arm to knuckle ones for right now


    D2 dampers; they were put on allready but not adjusted properly


    Links


  11. #131
    nice....now get the car on the road already :-p

  12. #132
    First headach on passanger side

    Tried to remove arm from bracket and bolt was frozen so i went after bracket bolts


    The bolt itself was rusting through. Snapped right off inside sidewall of wheel well.


    I tried to slavage the original threaded tunnel by going from small to bigger bits, got close but it still was stripping my new bolts threads.
    Tap and die set to the rescue.

    I re-threaded the hole and rethreaded the bolt. first time i ever had to fix a bolt allways just got new bolts, heres how it came out


  13. #133
    Its coming together man. Cleaning the body and suspension always gives me a better piece of mind.

    Only sonata f5m42 swapped. N/A build in motion.

  14. #134
    Removing your dampers/struts will give you more play and area space while doing the rest of the work, if car is jacked up the rear suspension doesnt plummet to the floor like the front does without the dampers/shocks attached


    i finally get the arm out and the fucking bracket bolts still wont come out so i had to take a trip to my boys job and use his vice so i could sledge them out


    after that i move on to the lower arm im pulling out,,,,,heres where alllllllllll the fun came in

    as you can see not much room to play with in here


    i was forced to take the map gas torch and melt out the bushing so i could get enough leverage to hammer out the bolt


    Had to hammer the whole bolt assembly through the wall since the sleeve is wider than the bolt hole,,,gonaa love fixing that hole back into place...[enter punch and hammer]


    This bolt is suposed to be three seperate parts consisting of 1bolt 1 adjusting washer and 1 bushing sleeve. as you can see these three parts didnt know that and melded together


    Once that was out i moved on to the brakes
    removed the caliper and rotor and removed the sheild behind the rotor


    dont worry im not missing a stud i just ummm got excited when banging the rusted rotor loose and swung a lil wide....lol hehehehe

  15. #135
    Moving on to the driver side i get teh upper arm brackets out but the damn bolt holding it to the knuckle is frozen to the sleeve. So i pull out my angle grinder and cut off thr nut and bolt head


    nut removed


    Bolt head not as easy


    she put up a fight


    Kicked my grinder out into my hand...$9 gloves saved my finger from a world of hurt


    back to grinding till she was off.


    after cutting off the bolt head i was able to remove the arm and start working on getting the bolt out of the bushing. After coming to the conclusio that the whoel thing would need to be removed i sent my cousin to the store to get me another o2 canister. while waiting i made due of my time and removed the first one by hand.

    A lil drilling and knife work


    then a chisle to that left edge


    a small sawzzall cut to help pry it ou til its here


    then you have this rusty hole to clean before putting a new sleeve.


    after replacing the sleeve...sadly only had one spare i put in the bushing with some anti seize


    and now the bushing sleeve...more antisieze


    prepping the arm...a lil antisieze


    then my new bolts and washers with ...ahem...a lil anti sieze


    then you lock it down and move on to the rest of the parts

    had to repeat the same steps from drivers side to remove the lower arm side
    rotor and calipers came off easy peasy on this side just needed to use torque gun and rubber mallet on my rachet to break a few bolt free.

    no pics of removing the old ones of these
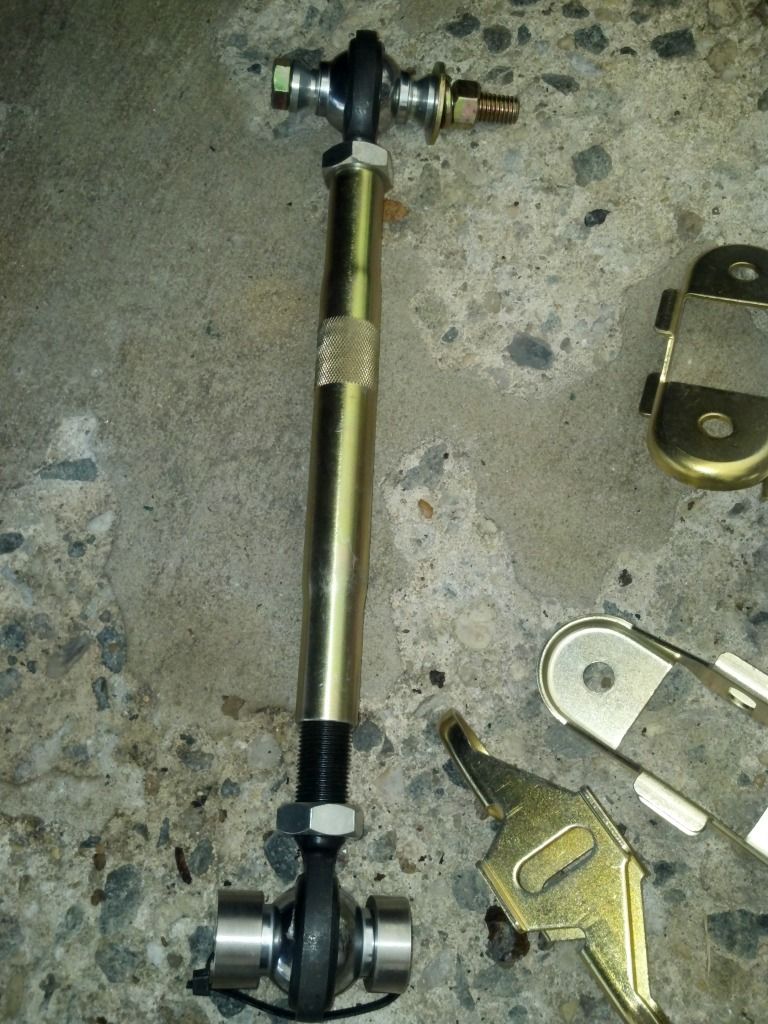
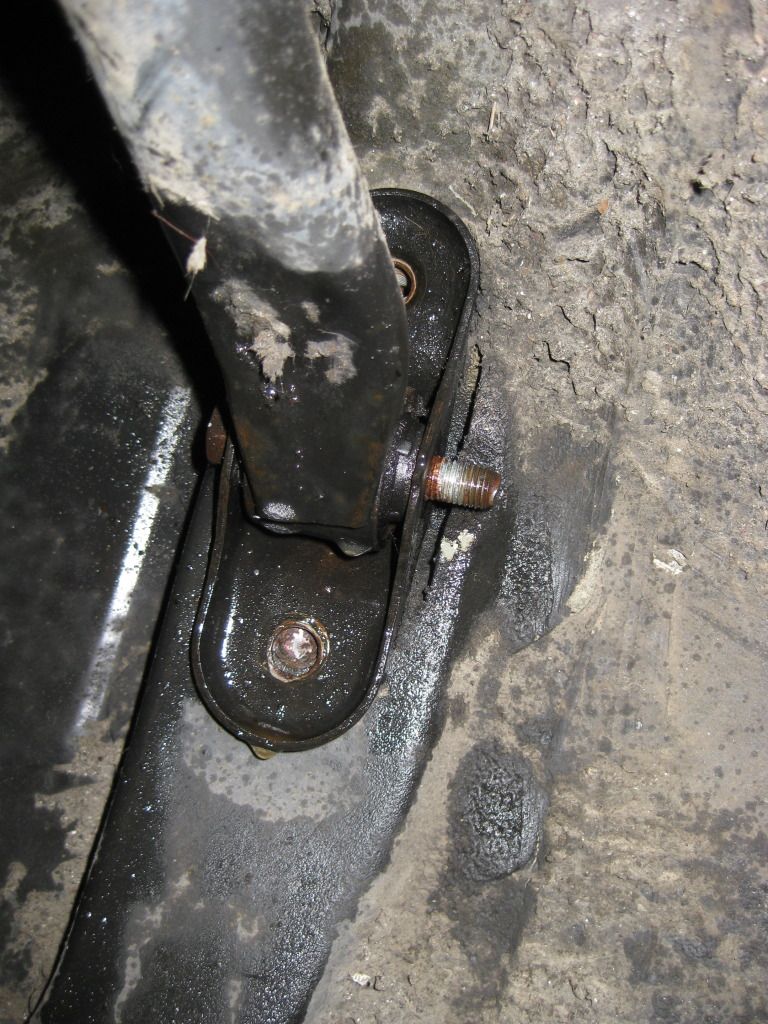
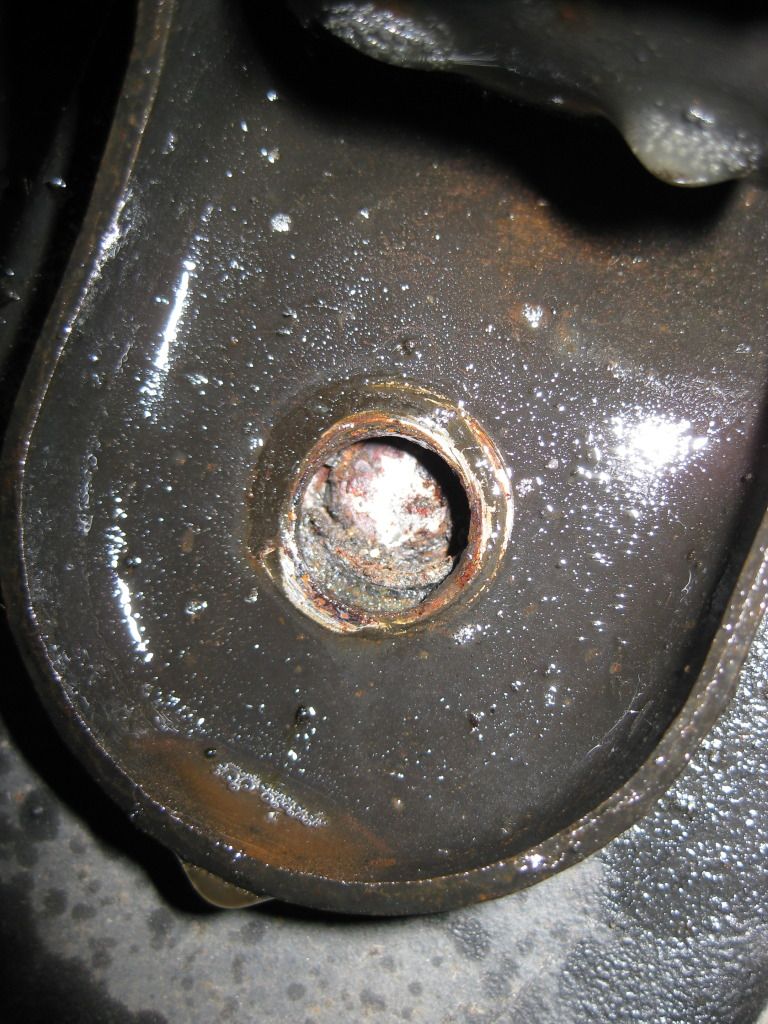
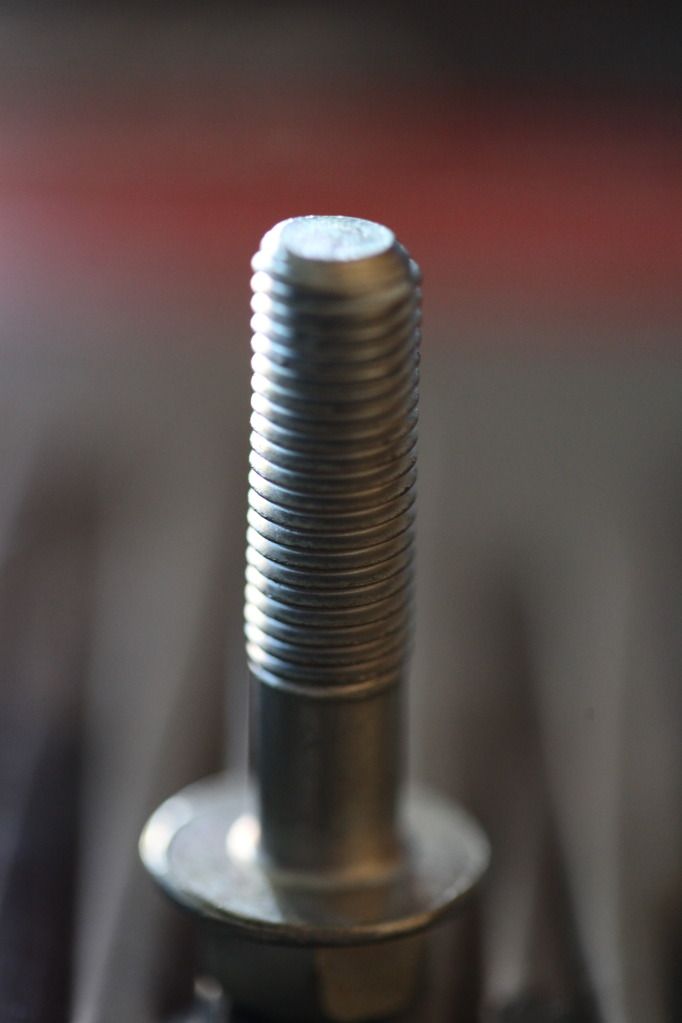
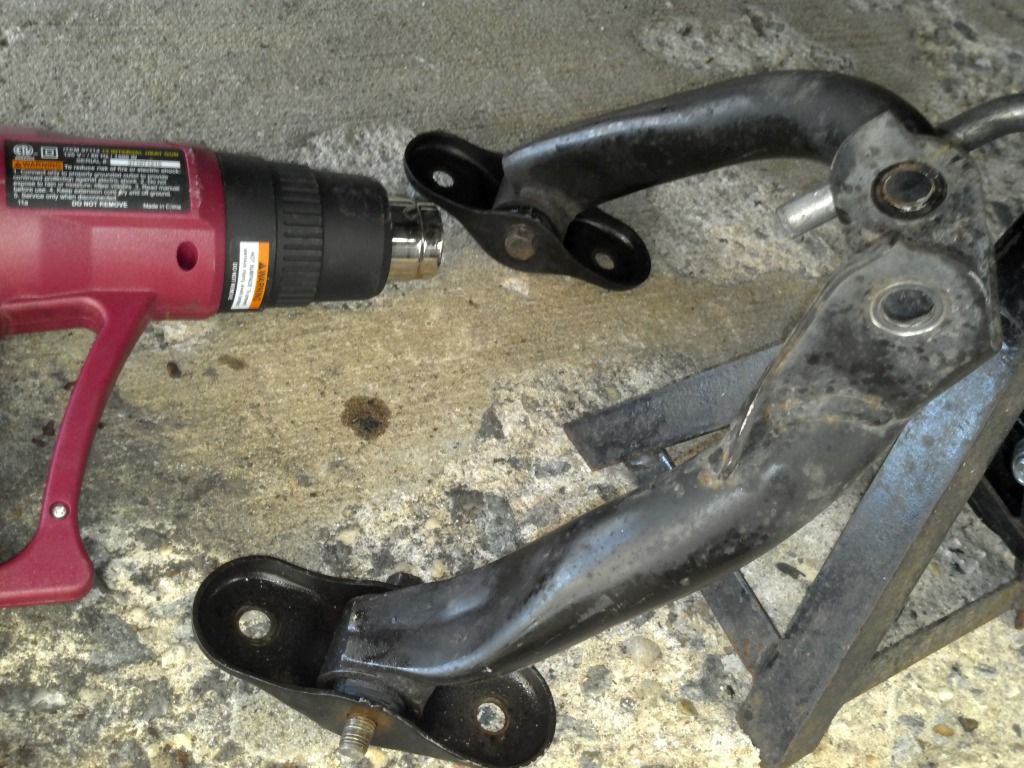
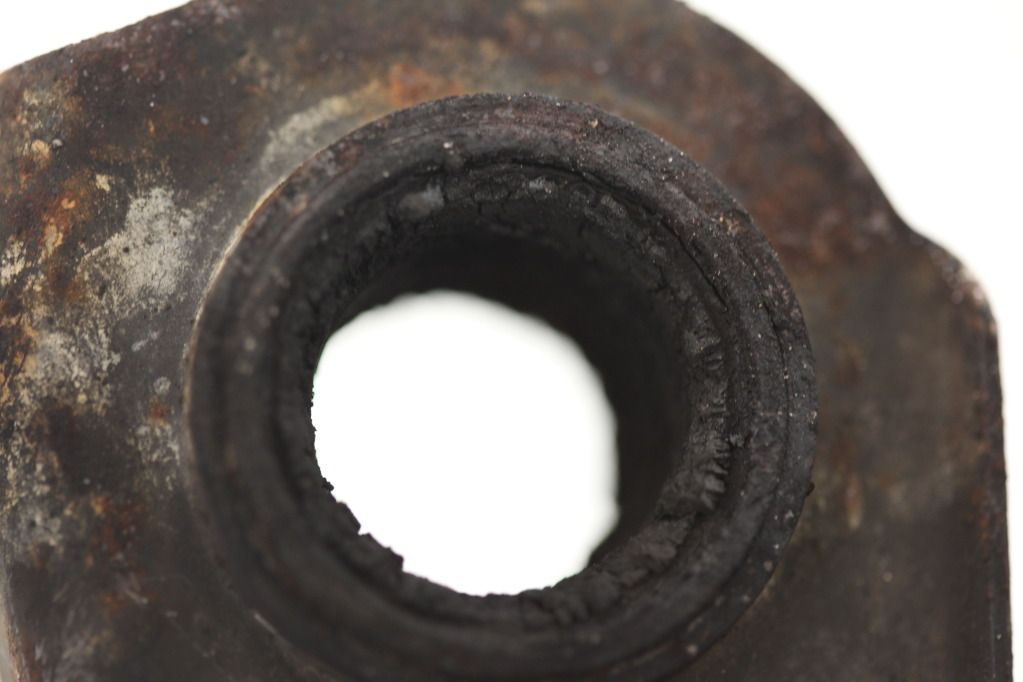
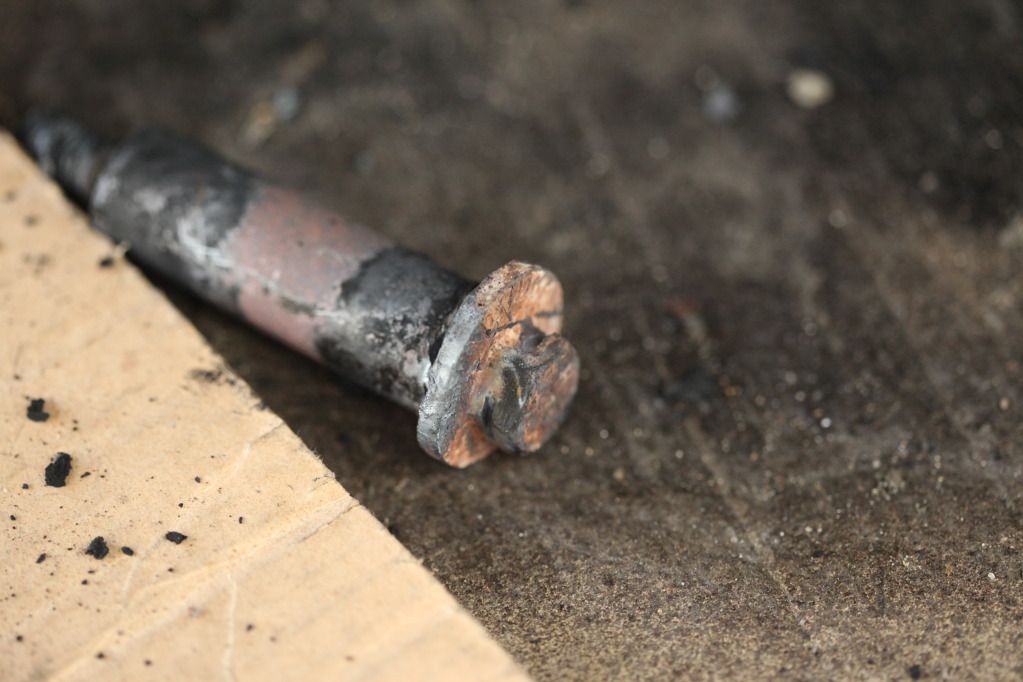
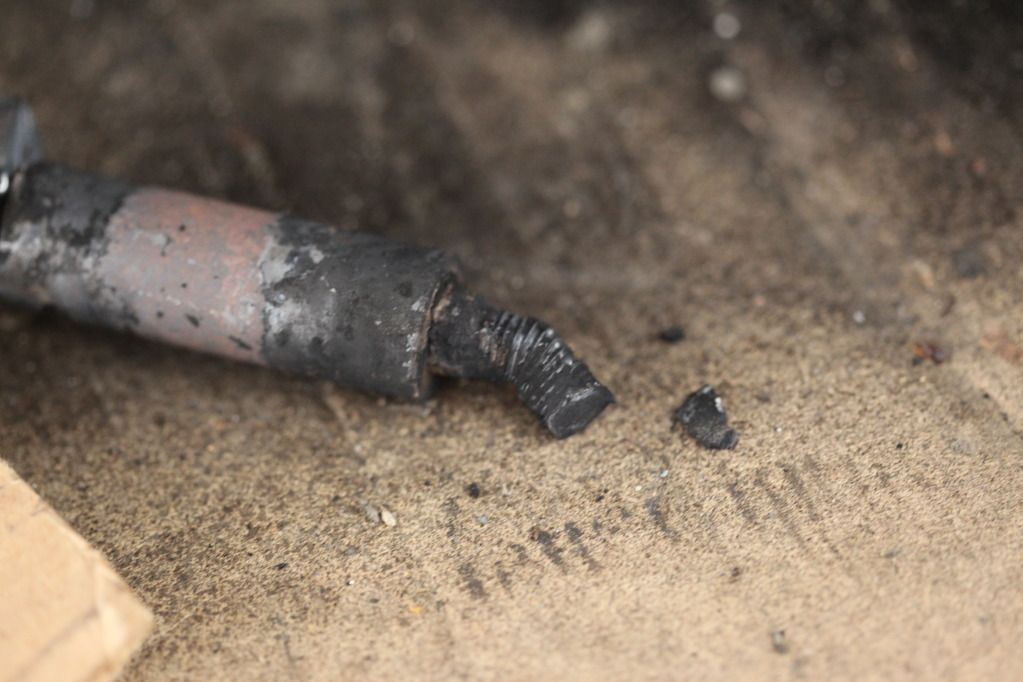
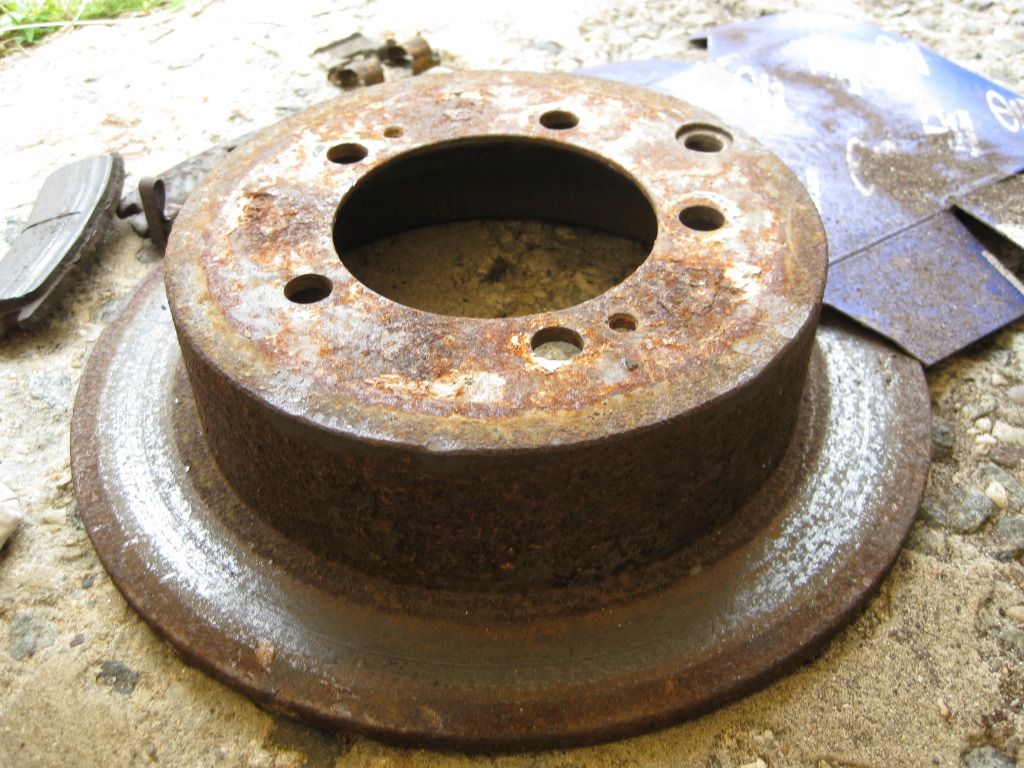
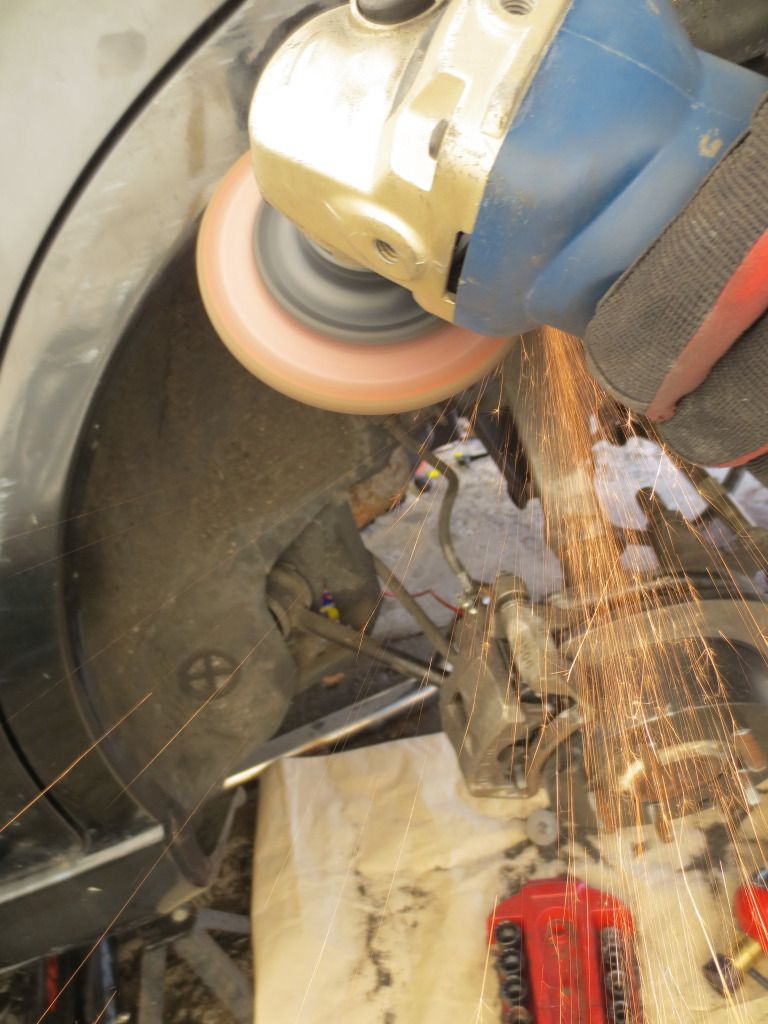
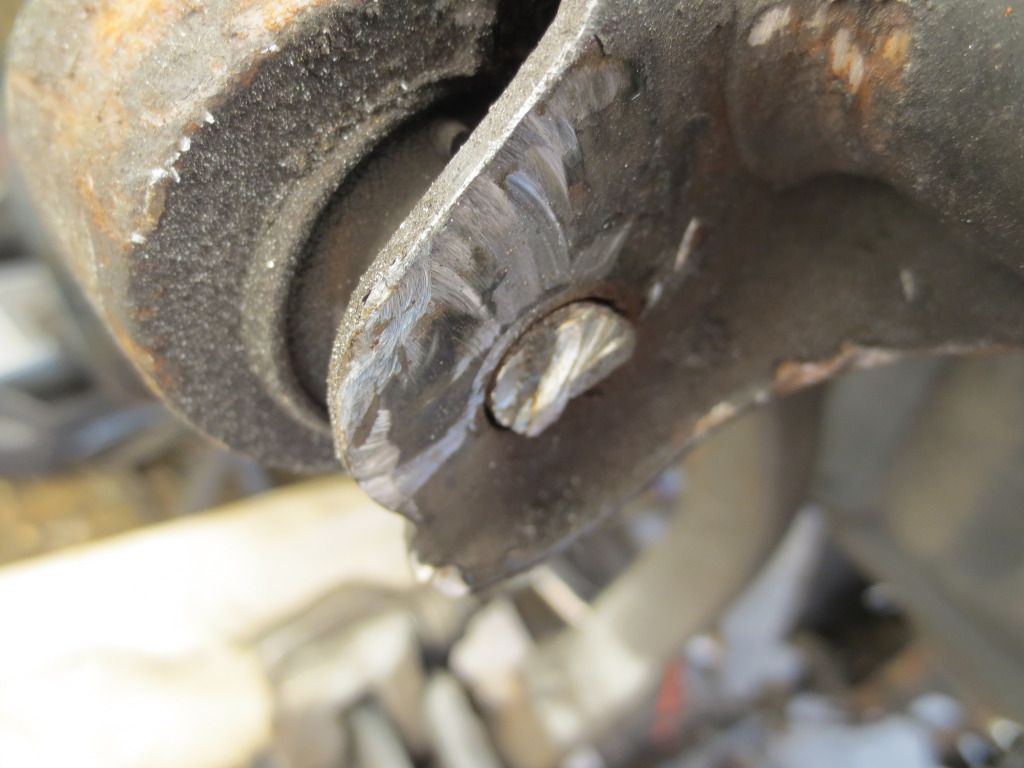
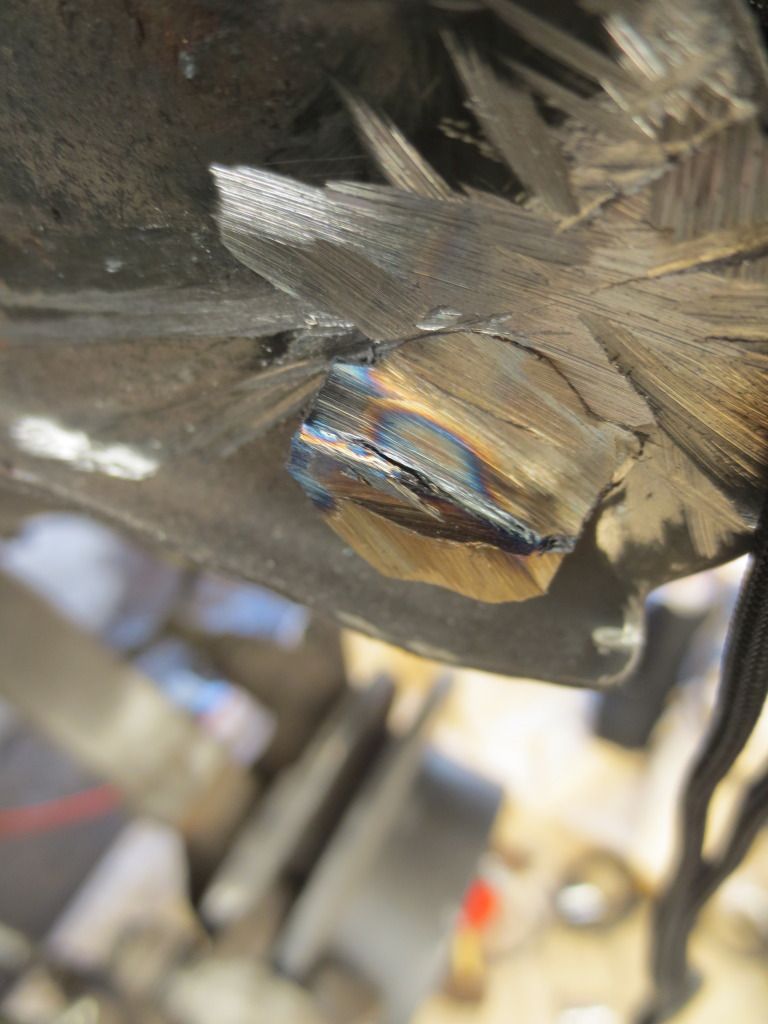
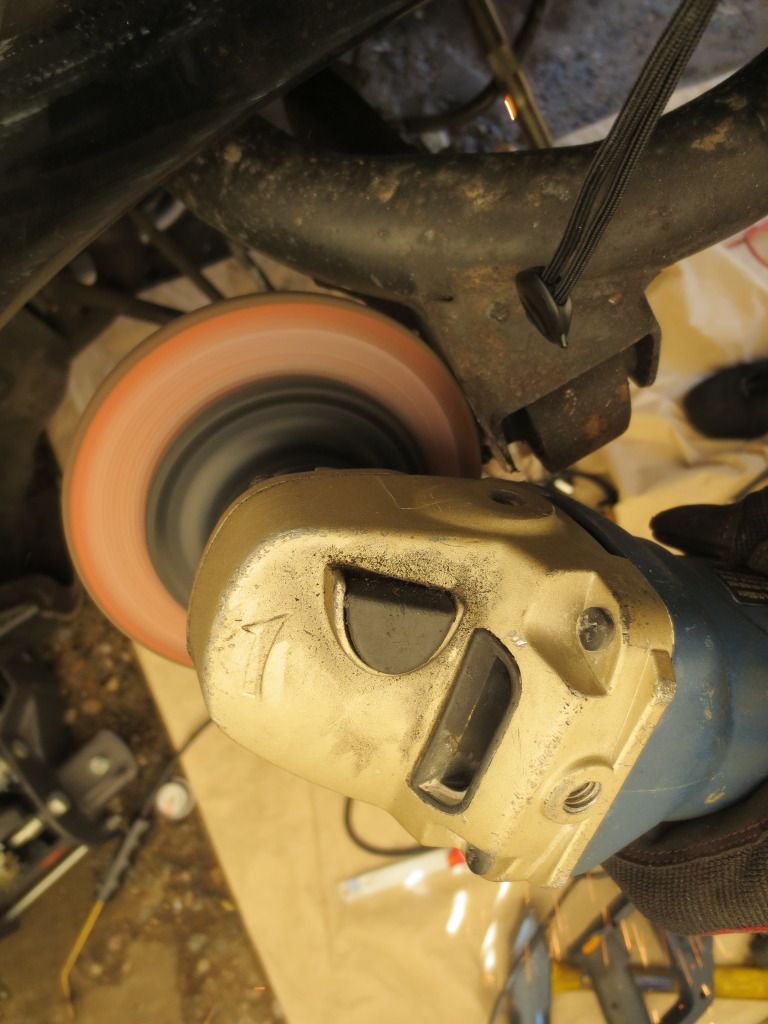
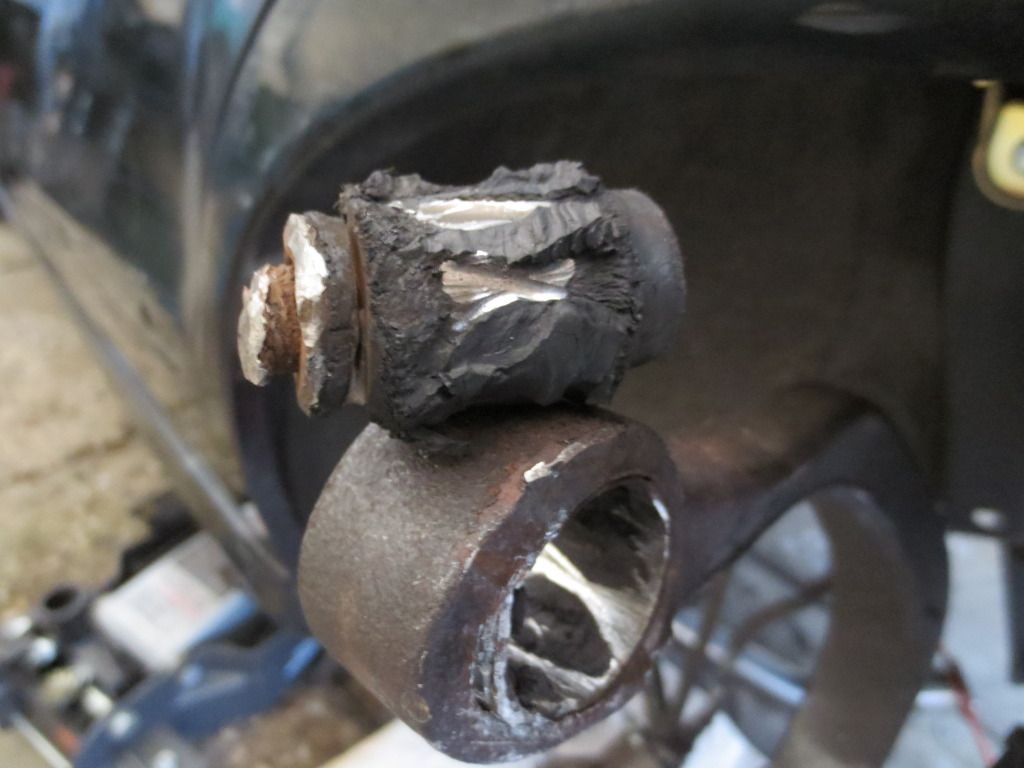
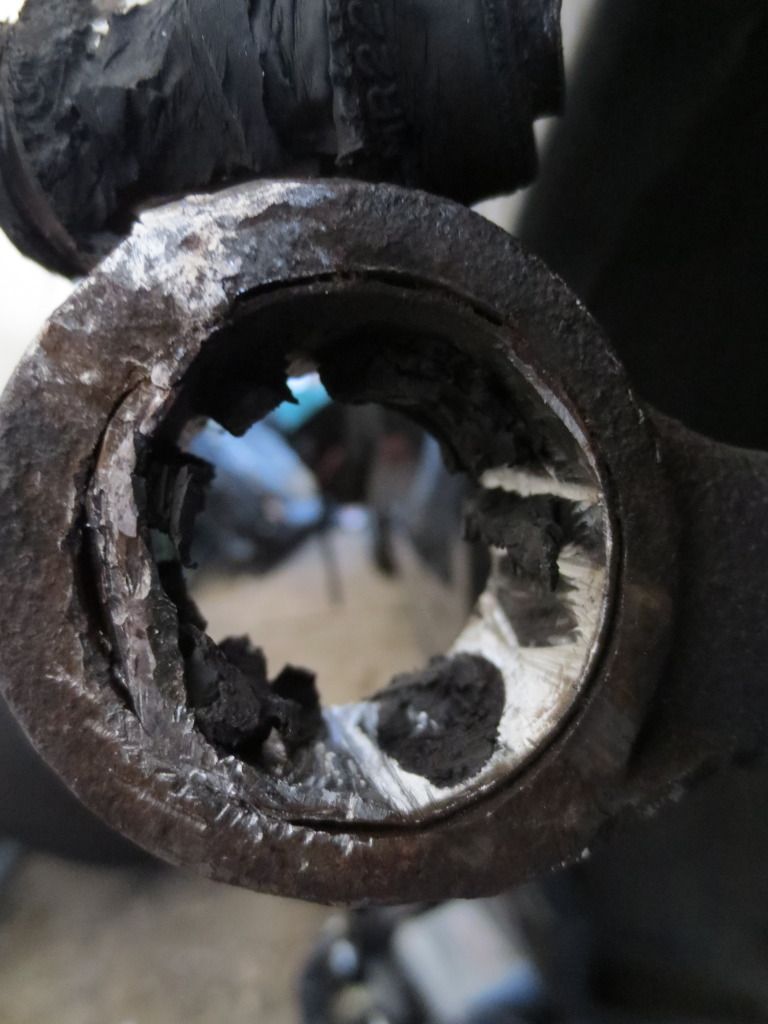
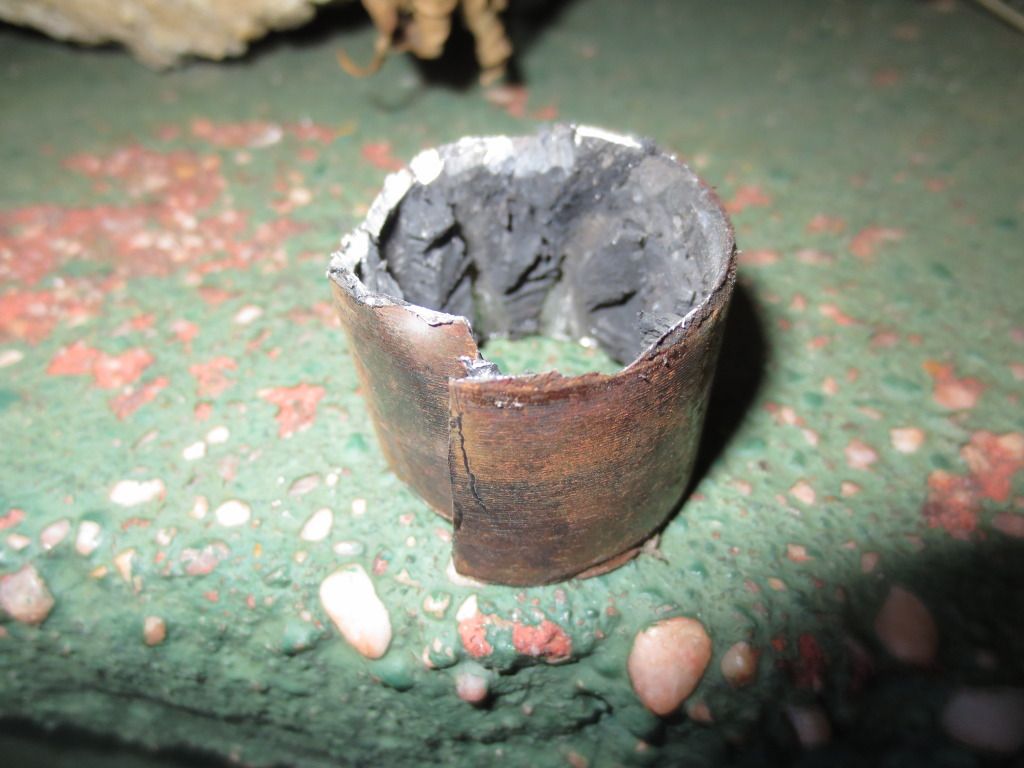
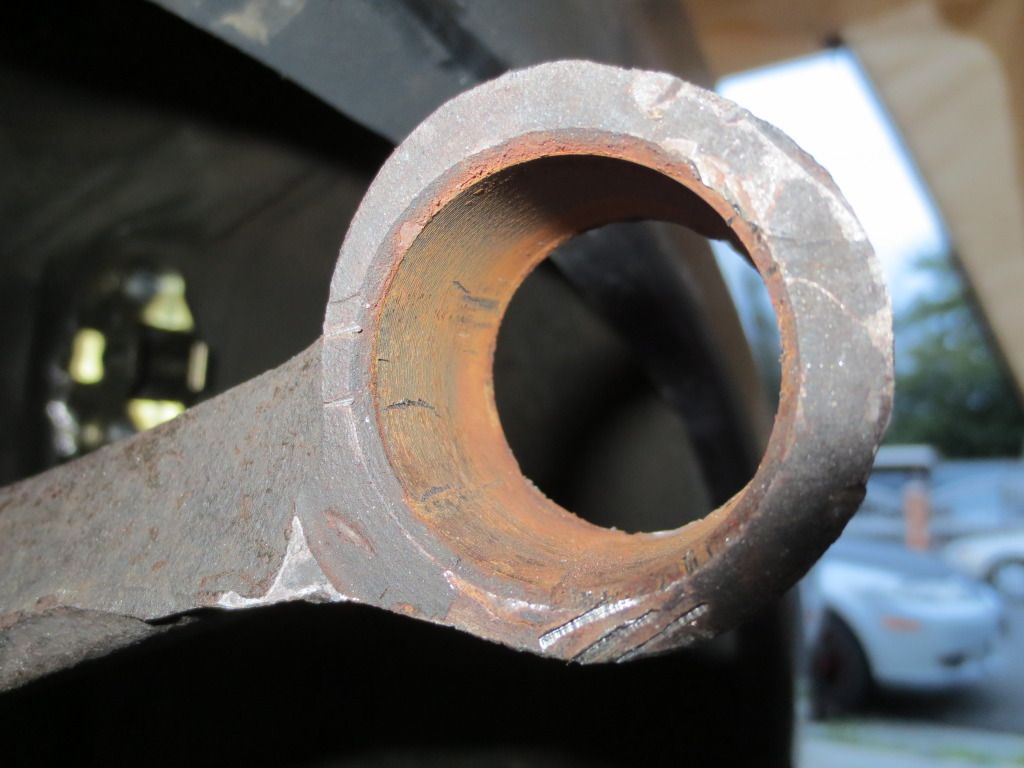
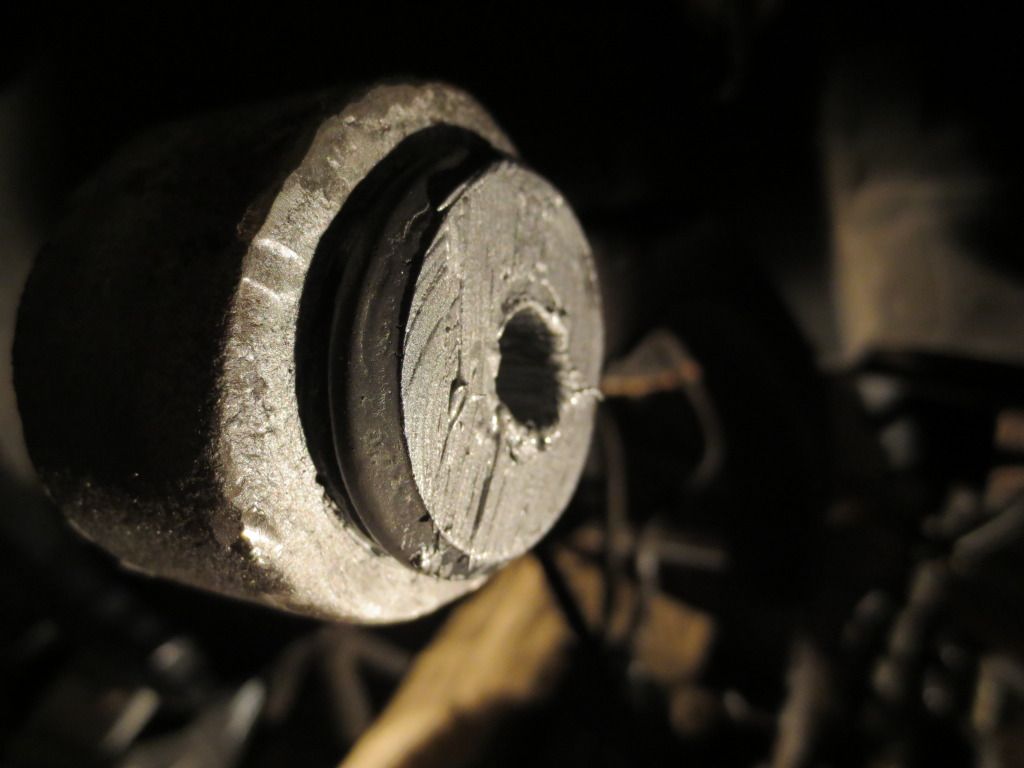
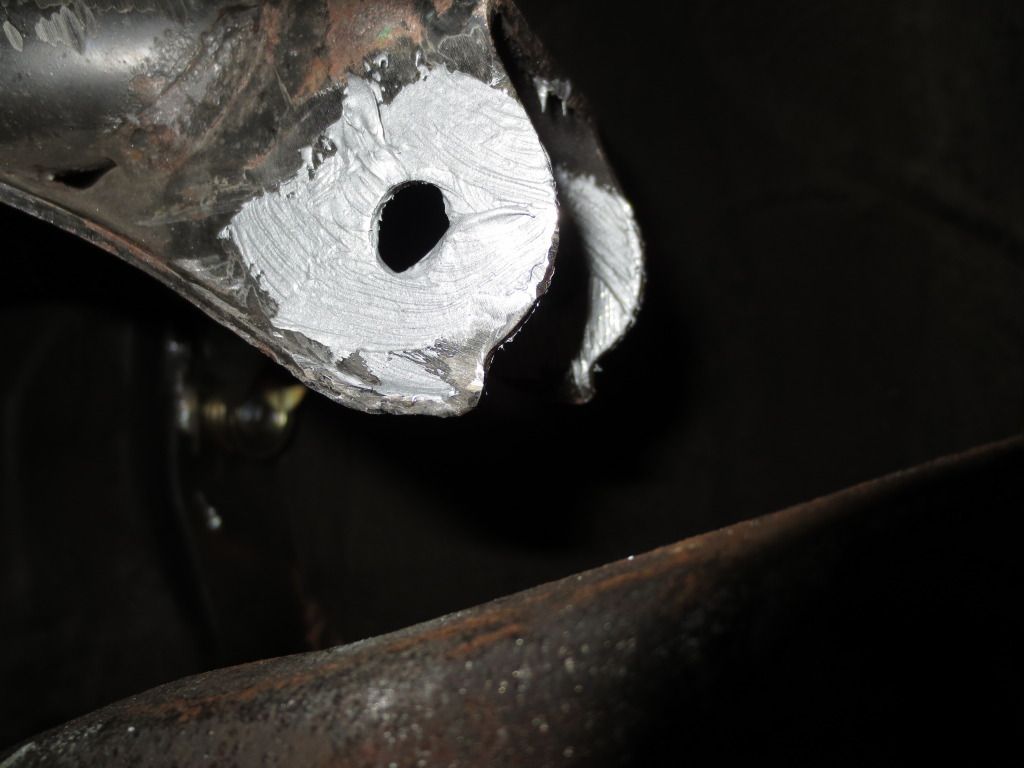
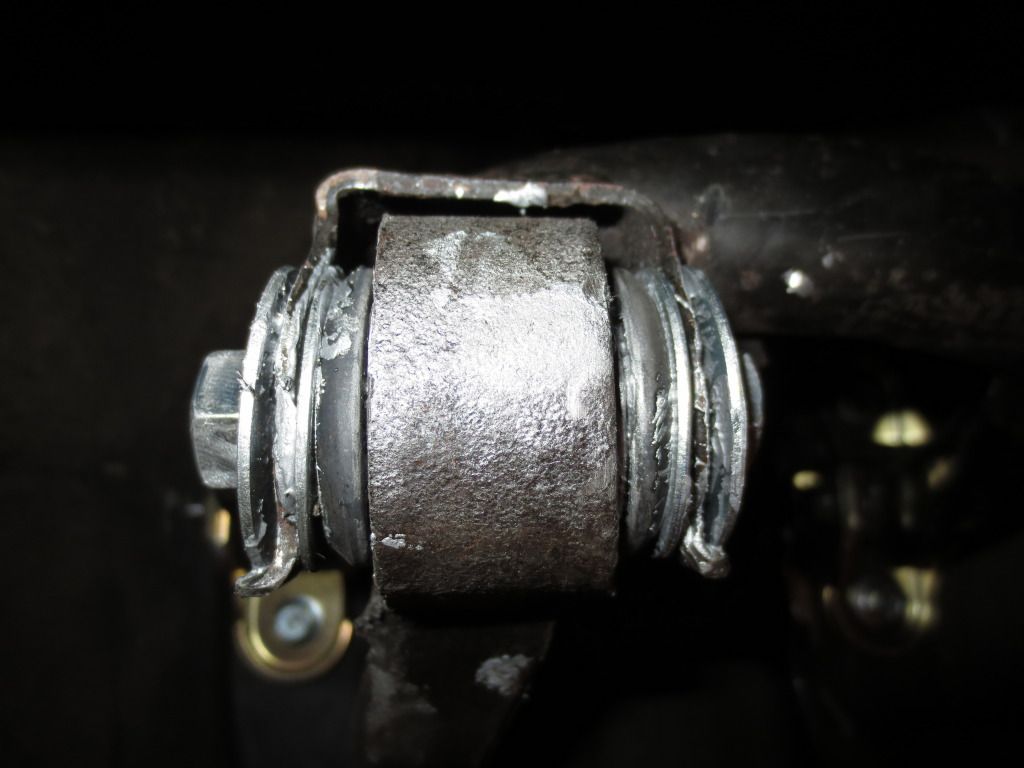
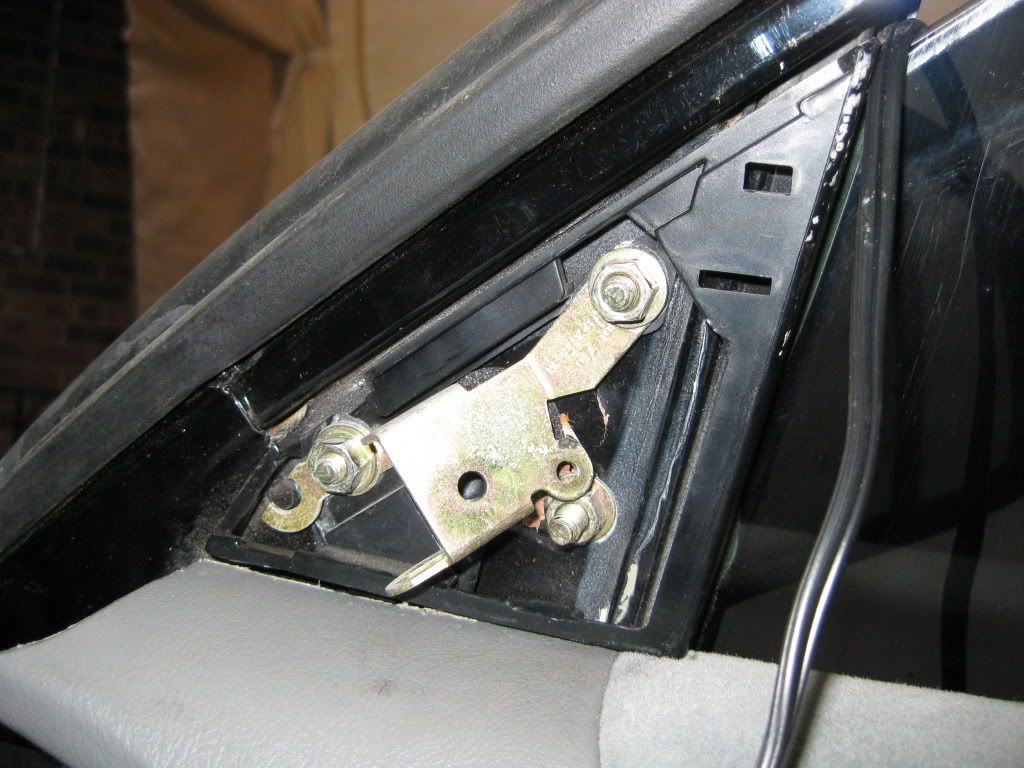
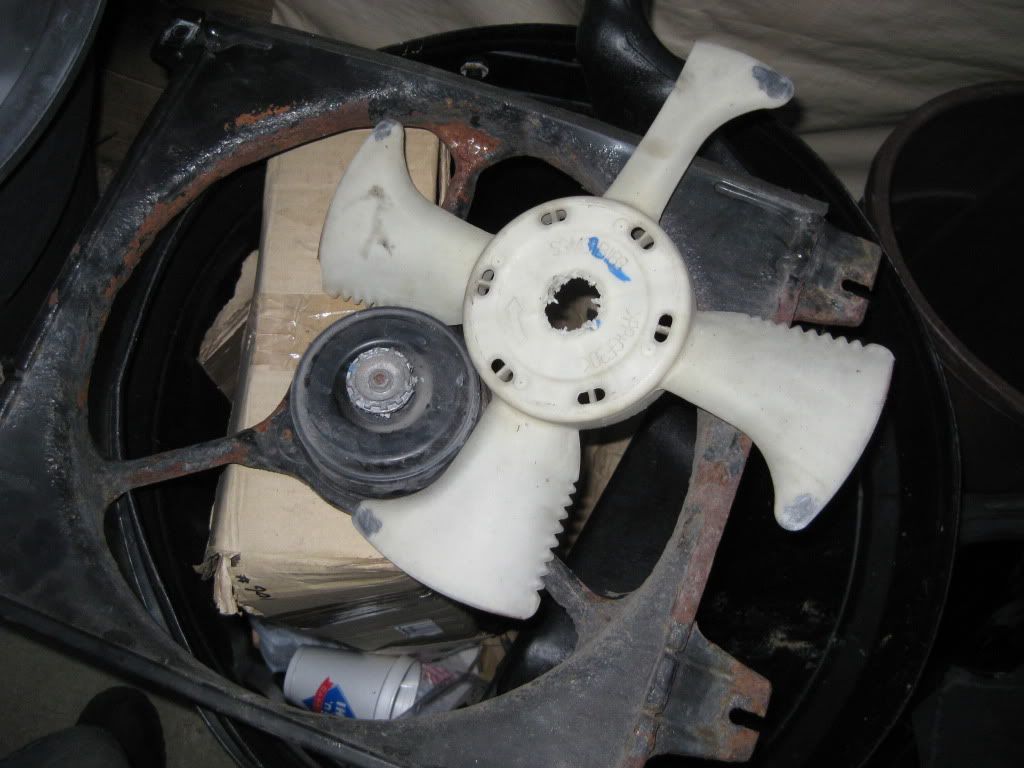
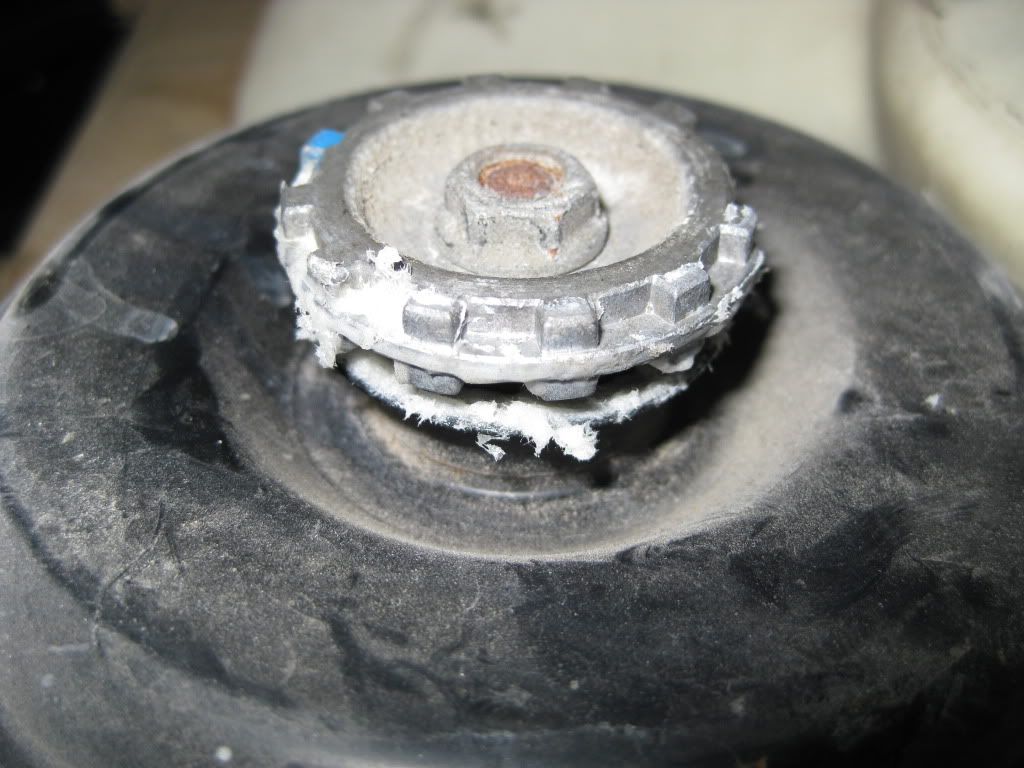
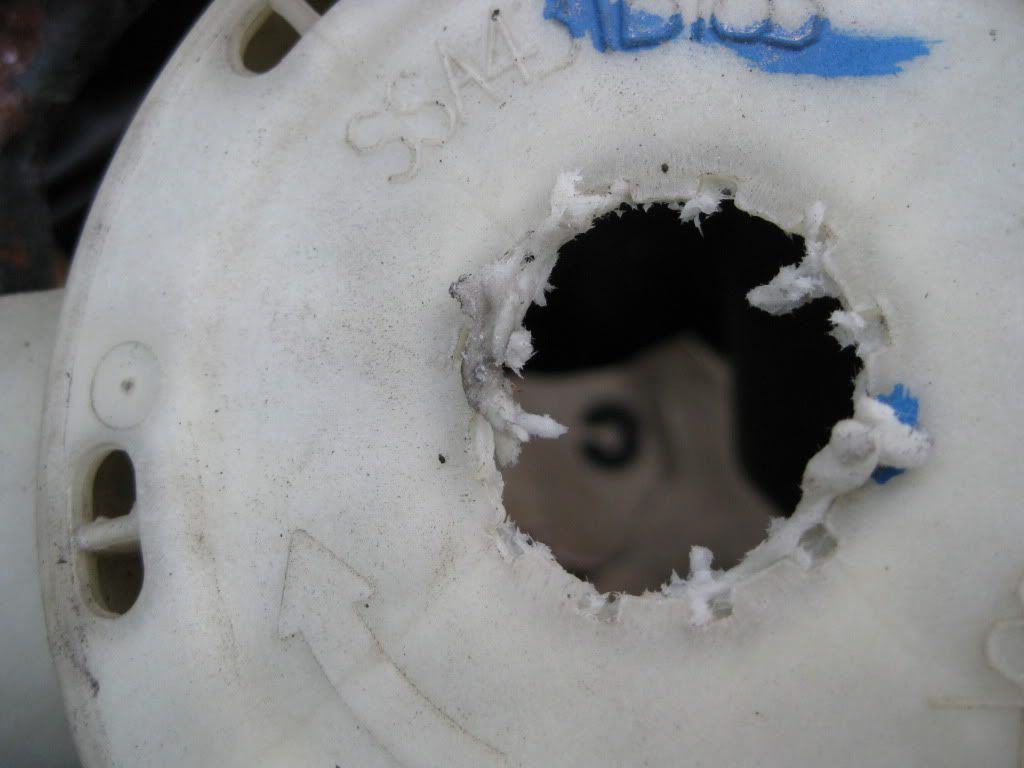
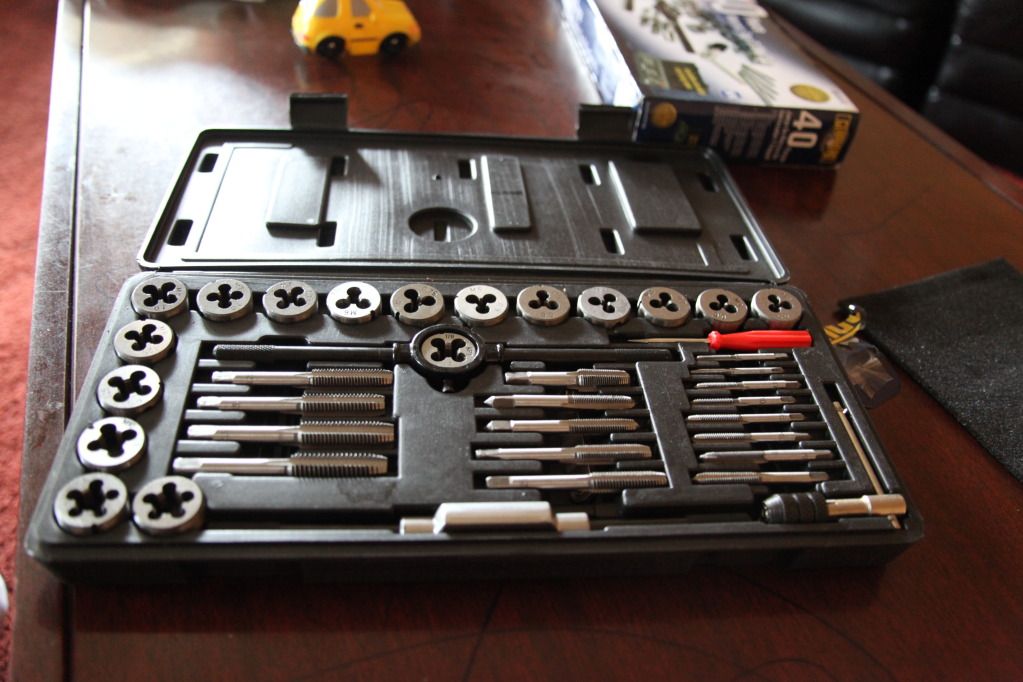
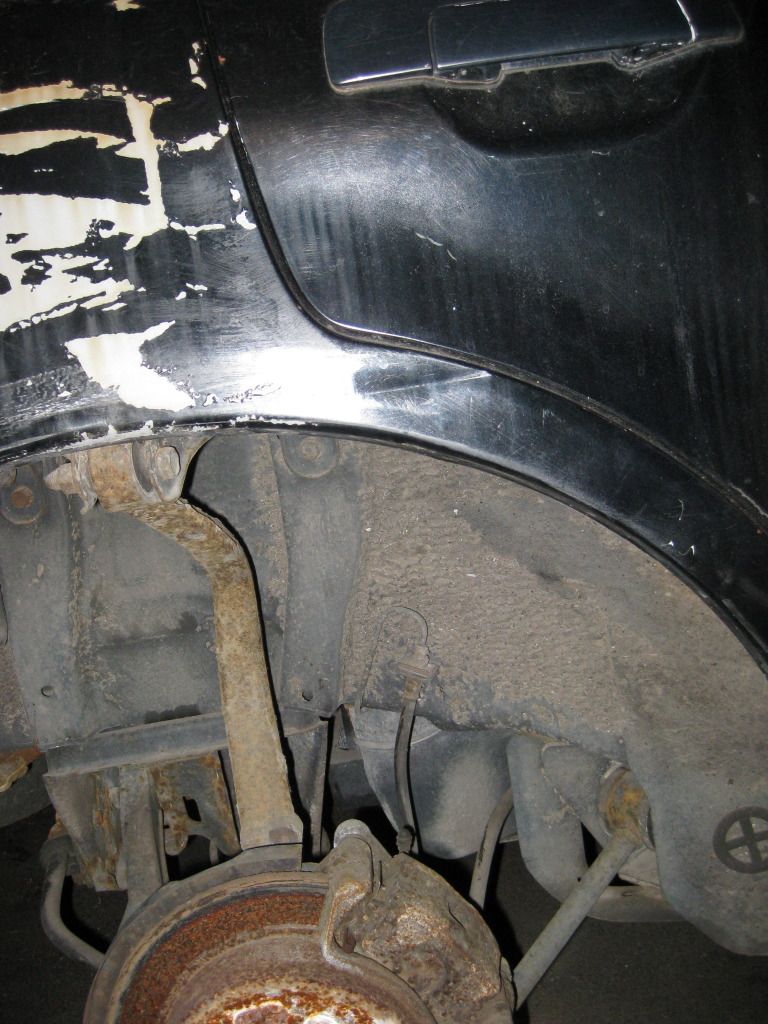
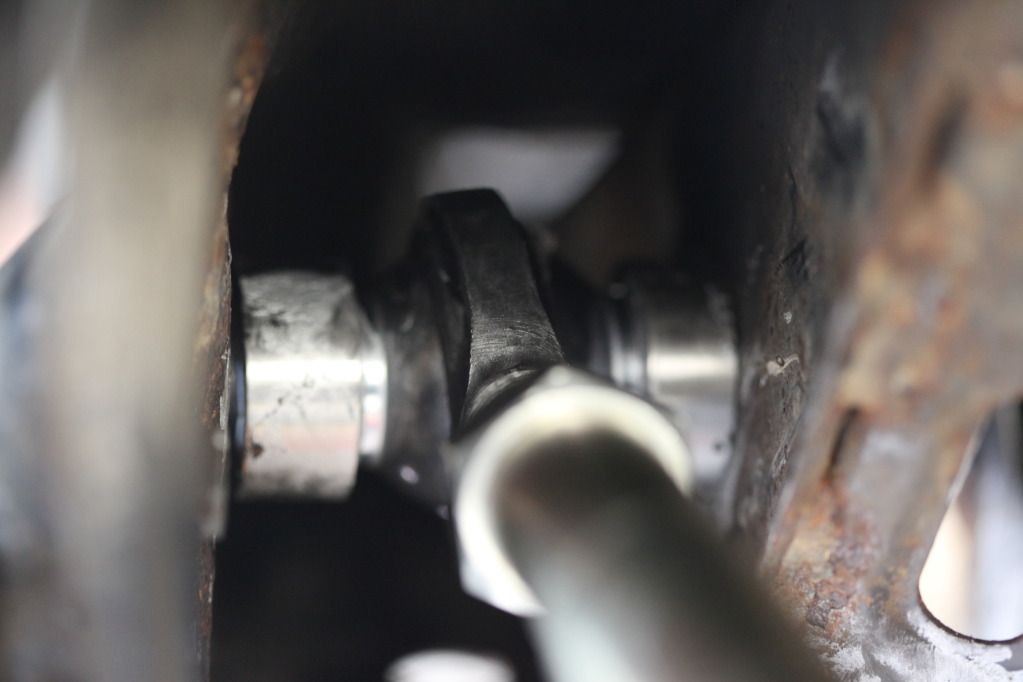
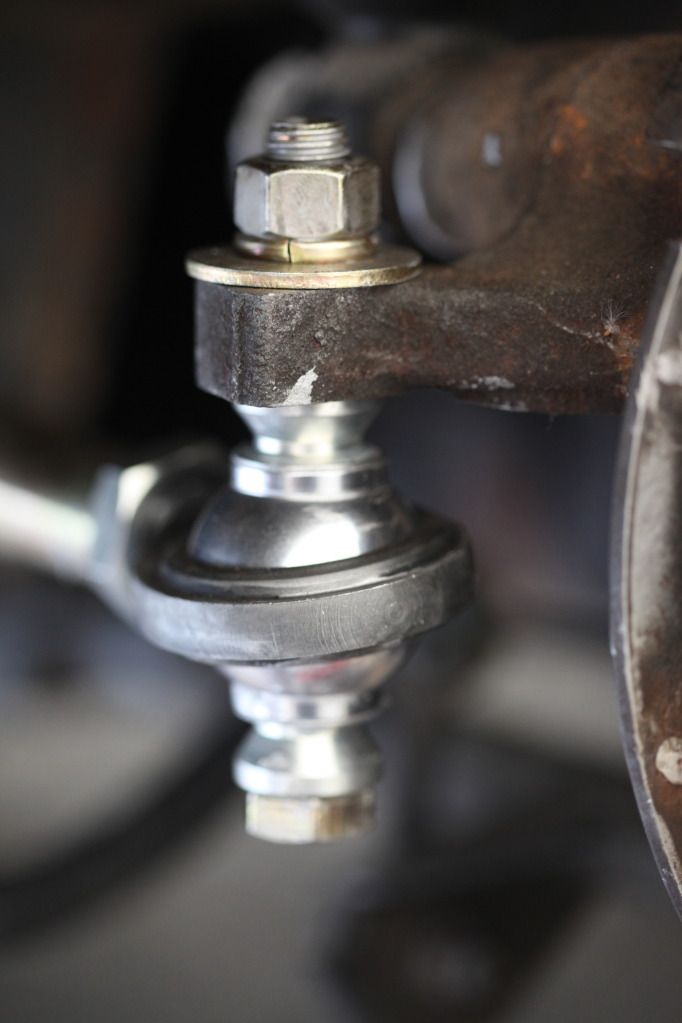
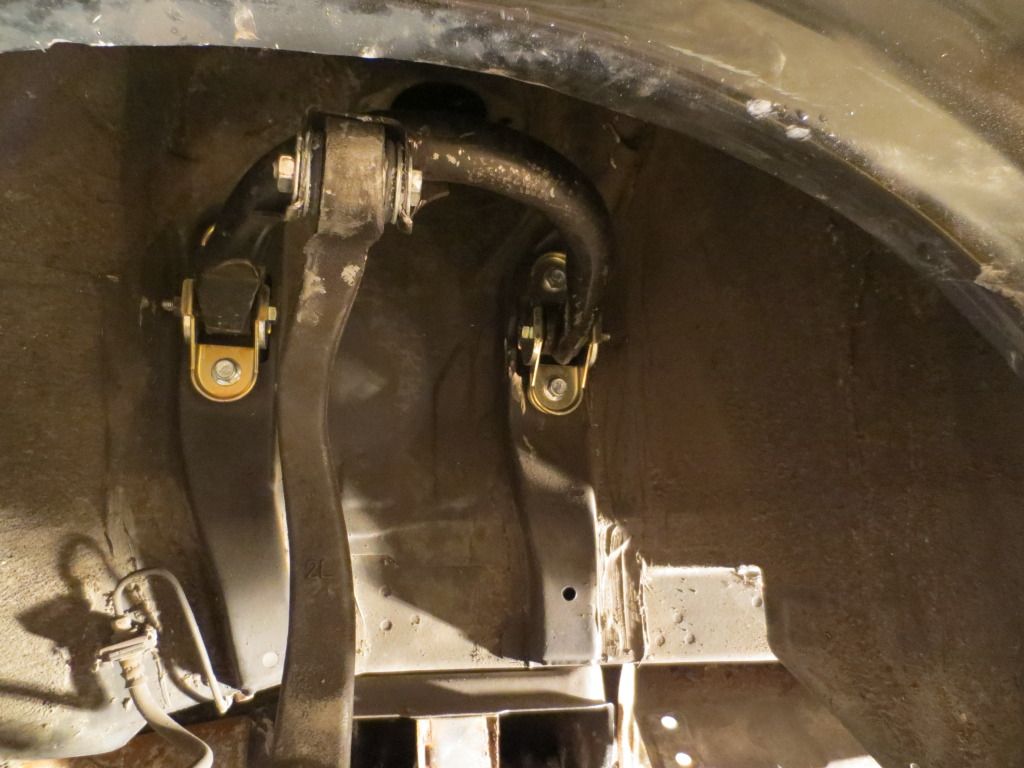
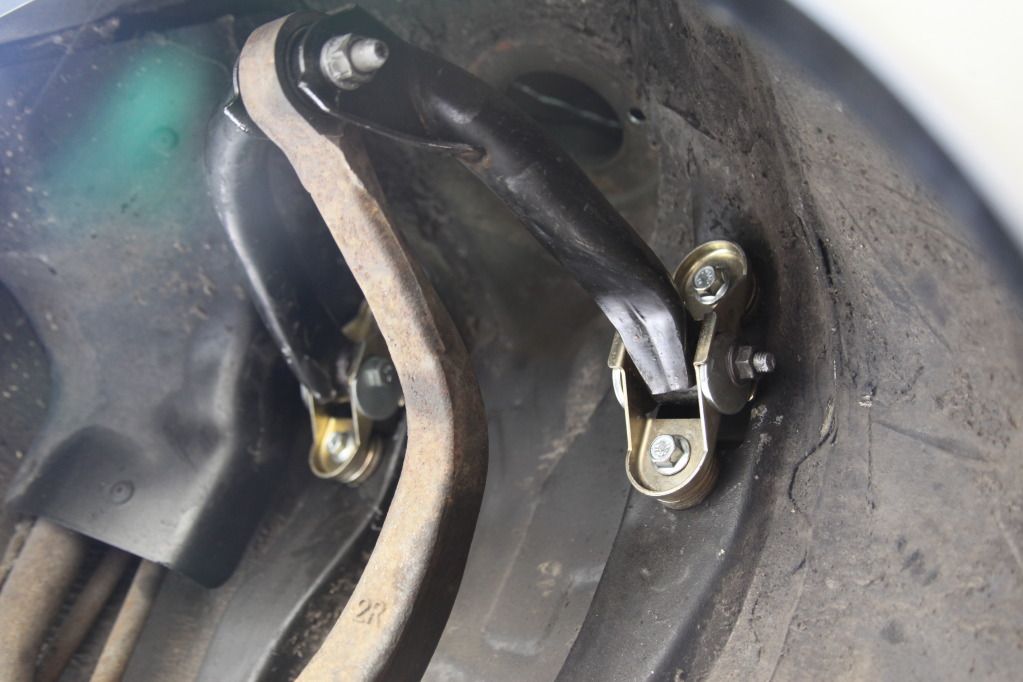
but i had to cut and grind these off as well due to the allen key screw being so rusted i couldnt use my allen key
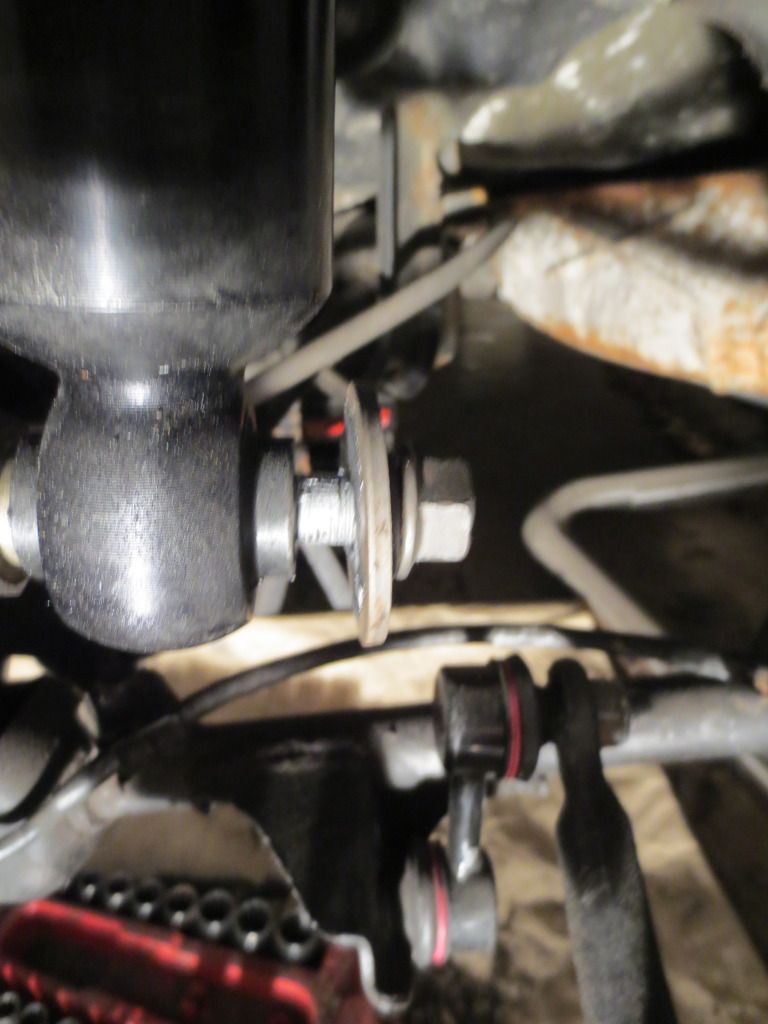


    D2 going back on with plenty anti sieze to keep me rust free for a lonnnggggg time


    Lower adjustable arm going in...again anti sieze all over.....

    Locked into the knuckle and looking good


    locked down with the first ingalls installed


    Rotor and bracket on,,, wire wheel on bech grinder cleaned it up the bracket nicely...ill have a certain person powder them wehn i drive to jersey
    ...THATS A HINT SPD.....not naming anyone though....


    Pads on.....


    Calipers on.....


    Driver side arm on with bolt hole and bolt tapped/died to perfection


    Driver side all in place


    AS A SIDE NOTE; since i didnt have a spare sleeve for the drivers side i use the torch to melt out as much of the rubber as possible then i used a dremel with a grind wheel, the one shaped like a disc not a drum. reason is the drums leave grooves the disc is much smoother and wont bind up from the rubber. after cleaning it out give it a heavy coating of anti sieze and put in your bushing.

  16. #136
    Booty Luva wetamup2k3g's Avatar
    Join Date
    12-13-2010
    Location
    Brooklyn, Maryland
    Posts
    4,643
    Anti-sieze is a mechanic's best fucking friend, we order it by the caseloads at my shop!

    -Greg

    "I smashed up the grey one, bought me a red;
    Every time we hit the parking lot we turn heads!"
    -Pimp C, "International Players Anthem"

  17. #137
    Alot of new parts going in going to drive like a dream!

  18. #138
    Quote Originally Posted by wetamup2k3g View Post
    Anti-sieze is a mechanic's best fucking friend, we order it by the caseloads at my shop!
    ..nvm wrong place ......but i said it ....

  19. #139
    looks good jay keep it up

    based on what u decided how many washers to use with the camber kit ?? also how do they adjust ??
    '00 Mitsubishi Galant ES 4g64T (Samantha)
    '01 Mitsubishi Galant ES 4g64 (Daily)
    '02 Mitsubishi Galant ES 4g64 (SCRAPPED)
    '00 Mitsubishi Galant ES 4g64 (SCRAPPED)
    '91 Volvo 740 Turbo B230FT (SOLD)
    '88 Mitsubishi Mighty Max (SOLD)
    '91 Kawasaki ZX7 (SOLD)
    '95 Kawasaki ZX9R

  20. #140
    Okay I'm back at it again. Been gone for a while, life got really fucked up but I'm back on my feet. I'll be updating this thread soon. Lot going on with the G. See you'll soon.

Page 7 of 8 FirstFirst ... 345678 LastLast

Posting Rules

  • You may not post new threads
  • You may not post replies
  • You may not post attachments
  • You may not edit your posts
  •