 Log in
 Register
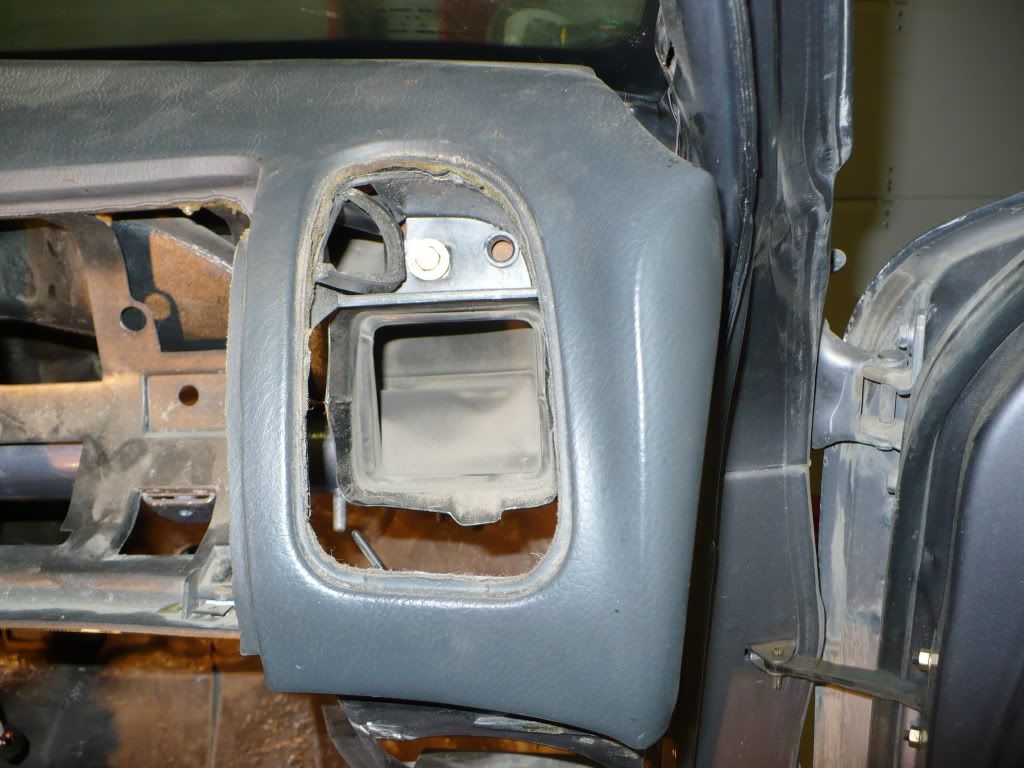

 Reply With Quote
good read. I've actually never removed my dash as it always looks like a pain in the ass. But you make it seem a lot easier than the front headlights, which I always thought were the toughest.


The dash pad can be removed easily once you find all the bolts. The most difficult to locate were located behind the driver's and passenger's side vents. You have to carefully remove the vent covers by squeezing the locking tabs or they will tear the dash pad. Seems like there was also a hard to find bolt under the dash pad on each end. Also center console has a couple of bolts connecting it to the dash pad where it comes down around the radio. Open both front doors and get someone to help you lift it out. It is not heavy, just awkward.
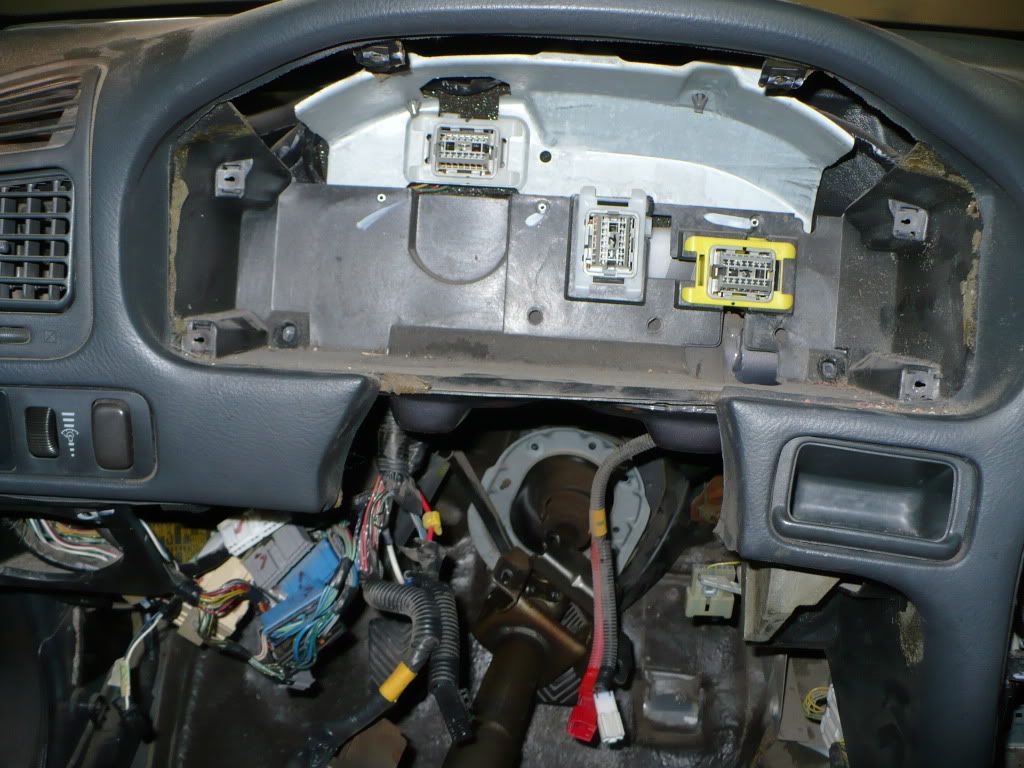
The steering wheel drops out of the way with the removal of just 6 bolts. The instrument cluster is held in place by the black plastic benzel (2 screws) and then 4 screws hold the actual instrument cluster. It pulls straight out. It takes a bit of pulling as it plugs into a couple of plugs as shown in the picture.
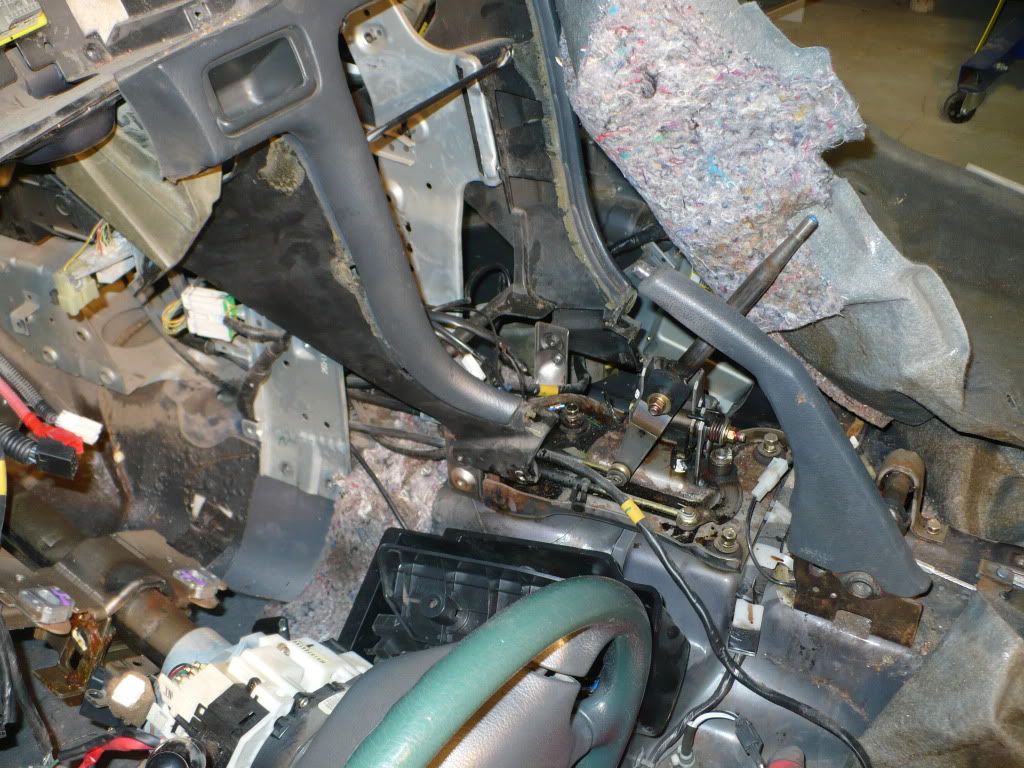
The carpet is easily removed by pulling the front seats (4 bolts each), rear seat bottom, the center console, the plastic door sill trim (slide long narrow screw driver under it and slide along until reach a clip. At clip pry up and then slied along until next clip) and the center pilar post plasctic trim (carefully pry it off, it has no clips). Carpet then lifts right out.
Air bag cover panel which seldom fits properly is integral part of the air bag. Because of its explosive nature I have not examined it closely. Sorry, no picture.
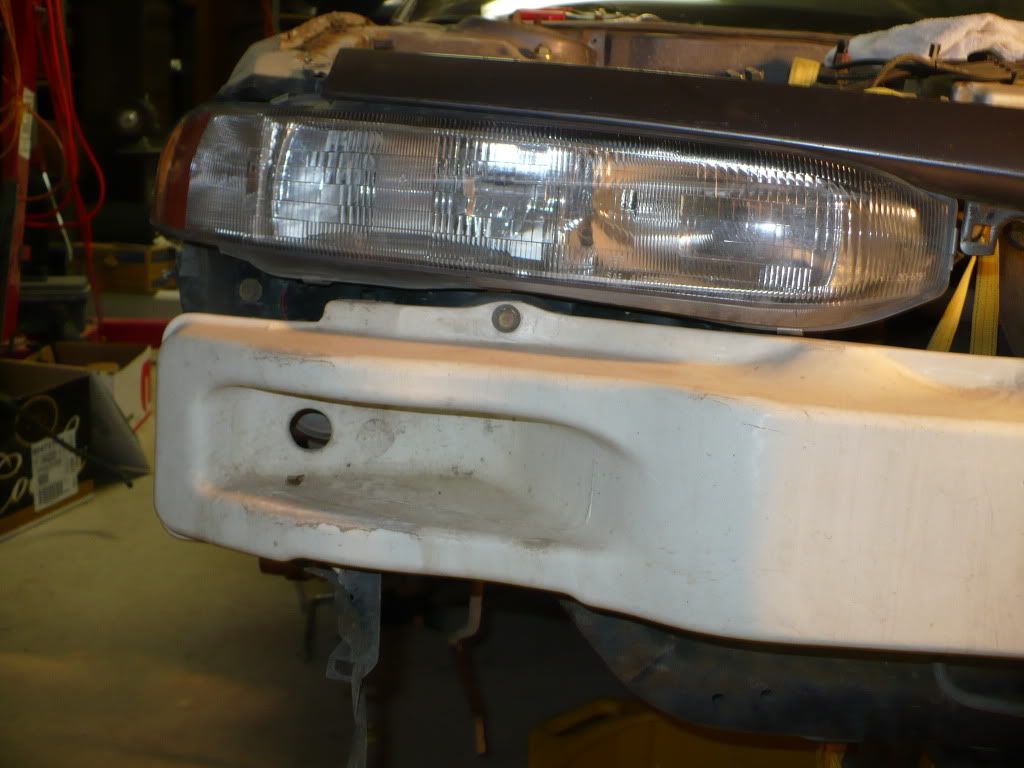
To remove the headlights I had to almost completely disassemble the entire front end. Front bumper cover was a huge pain to find all the mounting bolts. The one up under the fender were the hardest to find.
If you are going to pull a wiring harness bring a pair of tin snips. Mits installed more plastic ties than I can count in securing the harness. You will have to cut most of them as it is not worth the time it would take to release them.
When working on the front suspension just assume one of the bolts in the lower control arms is going to be seized unless it is relative new. Removal will probably result in the destruction of the control arm. There is a steel sleve imbedded in a rubber bushing that the mounting bolt passes through. Usually the bolt rusts to the steel sleve and anything short of an impact wrench will not turn it. When the bolt rusts to the sleeve, the sleve will often tear out of the rubber bushing if you use the impact wrench. A better way to handle this is remove the nut on the bolt and then pull the entire front strut assembly, axle and control arm (after disconnecting the other suspension components) as a unit. Take the strut assembly, axle and control arm to a vice and prop it up so that the bolt head is facing down in the vice. Have the bolt head loosely in the vice jaws (Do not clamp the bolt head in the vice). Screw the nut on to the seized bolt so that the nut is just one or two threads above the bolt end. Now use a punch and hammer and drive the bolt out.
When pulling the axles, a small pry bar or large screw driver slipped behind the CV joint where it meets the transmission is invaluable. You will probably have to turn the axle and pry at different points. Be careful not to destroy the shaft seals where the axle slides into the trans. FYI: an axle will slide out easily one time and the next time be a huge pain. Be sure to drain the trans fluid before removing the axle or it will flow out when the axle is removed.
PB Blaster is your best friend for loosening rusted fasteners. It works wonders on exhaust system bolts. Available at Walmart.
Last edited by eksz; 11-25-2010 at 01:05 PM
jjj
98 ES (5 spd), 94 GS (5 spd), 94 ES (rebuilt auto), 92 Toyota 4X4, 81 KZ550 A2, 67 Mercedes 250S, 58 Mercedes 190SL

good read. I've actually never removed my dash as it always looks like a pain in the ass. But you make it seem a lot easier than the front headlights, which I always thought were the toughest.

the headlights were a bitch! LOL
"Why fart and waste it when you can burp and taste it!"

Great! I need to replace my headlight...I'm not looking forward to this.
94 Galant GS: 4G67 head, 1G IM, Evo 8 TB, DeltaCam 272/264 Cams, Test Pipe, OE Avenger V6 60mm catback w/muffler, modified Outlander header, DIY COP setup, B/S delete, 315cc injectors, AEM UEGO WBO2, Black case 3G ECU
1994 GS FYI
DSM/CSM Manuals
 Posting Rules

Bookmarks