 Log in
 Register


 Reply With Quote
Tubing can be a PITA to do if you dont do it a lot. Its also more difficult in your case since that engine bay is very busy, not much room to work and everything needs to fit just right, plus you gotta join the charge pipes and transition them correctly for flow. I think its a good idea to let a pro do that.Originally Posted by qcustoms

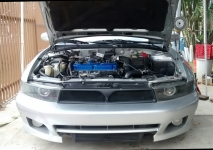
 ok so today i went like lightning..


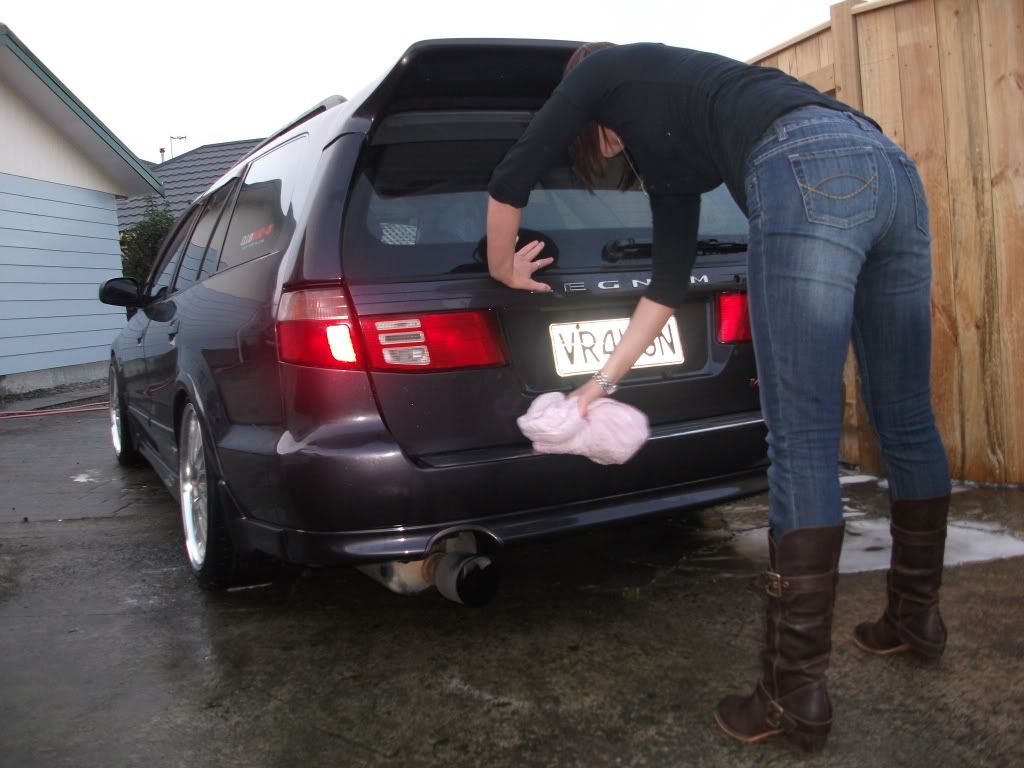


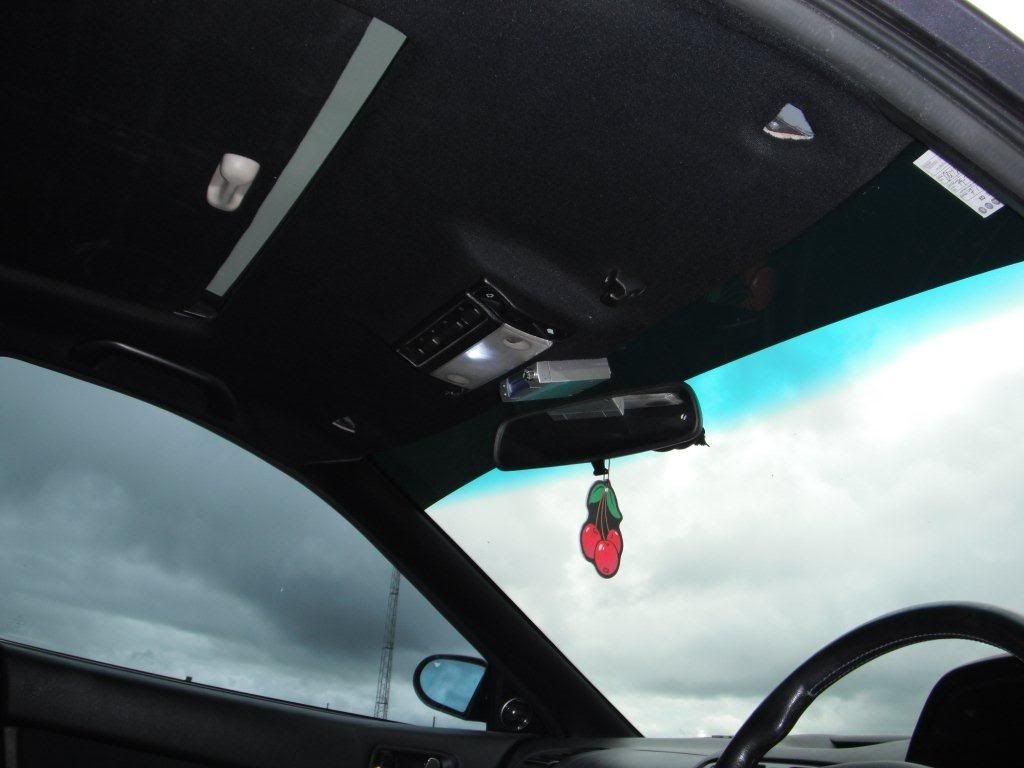
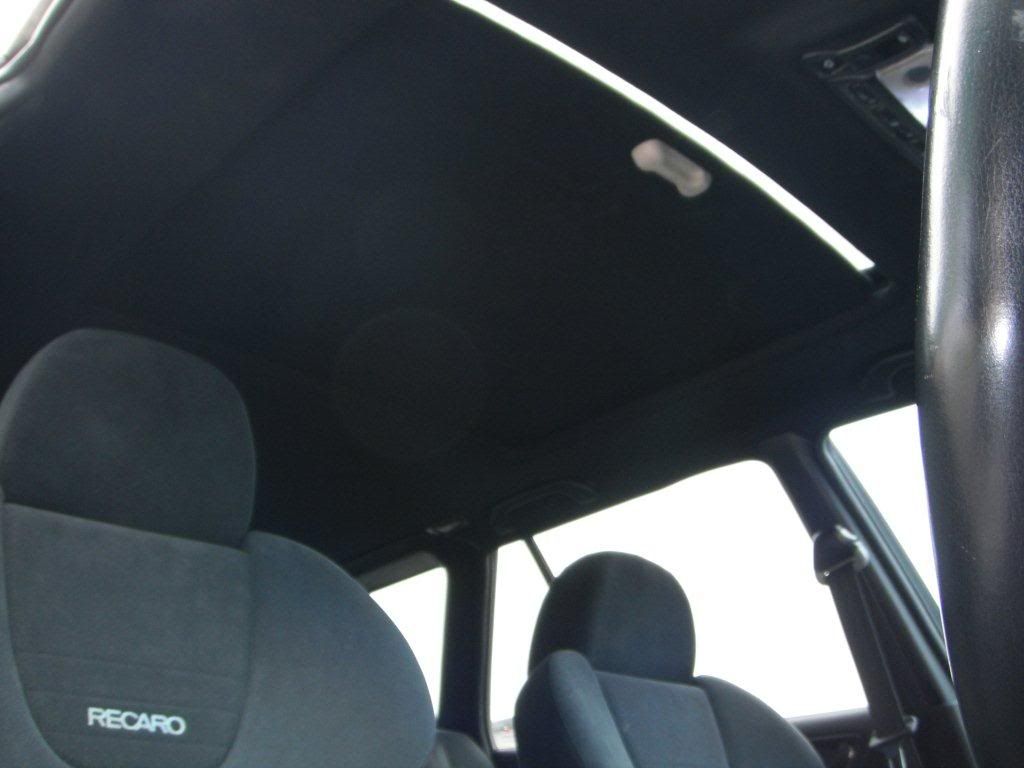
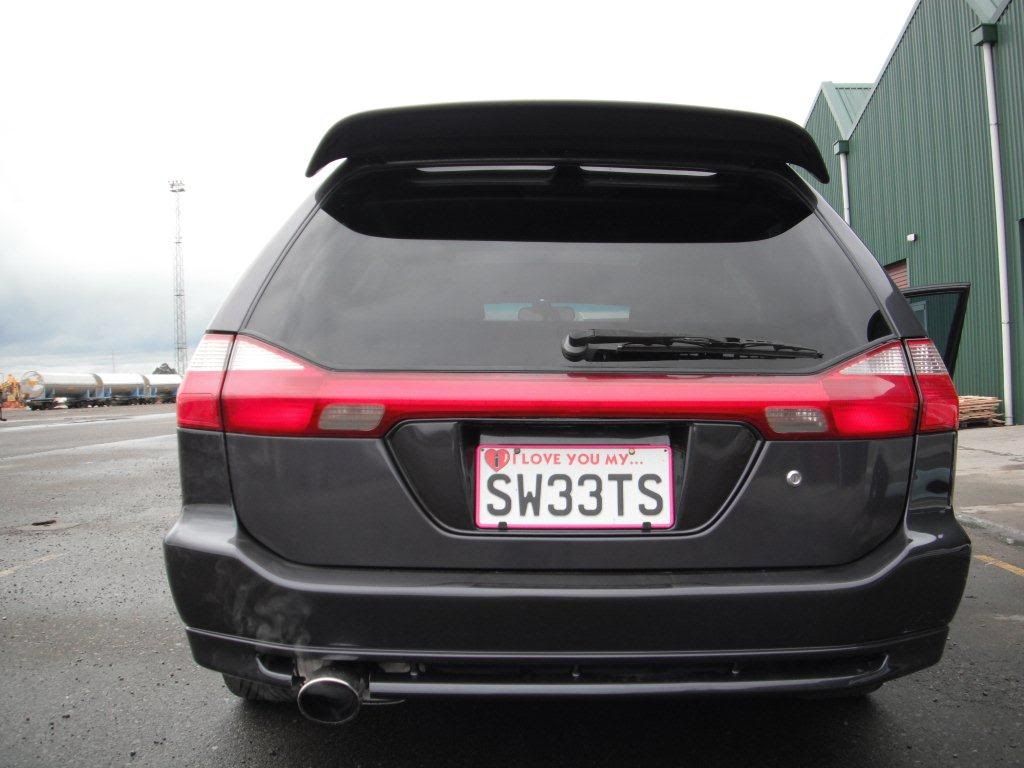
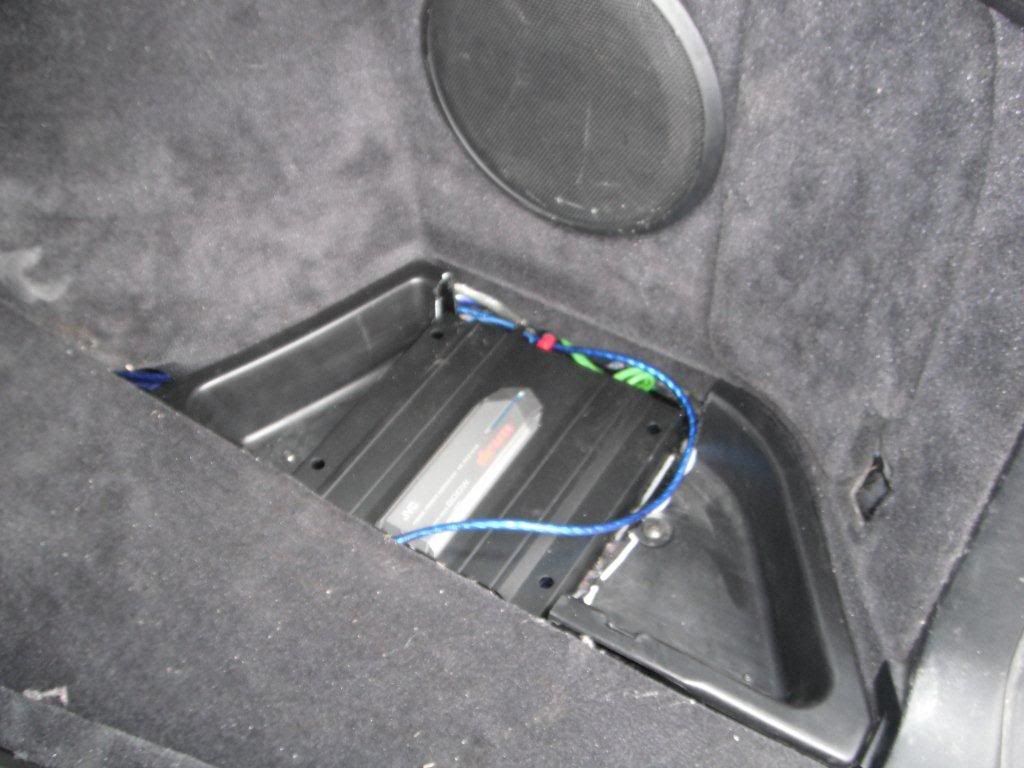
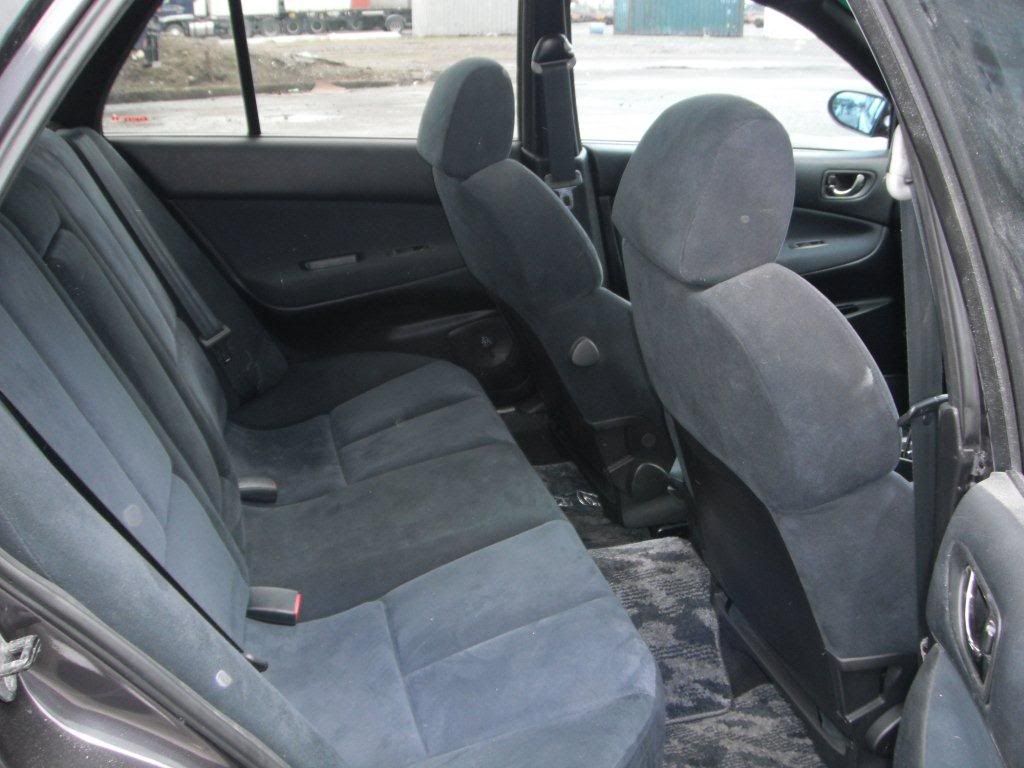
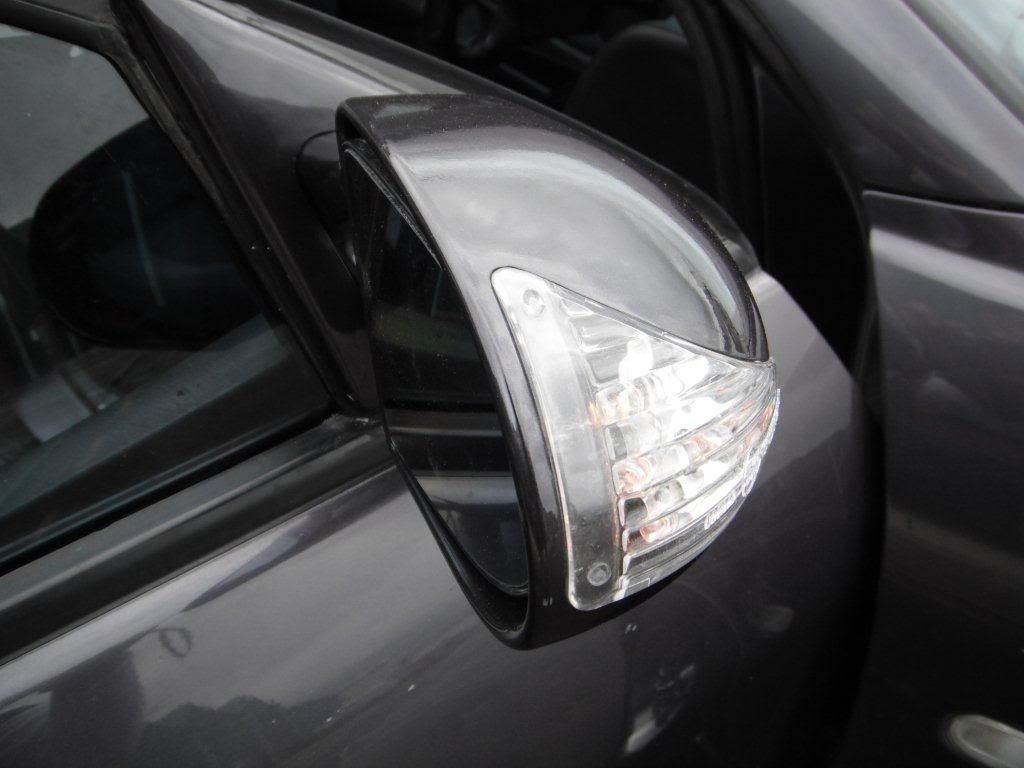
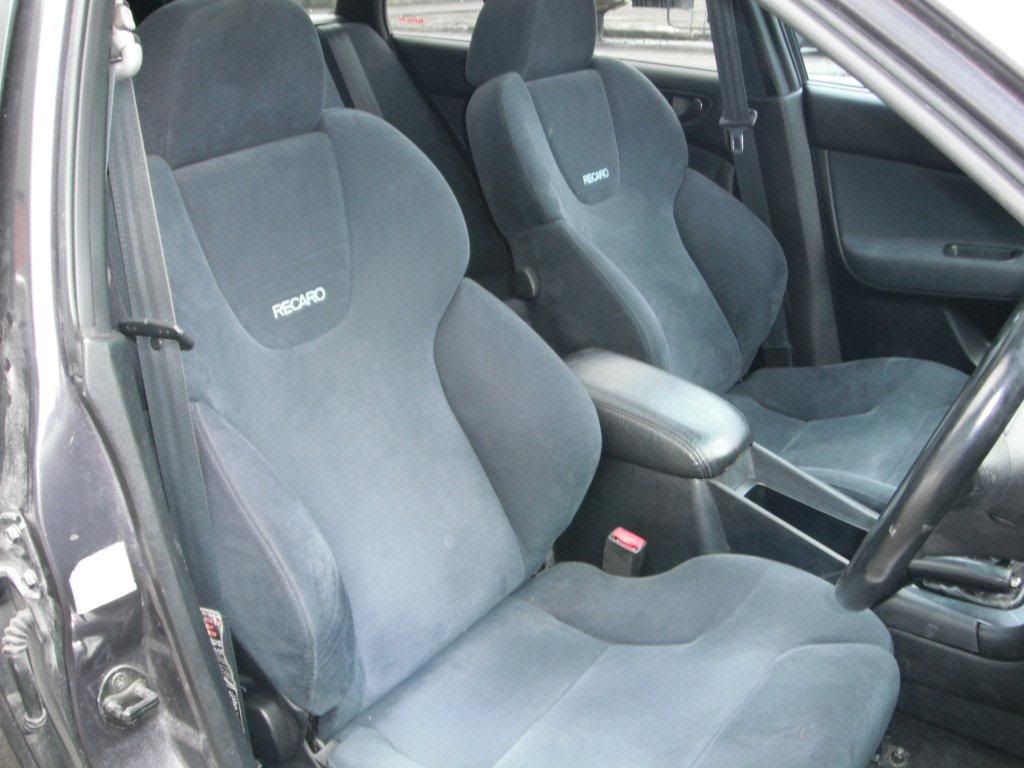
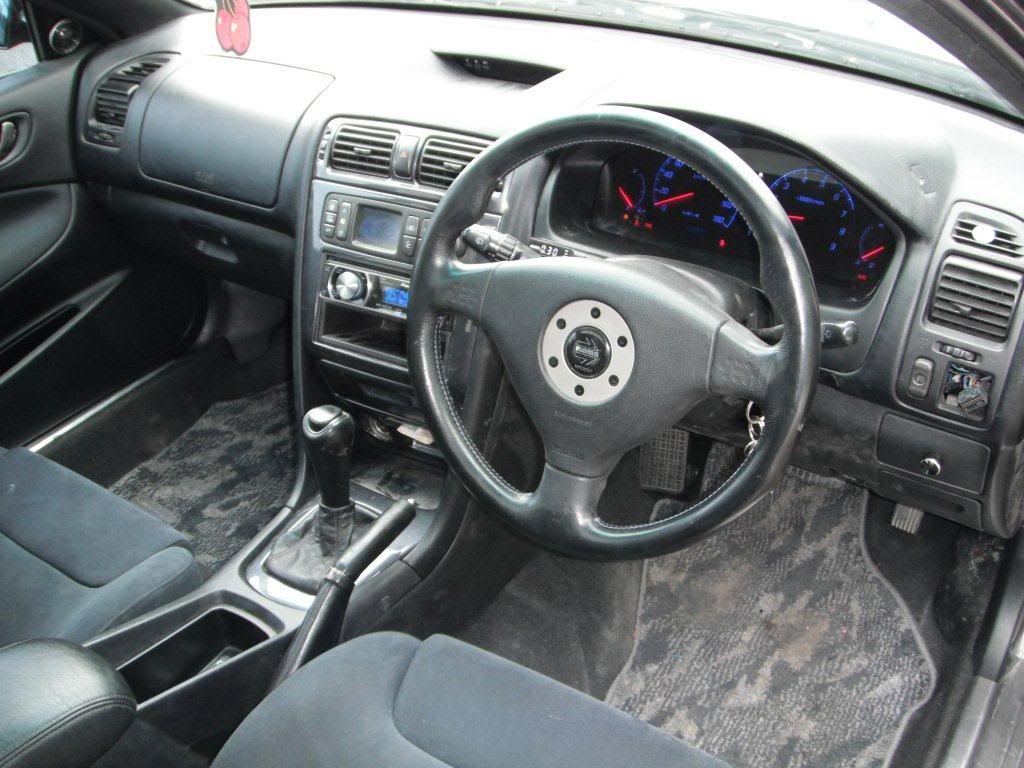
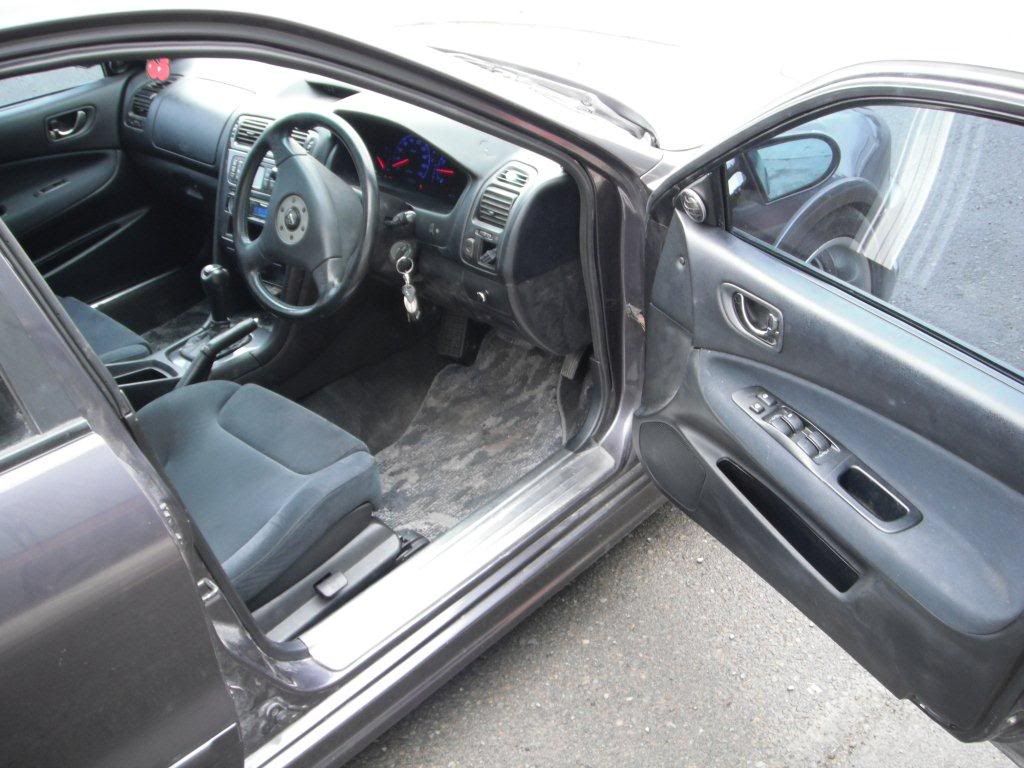
 she is done...
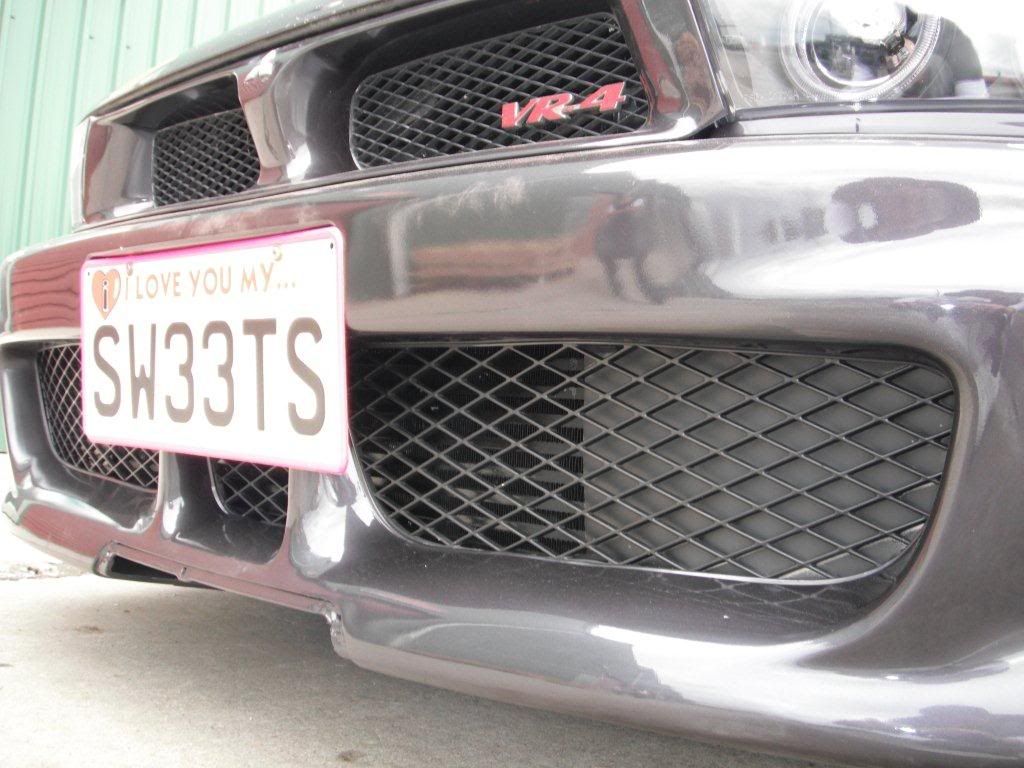


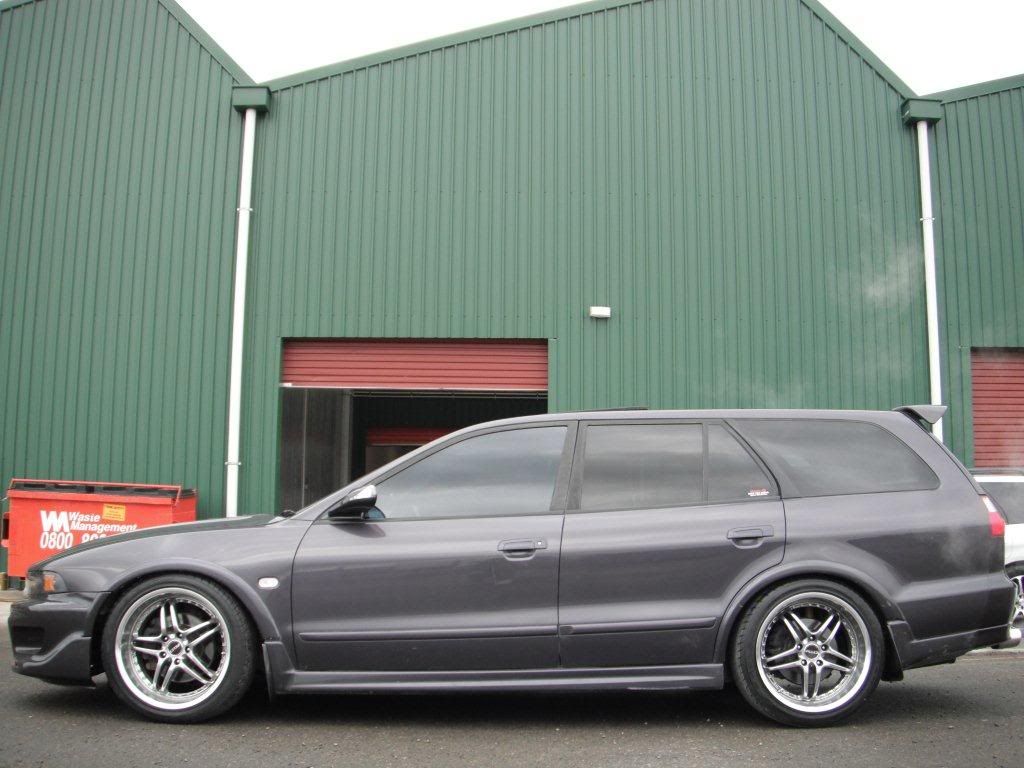


 2001 Mitsubishi Galant DE

Bookmarks