-
How to: Timing belt and water pump change for 4g69
Guys I posted this on club4g not long ago. I know some of this will very a little with your cars, because I drive an eclipse so it won't be exact, but this should help some. Something is better than nothing. Hope you find it useful, a bunch of people over there did! 
Okay guys. I changed my timing belt just a couple days ago and wanted to make a how to to help you guys! This can be a long job, but I would rather do it my self then pay a shop $700+ to do it for me. It’s pretty easy all in all, just time consuming. Sorry this isn’t very picture heavy. I was working with a time limit so I grabbed what I could. But alright guys here we go.
Will need these new parts:
New timing belt
Balance shaft belt
Balance shaft tensioner pulley
Timing belt tensioner pulley
Idler pulley
Water pump
Water pump gasket
O-ring
Two gallons of antifreeze
Gasket Sealer
And also need the following tools:
Two jacks and jack stands
Piece of wood to put between jack and oil pan
1/2inch drive ratchet
3/4 inch drive ratchet
Set of extensions, and metric sockets ranging from 8mm to 17mm
Wheel lug sockets
Crow Bar
Phillips Screwdriver and Flat head screw driver
Razor Blade
I would also suggest a second set of hands. You will see why shortly.
I used the following link to help with the install and also the tearstone service manual.
Replace timing belt on a Mitsubishi Eclipse 2.4L 2006 How To - YouTube
Tearstone Performance - 2006 Eclipse Factory Service Manual
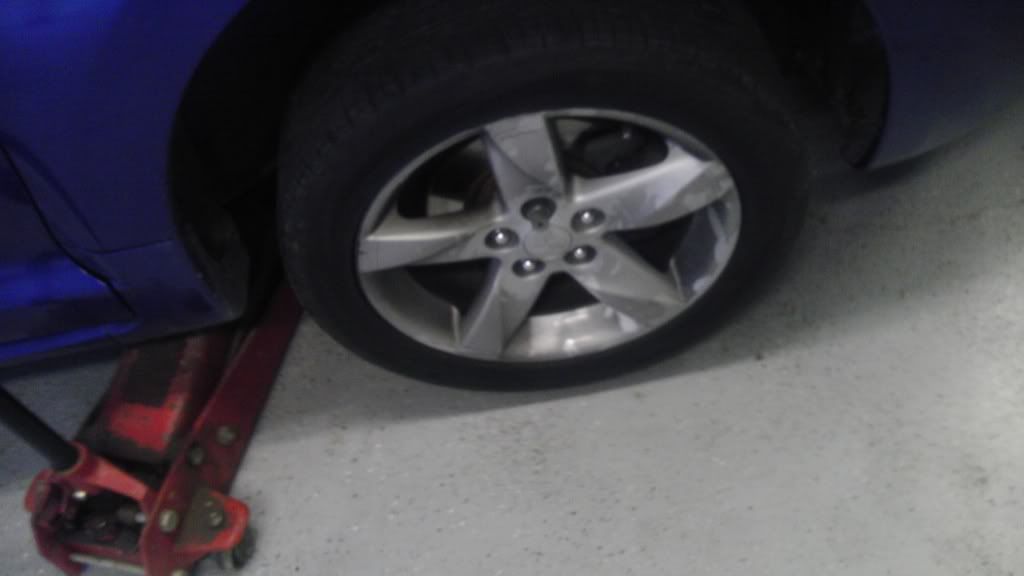
1. First things first, jack up the passenger side and place a jack stand. Then proceed to remove the wheel.
2. Next you need to remove the piece of the inner fender that sits in front of the crank shaft pulley. This is directly behind the front passenger wheel. There should be two clips holding it to the inner fender well, which will need a flat head screw driver, and then two bolts that you will have to lay underneath the car and look up to see. These are pretty far up there and will need an extension to remove them. Sorry for no picture of this. It’s pretty straight forward though.
3. After this locate the idler pulley on the right of the crank shaft pulley. It should be held on with one 14mm bolt. We will reuse this pulley. Also remove the water pump pulley. This has 4 12mm bolts I believe and is right near the power steering pump pulley.
4. Okay, now let’s go ahead and remove the serpentine belt. You should see a grey tensioner to the left of the crank shaft pulley. You need to use a half inch drive ratchet to turn it and release the serpentine belt.
5. After removing the belt, feel free to remove the tensioner. It is held on by a 12mm and 14mm bolt.
6. Next let’s jump up to the engine bay. You need to remove the black top timing belt cover. There should two black clips holding a bundle of wires to it, remove these. If I remember there are 4 bolts holding this cover on. Remove those bolts and pull the cover out. You should be able to see the timing belt on the camshaft pulley now.
7. Okay now we need to align the timing marks. Hopefully you have the stock crankshaft pulley still, or marked the RRE pulley. If you have the RRE pulley on, then put your stock one on in place of it for the time being. What you need to do, is take the half inch drive ratchet, put it in the middle of the crank shaft and crank the engine over. There should be a small notch on the outer edge of the crankshaft pulley. This needs to align with top dead center. The mark for top dead center should be on the lower timing belt cover and will say "Top Dead Center" you can't miss it. Once you line this notch up, jump up and look at the camshaft pulley. There should be another notch on the cam shaft that needs to line up with a mark that will be right above it. If you do not see this notch, then crank the engine over one more time. Once the notch on the crankshaft and camshaft both match, then you are in time. See wasn’t that hard was it? Sorry no pic of this once again.
8. Now carefully remove the crankshaft pulley without moving the crankshaft.
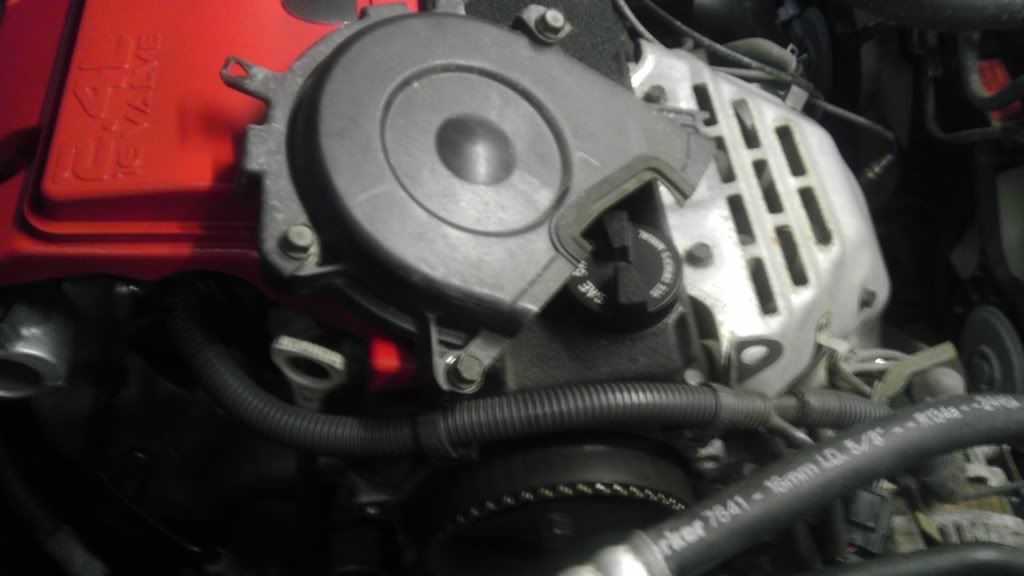
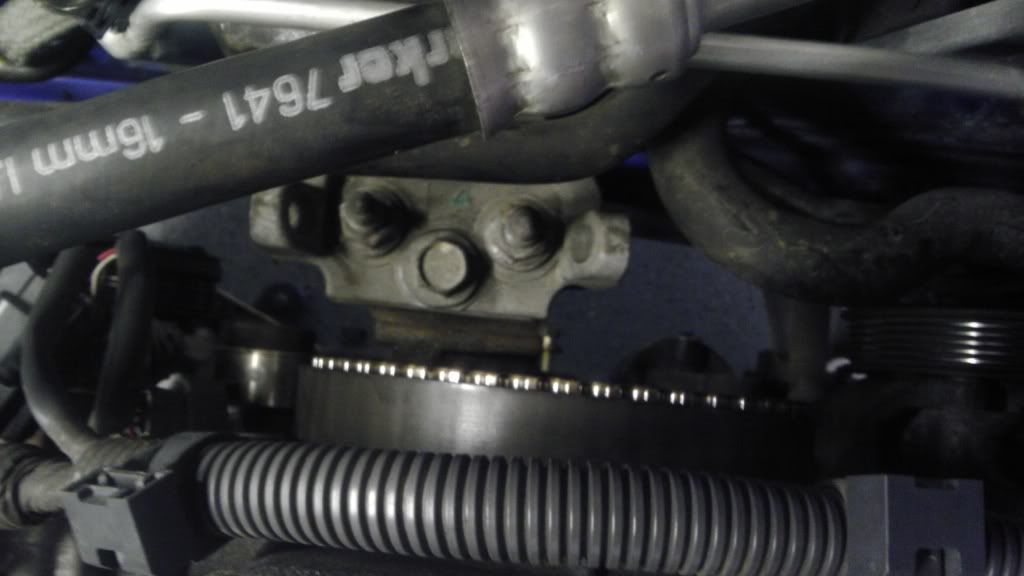
9. Now we need to remove the front engine mount and drop the engine. The engine mount is that big black square looking thing right above the camshaft. You need to use a jack and a piece of wood to support the engine. Place this underneath the oil pan.
First remove the ground wire attached to it, I believe it is a 8mm bolt. Now take a 17mm socket and remove the bolt and two nuts that hold the mount to the engine. After that take a 14mm socket to remove the three bolts holding the mount to the chassis. Then carefully pull it out of there, be very cautious of your ac line and power steering line.
Before removing mount

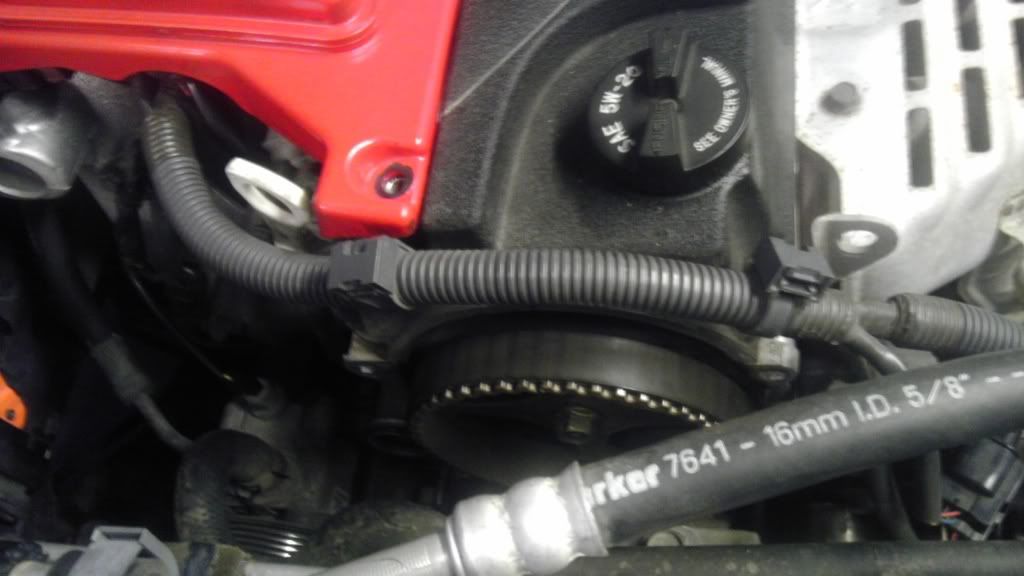
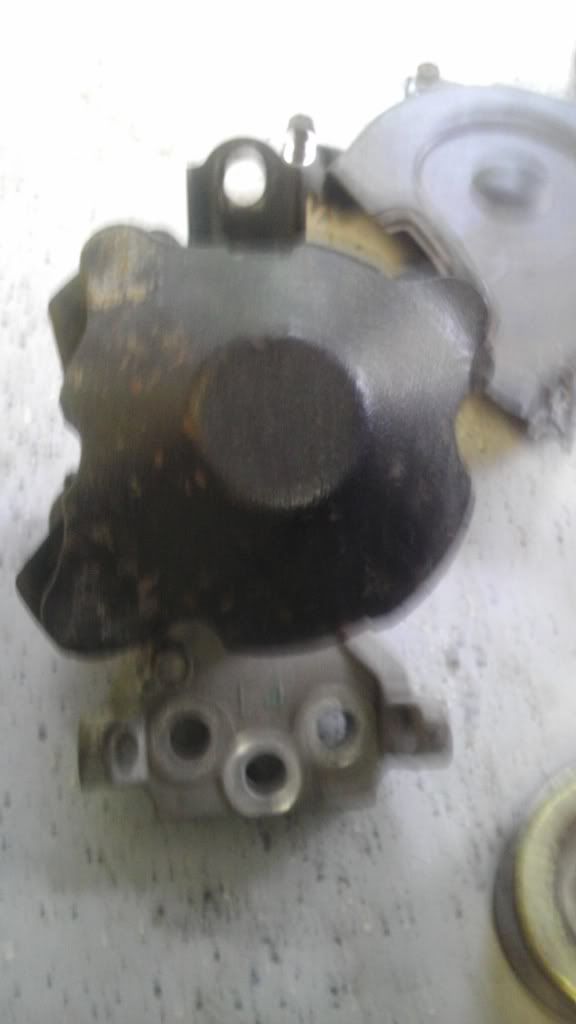
After

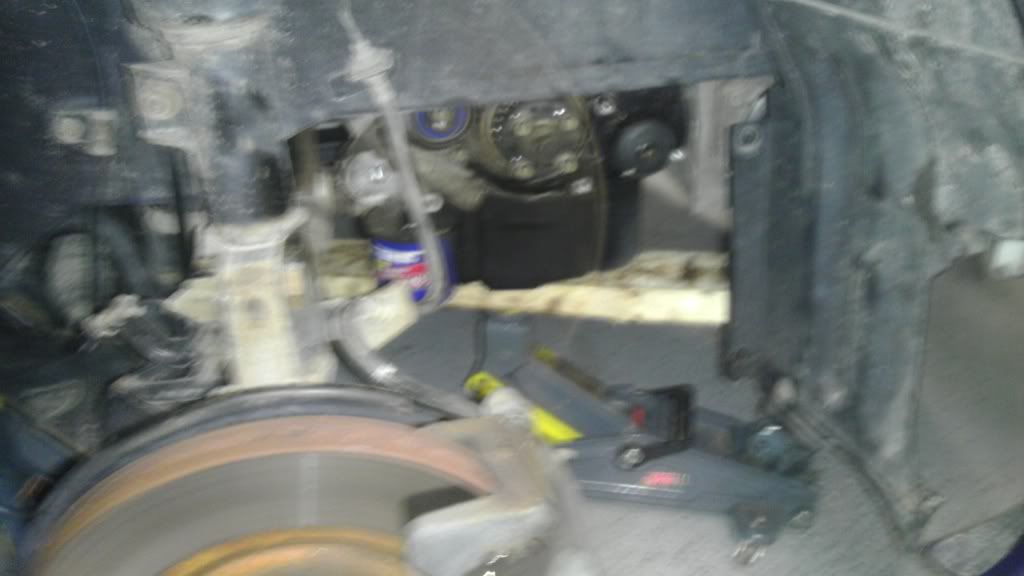
10. Now slowly lower the engine using the jack about 2inches. This will give us a bit more room. Be careful not to lower to much so you don’t break other mounts.
11. Now let’s remove the lower timing belt cover. Jump up first and remove the camshaft sensor plug connecting into the top of the cover. Now if I remember there should be 5-6 12mm bolts and one 12mm nut. Feel around for them because it will be hard to see a couple of them. Once you remove them carefully remove the timing belt cover. The crankshaft sensor is built into the cover and you don’t want to break that!
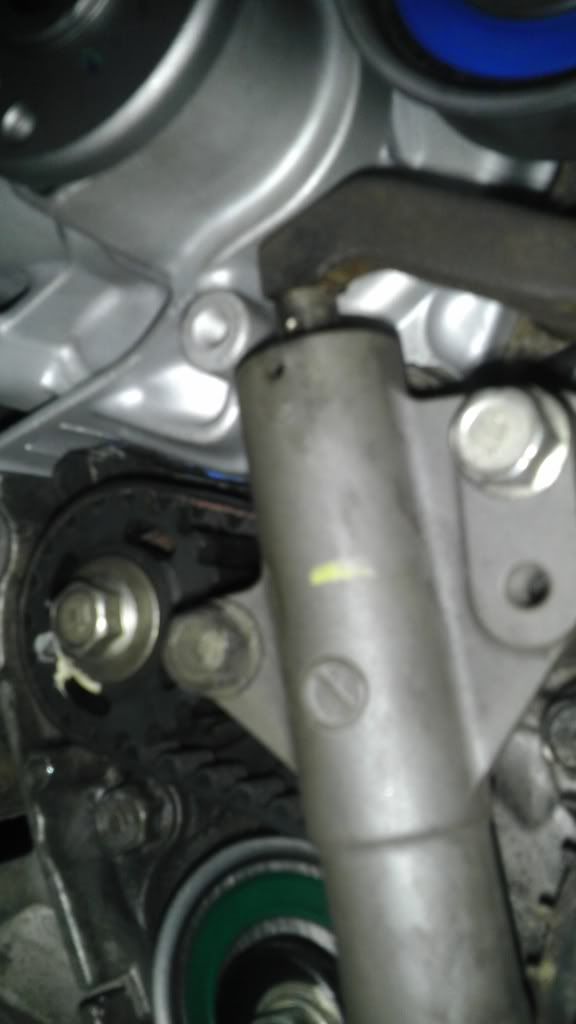
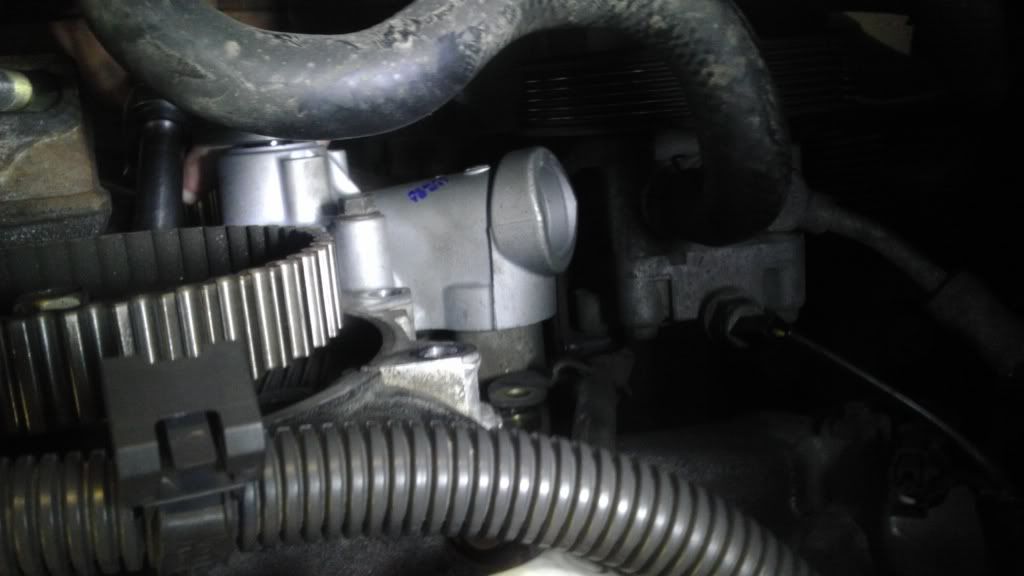
12. Now this is were it can be a bit tricky and I suggest having someone watch the camshaft while you do this, and you watch the crankshaft. We need to unbolt and remove the hydraulic timing belt tensioner. It is help on by two bolts. Be careful doing this, because if the engine is slightly out of time, one you remove this it can cause the belt to jump and slightly move the crankshaft or camshaft. Remove the tensioner and if nothing moves then you’re good to go. If something moves you need to then re-align which ever one did move.
Hydraulic tensioner
13. Let’s take this time to go ahead and compress the hydraulic tensioner. You need either a table vise or a c-clamp to do this. Place the tensioner in the vise, and SLOWLY compress the pin sticking out the top. You have to let the fluid compress slowly. Once it is completely compressed, stick a nail or pin in it to hold it there. Now sit it to the side for now.
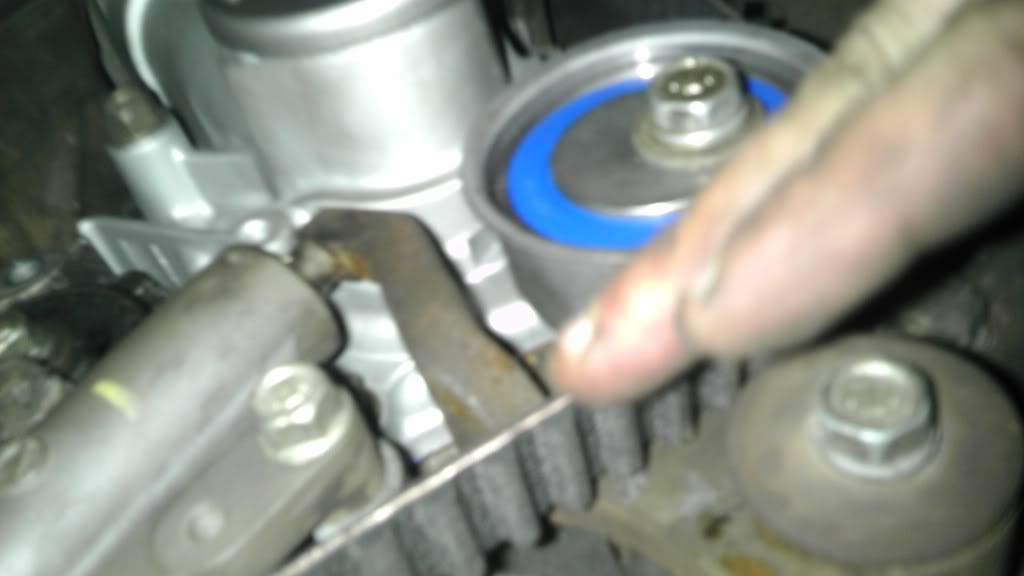
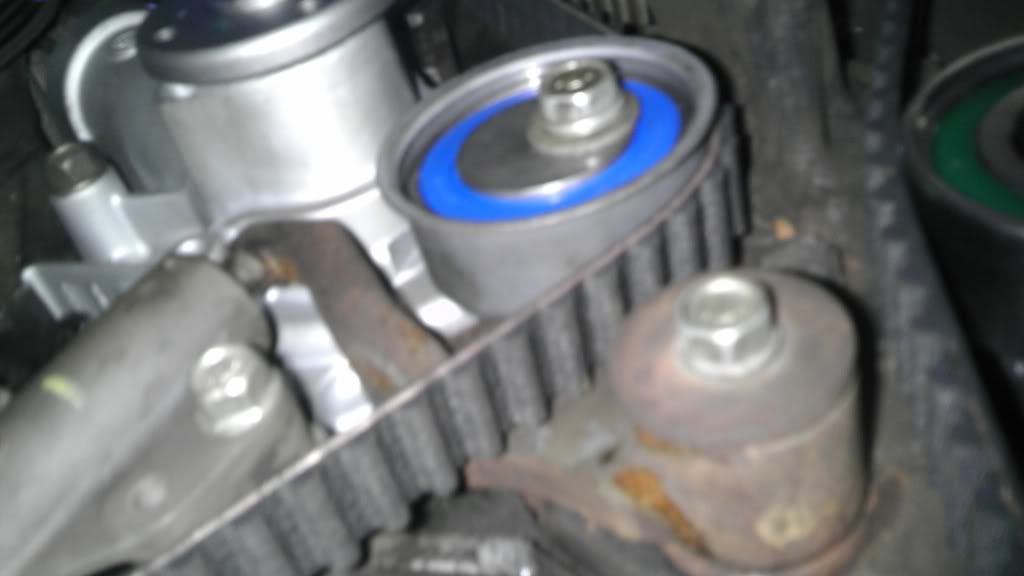
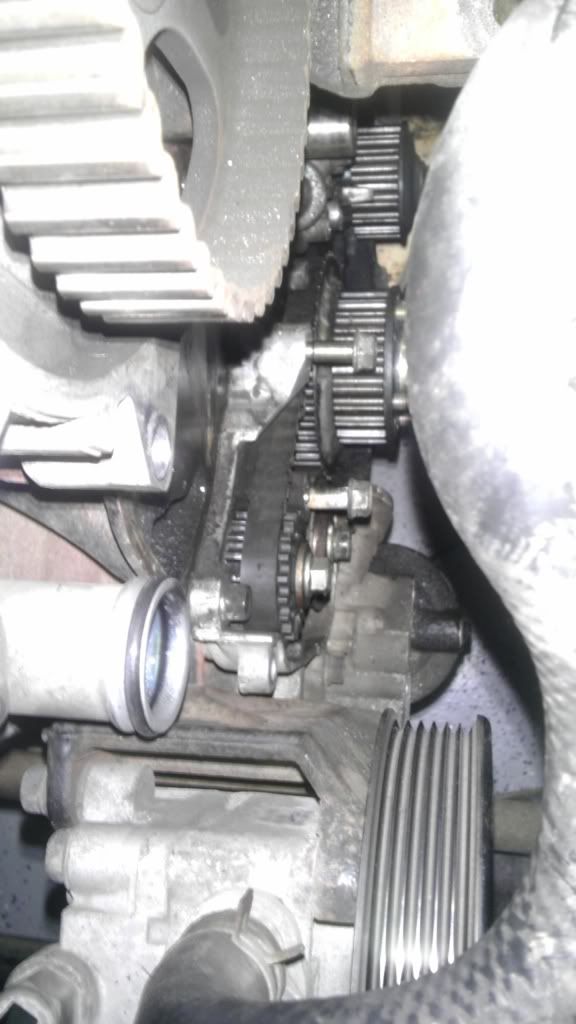
14. Remove the tensioner pulley and bracket that the hydraulic tensioner was pushing against. This is an eccentric pulley, meaning it rotates on a non uniform axis. Pay close attention to how it is mounted on the engine, maybe take a picture just to be safe.
Here is a picture of the hydraulic tensioner pushing against the bracket.
15. Go ahead now and carefully remove the old timing belt. Inspect to see how bad off it was. Mine was dry rotting near every tooth and crumbling.
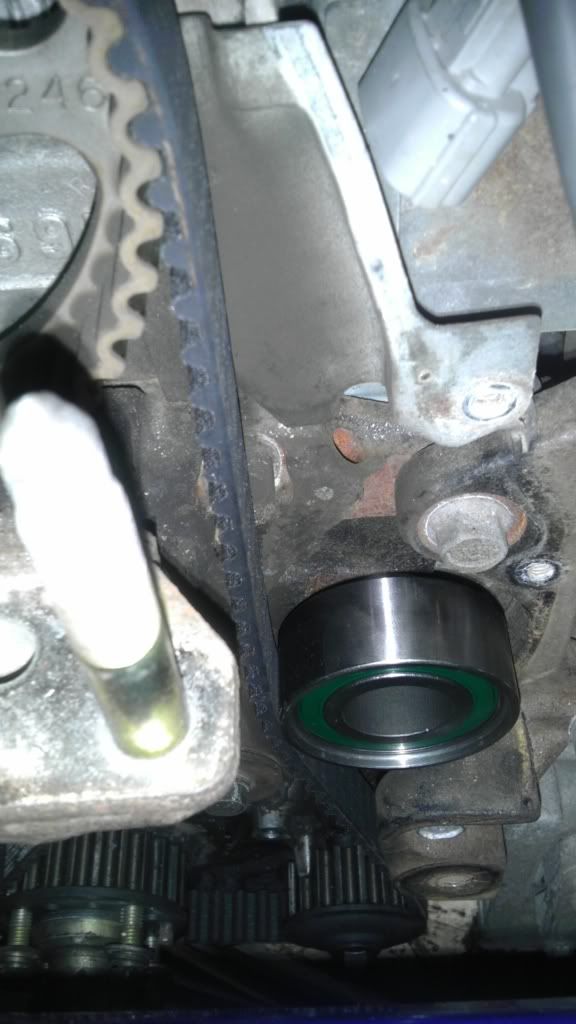
16. Now remove the idler pulley to the lower right side of the camshaft, and replace it with the new one that you received.
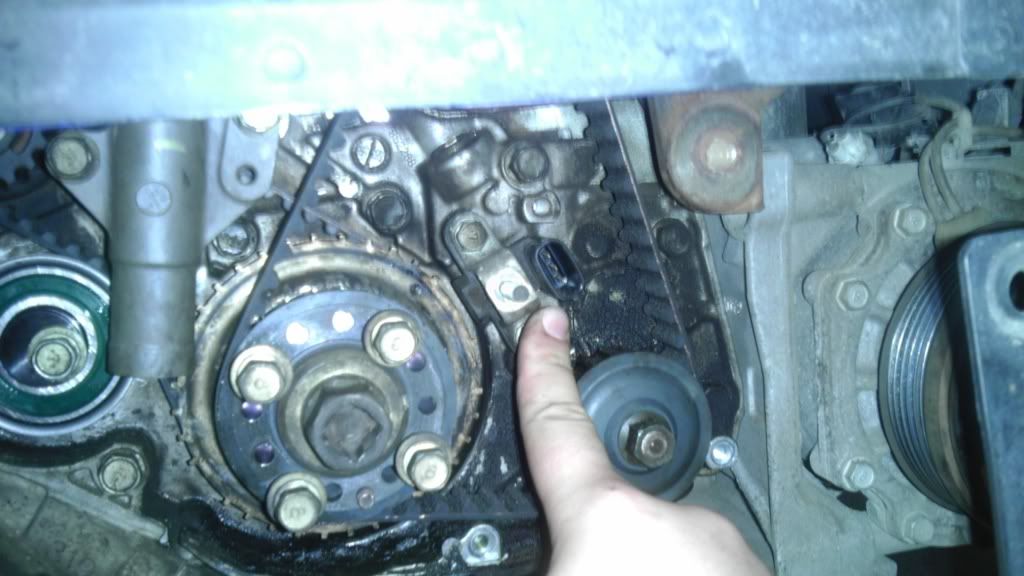
17. Now let’s get the balance shaft belt off. In order to take it off you need to remove the crankshaft sensor first. You need to first remove the old balance shaft tensioner pulley. Make caution to not move the crank shaft while doing this. Now carefully walk the balance shaft belt off of the balance shaft and crankshaft. This is almost like a small timing belt. Place the new balance shaft belt on.
Crankshaft senor:
18. Now grab your new balance shaft tensioner pulley and go ahead and bolt it down hand tight. Not all the way because we need to apply tension before securing it. Take your flat head screw driver, place it underneath the balance shaft pulley, and apply pressure upwards, against the belt. Make sure it is nice and tight with minimal slack, and then tighten up the bolt to secure it there.
Put pressure with a screwdriver like this
19. Now before removing the water pump, I would suggest draining as much coolant out of your radiator as possible. There is a little plug on the bottom passenger side that you can remove to drain it. Once drained prepare to remove the water pump.
20. There are 5 bolts holding the water pump on. Remove these. You will likely have to take a crow bar and knock the water pump off. After knocking it off expect to still loose coolant. You will then have to take a razor blade or flat head and use it to scrap any remaining gasket off of the block. Also remove the old o-ring, where the snout of the water pump met the engine.
21. You need to take the new water pump, and place the new gasket on it using gasket sealant to hold it on. Make sure this completely dries before placing it on the engine.
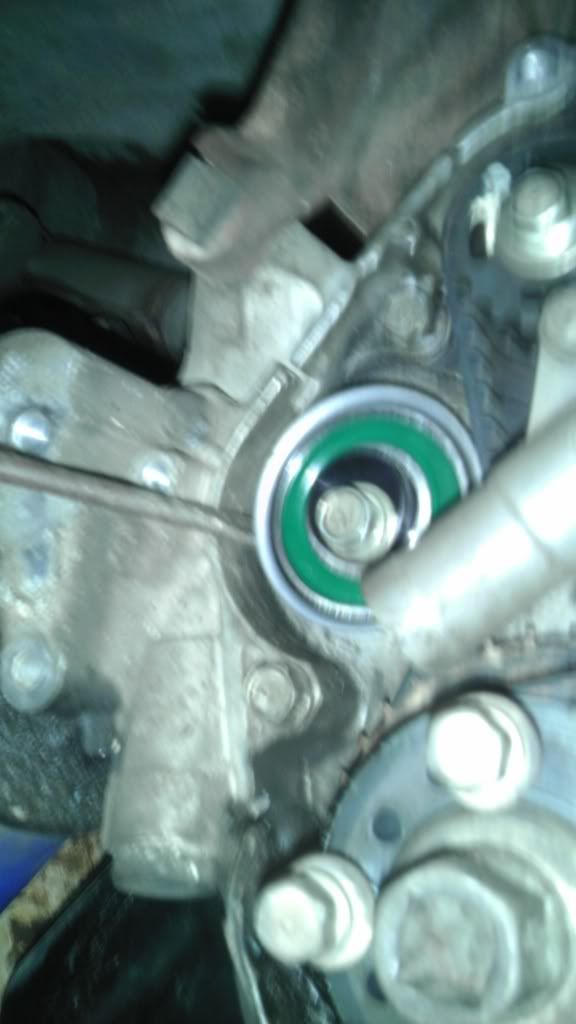
22. Now place the new o-ring and water pump on. This can be a bit tricky. It’s not going to want to line up correctly. We had to attach the snout and then use a crow bar, applying pressure upwards to get the bolt holes to line up. It wants to hit the cylinder head and also the power steering pump. But with some patience and work you should be fine. Secure all 5 bolts nice and tight!! We don’t want any leaks now do we??
Here you can see the new o-ring on the engine:
New water pump mounted
Now back to the timing belt!
23. Now here is another part where I suggest having someone to help you. You need to put the new timing belt on. Place it first on the camshaft, then on the crankshaft. Make SURE there is ZERO slack on the right side of the timing belt. Closest to the front of the engine. You cannot have slack on this side. While doing this, you need to have someone hold the timing belt on the camshaft, not letting the camshaft move, or letting the belt slide left or right.
hold the belt like this on the camshaft

24. Continue to have them hold the belt while you place the tensioner bracket and tensioner pulley back on the car. Now place the hydraulic tensioner back on also and remove the pin keeping it compressed. This should push against the bracket which will in turn push the pulley against the timing belt.
25. Now here is another important step. You need to still have someone hold the timing belt in place while you loosen the tensioner pulley. Rotate it downward and apply a bunch of pressure while you tighten the bolt to hold it in place. You need to have a bit of distance between the water pump and the tensioner pulley so that the lower timing belt cover will fit between and not rub!
26. Once all is tightened, check to make sure no slack is on the right side of the belt and very very little on the left side.
27. Now here is the MOST important part. Before proceeding any further, you need to take your half inch drive ratchet once again, and crank the engine over two full revelations. As you crank you will feel compression build, and then drop, but if you feel binding of any sort, where the engine will not crank at all, then your timing marks are off and you need to backtrack and start over. If she flows smooth for two revelations, then congrats!! You just did your timing belt change!
28. Now put the crankshaft sensor back on, and then the lower timing belt. Make sure to not force it on or you could break the sensor. This can be a bit tricky and may require some patience and a spot from up top, making sure that the cover is not rubbing against the timing belt tensioner pulley.
29. Proceed to place everything back on in reversed order. Once the crankshaft pulley is back on and the motor mount is back on, feel free to crank the engine over by hand two more times just to be 100% positive you have it in time correctly. If it goes without binding up, you are good to go!!
30. Put the drain plug back into the radiator, and then fill her back up with antifreeze. Now start the car, and let her idle until fully heated up. While this is going on have someone massage the upper radiator hose to help prevent any air pockets. Continue to fill with coolant until she is full, and then take her for a drive!!
Congratulations! Your timing belt and water pump has been changed and you didn’t have to pay a butt load of money to have it done!!!
If anyone has any questions please feel free to ask! Once again, sorry this wasn’t very picture heavy, but I did the best I could. Thanks!!
-
sorry I believe I just posted in the wrong section by accident feel free to move this to wherever it needs to be moved.
-
You guys will need the stock crank pulley to do this. The RRE one doesn't have a timing mark on it.
If anyone is interested I marked my RRE one and have my stock crank pulley for sale if anyone needs one.
 Posting Rules
- You may not post new threads
- You may not post replies
- You may not post attachments
- You may not edit your posts
-
Forum Rules
 Log in
 Register
 Reply With Quote

Bookmarks