-
How To: Delete Intake Manifold Resonator and Install RPW Tb Spacer
Hey guys, not sure if the manifold on the galant has a resonator, but, I do know you could use the tb spacer portion of this.
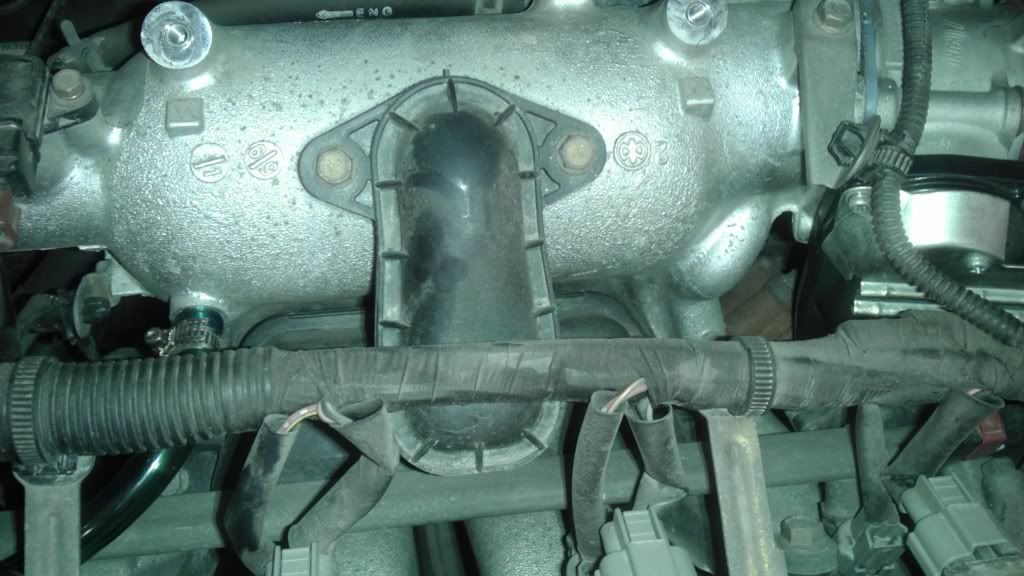
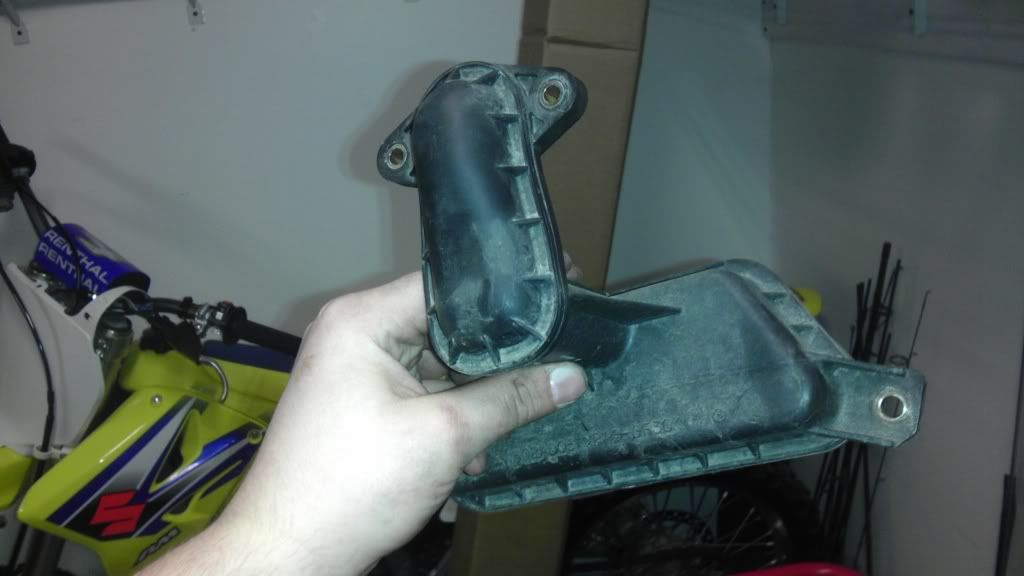
Okay guys, today I am showing you how to delete your resonator that is attached to the intake manifold. If you do not know which one I am talking about it is the black resonator in the picture below. In the process I also showed how to do the tb spacer.
In order to do this you will need to buy a 35/38mm flange block off plate.
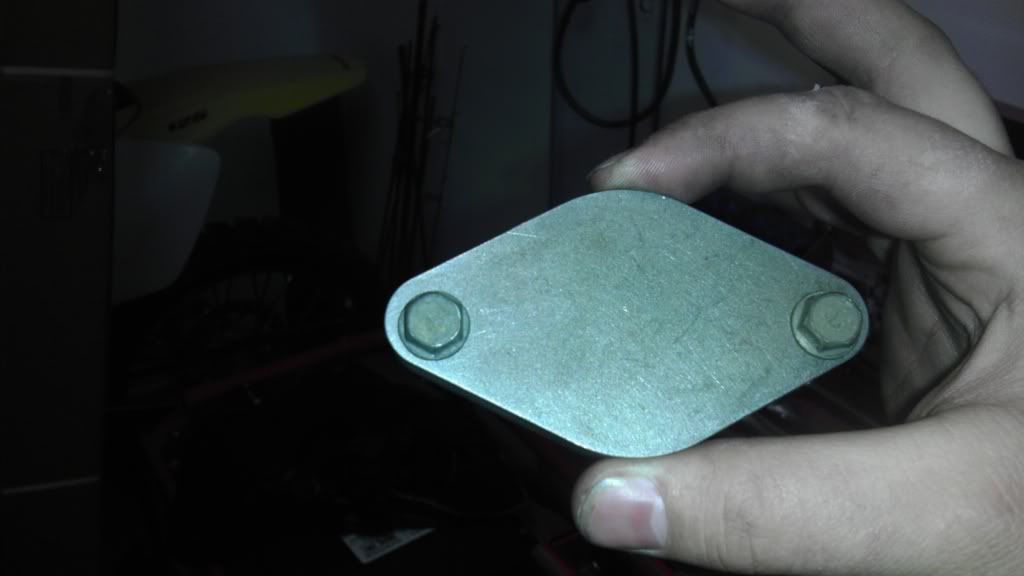
I ordered mine here: FRS Steel External Wastegate Block-Off Flange Deltagate/Tial 35mm 38mm
TB SPACER INSTALL
What this does- This spaces our your tb from your intake manifold. This helps reduce the transfer of heat, helping cool down the tb, which in turn cools down the air entering your engine.
1. First step is to disconnect your negative battery terminal.
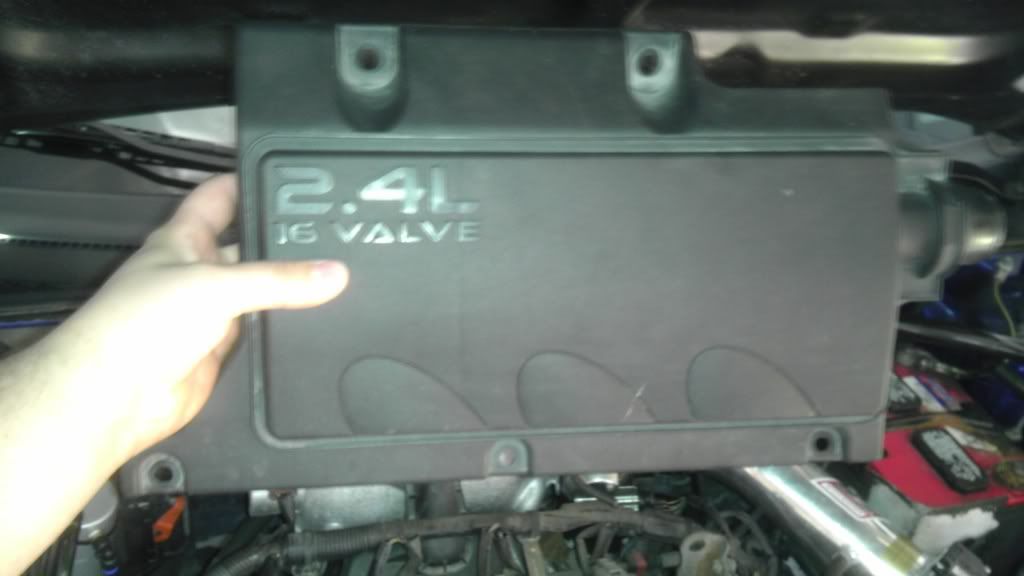
2. Now the second step as always is to remove your intake manifold cover. It has 5 10mm bolts.
3. Next, take off your intake. Rather it be stock or aftermarket.
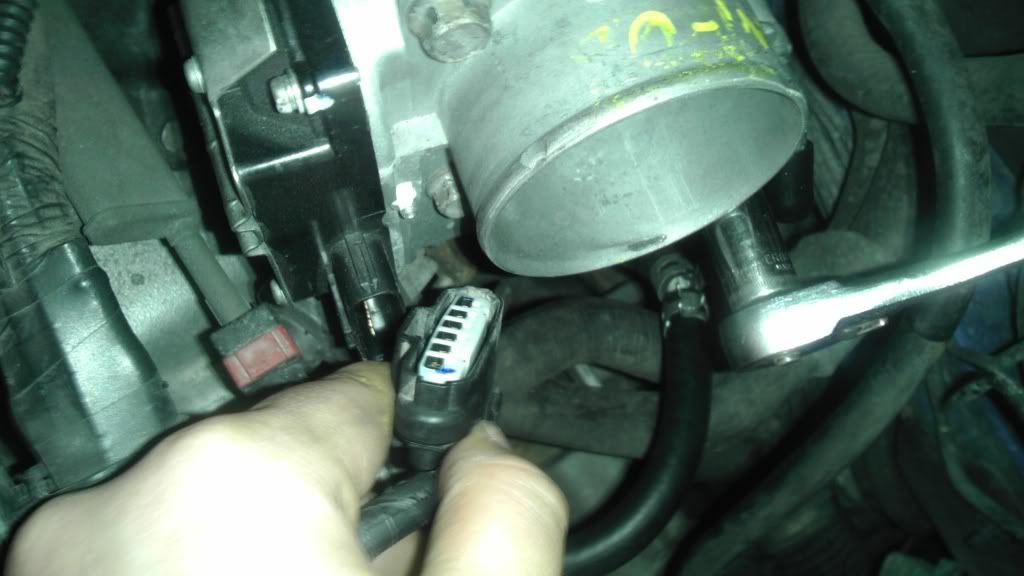
4. Now remove your tb, it is held in by 4 12mm bolts, also don't forget to remove the coolant lines (if you have not done the bypass) and the throttle positioning sensor.
Make sure while removing the tb to catch your stock gasket, sometimes it will drop off, other times it will stick to the manifold.
Note, stop here and go to the "Resonator delete section" if wanting to delete the resonator. If only wanting to do the tb spacer, then feel free to proceed.
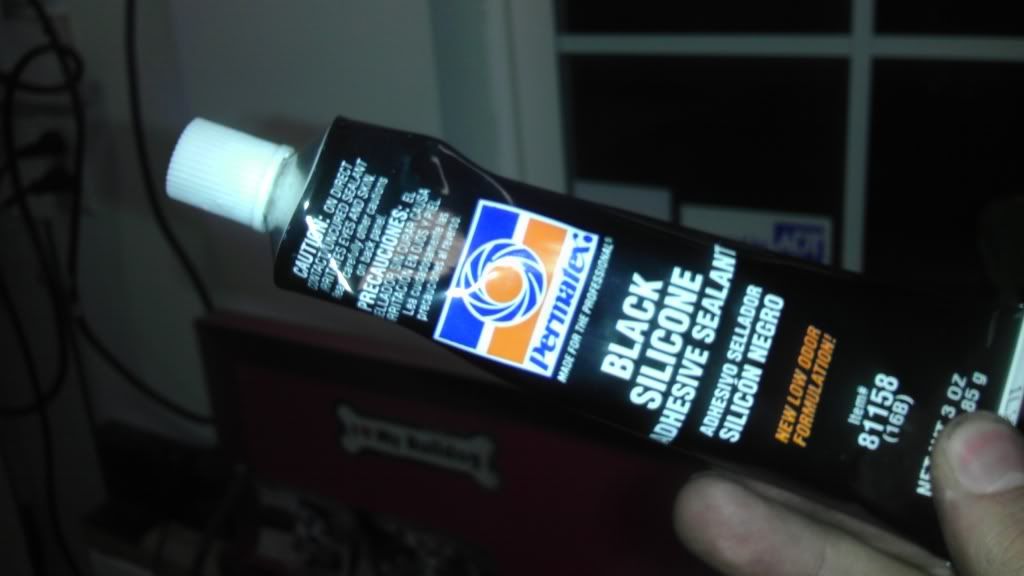
5. Now take your spacer you have bought, and coat both sides of it with some sealant and apply it to the tb. I used Permatex black silicone. This helps prevent a vacuum leak.
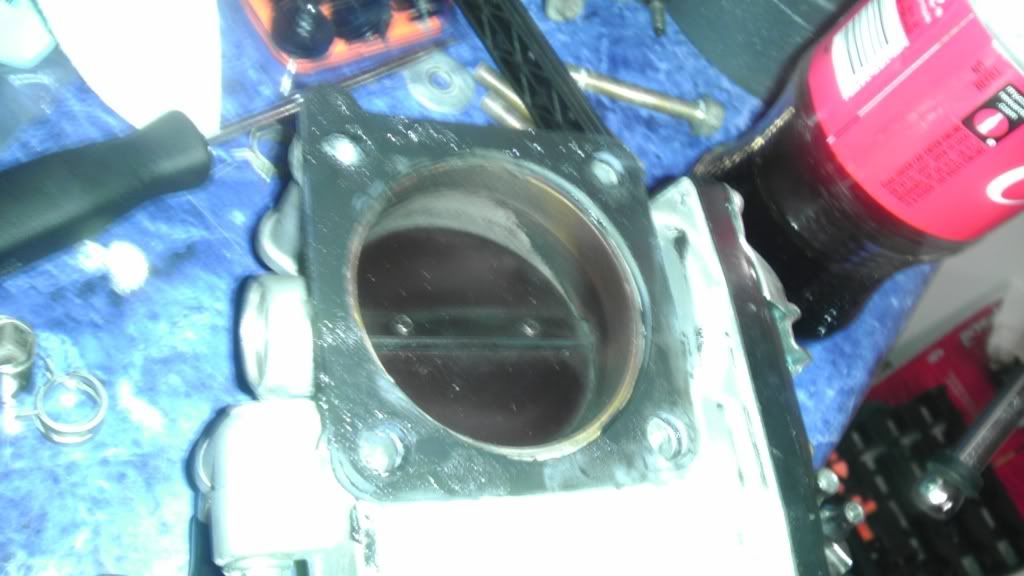
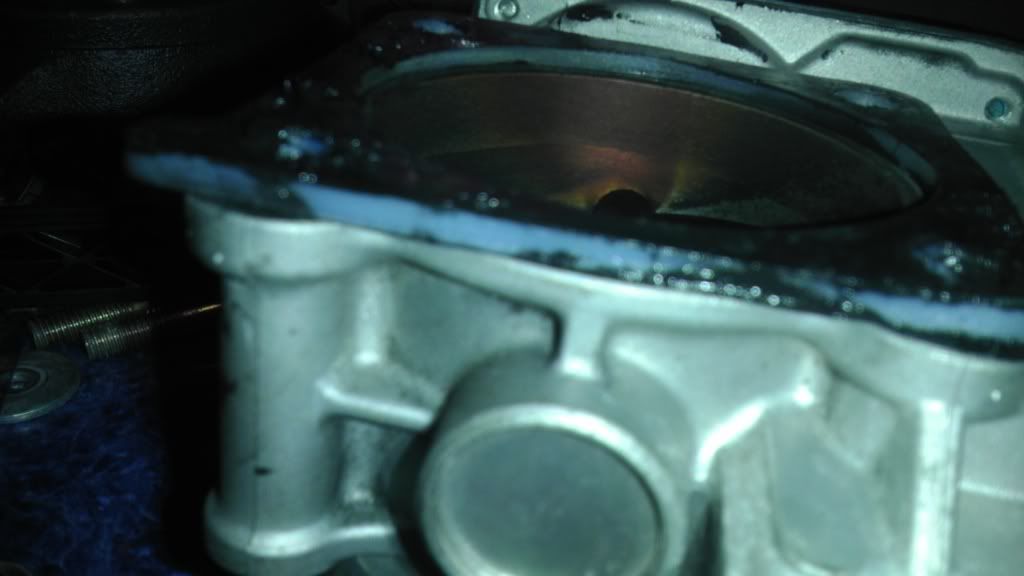
6. Now make sure the tab on your spacer is towards the top and towards the cab of the car. Look at your stock gasket to see what I am talking about.
7. Go ahead and mount your tb back, hand tighten all four bolts until they are nice and snug. Then torque them up and get nice and tight. *Remember to tighten in a cross pattern, same way you do your wheels*.
8. Put your intake back on, connect your battery and start her up. Make sure to check for vacuum leaks, antifreeze leaks, etc. If the car is idling extremely high (1500+ rpms) then it probably has a vacuum leak.
9. After install, if the car is acting weird, then retighten the bolts on your tb. The spacer tends to shrink/expand and can cause a vacuum leak. I tightened them up periodically over the whole next week just to make sure.
BAM! Now you have your tb spacer.
INTAKE MANIFOLD RESONATOR DELETE
What this does- Resonators are a bane to any drivers existence. They are placed to dub down intake or exhaust systems. It is an open space, connected to your manifold that holds air. This doesn't seem like a bad thing, but instead of air entering your manifold and going directly to your engine, it circulates through the resonator, resulting in a less fuel efficient, and less powerful engine. By doing this you will notice a slight deeper growl, as well as gain a bit more top end power. It also makes the engine look much more clean
Note, please see "tb spacer intall" steps 1-4 for the beginning steps to "intake manifold resonator delete"
This will help a lot http://tearstone.com/eclipsefsm/2006...05800E-13A.pdf
1. Start by depressurizing your fuel lines. You can either:
A. Just unscrew your gas cap, and let it sit for awhile, or
B. Disconnect your fuel pump under your back drivers side seat, and then run your car until it stalls out.
I just unscrewed my gas cap.
2. From where you are now, we are going to start disconnecting a lot of wires/sensors so that we have some room to work with. This can be done in any particular order, but I will show you which way I did.
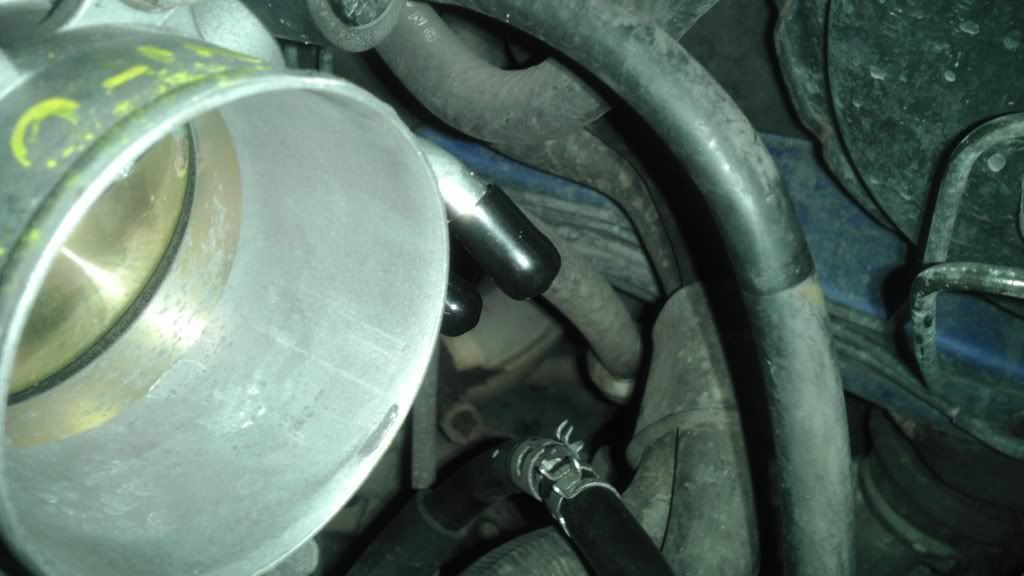
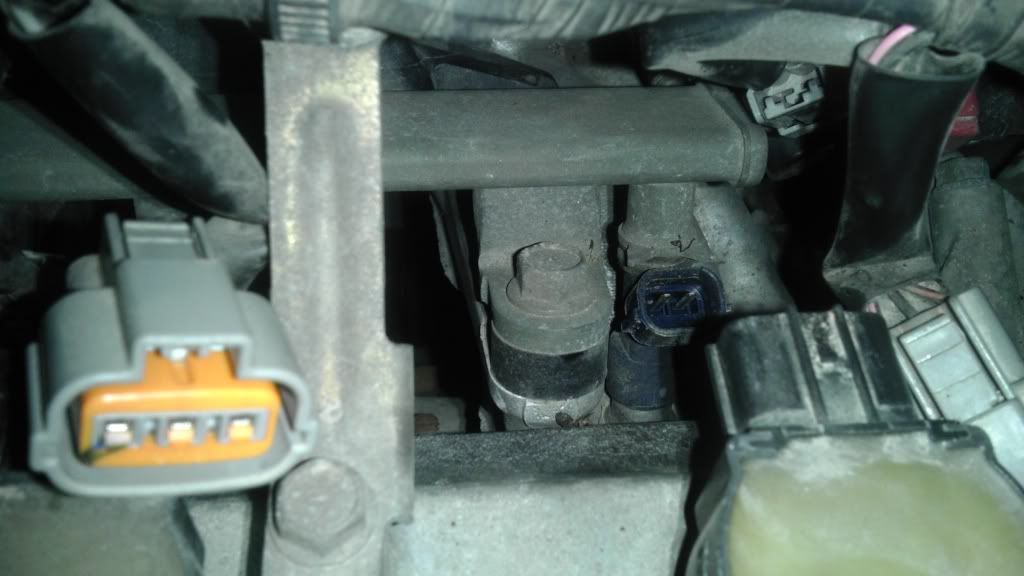
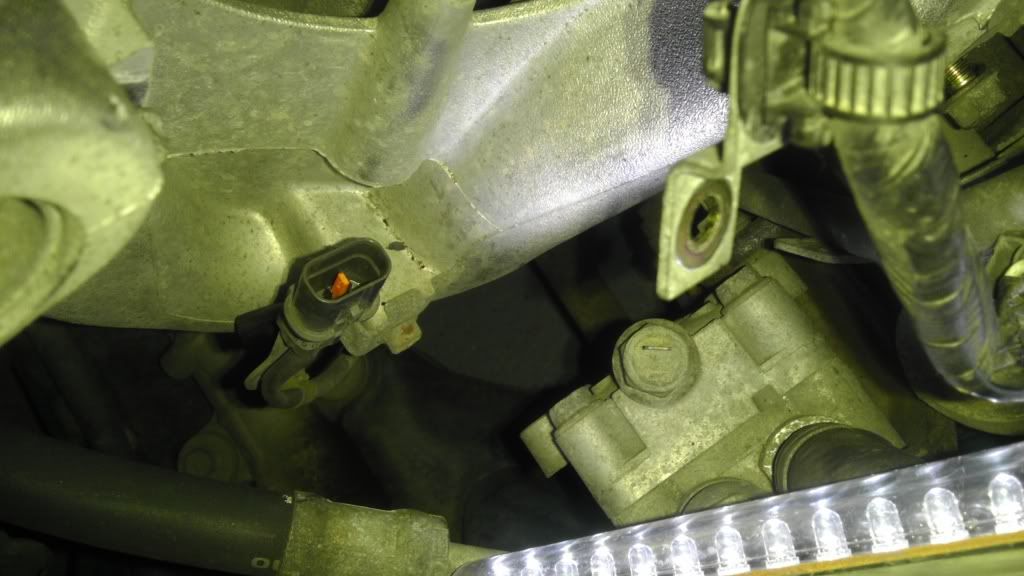
A. Start by disconnecting your EGR valve connector. It is directly under the tb.

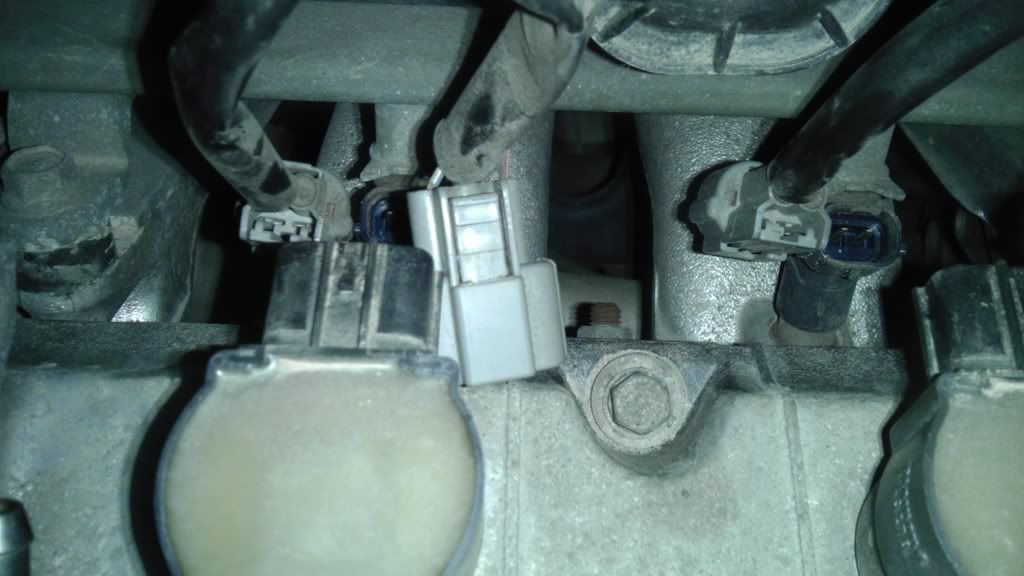
B. Now remove your ignition coil connectors. There are four of them total.
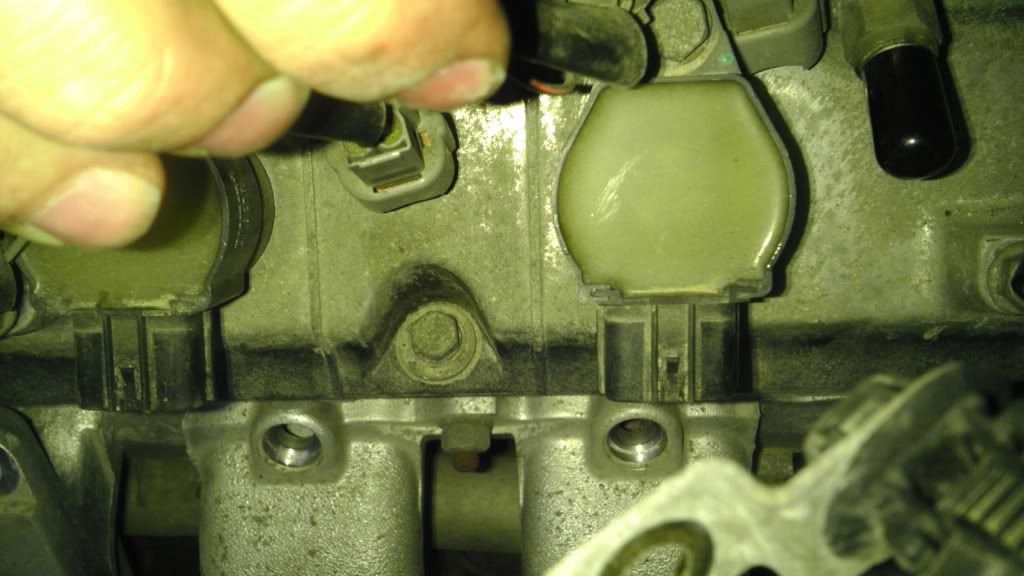
Here you see one disconnected (left) and one connected (right)
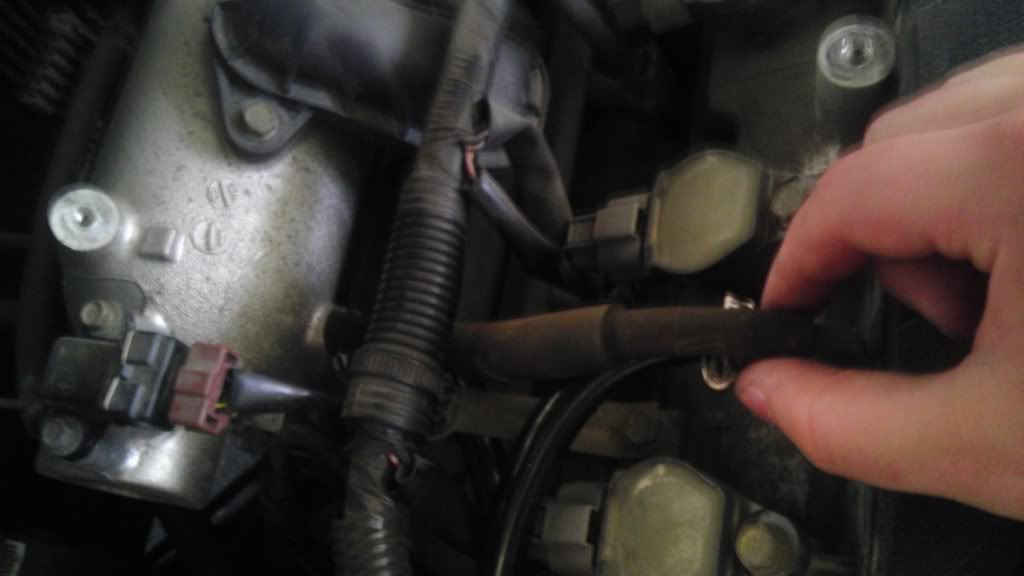
C. Disconnect your fuel injector connectors. These are directly below the ignition coil connectors.
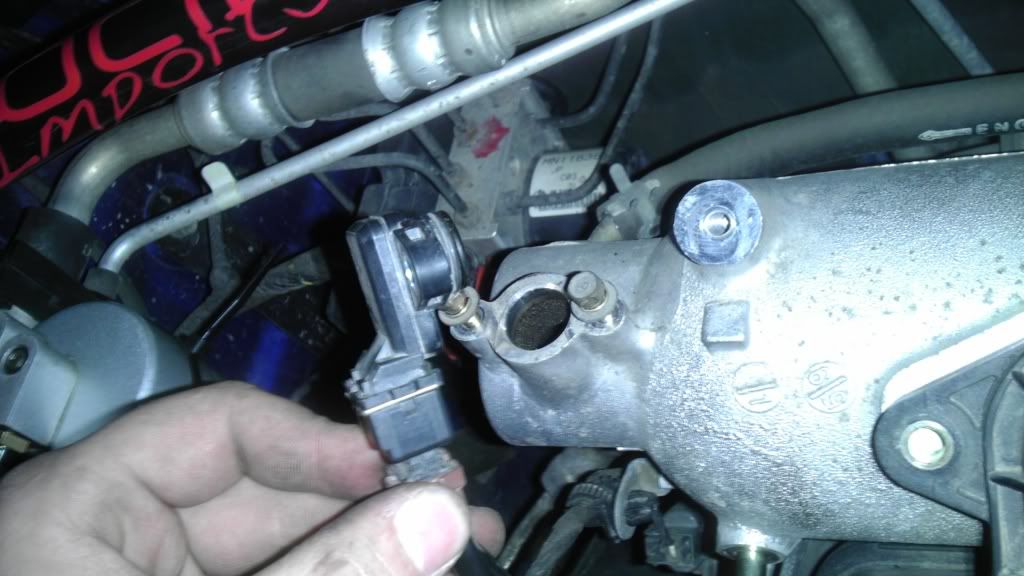
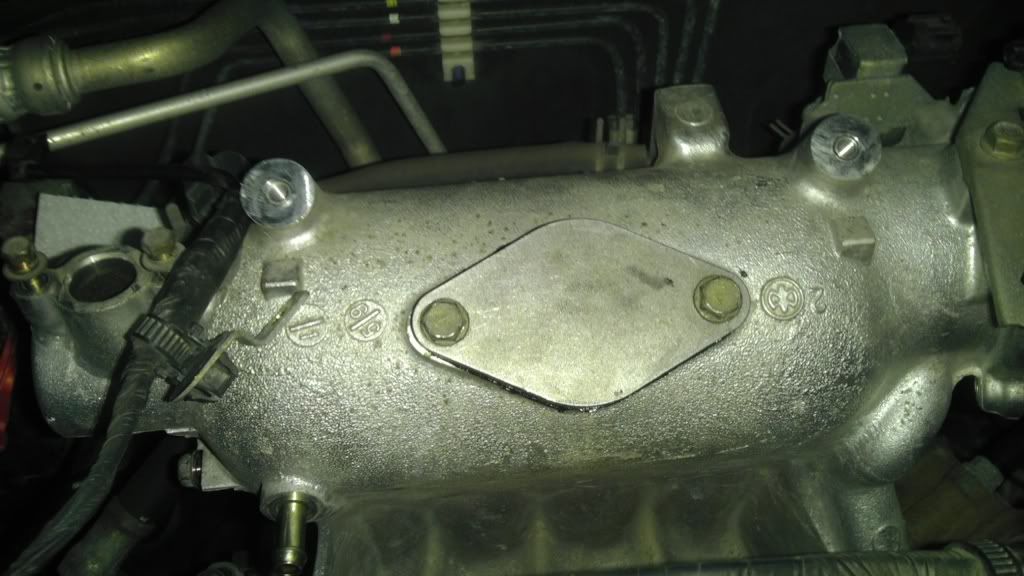
D. Remove your manifold absolute pressure sensor. I unbolted it (two 8mm bolts I believe) and pulled it straight up.
E. Now remove your evaporative emission purge solenoid connector. This is above and to the right side of where the tb is.

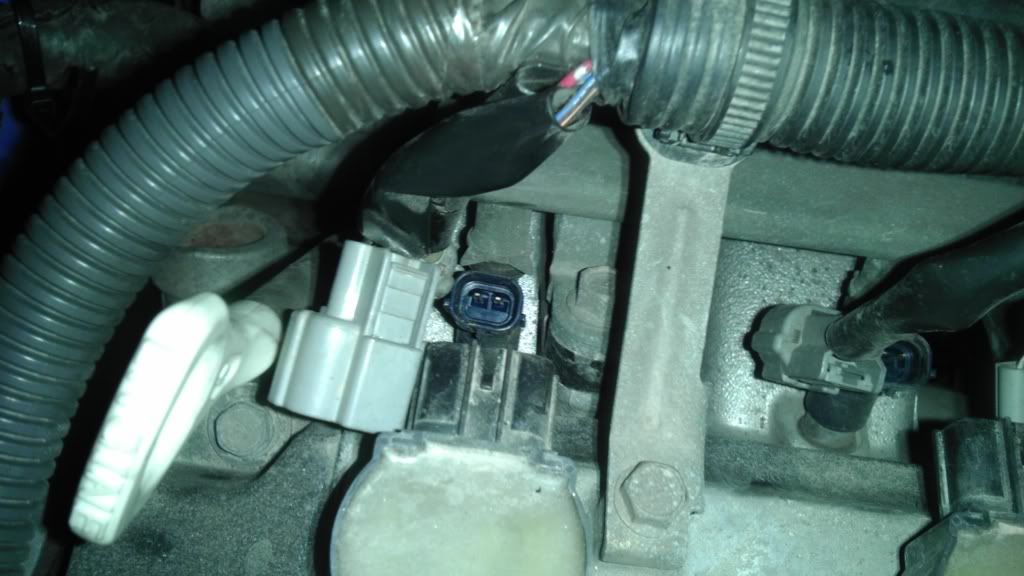
F. Now remove your knock sensor connector, and your power steering pressure switch connector. These two are almost side by side. They are on the left side of the manifold, and down a bit, near the oil dipstick holster.
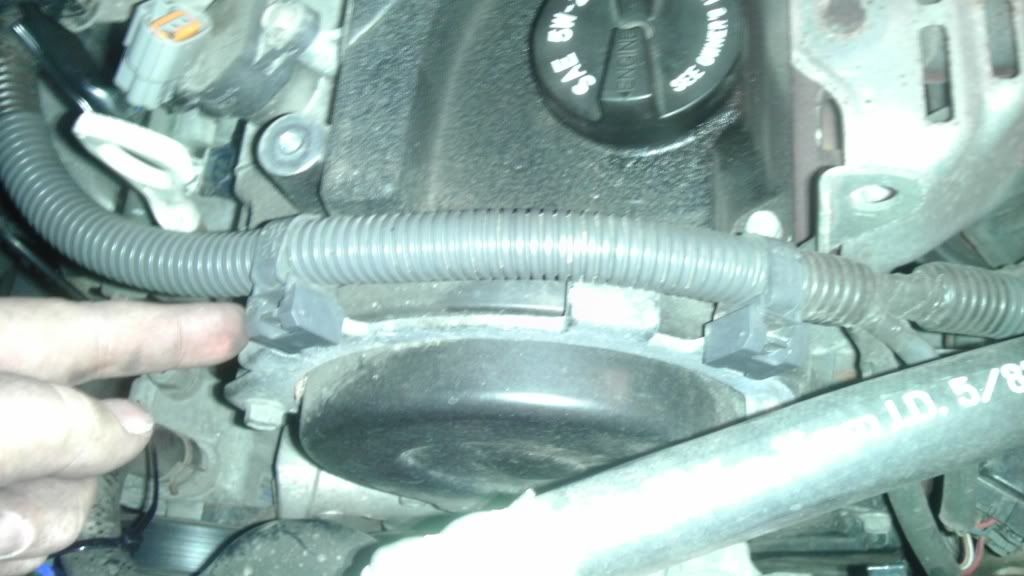
G. Remove your PCV Hose, it connects your intake manifold to your valve cover.
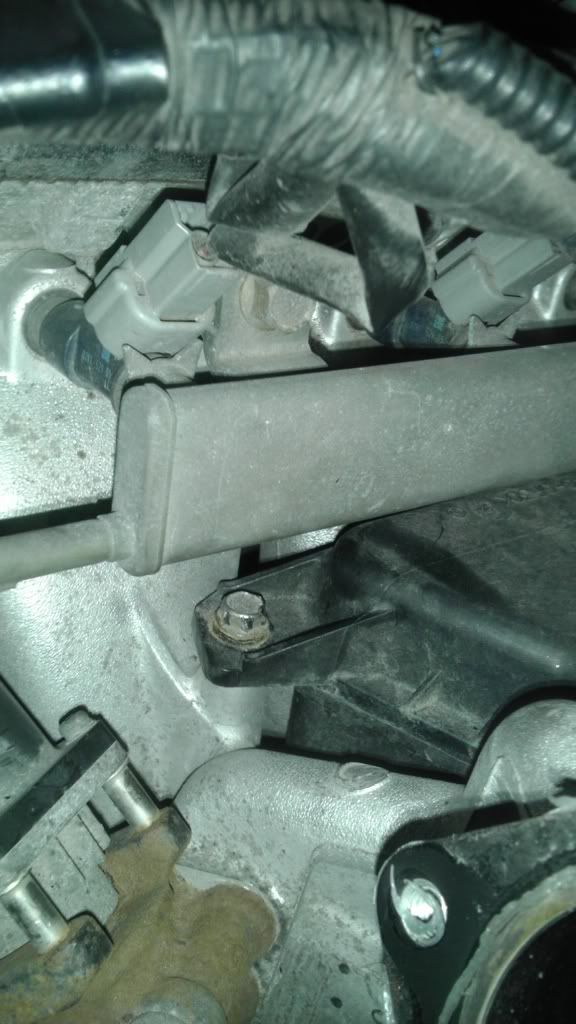
H. Now remove bolt from your two rocker cover brackers, these are 10mm bolts. Your rocker cover bracket is the metal bracket in the picture below. There are two of these.
I. And last but not least you can remove the clips holding this mess of wires to you top timing belt cover. Just push the tab in and pull these clips straight up. (This is not 100% necessary. Just provides more room to work with.)
Now you should have plenty of room to move that mess of wires around. This will help a lot with the next step.
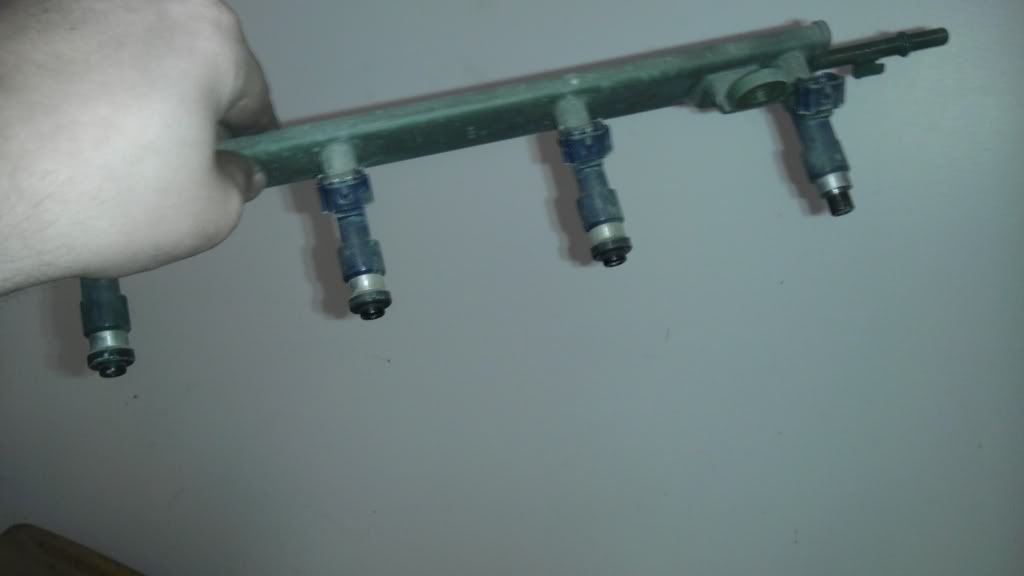
3. In order to remove the resonator, we have to remove the fuel rail, otherwise you can not get it out without breaking it or something else. Hopefully you depressurized your lines some to prevent as much lost fuel as possible. To do this locate your fuel line. It is right next to where your tb would be located and connects directly to your fuel rail.
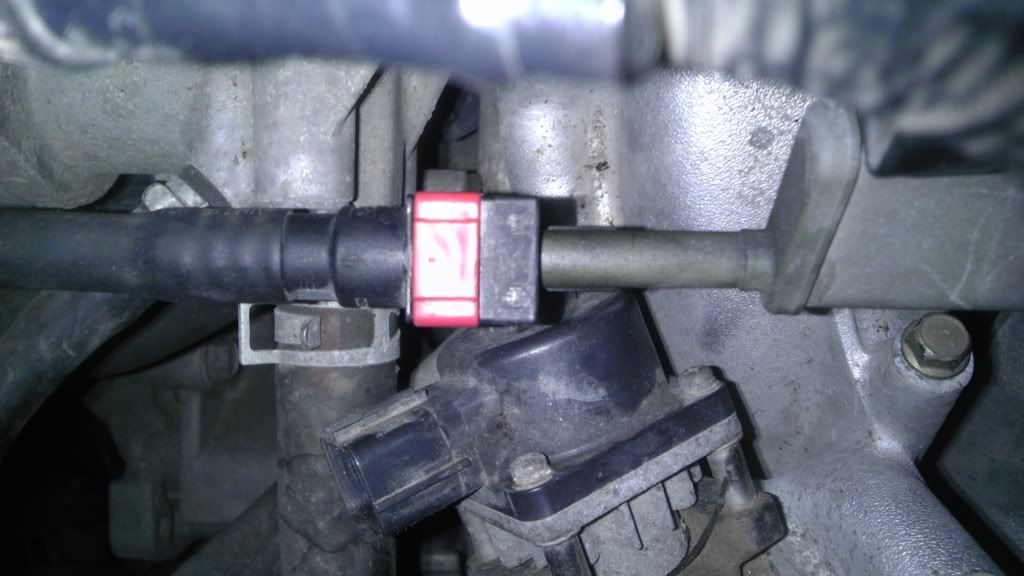
To do this, pull that red tab straight up, and pull the fuel line out (back towards the side of the car). Have some towels ready to throw over it to catch any fuel that may spew out.
-
-
Galant don't have manifold resonator. Plus the egr is on the top inside of the plenum. Upgrading t/body won't require any grinding
-
cool deal thanks for the info. FIgured this would still help someone out.
-
Yeah thanks. Keep doing what you are u doing.
P.s. I would like to get my hands on the intake manifold thermal spacer.
-
RPW sells them. And you could probably go on club4g and post a wtb thread over there.
 Posting Rules
- You may not post new threads
- You may not post replies
- You may not post attachments
- You may not edit your posts
-
Forum Rules
 Log in
 Register


 Reply With Quote
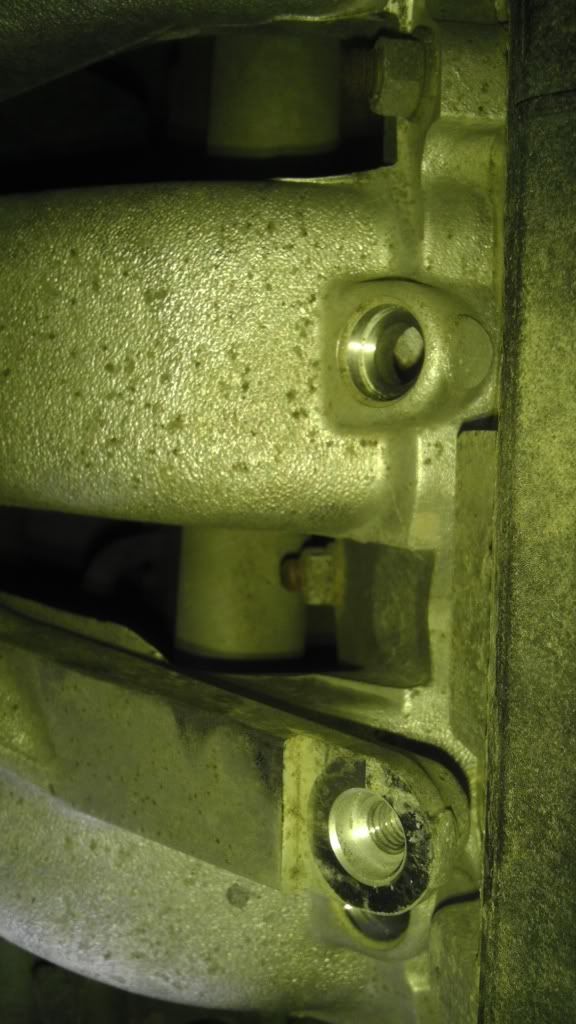


Bookmarks