 Log in
 Register
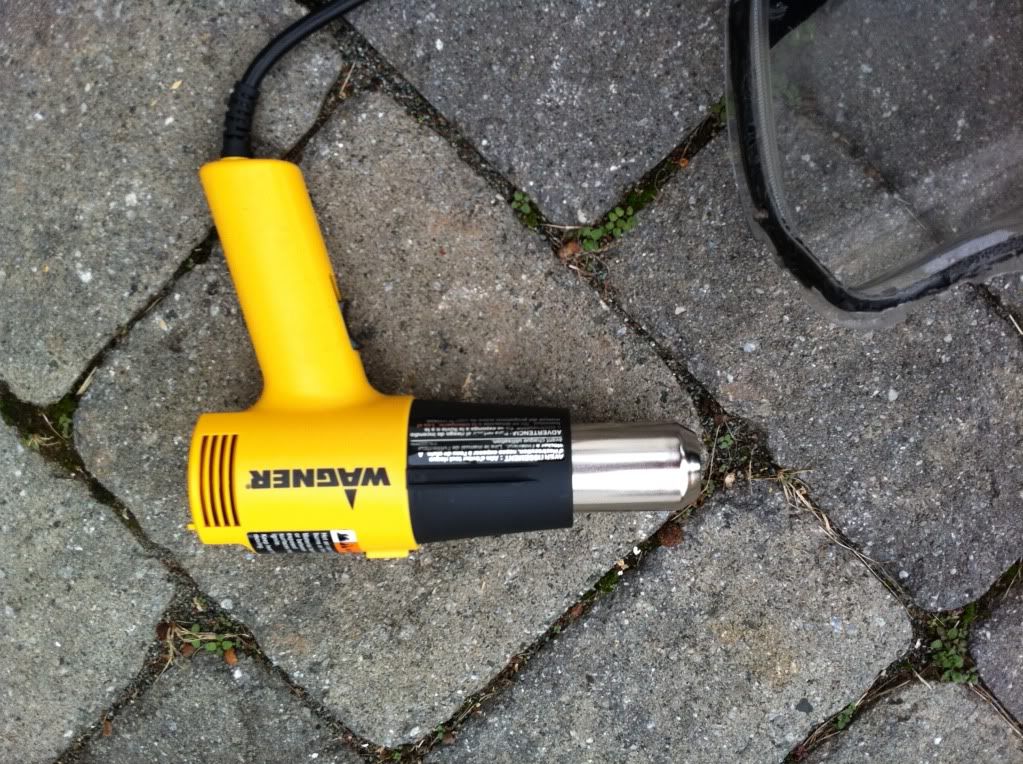

 Reply With Quote
People should do more tutorials like this would be nice to see some picture by picture tutorials on here :D


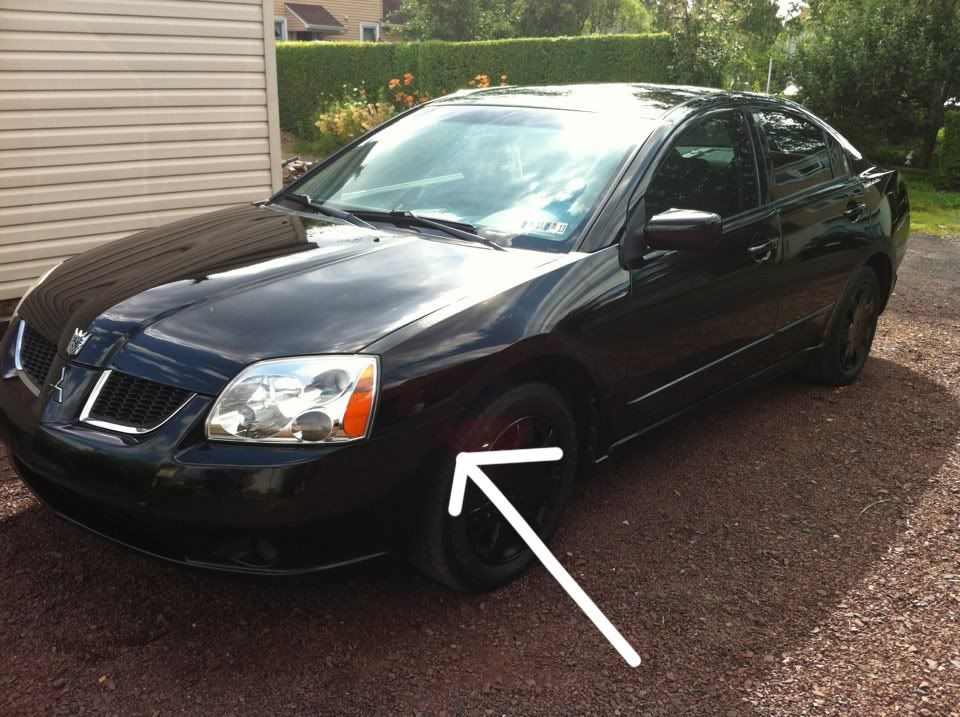
Hey guys I know there isn't anything on here about it and I figured Hey maybe someone doesn't know how to and they want to kjnow how to take out their headlights. So here we go.
The tools I used were a Heatgun, flathead screwdriver, ratchet set, phillips scredriver, and gloss black spray paint, and some clear coat satin paint.
The heatgun I used
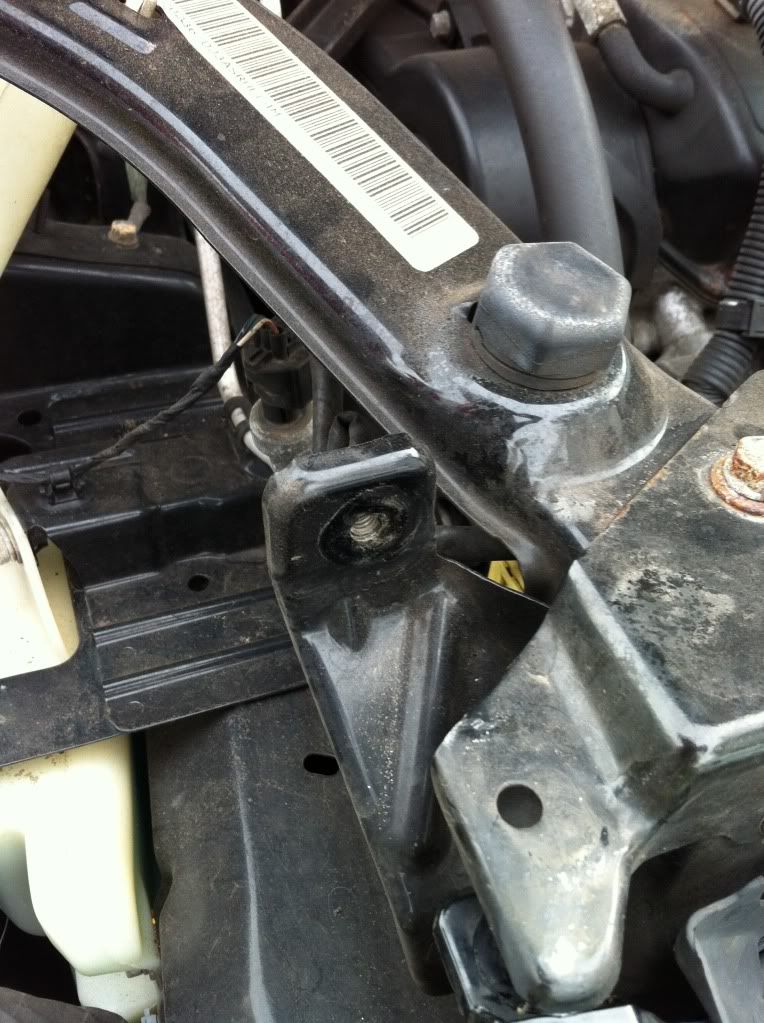
Then I needed to actually remove the headlight. Now there are 3 screws and bolts to remove.
To get to this one you actually have to remove the front bumper.
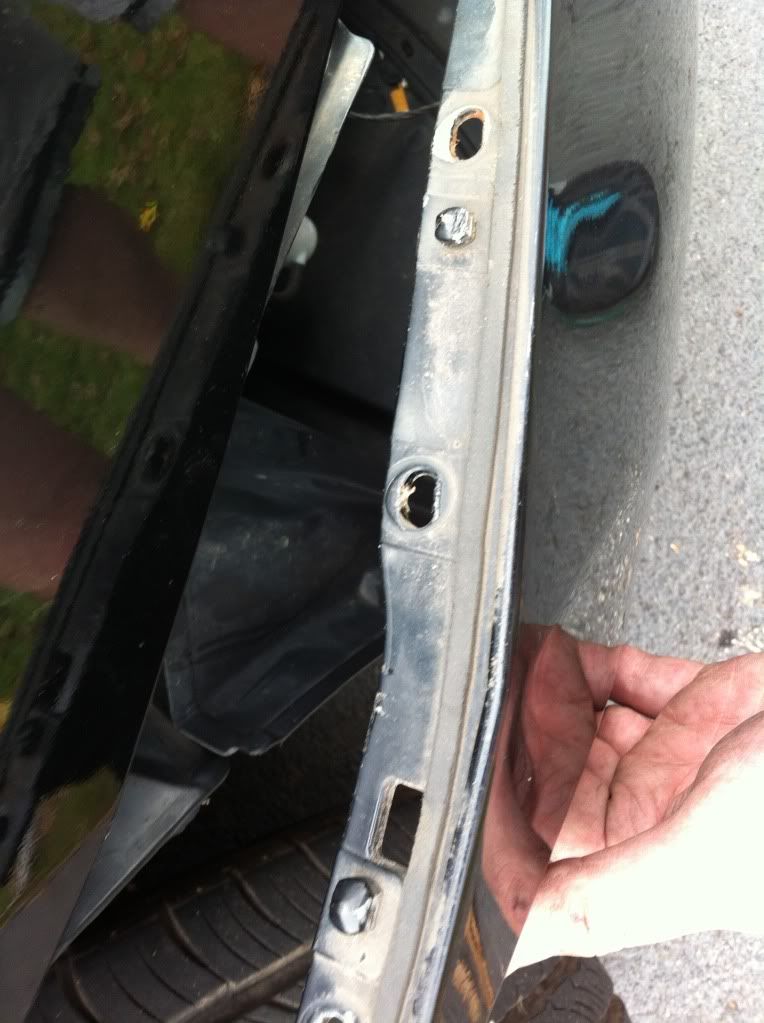
You first have to remove all the plastic screws on the grill and the bumper on it.
Then you have to remove the screws in the splash guard
in here:
You can choose to remove the wheel when you do this or not. It would be a lot easier with the wheel off. I did this with the wheel on.
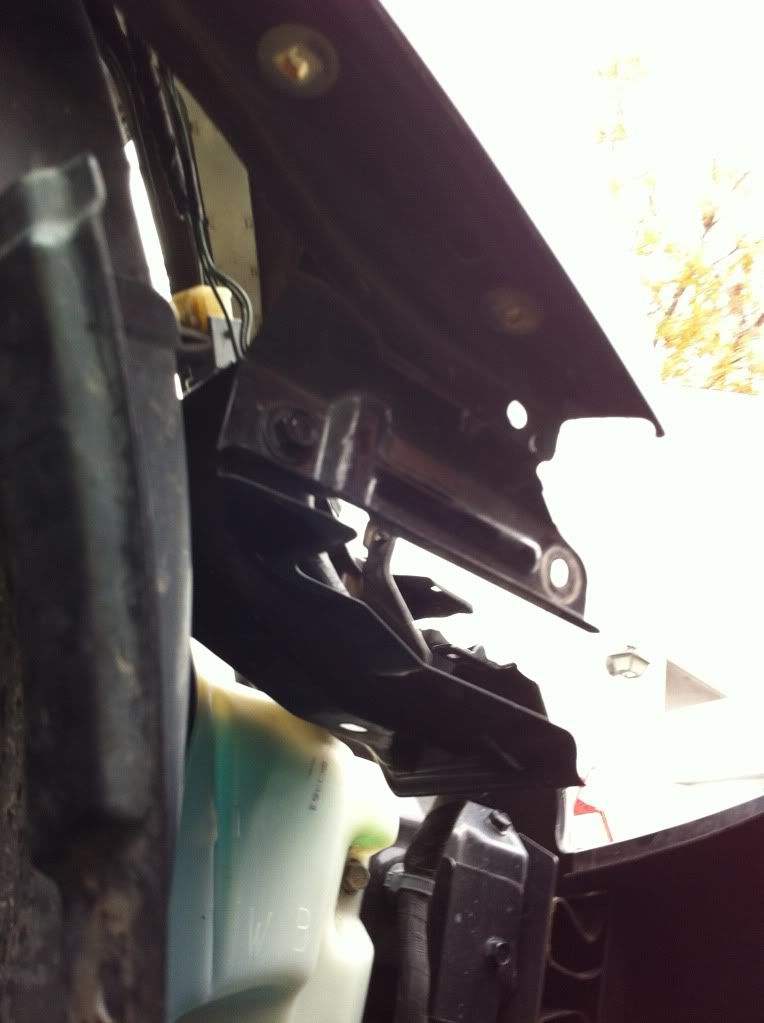
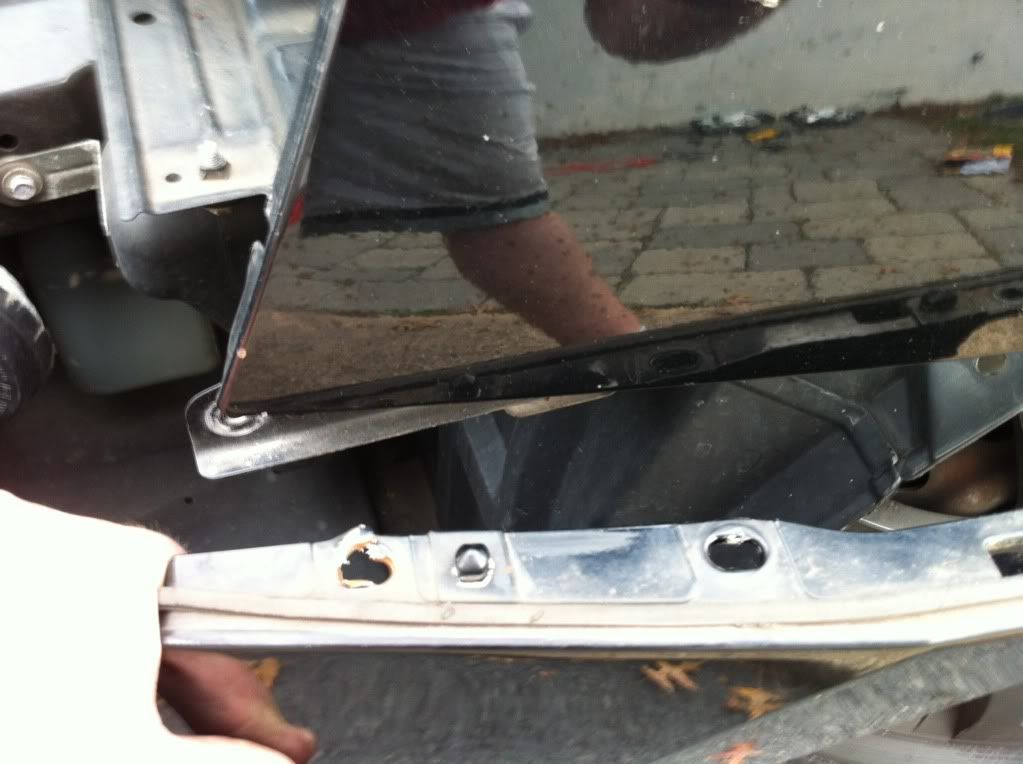
Then what you do once the 3 plastic screws going lateral are removed. Begin to remove the parallel plastic screws so you can begin to bend the splash guard back.
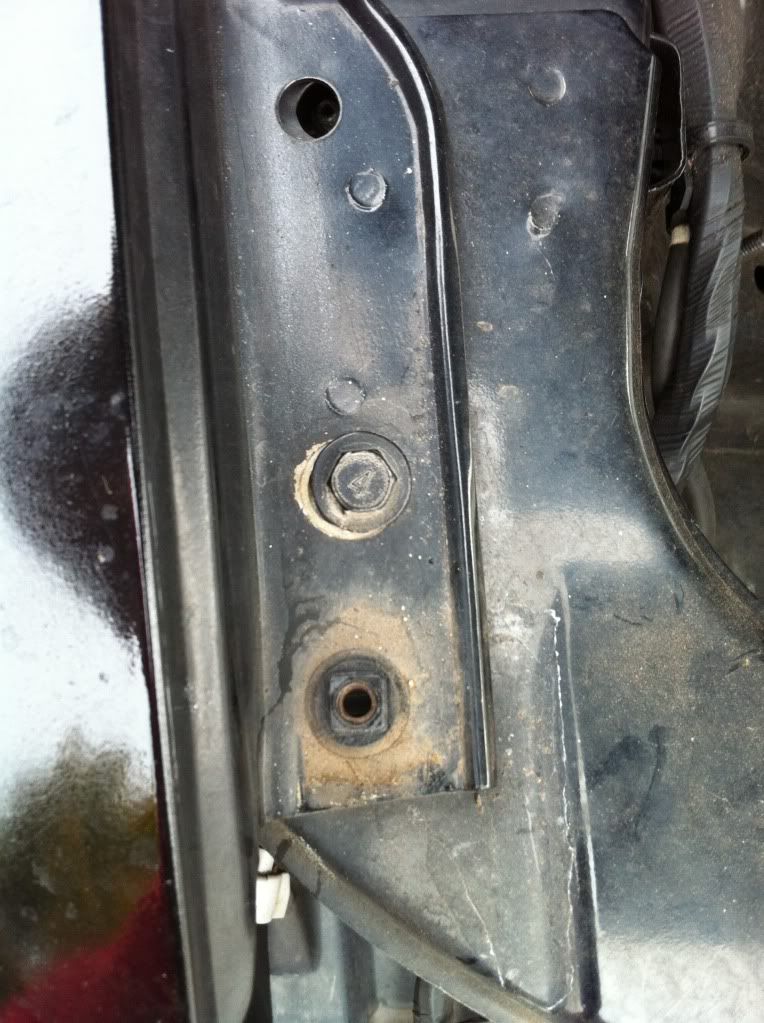
You then have to remove 3 screws on each side
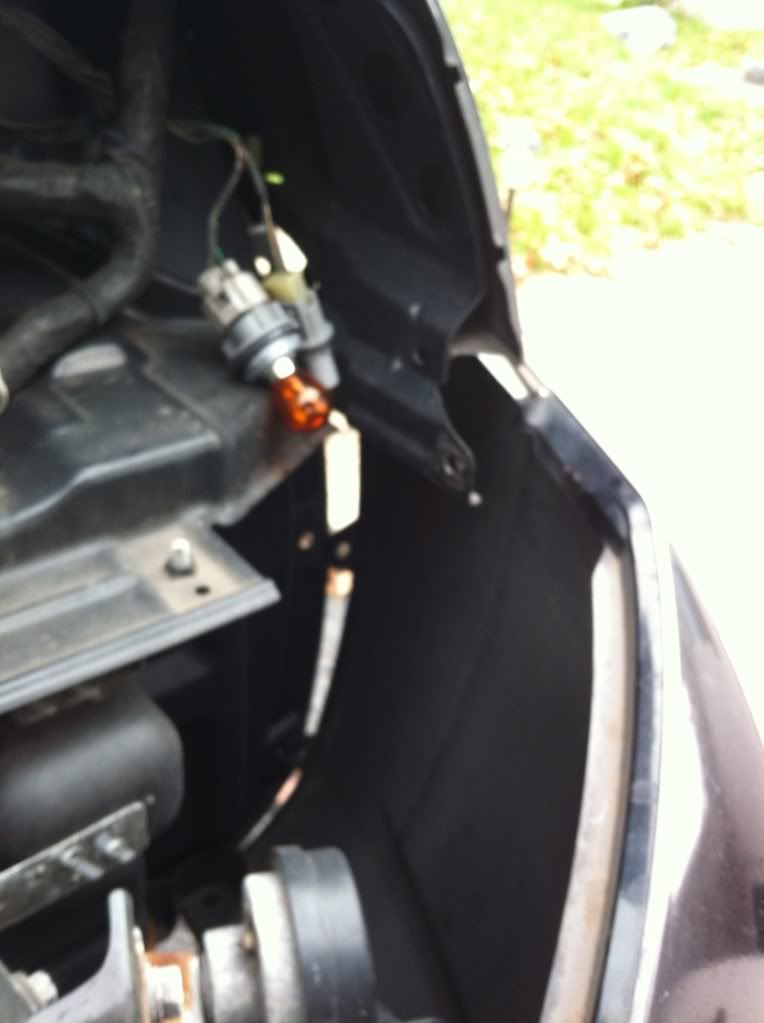
Now remove the bulbs and you will be able to remove the headlight completely
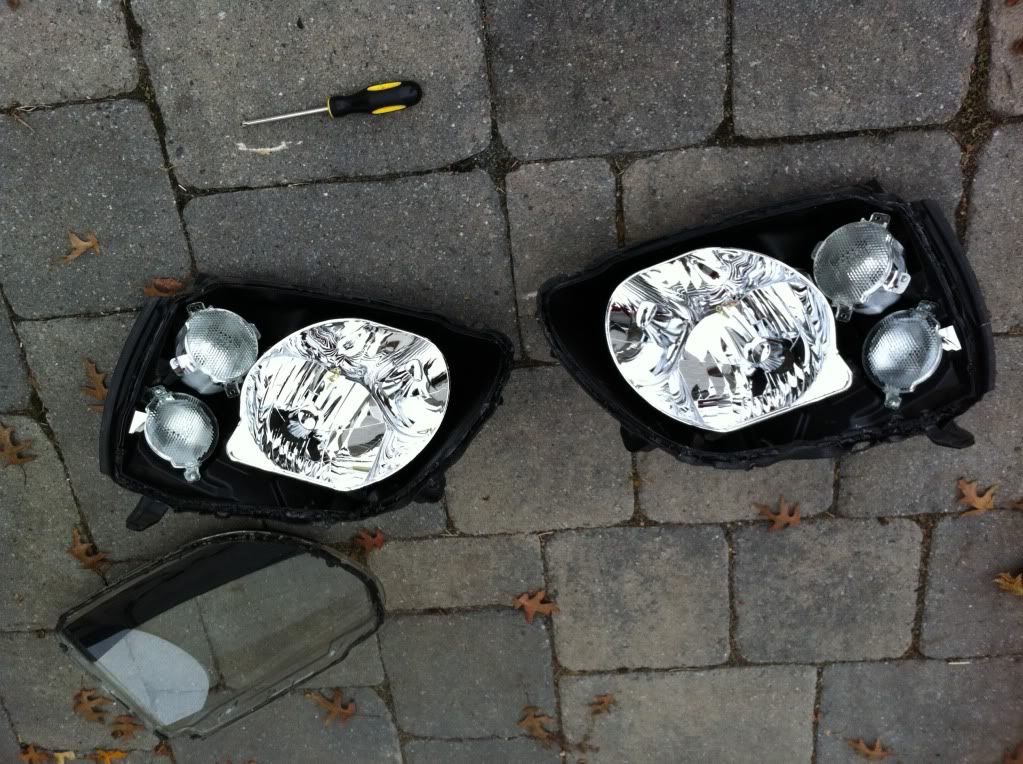
Once removed use the heatgun on the edges of the where the sealant is. Do this for about 5-10 min on high. Then while it's still hot. (Gloves Recommended) start to pry it open with the flathead and your hands. Once you have completely removed the outer headlamp glass. You will notice a piece attached to the glass. That will be the only piece you are painting. (I could not get the reflectors out with out breaking them so I taped them off). The rest of your head lamp should look like this:
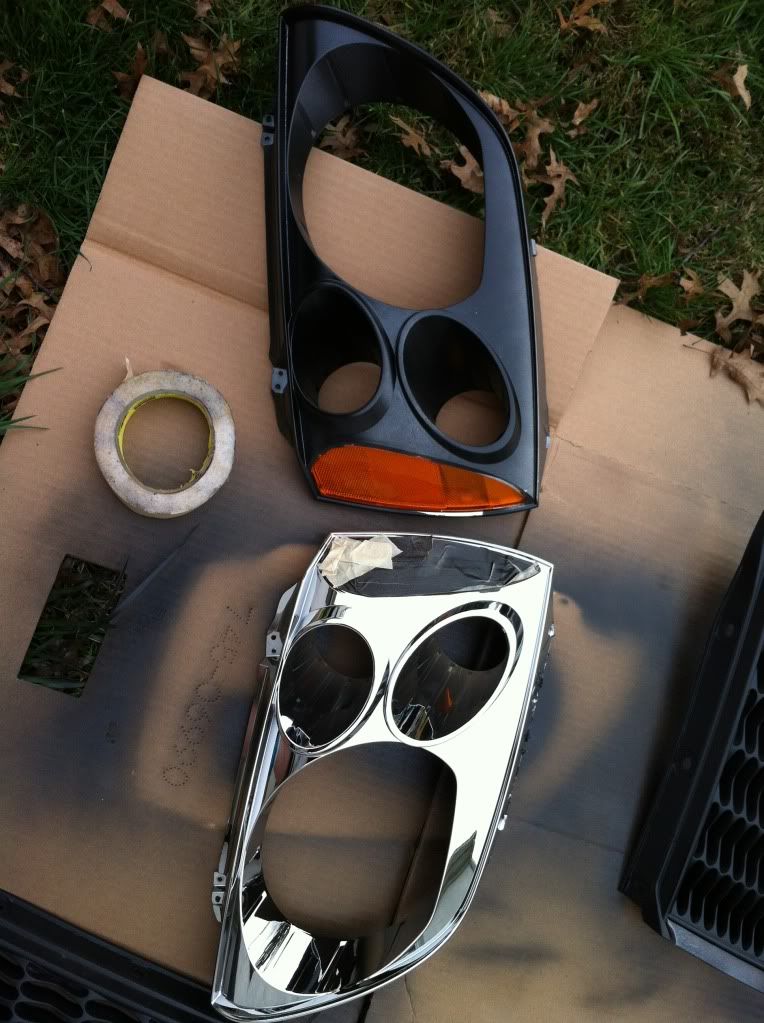
Now you want to use your phillips to remove the casing from the lens of the lamp. Once you have gotten this far it's time for painting. Since this should be the first time this is ever opened no need for pre-cleaning. So grab your paint (in my case black) and begin to spray on. I sprayed 4 coats of black and then 2 coats of satin clearcoat. I use satin clearcoat because I did not want to blind anyone with my lights and the whole casing being glossy.
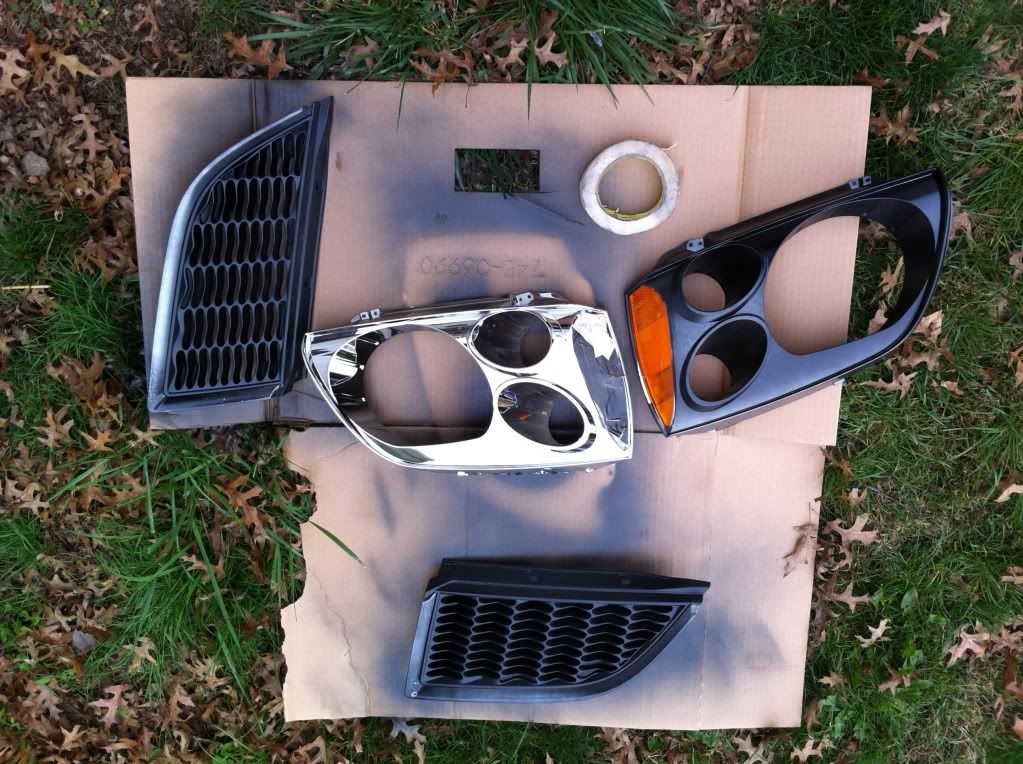
This is what it looked like after I finished one and compared it to the other:
I decided to go ahead and also paint my grill black too.
Now all you have to do is put it back together by piecing it all together then close it as tight as you can and get your heat gun and gloves on and start to heat those edges up again. Hopefully you didn't take to much sealant off so now you can seal it back up again no worries.
Now that it's all sealed up you can put it back into your car. Now the bolt where you have to remove the bumper for does not need to be placed back in the same way if not wanting to. You can place it in the hole from the inside of the car again. Or you could just not place it back on at all. (currently I do not have it in and I have had no problems and it sits in there nice and snug. I really don't understand their logic of having 3 screws to hold it in. It is very common in foreign vehicles. I know most in America here only have 2.)
Well congratulations your finished and you can now confidently either retro your headlights or you could paint them from the stock silver or black and make them any color you want *purple, blue, red, green, orange, etc...*
This took me around 4 hours to do because the bumper was a B**** to take off.
Is it ricey?
People should do more tutorials like this would be nice to see some picture by picture tutorials on here :D
Is it ricey?

Nice work. what paint did you use. will be doing projector retro fit next year on mines.
Thanks and I just picked up some Krylon Black glossy spray paint (4-5 coats). Then got some Krylon clear coat satin paint (2-3).
Is it ricey?

...
Last edited by fullmetal289; 11-22-2016 at 12:17 PM
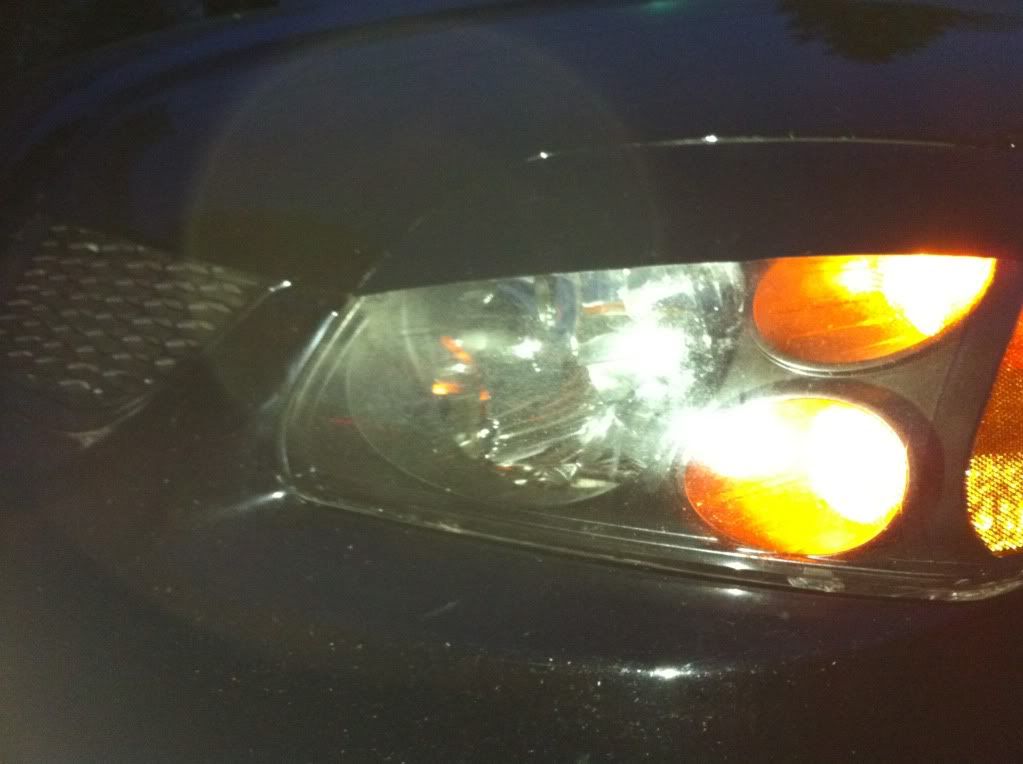
The light is actually alright now
Is it ricey?
just a regular aerosol paint,no need for high temperature paint?Originally Posted by NinjaofGears

Nope, the paint has not faded and I've been using high beams turn signals and just having my lights on. So the paint will be fine. I can't say that this is true if your not painting in the area that I showed in the pictures.
Is it ricey?
...
Last edited by fullmetal289; 11-22-2016 at 12:18 PM


Can you use some Silicon sealant to seal it up again just in case? I As extra protection¿
Sent from my galaxy S3 using tapatalk 2
BIG WILLY 9G FOO..........

Good write up I have similar one, most people just stick the assembly in the oven for 10 minutes, but yes silicon around edges is another set of protection.
Nice. im certain that i wont be painting my own covers now. not interested in removing the bumper. I break things from rushing!
 Posting Rules

Bookmarks