 Log in
 Register
 Reply With Quote
please keep us updated on your build gtguy ive been wanting to make one of my own but havent had the time or energy to..


Has anyone made a high-quality a-pillar that includes a gauge cluster? I've started working on one of my own, and I was just curious to see if someone else has done it already. Mine is using a stock interior piece, plus an ebay plastic gauge cluster modified to fit to it, then molded to the original plastic. If anyone is interested, I can post pictures of what I've been working on, but my primary objective here is to see how everyone else has done theirs. I'm sure they've been done before, I just want to see how it's been done.


please keep us updated on your build gtguy ive been wanting to make one of my own but havent had the time or energy to..
I'll take some pics, and post a few links up for you in a few.
Okay, I started off with a three-gauge universal pod from eBay. Like this one: http://www.ebay.com/itm/MK1-52MM-Uni...item20bd2f4684
Actually, that is the exact item I bought, from the exact seller. They're pretty high-quality, for having come from eBay. Ships quick, too.
Anywho, on to the point.
This is the item I bought, It's for LHD cars. They also sell them for RHD cars. I started out by clearing the plastic around the end, so that there was only a small lip, and started cleaning the ribs on the inside out and trimming them down.
Getting to the ones in the midde isn't too bad with sandpaper, but I'd really recommend a dremel tool for all the sanding. Unless you have a kick-ass sanding method.
As I make some progress, I'll get some more pictures up. I work six days a week, so I don't really get to work on all my wonderful projects all the time.
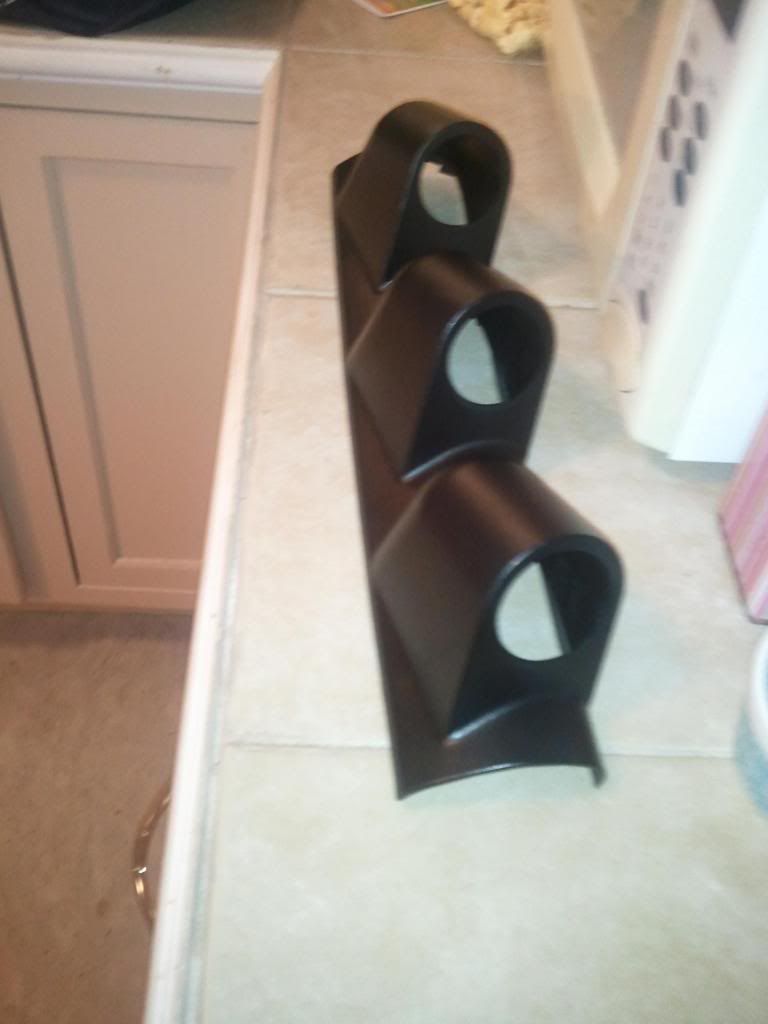
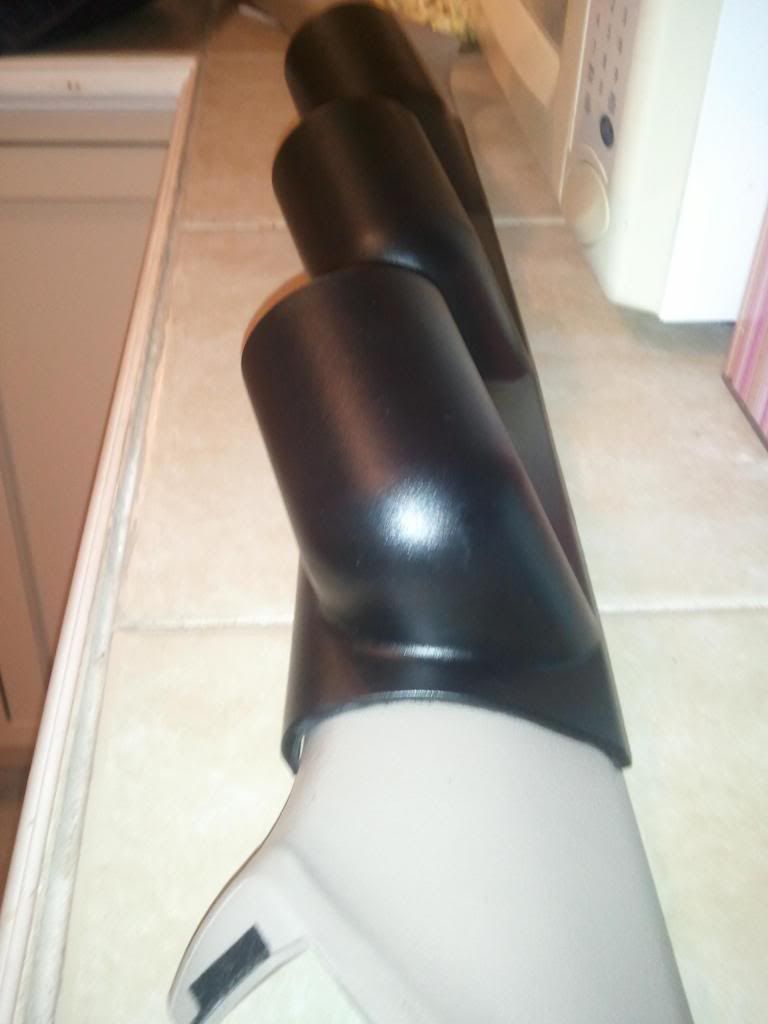
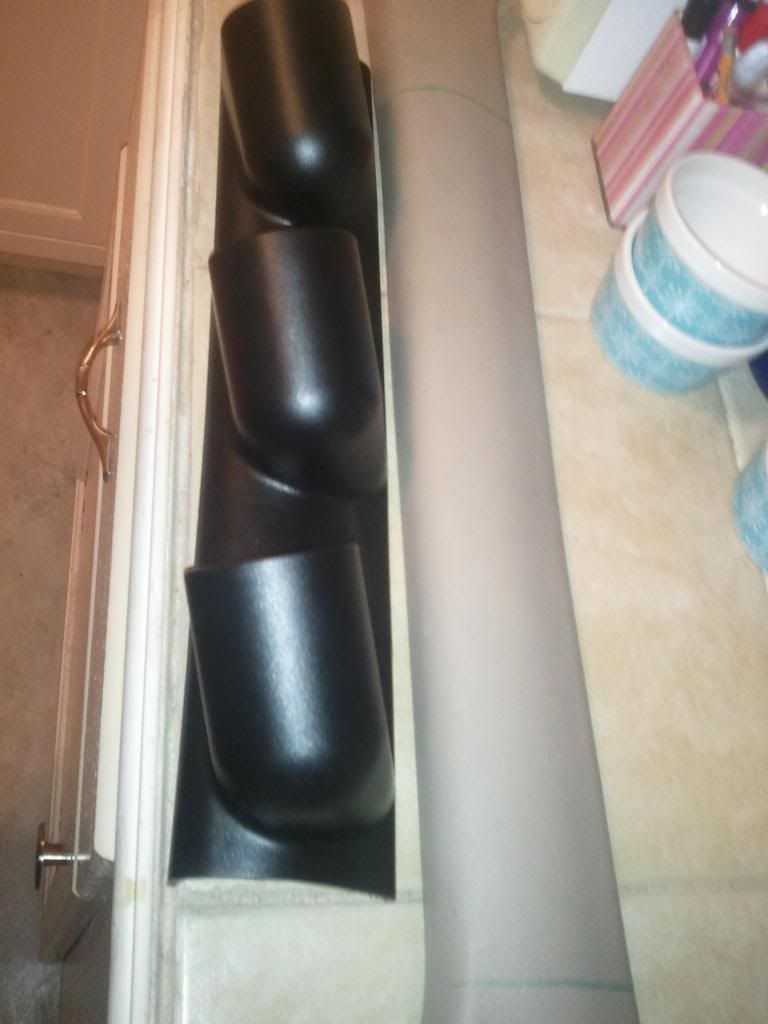
Alright, some progress for the night.
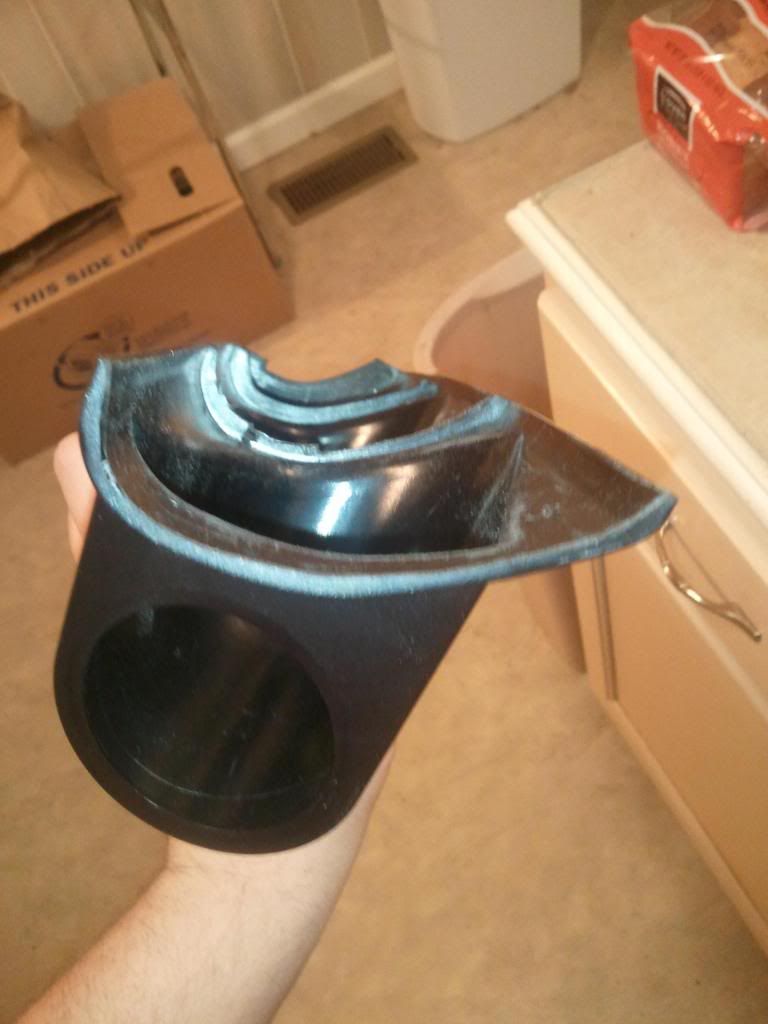
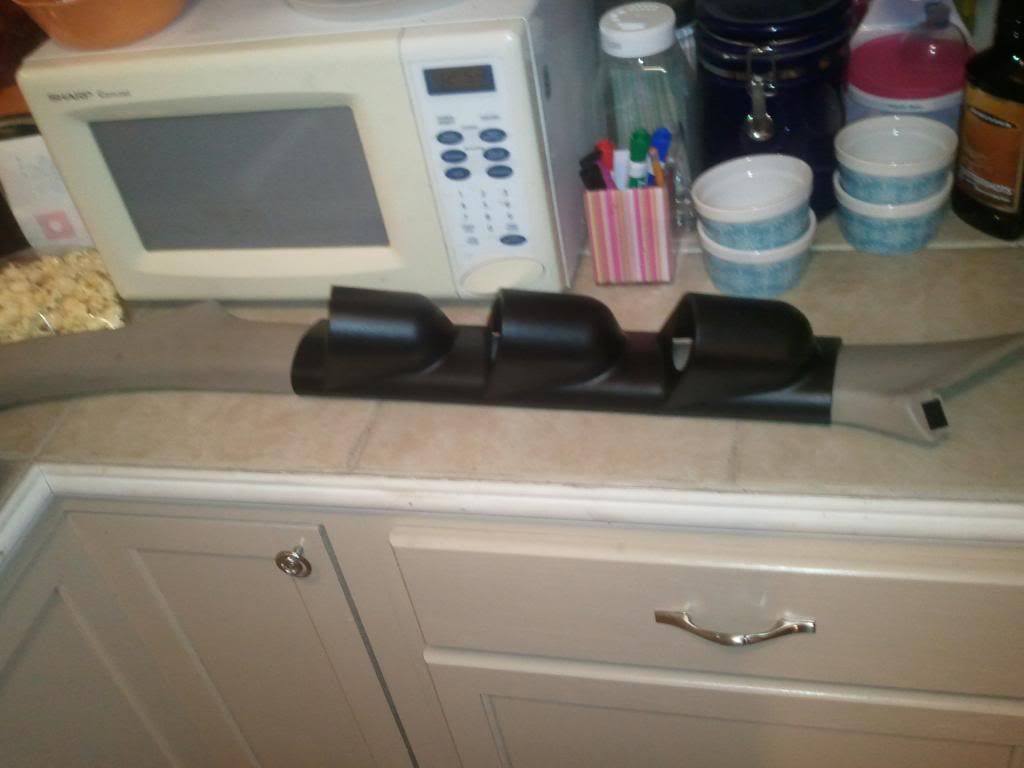
Got the ribs sanded down completely, took a little time but the end result is:
As you can see, it fits down nicely on the stock interior piece on the bottom.
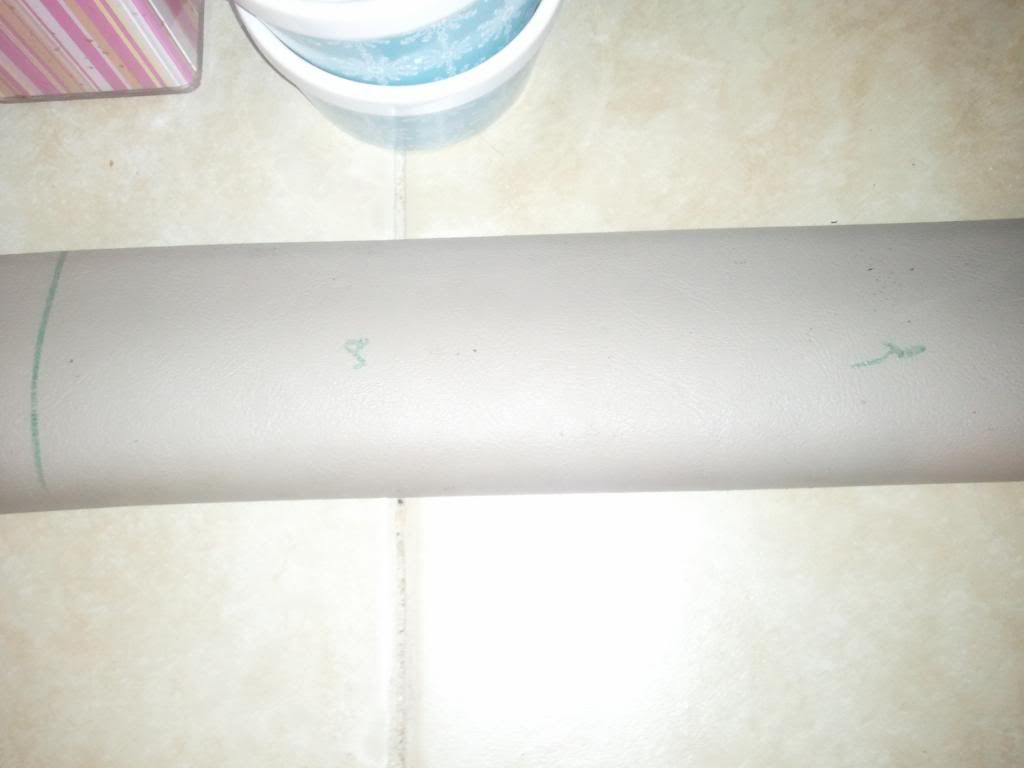
Marked where the cluster lines up on the original part...
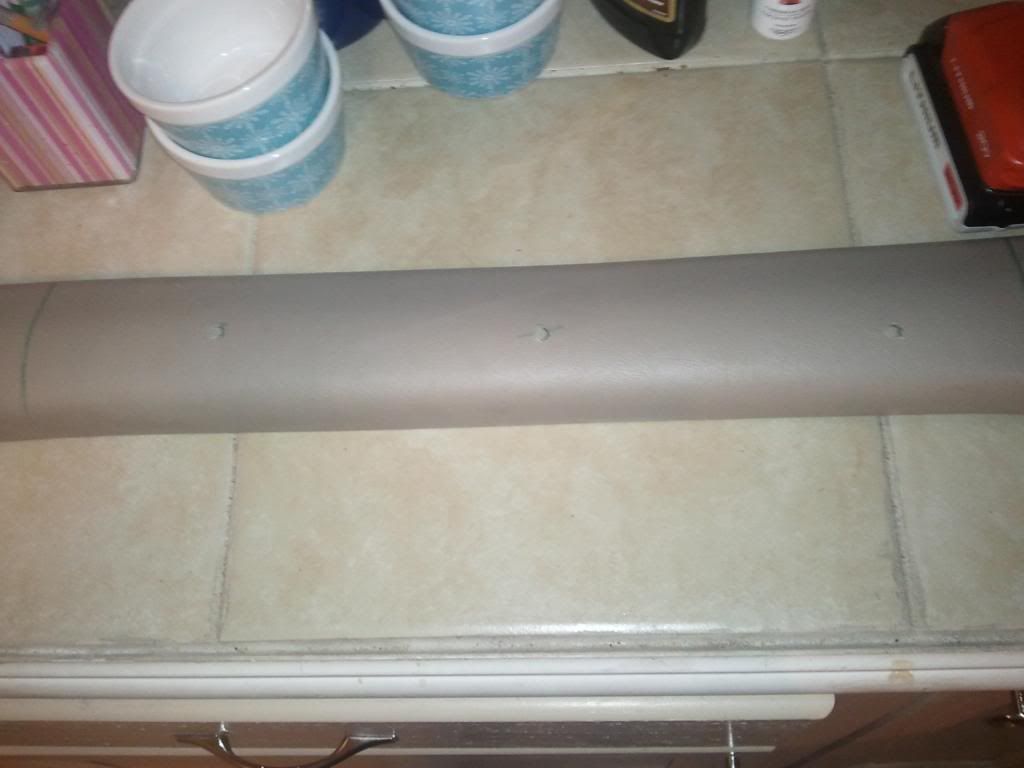
Marked where the holes need to be for the wiring for whatever gauges go in...
And... holes drilled!
That's pretty much it, for tonight. I bought some bondo to do the forming with, and depending on how late I get out of work tomorrow, I might start with it tomorrow night after work. Looks like it will come out pretty well, if I take my time with it.... Only thing is, bondo is going to finish smooth, whereas the stock plastic piece is going to continue to have the texture. I'm considering using plasti-dip (since it has texture), or wrapping it in Di-Noc. I've never done either, so any suggestions are welcome. I may also just sand the piece's texture down, and make the other side smooth, and paint them both. Seems like a lot of unnecessary work though. I'm sure I'll think of something.
Also, for anyone interested, the only tools I'm using on this project are my cheapo Dremel wannabe, plastic trim pullers, and sandpaper. I'll link to the tools I'm using, just in case anyone wants to try this.
"Dremel": http://www.harborfreight.com/power-t...kit-69451.html
Trim puller kit (this is really one of the most useful things I've ever bought, it's come in handy SO MANY times at the junk yard: http://www.harborfreight.com/5-piece...set-67021.html
Okay, so I picked up some bondo today. Hopefully I'll get to shaping it here soon. We'll see how it comes out... I'm curious as to how to keep it together to shape it, though.

Bondo is gonna crack when you remove the a pillar. Try sems plastic expoxy. This is the whole reason why i didn't finish mine either, its not gonna match. Looking good though keep it up!
AWD Converted Forward Facing 6466 E85 EVO 8 ECU Powered 2003 Galant
Boooo! What if I never remove it? Lol. Or maybe reinforce it a little?Originally Posted by Galantman03

Matching did occur to me to be a problem... I considered sanding the texture down, and wrapping it with Di-Noc, and doing the other side to match. Think it would look good?
I plan on going black on my interior as my first major modification, and the 3000GT/Stealth a-pillars made by Cianci are made out of carbon fiber, and look pretty sweet...
Am I stupid, or does that actually sound like a good idea?
Lol sems will work alot better your bonding a hard resin with flexible plastic. Its Gonna crack from moving it and possibly temp changes... Di noc looks legit i have some in my g. Yeah that's sounds like a good idea man. Lol whatever floats your boat haha
AWD Converted Forward Facing 6466 E85 EVO 8 ECU Powered 2003 Galant
I'll look into getting some sems... I'd never actually heard of it until now.
I just wanted to give it a go, as I'd never really made anything like this before. Even if it doesn't stand up to the test of time, it's a good exercise in the practice of bondo.
And I kinda thought that the wrap might help the bondo stay together. I don't know though.... I just want to see what happens. I like learning new stuff, even if this is a complete failure, I'll mark it as a success.
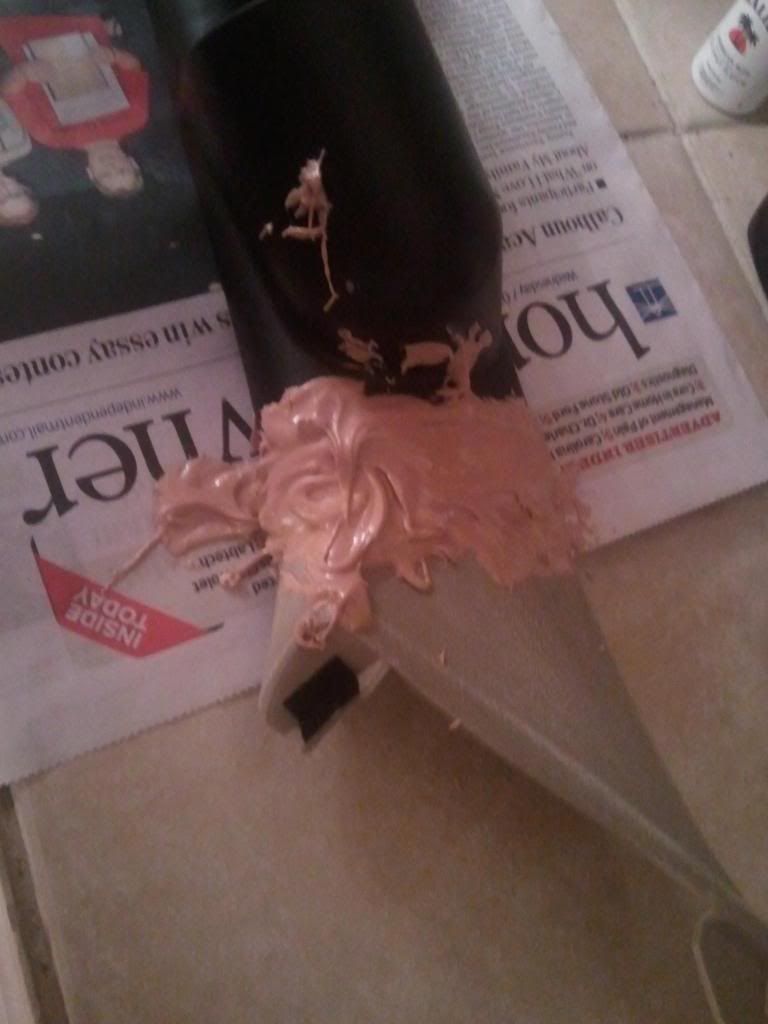
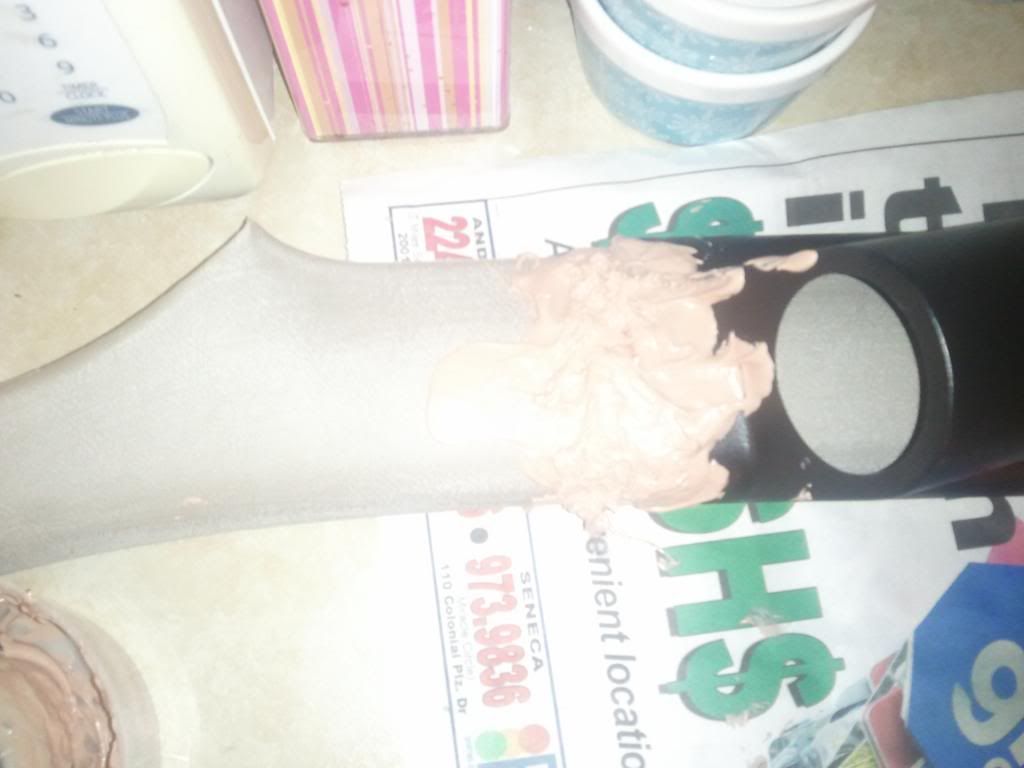
Well, my first time working with bondo was interesting...
It dries pretty damn quick. The good news, however, is that I think I can make it work out okay. The plastic of the original piece flexes like it did before the bondo was placed, with the exception of the places I put the bondo. I think that since I have the trim removal tools that I do, I can probably avoid cracking the bondo when removing the piece over time. Again, this is my first time doing this, so I know it won't be perfect, but I can't help but try to make it so.
I still have to add more bondo to the pillar, but here's a few pictures of what I got done tonight:
gtguy are you once completed going to paint it the beige?


Change how much of the hardener you mix in, it'll slow up the drying time. If you think you need more time to mold and move, use less hardener. The more you use, the quicker it hardens. I was told if you have a set amount of putty, mold it into a circle and then apply a thin line of hardener across it, then mix, and that should be enough hardener to have it harden good but still give you enough time to manipulate your mixture. I think other epoxies like the Sems stuff Jared mentioned is a 50/50 mix, but Bondo isn't.
-Greg
"I smashed up the grey one, bought me a red;
Every time we hit the parking lot we turn heads!"
-Pimp C, "International Players Anthem"
Yeah, on the bucket, Bondo says that it's a 2% mixture.... And the measurements sound completely arbitrary. "3in x 1/2in of putty with a 3in strip of hardener". WTF MAN.
No, I think I'm going to wrap it in carbon fiber vinyl. The bondo and the gauge cluster have a different texture than the interior pieces. I think the vinyl will help distract from that. I'm going to a black interior, so I think it will look better. :)


that looks like a descent fit the countours and edges are spot on after you sanded the high spots, nice find. wonder if it will fit on the 7g like that?
Send me measurements of how wide the 7G piece is, and how deep it is at roughly the same spot, and I'll give you a rough idea.
So, I was at the hardware store picking up some different kinds of sandpaper, when I came across some Plasti-Dip.
The first time I sought it out, the price I was told was almost $12, but I got it today for $6. I think I'm going to give Plasti-Dip a shot on this. I even got a nice sprayer handle attachment. I'll probably finish sanding and adding bondo to the piece today, since I'm off. I might even have a chance to paint it.
Does anyone have any experience with Plasti-Dip? Because, if it doesn't work for this, I can use it for other stuff. :)
Plasti-dip is some good stuff but ive heard horror stories about f ups with that stuff and they were not pretty i would stick with your idea of carbon fiber vinyl wrap it would look alot cleaner.
 Posting Rules

 2003 Mitsubishi Galant ES

Bookmarks