 Log in
 Register


 Reply With Quote
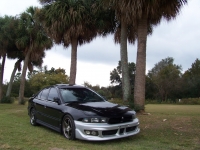 2001 Mitsubishi Galant GTZ
Nice job, your thread doesn't disappoint!


Figured it has been a long time so I would put together a quick project thread over here. I have been getting asked about this by so many people and have been getting tons of positive feedback about it.
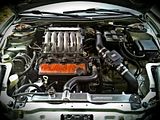
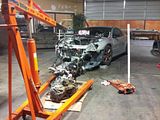
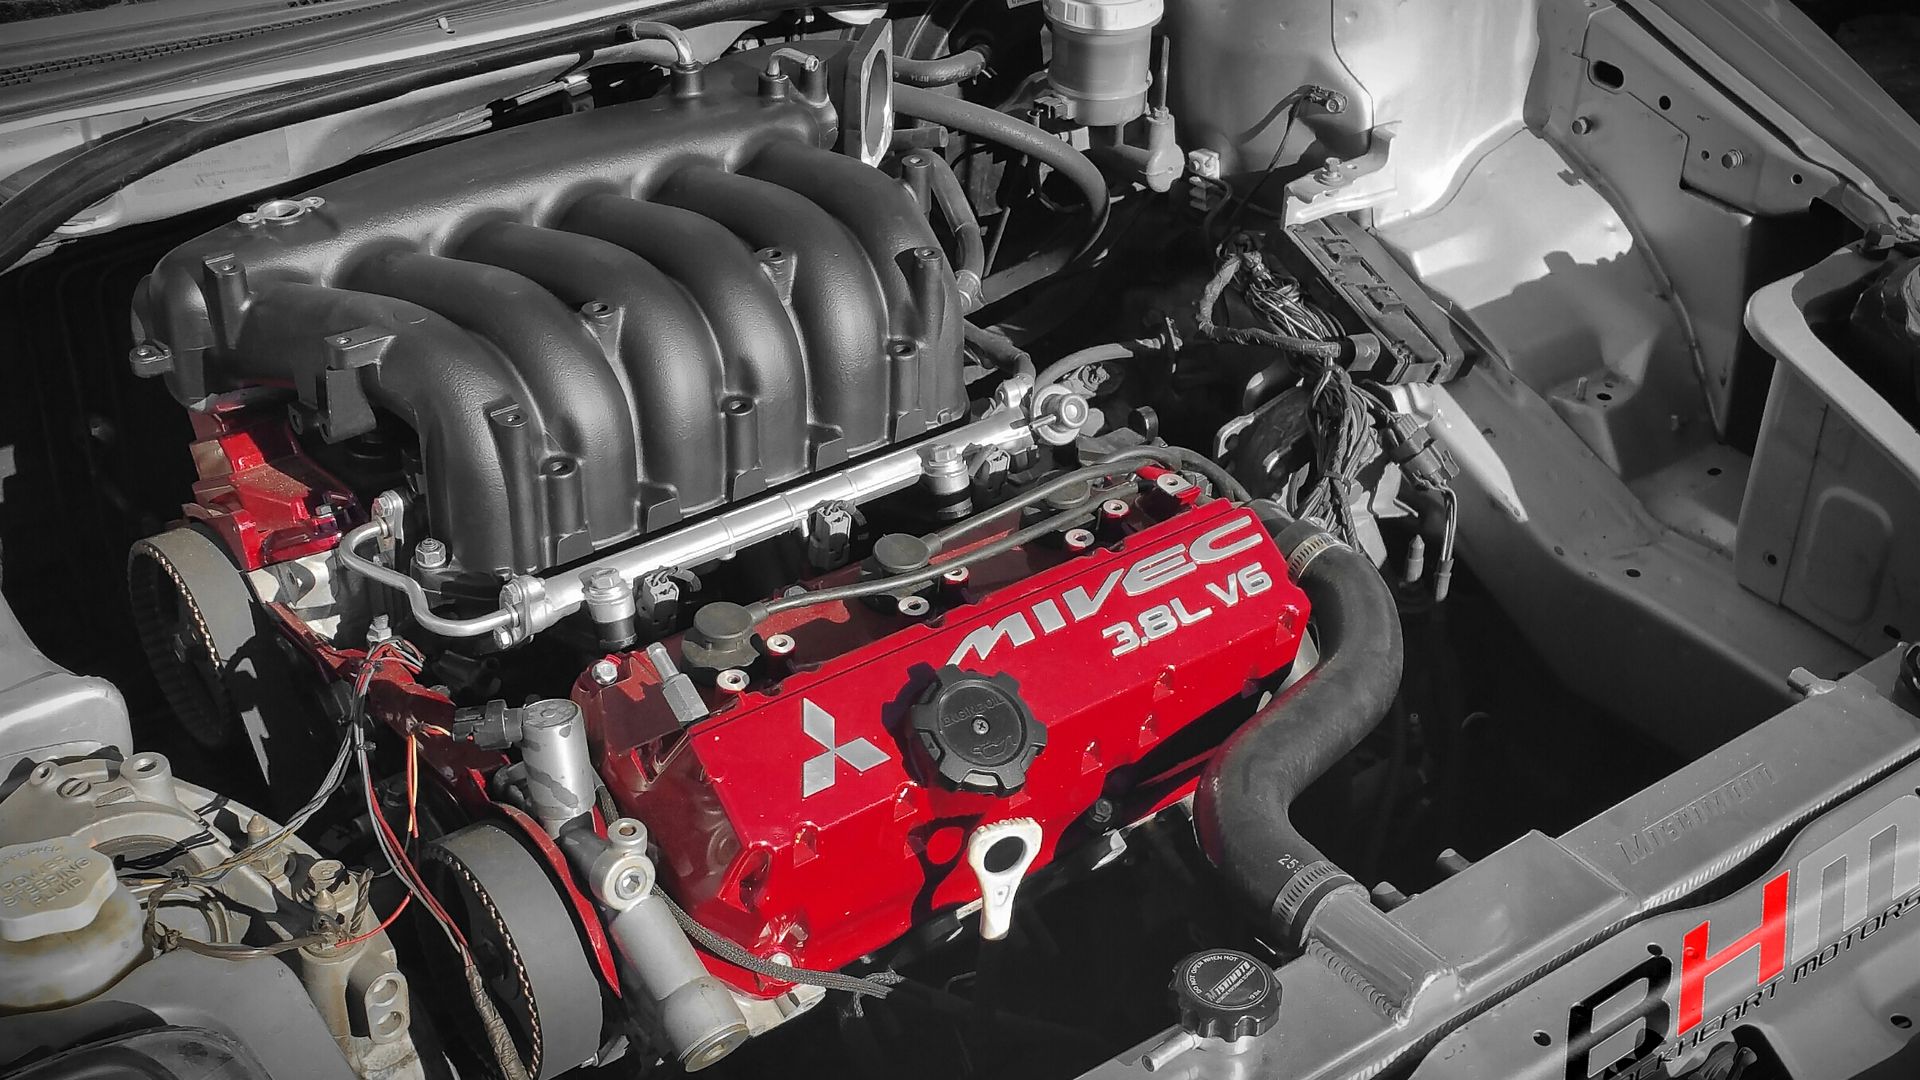
In 2014 I began the big project of converting from the stock 3.0L 6G72 engine to the 3.8L 6G75 MIVEC engine. I have spent quite a few years doing my research with this engine swap and have recently started finishing up this conversion. I will try to share as much information as I can, but if you have any questions please do not hesitate to ask!
From the beginning 2012-2014;


NOW the good stuff 2014-Present - MIVEC Swap Begins
First draft of the 6G75 MIVEC Swap list can be found on the Tech page here;
http://blackheartmotors.weebly.com/tech.html
Required parts list -
6G74 Lower Intake Manifold – Gasket match lower flange to MIVEC gasket
6G74 Fuel Rails & 6G72/4 Fuel pressure regulator
6G72 Crankshaft Position Sensor w/Reluctor wheel
6G72 Distributor & BHM Distributor Mounting Plate
6G74 Power Steering bracket
6G74 Lower Timing Belt Cover
6G74 Alternator Bracket
6G72 A/C Compressor bracket
6G74 Coolant Housing & Sensors
6G72 Side Engine Mount bracket
MIVEC Patched ECU/PCM File or Separate MIVEC Controller

Port shaping 6G74 Lower intake manifold (we used this to be able to mount the return style fuel rails easily) The 6G74 and 6G75 MIVEC port shape at upper flange is identical, so only changes needed is a MIVEC gasket match to mate with the MIVEC cylinder head. More information of the MIVEC gasket matching can be found here; http://blackheartmotors.weebly.com/blog/thu-dec-25-2014
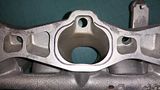
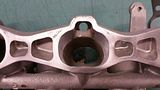
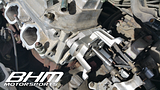
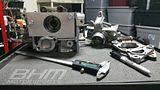
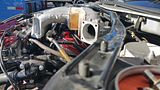
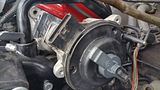
Previous methods of this engine swap people were using the 6G75 MIVEC coolant crossover pipe. Doing this required cutting and welding the pieces to fit, and this required the distributor to be mounted in the front cylinder head versus the rear like OEM placement of the original engine (and 6G74 engine). Here you can see the Diamante 6G74 coolant crossover pipe assembly fitted and still allowing space for the distributor in the rear cylinder head (more detail on this below)
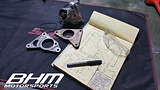
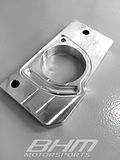
Now for the distributor mounting location in the rear cylinder head to work, it took several months of designing a custom part. Due to MIVEC operation and oiling to the exhaust rocker shaft you simply could not make a spacer plate and stuff the distributor in place. This essentially duplicates the changes Mitsubishi made to these 6G75 MIVEC heads in late 08+ to only use one OCV (Oil Control Valve) to operate MIVEC functions in both cylinder heads. An oil supply line comes off the front OCV and feeds into the supply port in this plate.
I produce and sell this plate as a kit so that others can do this engine swap easily, those of you who were at Factory MOD 2015 this last summer may have seen the display stand of this part on a customer's 4.0L MIVEC swapped Eclipse (article here http://blackheartmotors.weebly.com/blog/the-flyby).
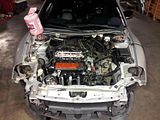
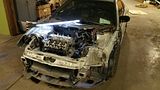
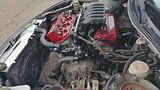
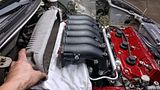
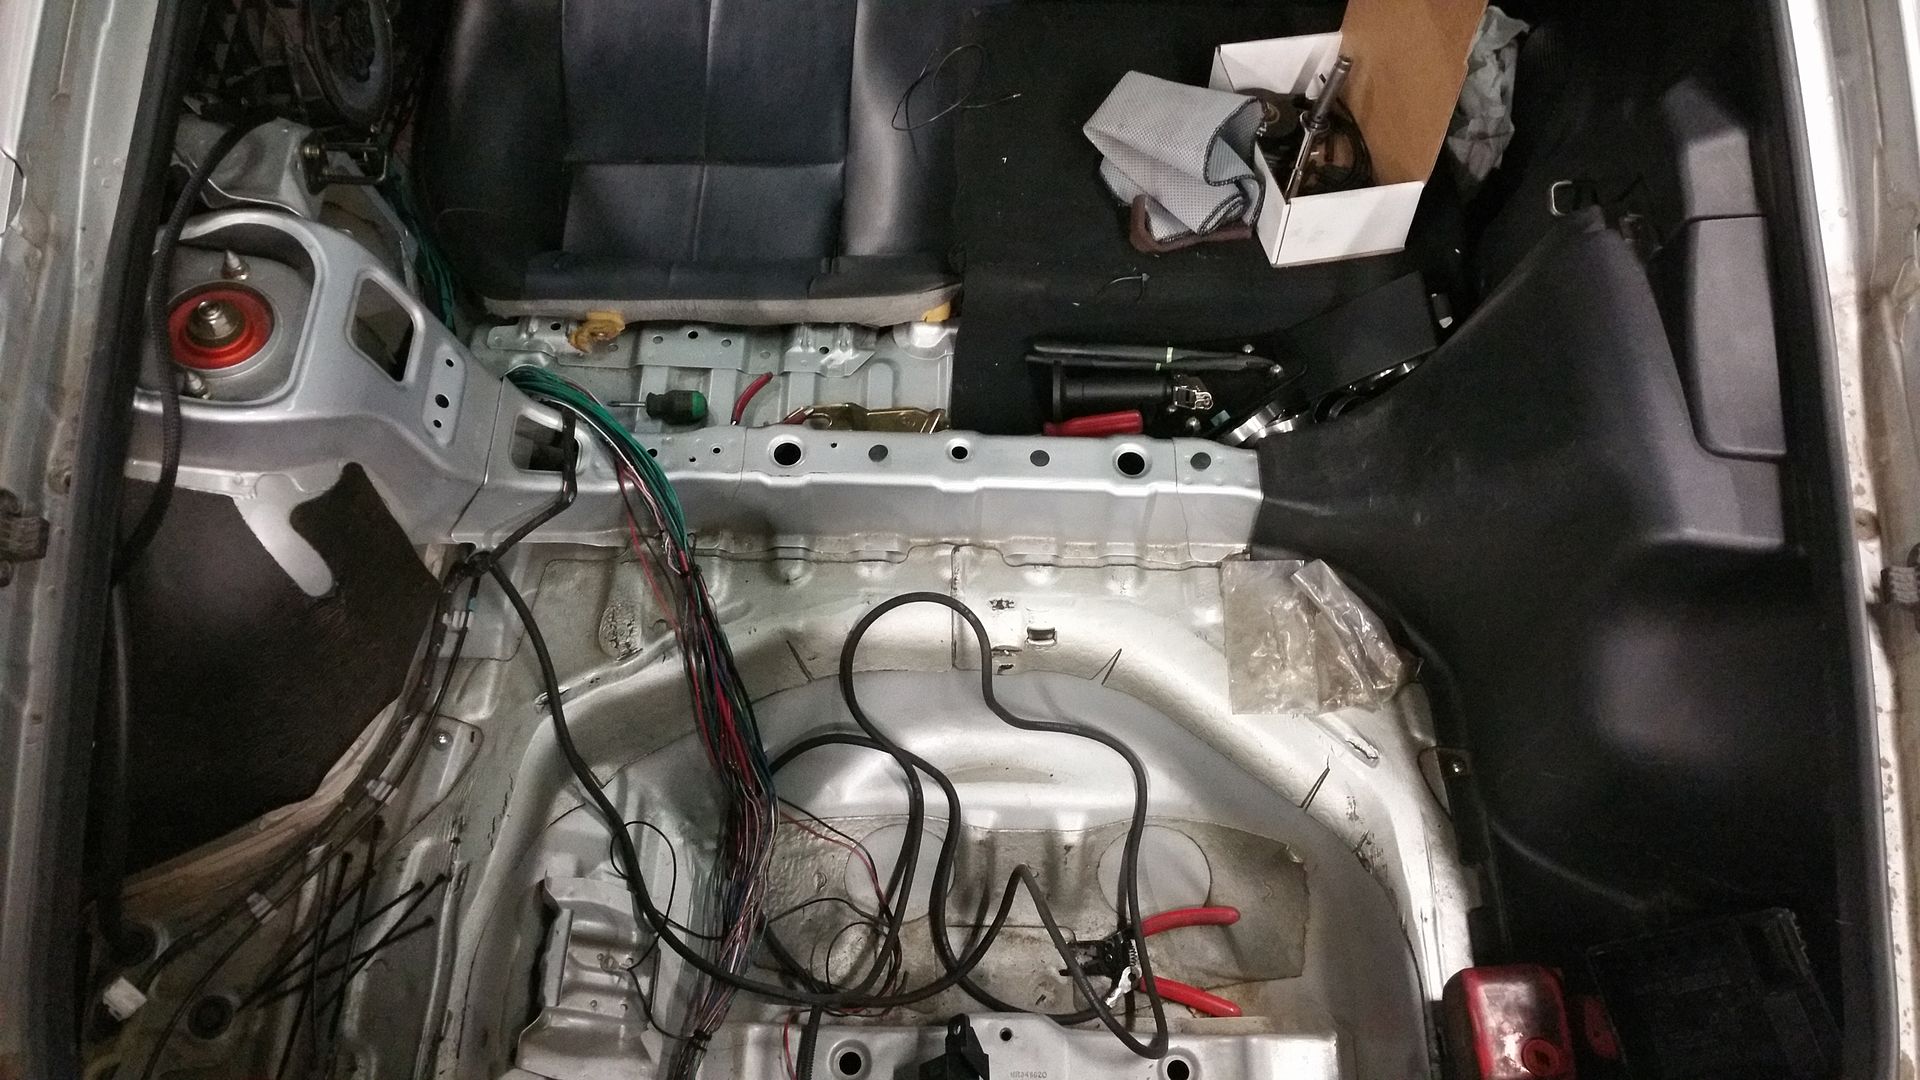
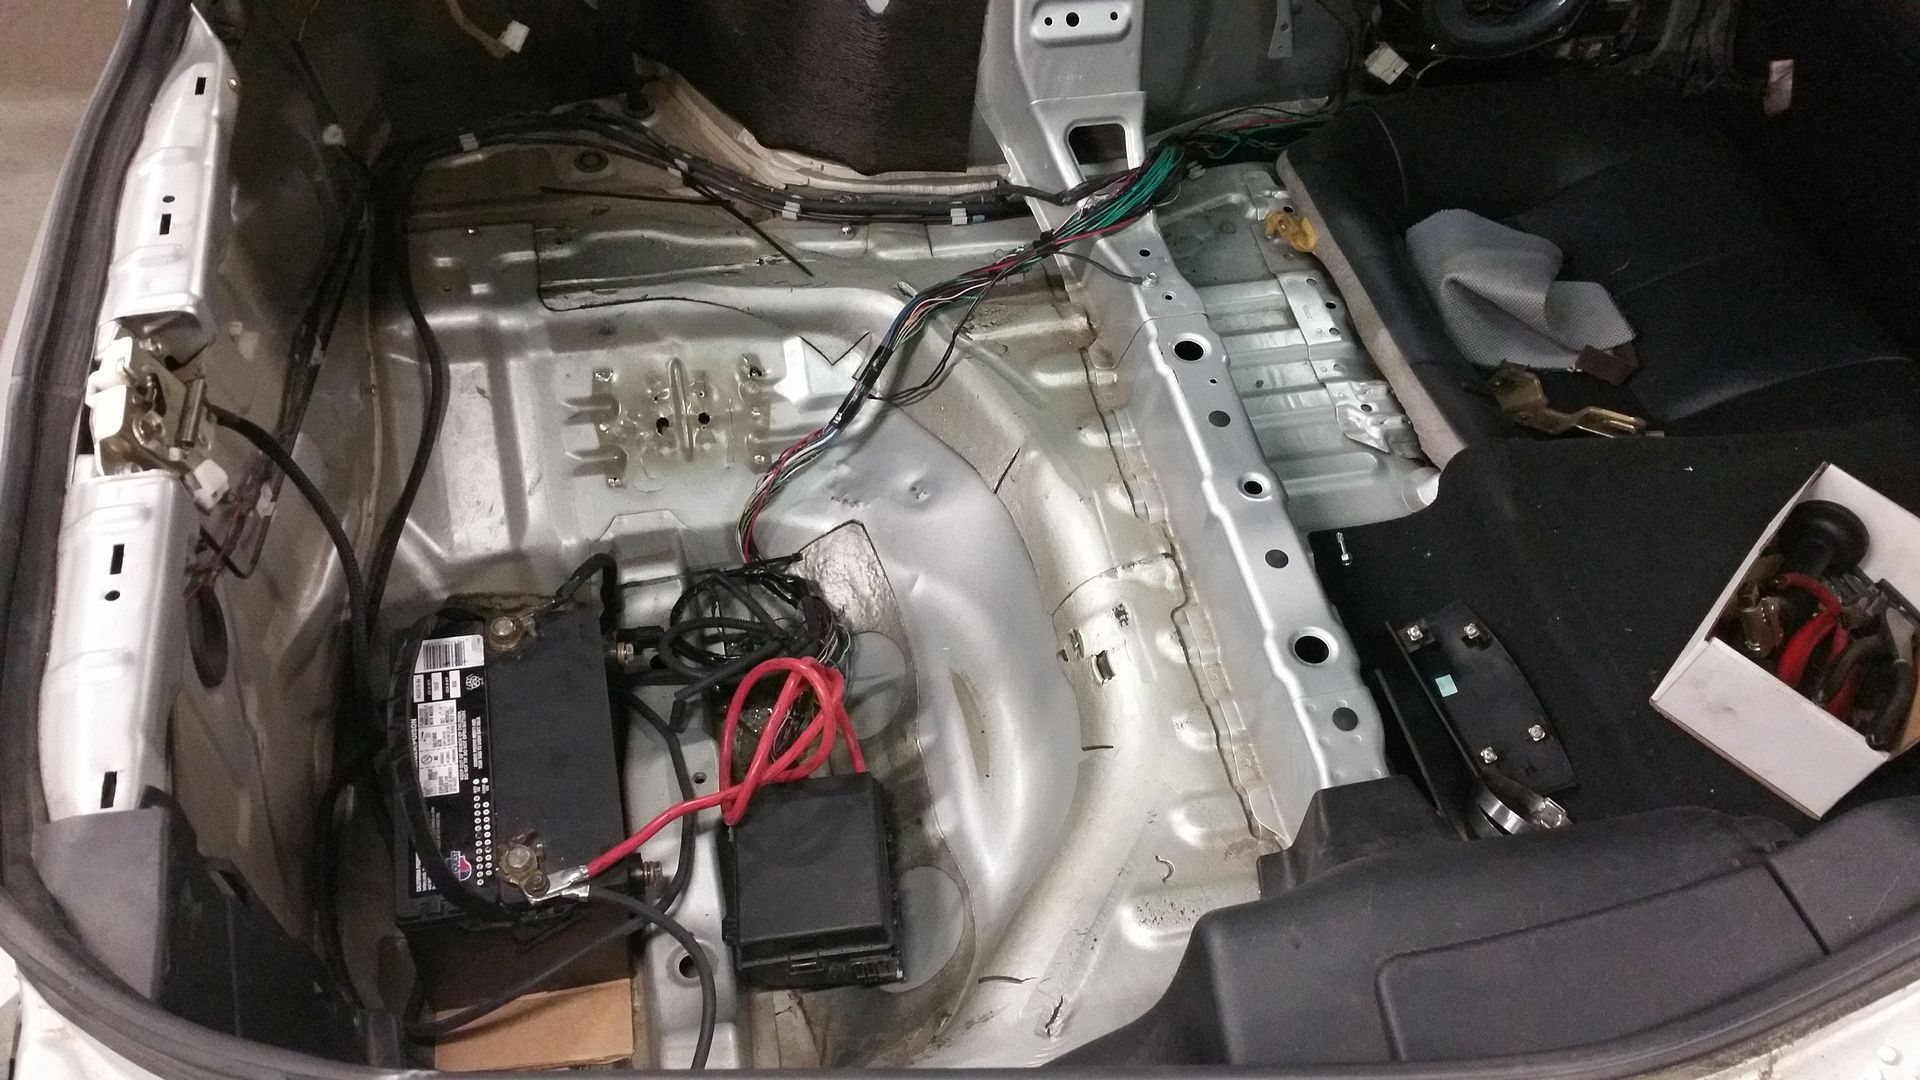
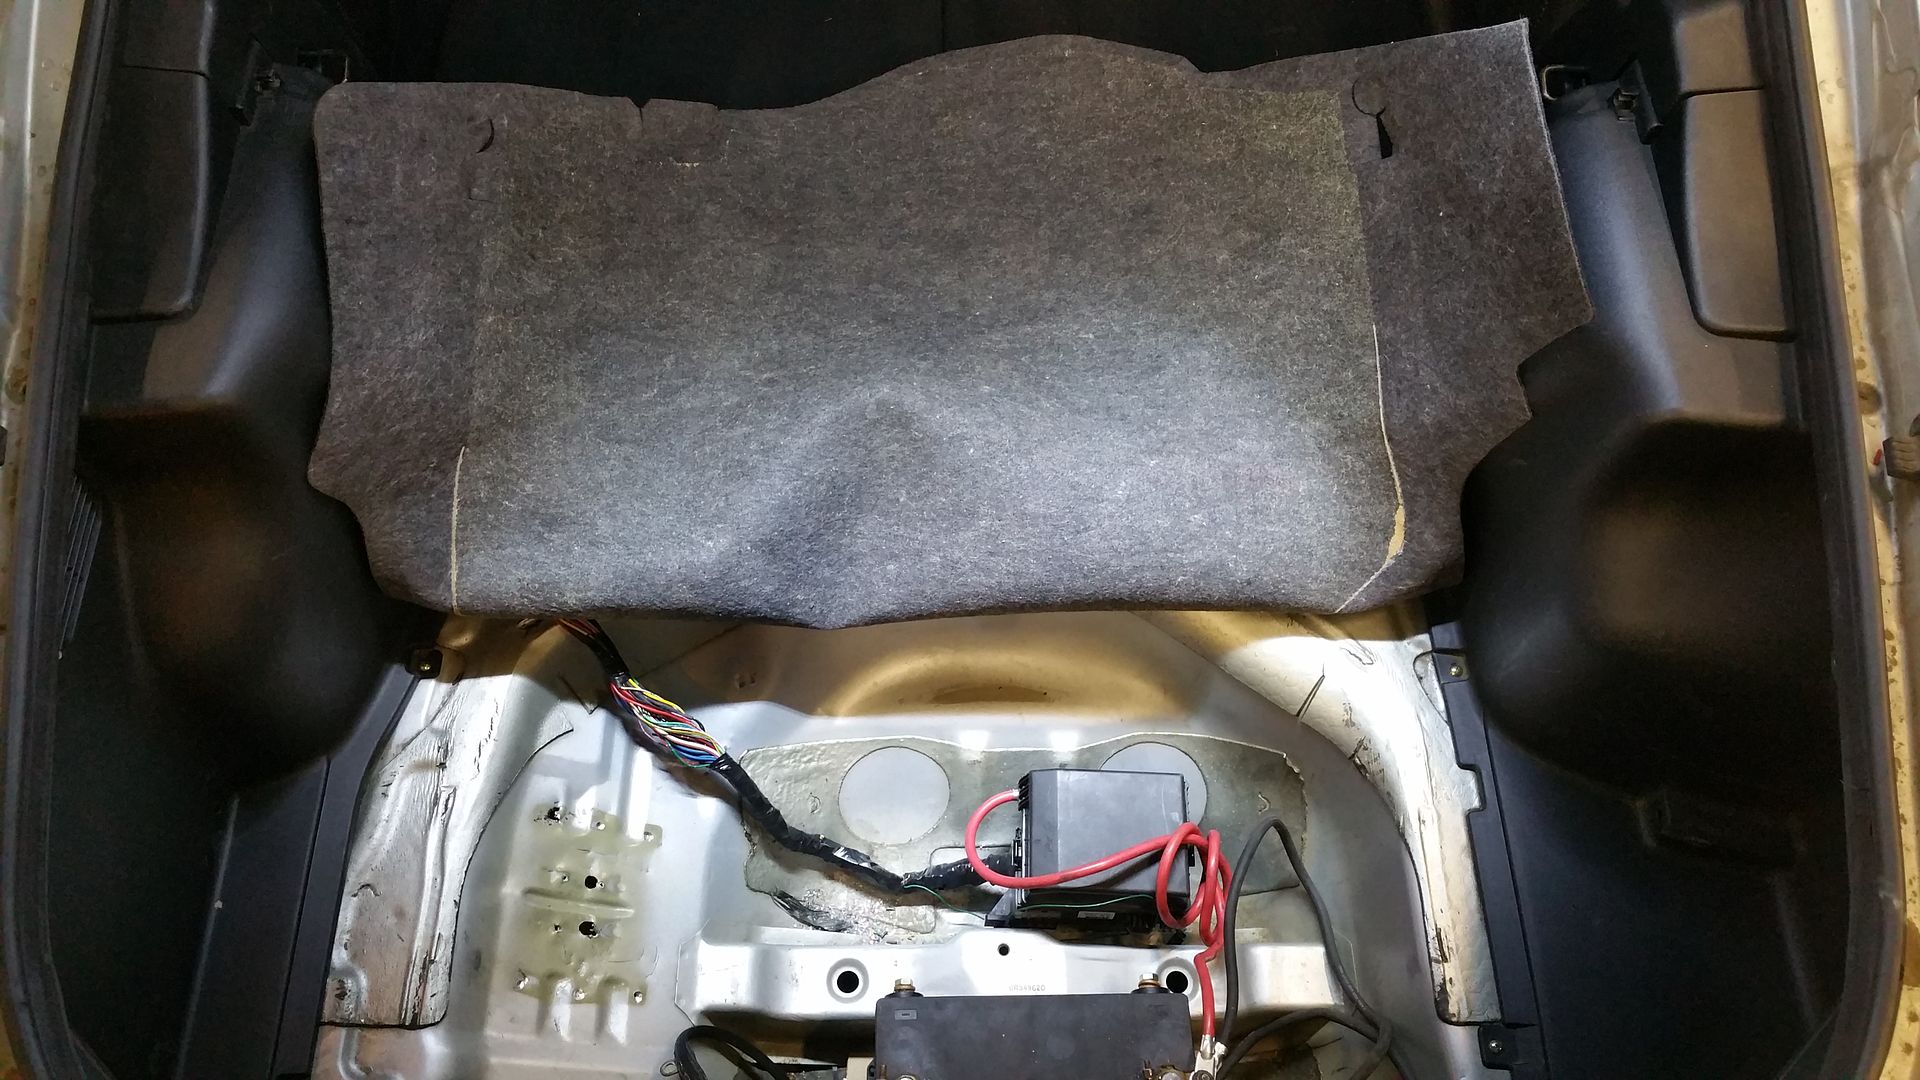
Here I am starting to get the engine harness sorted out and cleaned up. The fuse box has been removed from the engine bay and placed to the rear of the vehicle along with the battery (cosmetic preference).
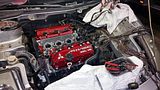
Now because I opted to use a modified 6G74 lower intake manifold, I was not able to use the 6G75 MIVEC upper intake manifold (flanges are different size between the 6G72/74/75 Non-MIVEC and MIVEC). This conversion still had to pass emissions testing as well so I am simply modifying the 6G75 MIVEC intake plenum to work with the Kia Sedona intake runners. This was done to retain EGR provisions on the plenum itself, ,and this will also increase plenum volume.
More updates will come, but this should be a good start on the project for you all to check out. For those that are curious about MIVEC control, it is being done via the OEM 3G ECU with a file made specifically for this (something I started working on back in 2012 actually). It will retain OEM function (duty cycle based) rather than just an "on-off" switch like others have done
Last edited by SPD_FRK; 12-08-2015 at 10:41 AM

Nice job, your thread doesn't disappoint!

Looks like your doing great things for the community, great work!
it is pretty well compressed for all the work, but it shows the good stuffOriginally Posted by gtx

The distributor plate is definitely a push in the right direction for the 3rd Gen Eclipse and 8th Gen Galant platforms. I am also working on some more projects as well which I hope to begin production stages of after the first of the year.
Updated the original post with more photos, details, and some helpful links

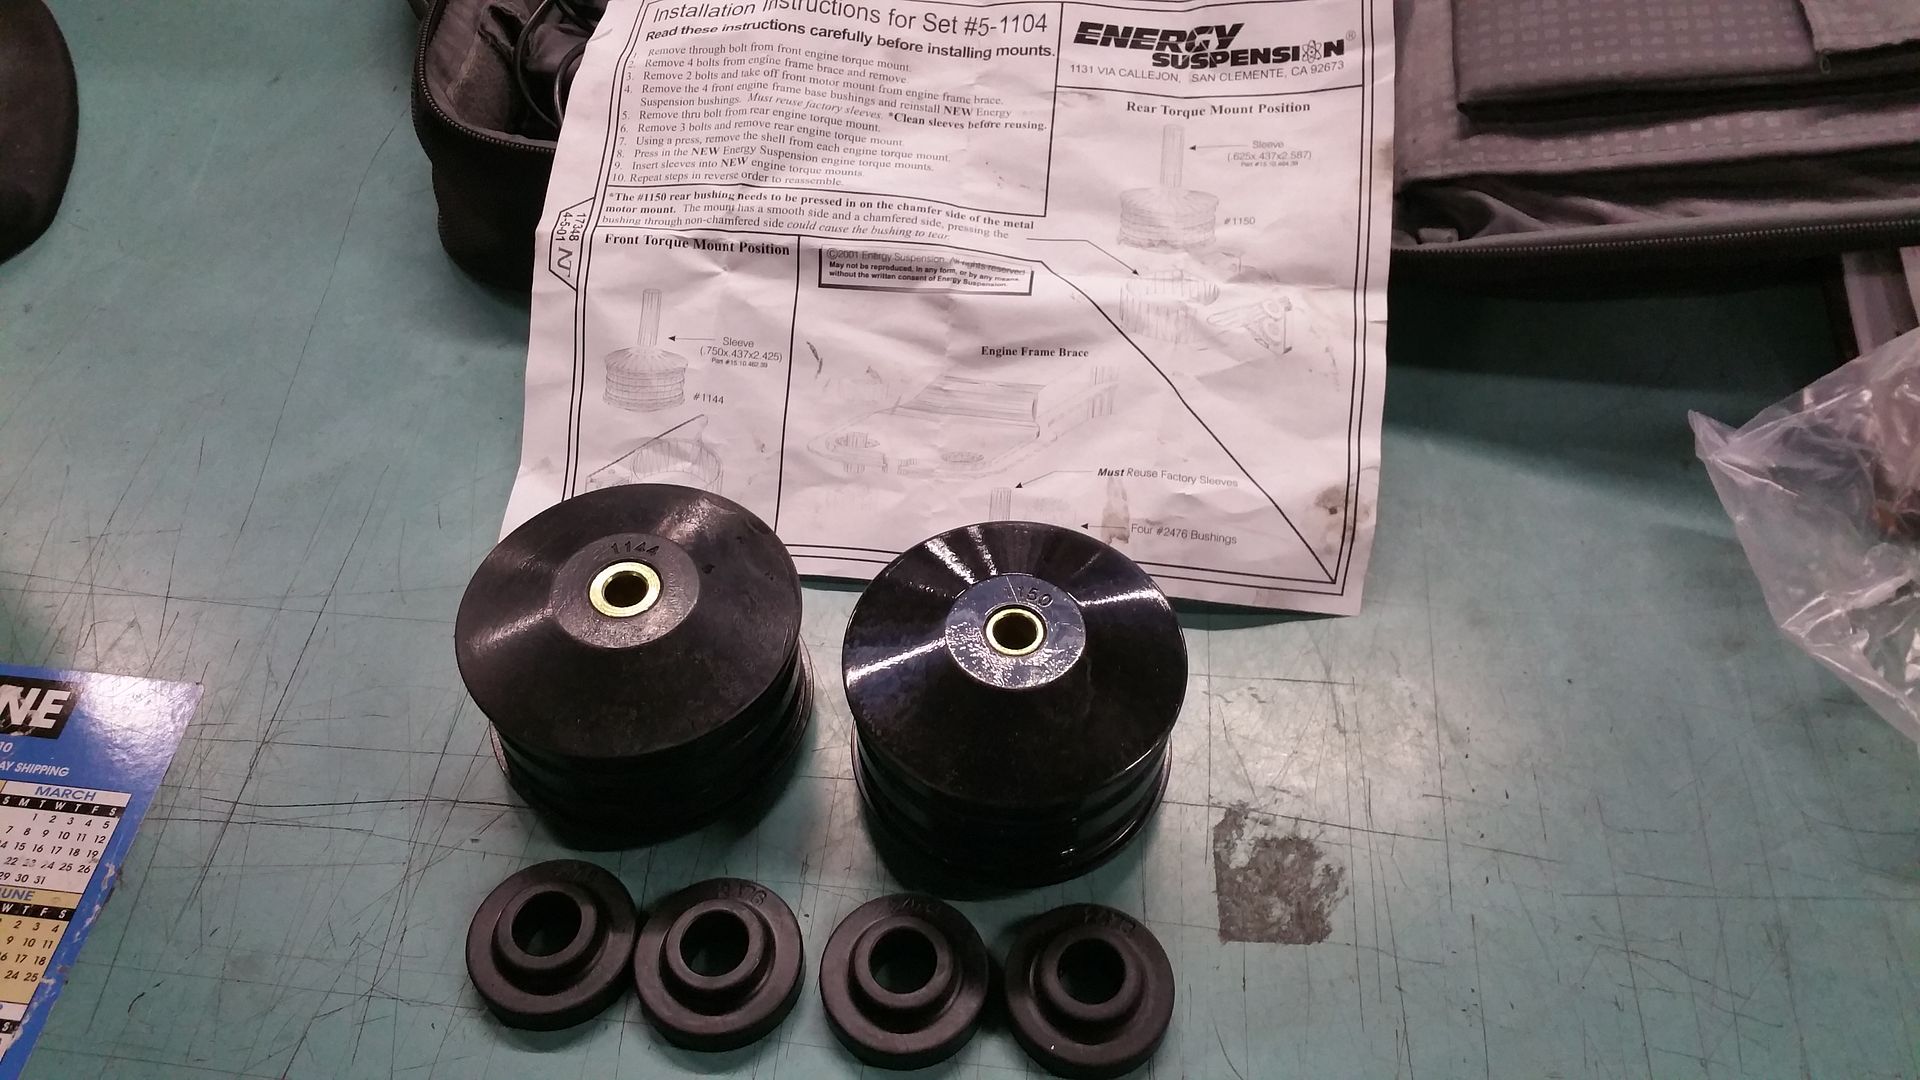
Awesome info on your project man! Questions, I'm assuming the 3G clutch and flywheel have to be used? Also, what year polyurethane motor mount inserts need to be used for a upgrade option? 3G?
Sent from my iPhone using Tapatalk
Yes, you would use an upgraded 3rd Gen clutch at the very least for this engine swap due to the increased hp/tq. The poly engine mount inserts would just need to be ordered per application (ie 3rd Gen).
Last edited by SPD_FRK; 12-08-2015 at 10:41 AM
Awesome. Thank you for all the info. I can't wait to start the project!
Sent from my iPhone using Tapatalk
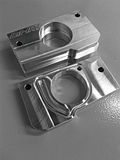
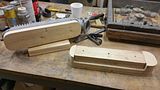
These are the new "2016 model" distributor adapter plates. I worked on the design more for the cosmetics of the plate, logo is no longer covered upon installation, and the final product is even better than before :ndance:
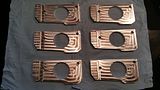


Pictures are tiny.
Click on them, they go big ;)
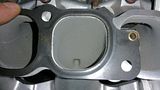
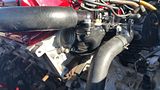
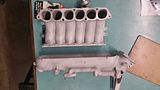
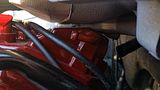
Last week I took some time off and spent a couple days finishing the modified 6G75 Non-MIVEC intake manifold. This has the EGR pipe flange removed, and the exhaust passage in the casting milled off. I cleaned the surface up to a light polish and then placed some DEI Cool Tape on the under side as some heat shielding.
I also modified the stock 72 Throttle body, cleaned up and mounted to the manifold. Yeah, some will question why the 72 TB, not a big deal. It's just to get running for the moment and I don't have to mess with this flange transplant and crap. I have a Q45 throttle body to replace it anyways.
I need to notch the hood brace and install this, then will be doing a quick fire up here shortly
Last edited by SPD_FRK; 12-28-2015 at 11:12 PM
Clean swap, nice job with the tape on the manifold. Good idea
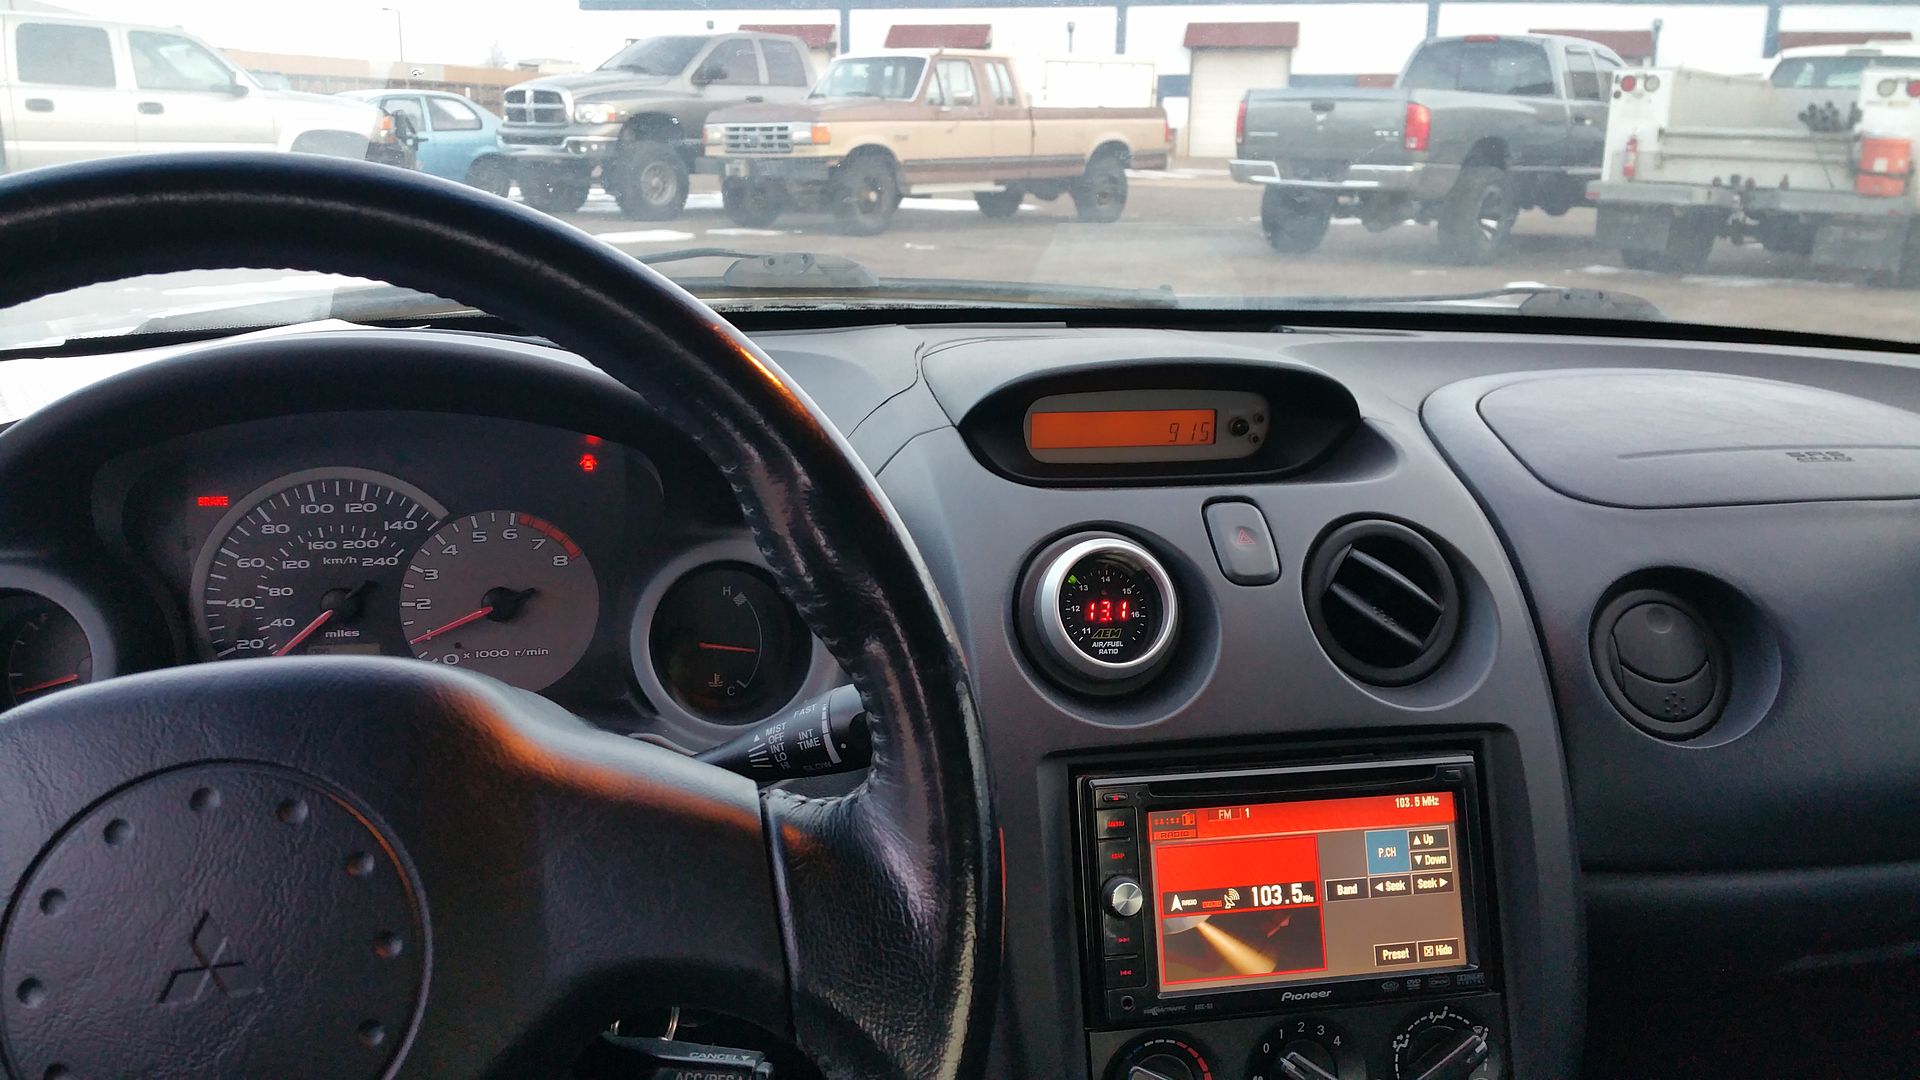
Startup video from yesterday
https://youtu.be/-NSjmrhjFcU
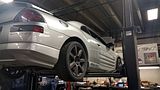
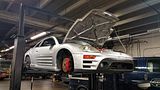
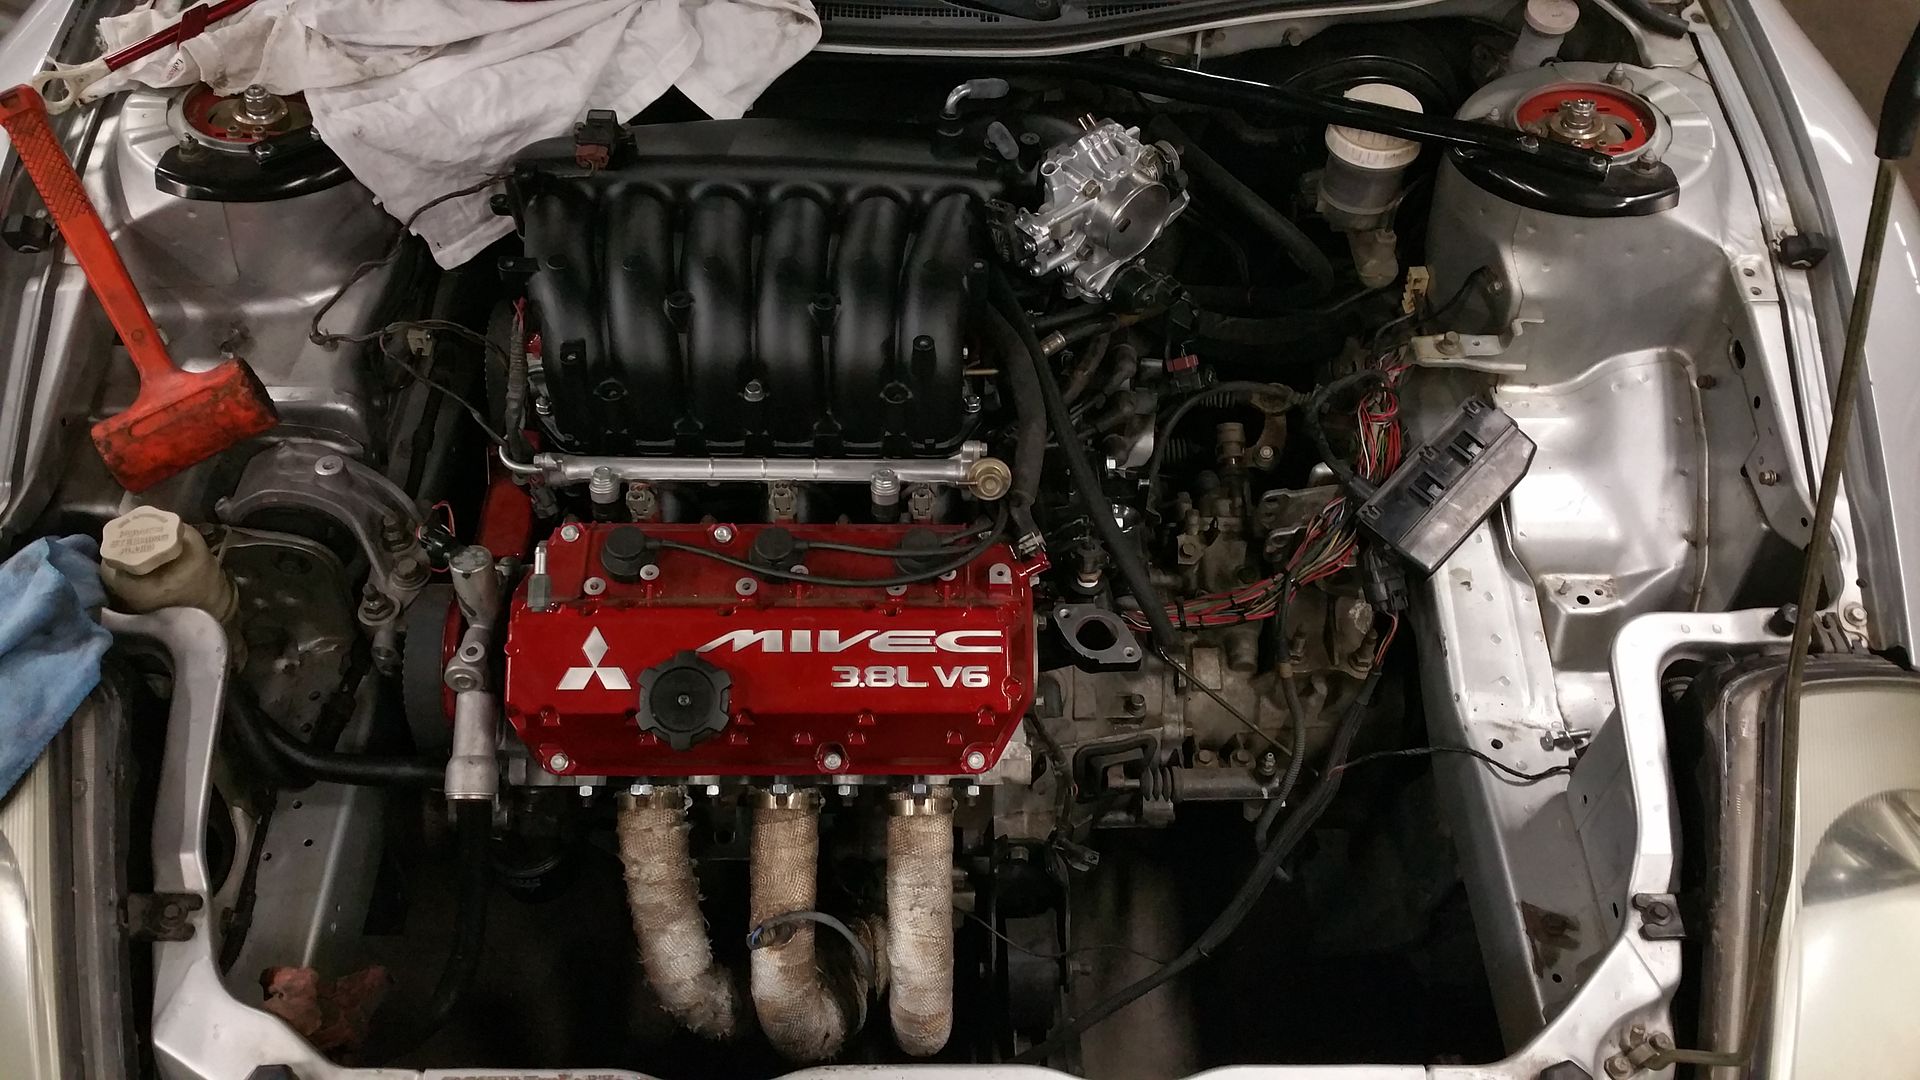
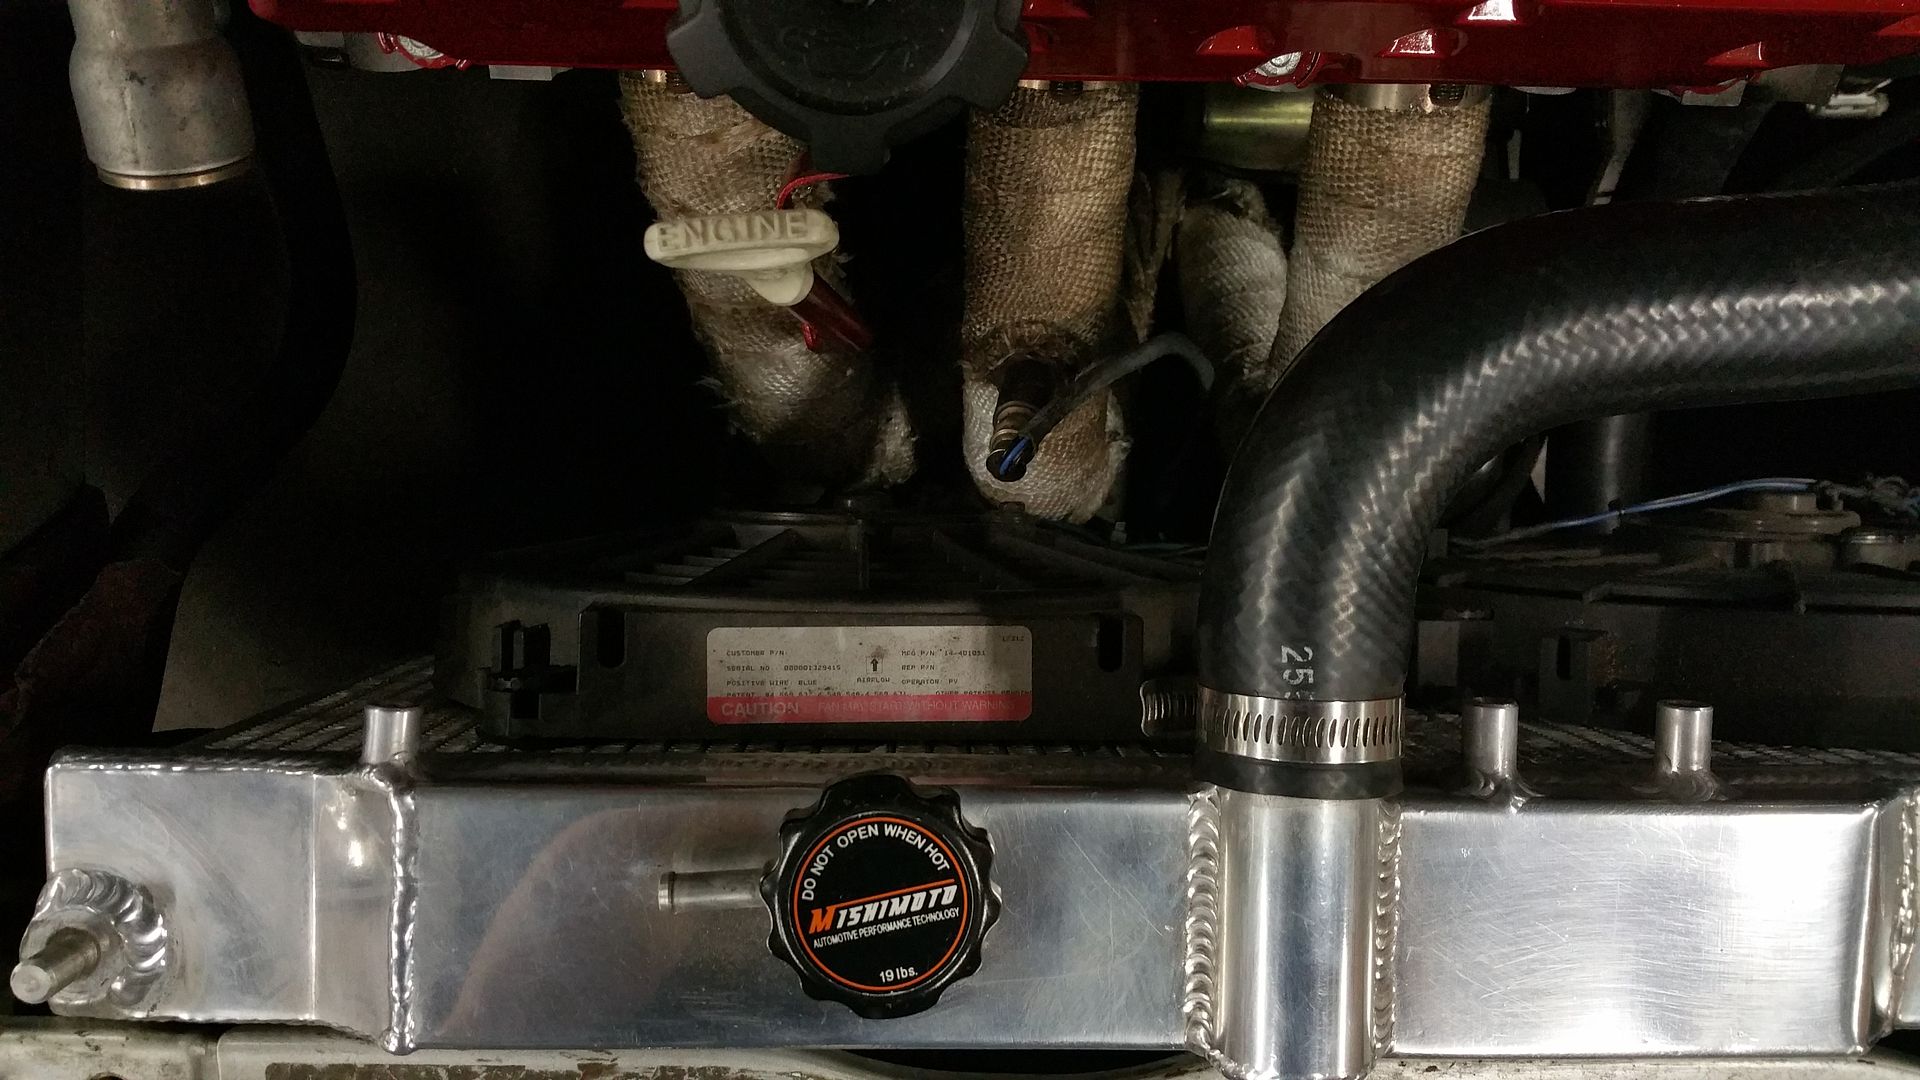
Here are some pictures from last week working on the car.
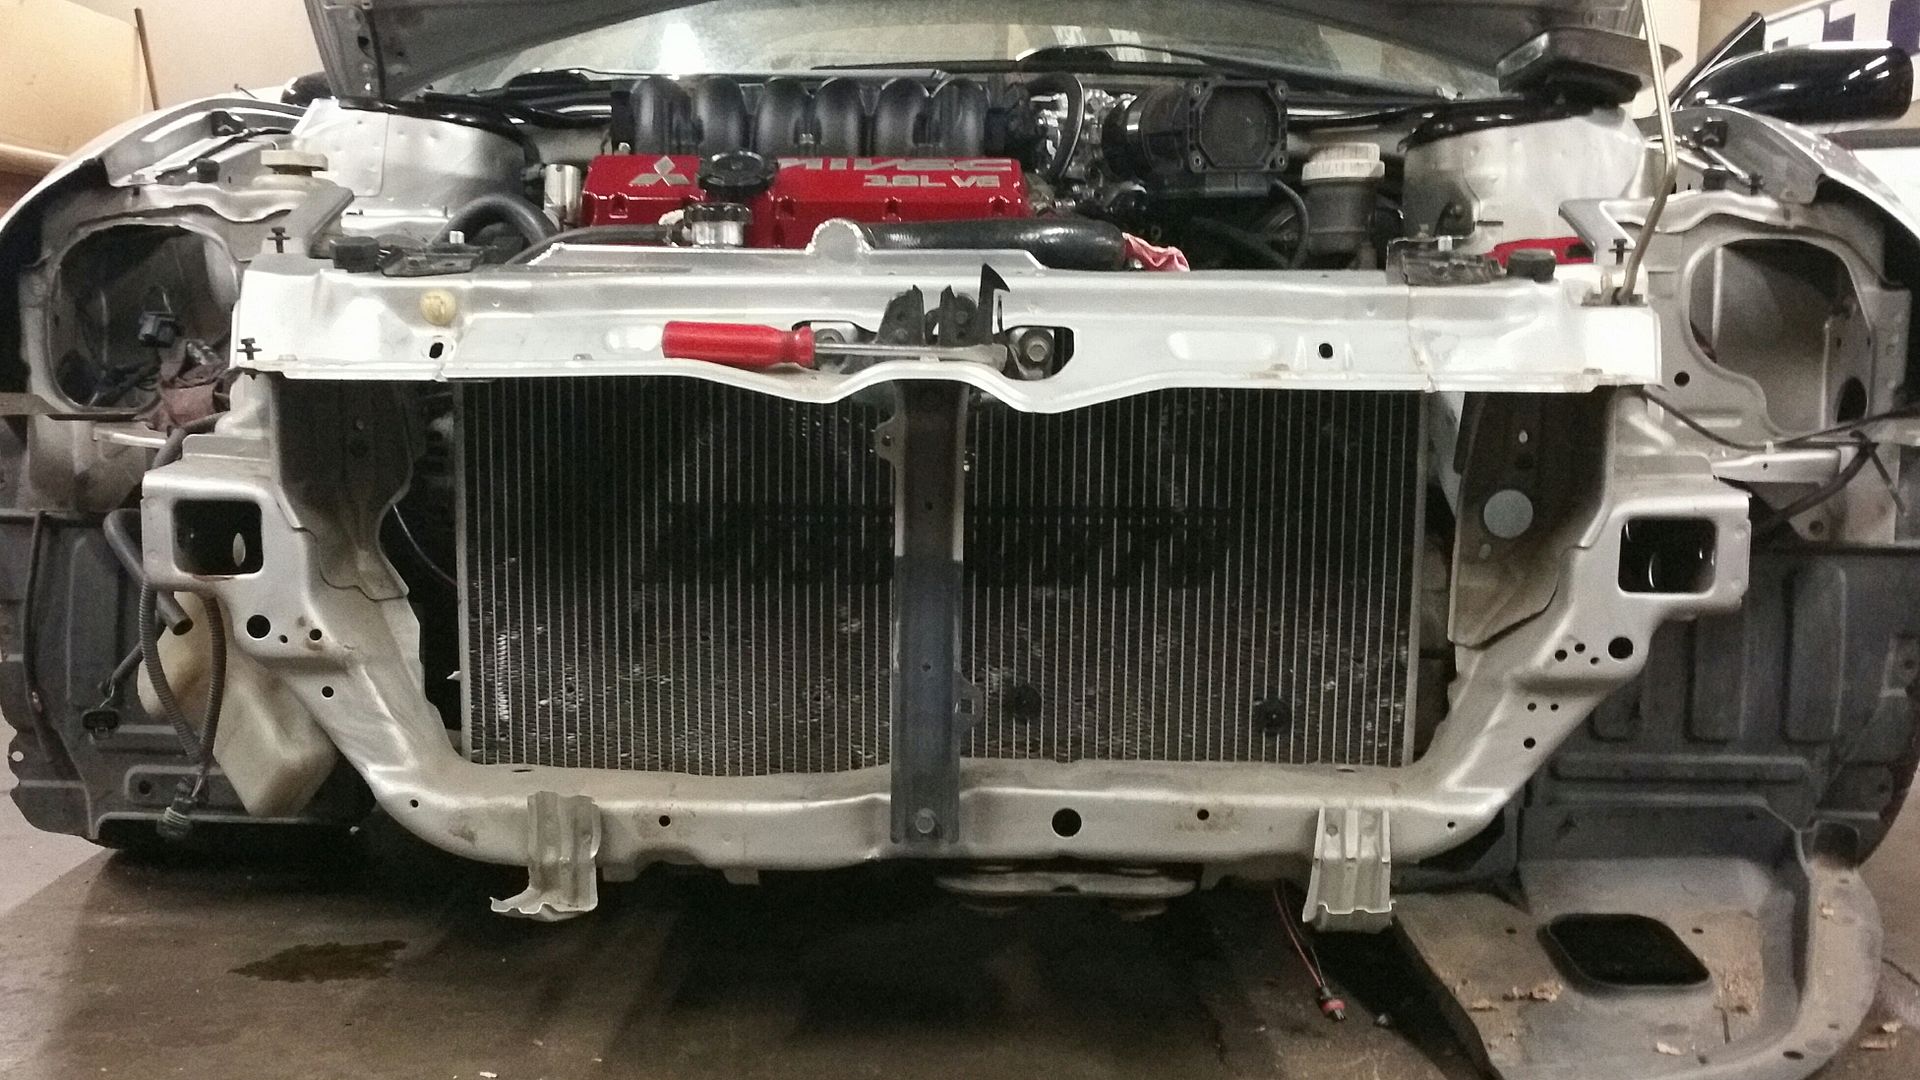
Installing the headers and getting cooling system filled up, these are a set long tube headers from Bj (boostezealot). I had to remove one of my cooling fans since it hit the header so I need to find some new ones...again lol....damn.
I need to get these installed yet too
Still working on the tuning stuff, but flashed a new ROM this morning and the car idles better than it did when I began a little tuning on Saturday.
What about 1 puller and 1 pusher fan to clear the header?
^ I was thinking the same exact thing. Awesome work man!
Sent from my iPhone using Tapatalk
I may do a pusher fan on that side of the radiator since its a tight fit there.
Still working on the tuning a little at a time, but here is another video of it running on a cold start up
https://www.youtube.com/embed/rR3pbpVLG80
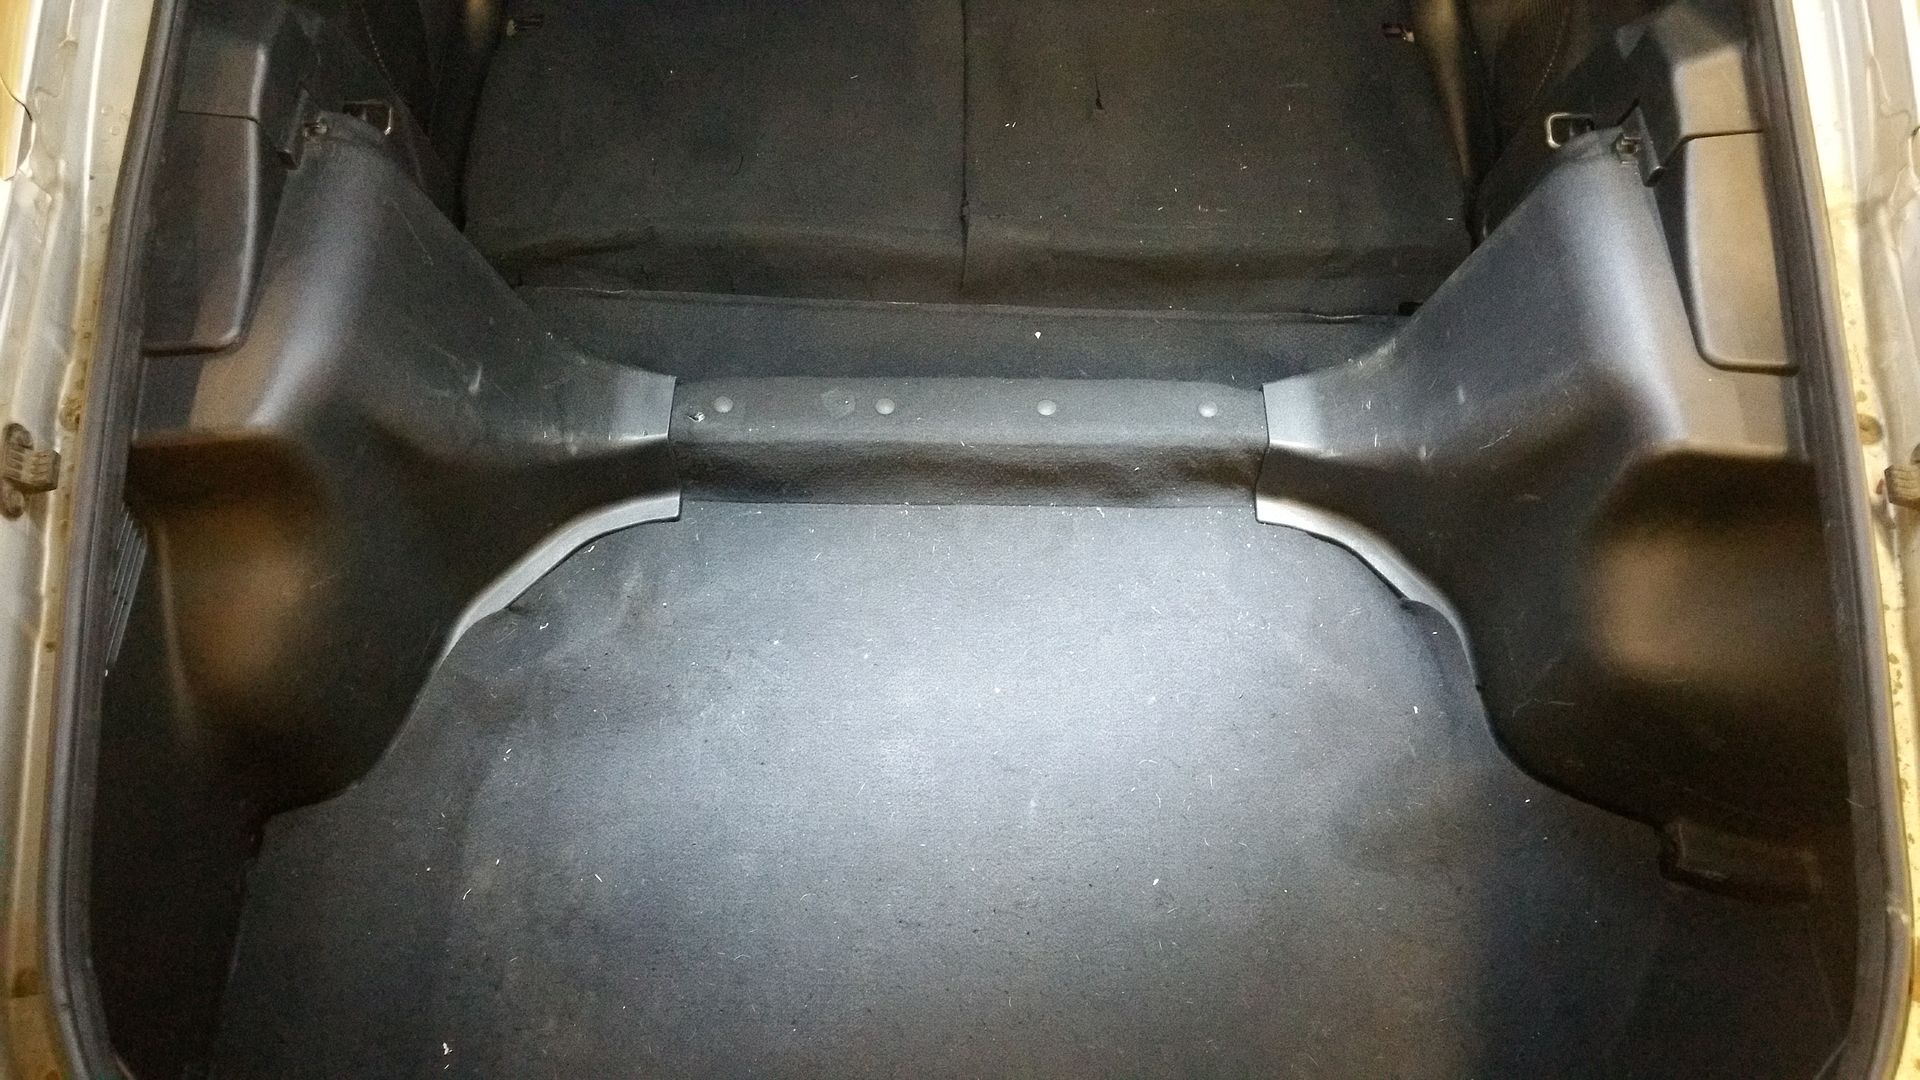
I still had to extend the driver side headlight, fog light, parking light, and cooling fan wiring from the fuse box in the hatch up to the front accordingly. While doing this I cleaned up the routing a bit more and made progress down into the spare tire well. I still need to work out the mounting specifics in here, but I want it to be fairly clean when you lift the cover.
With the cooling fan wiring up to the front I also needed to replace the fan on the driver side of the radiator. The motor no longer worked so I just installed the Derale fan that was on the passenger side. I believe I will add a pusher fan to the passenger side for the additional cooling. When the time comes to replace the radiator with a new one I will do two pusher fans on that change over.
 Posting Rules


Bookmarks