Wow total sleeper. How is your exhaust ran, i cant tell if they ran it over the rear axle or not.
VERY NICE........... i love it. Rev it higher i want to hear the monster turbo you have. But nice work. Where did you put the radiator fans?
Wow total sleeper. How is your exhaust ran, i cant tell if they ran it over the rear axle or not.
Yea they do great work at Piper and the RPF1's are +35, why are you interested in them?
Pusher fan is on the front side of the rad. passenger side and puller is on the back side
of the rad. drivers side
Under rear sub-frame
Thanks again for all the positive feedback guys!


nah I just absolutely love the look. The RPF1's and the TE37's are by far my too favorite wheels. Simple and clean.
xd_01, I won't be able to afford new wheels for a little while, but if you get tired of them in the future, do let me know :P finish doesn't have to be perfect either because I want to paint them orange :D
Ok so its been over 2 months with no update but there isnt much to report other then i sorted out some leak issues (keep my fingers crossed) and im waiting on a part to fix the p/s rack. Things are slow going but progressing.
here some more build pics,
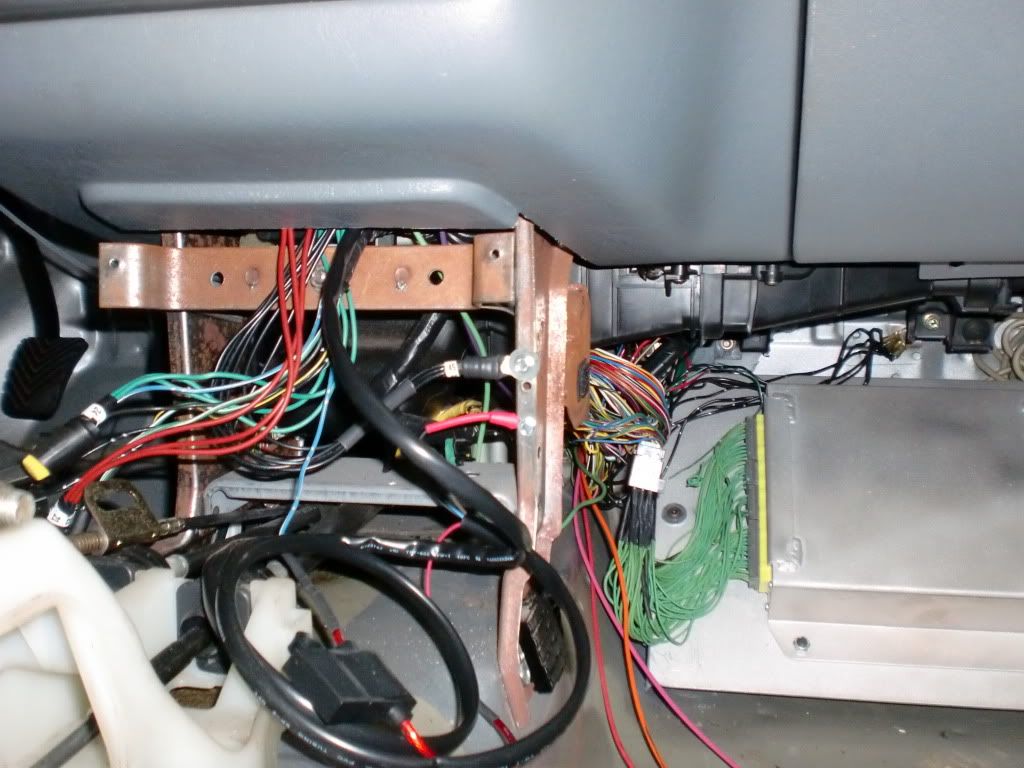
The Wiring!!
wiring in the AEM and injectors
resistor box
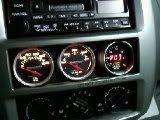
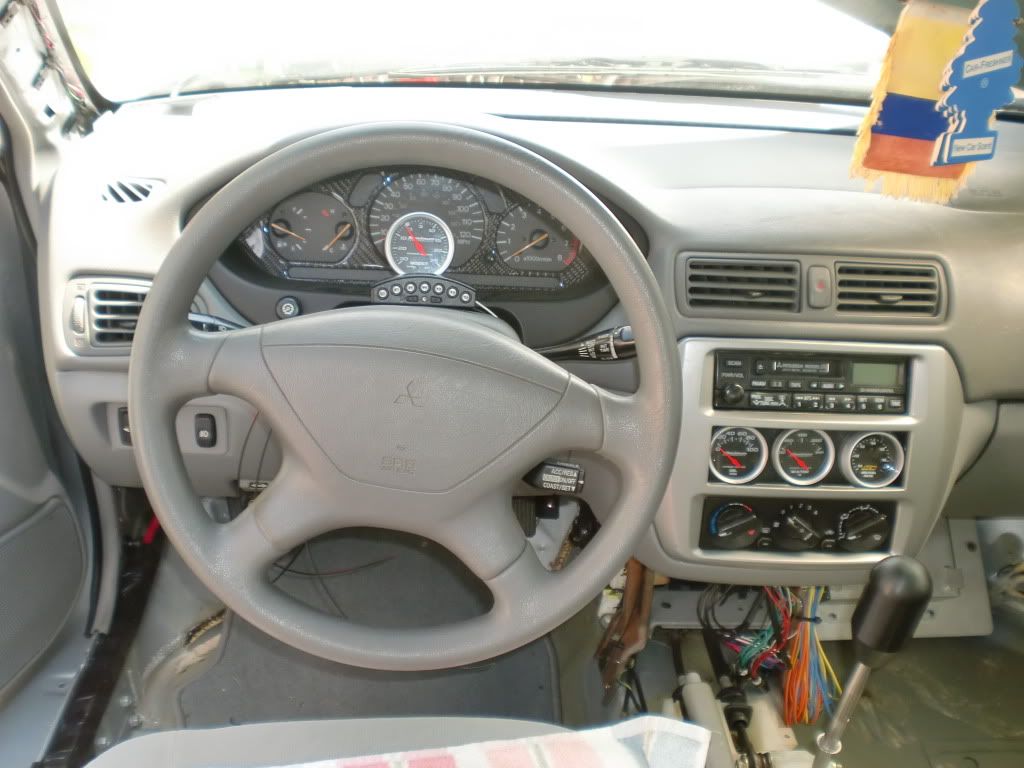
gauges
AEM
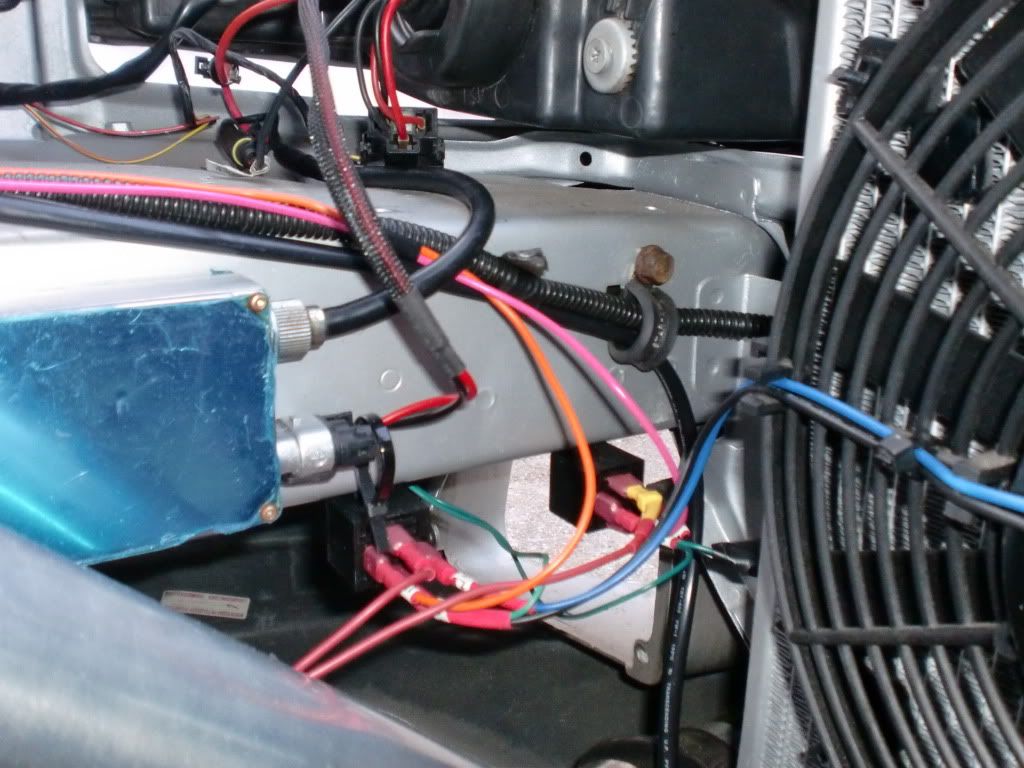
fan relay
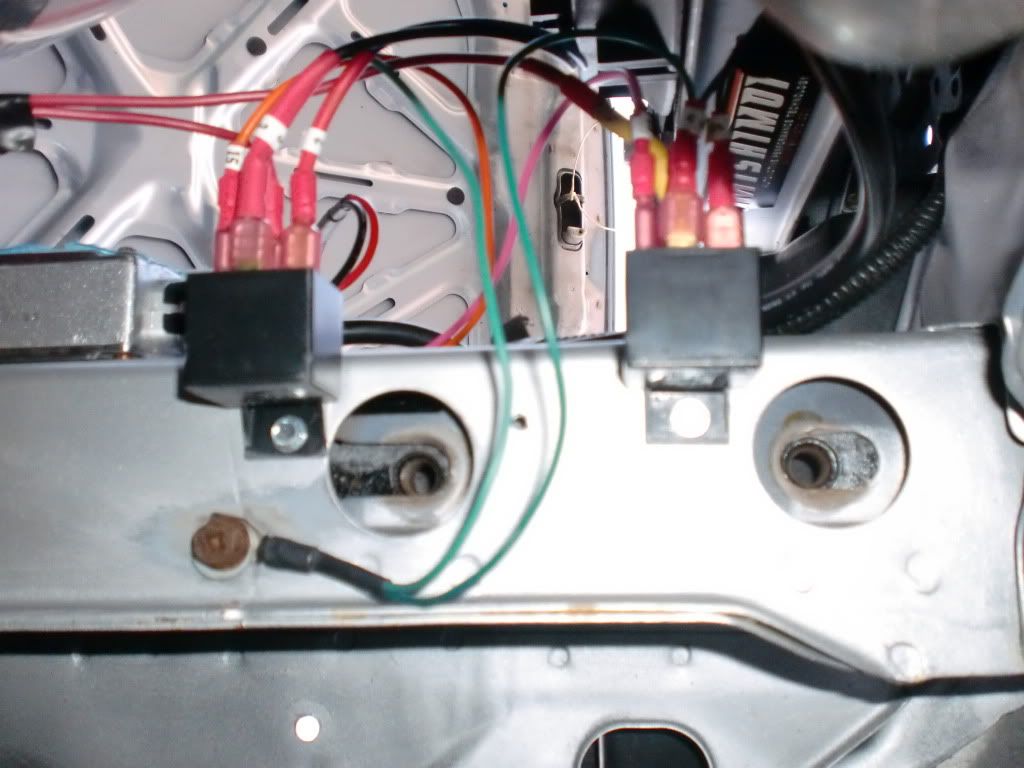
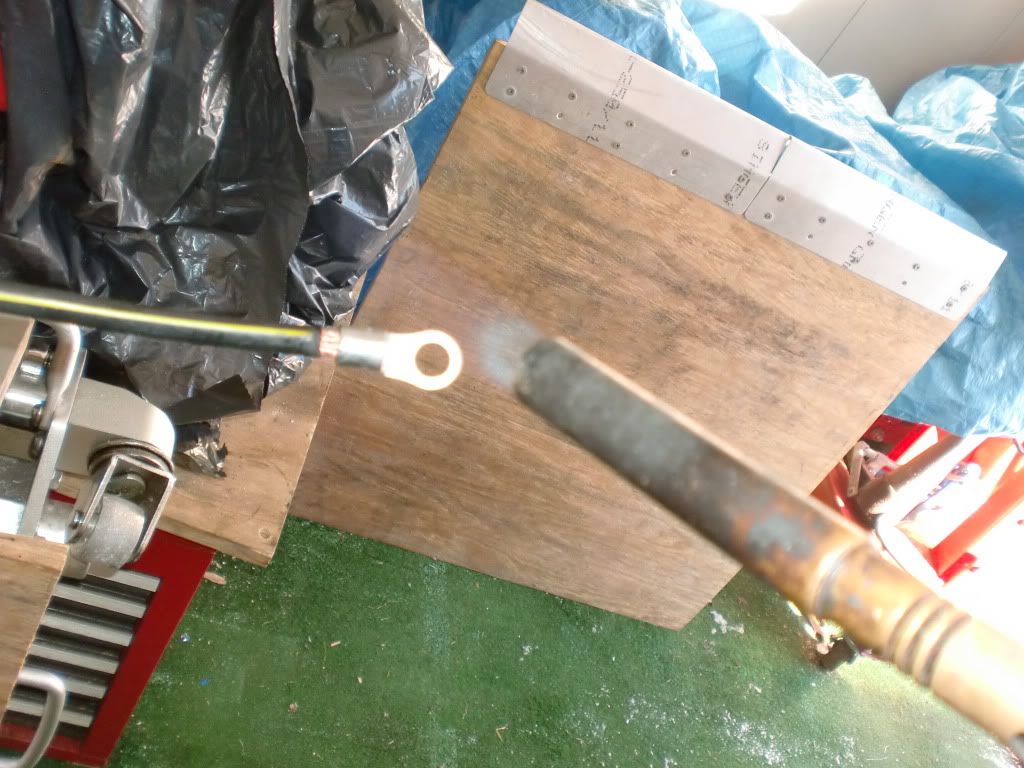
soldering some gound wires
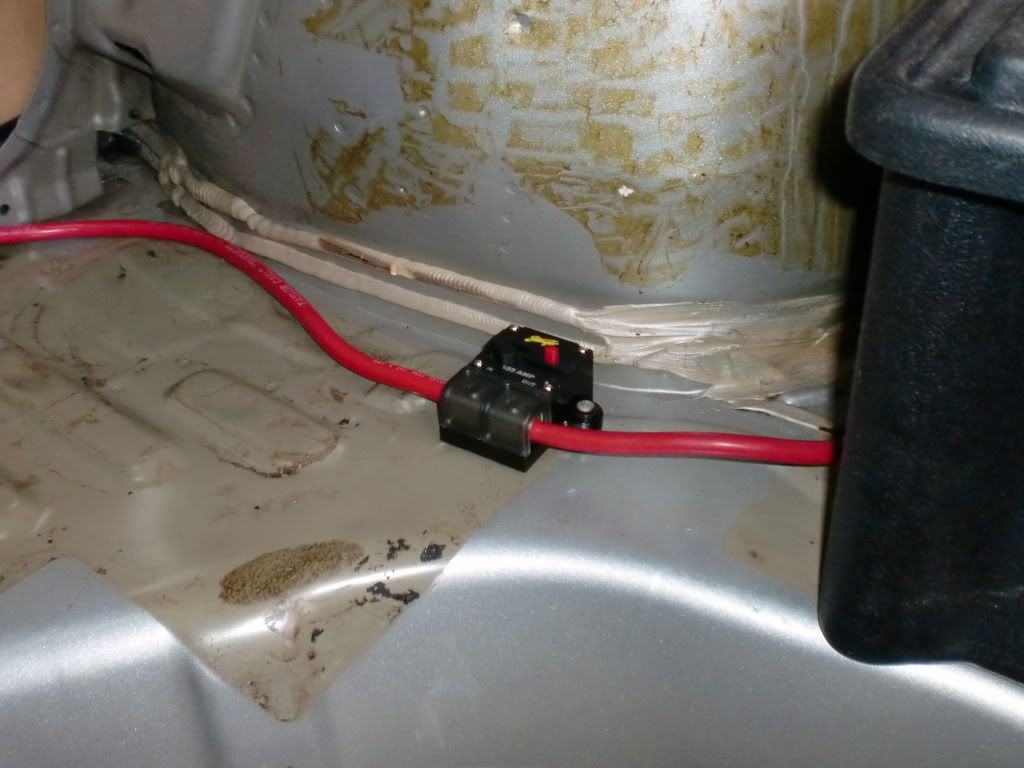
upgrading my relocated battery box with a circuit breaker
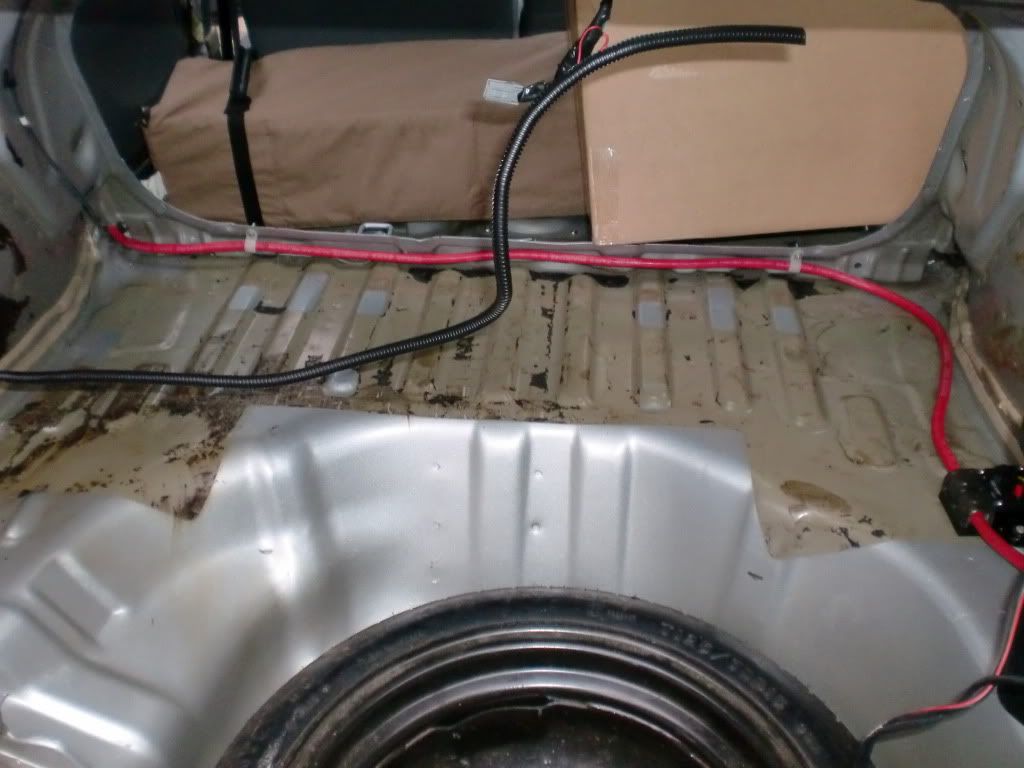
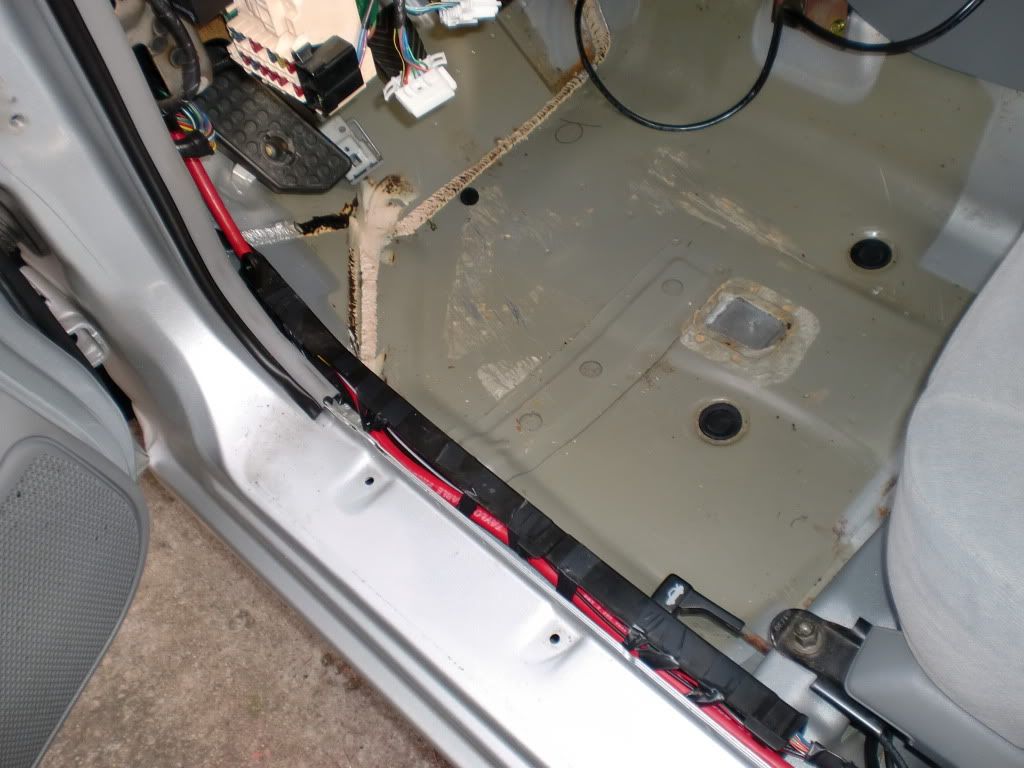
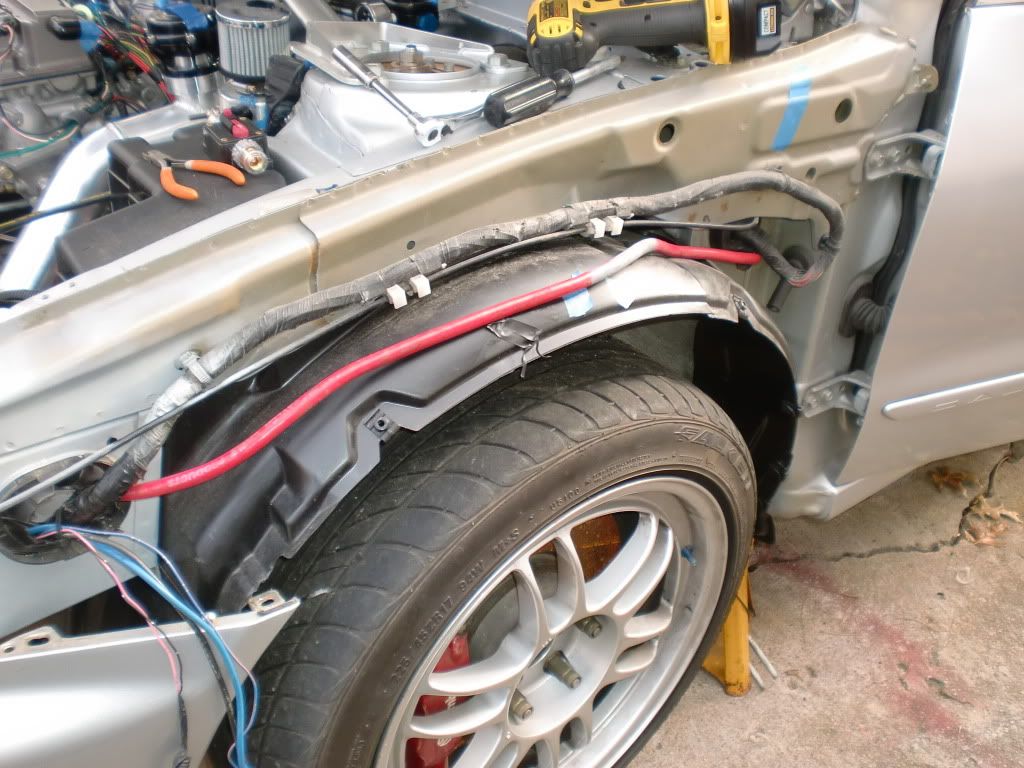
route of battery cable near drivers seat
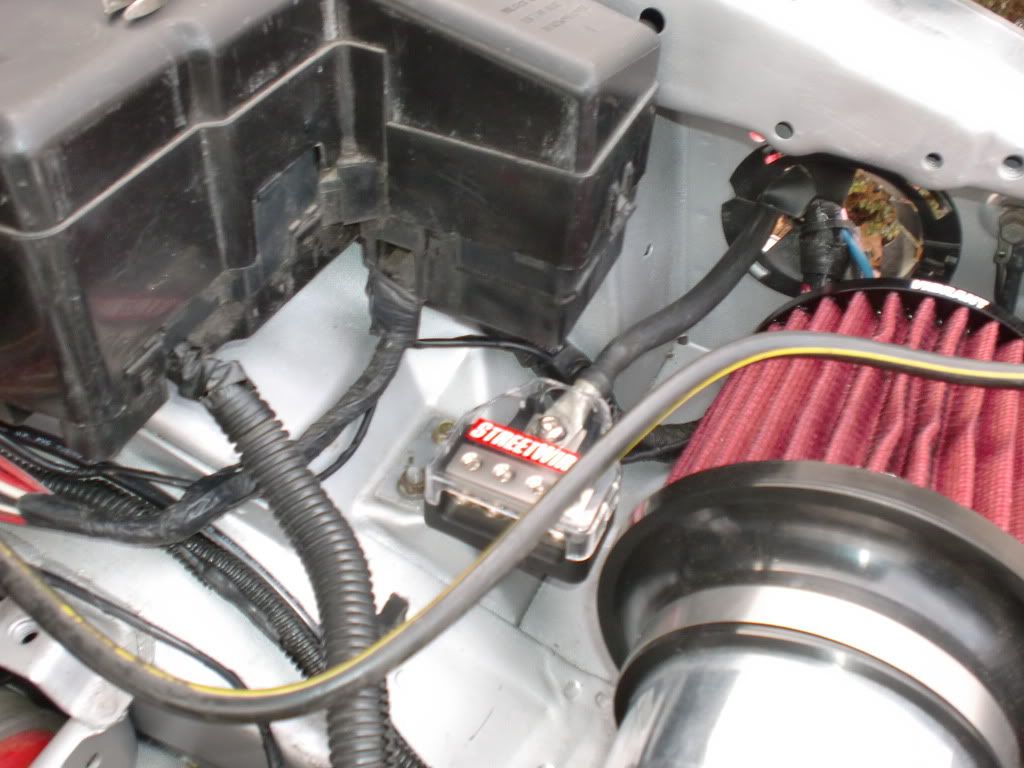
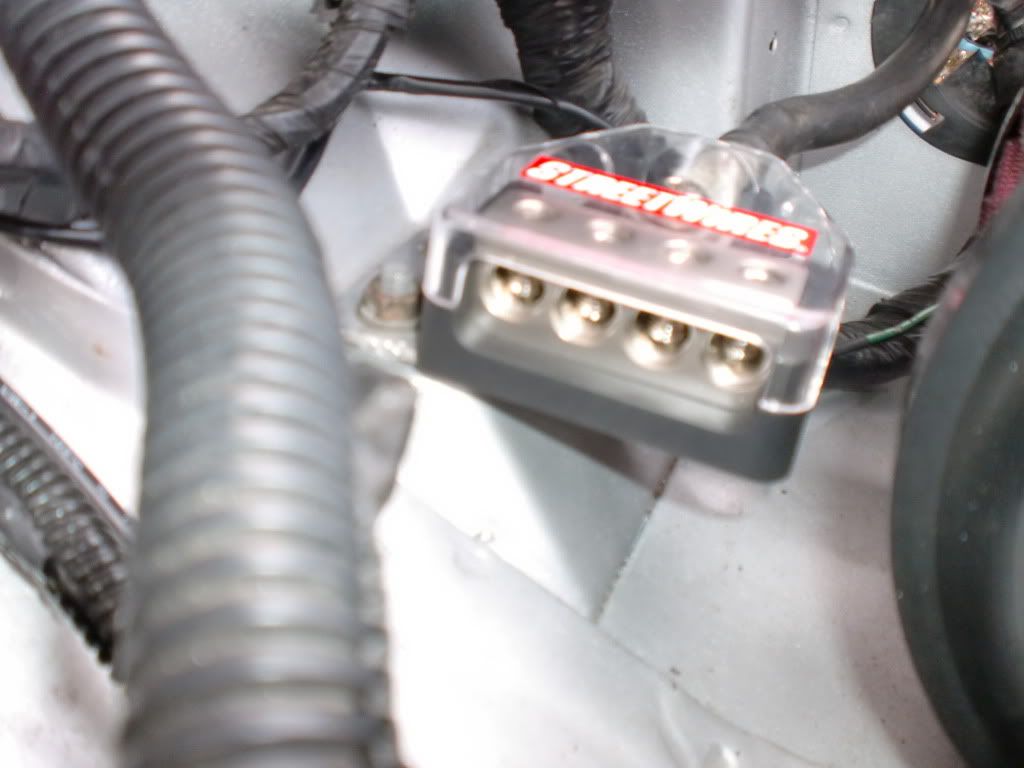
new distribution box
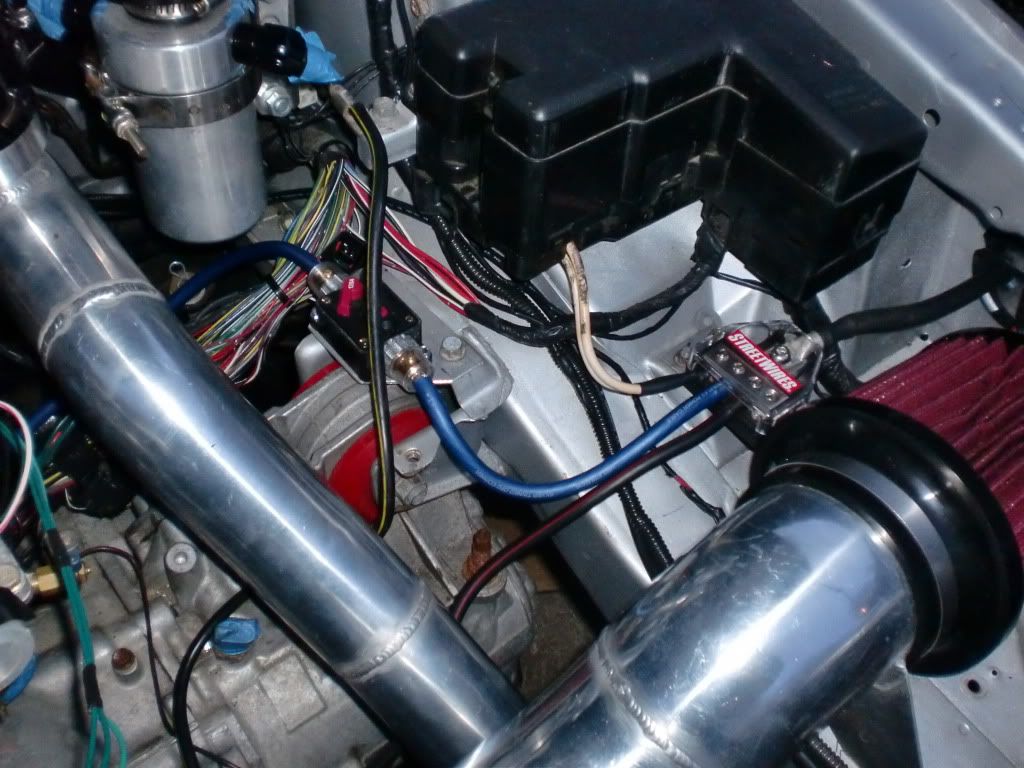
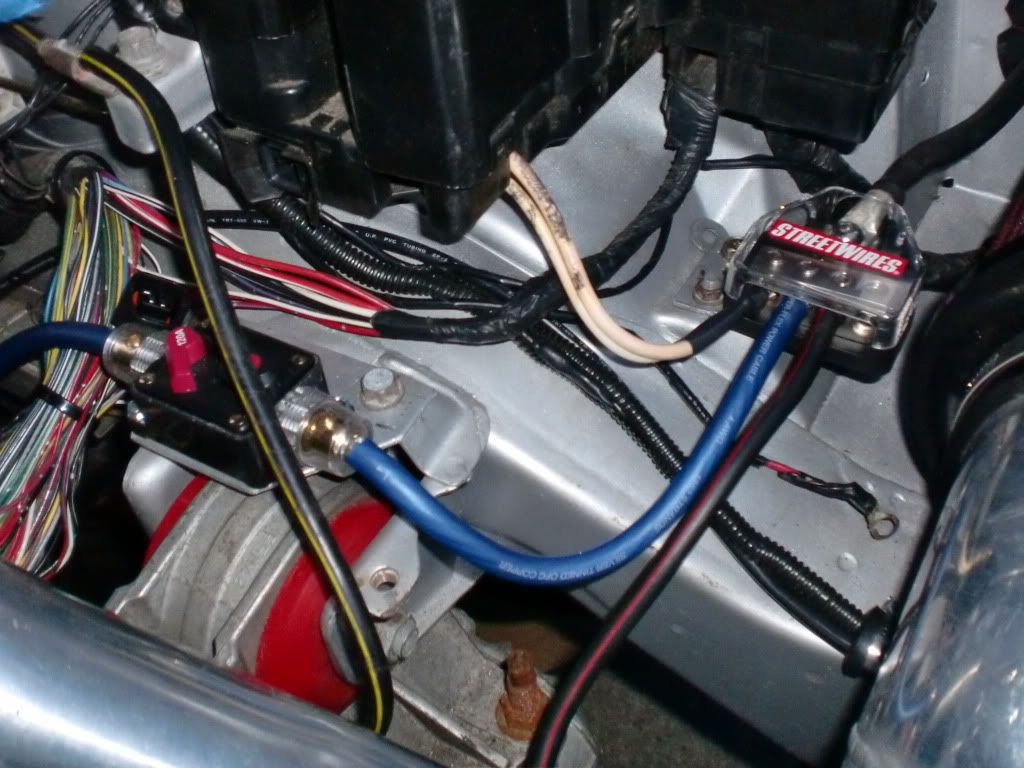


I like where you put the AEM gauges that is an awesome spot for them.
My head's spinning from all that wiring lol! Looking good, dude!
-Greg
"I smashed up the grey one, bought me a red;
Every time we hit the parking lot we turn heads!"
-Pimp C, "International Players Anthem"
man everything is coming together! looks really nice
actually only the wideband is AEM and the oil pressure and water temp gauges are Stewart Warner
its actually not that bad once you figure out half the wires in the engine bay arent needed anymore, atleast for my application. maybe one day ill attempt to make my own engine harness lol.
well here's more.
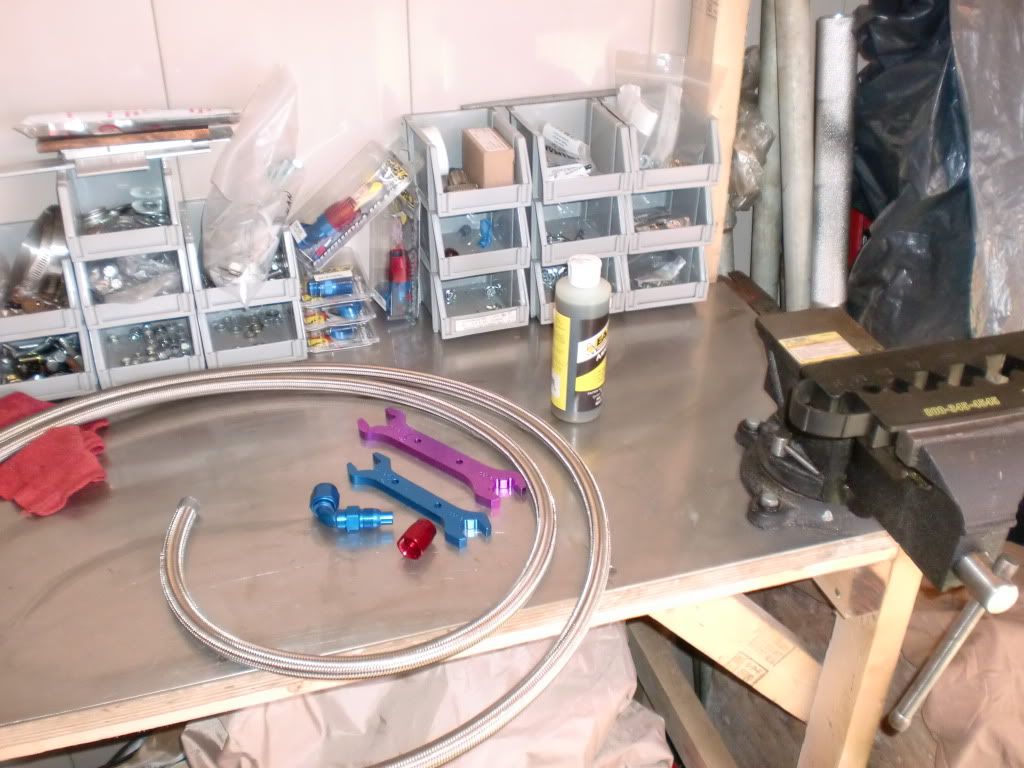
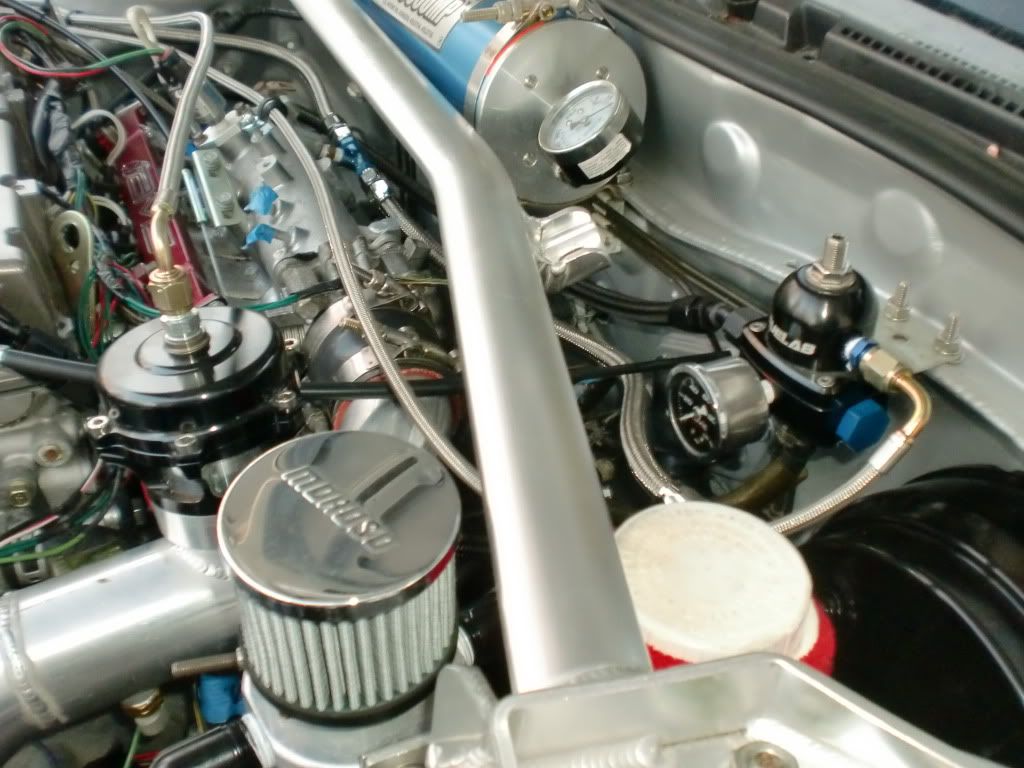
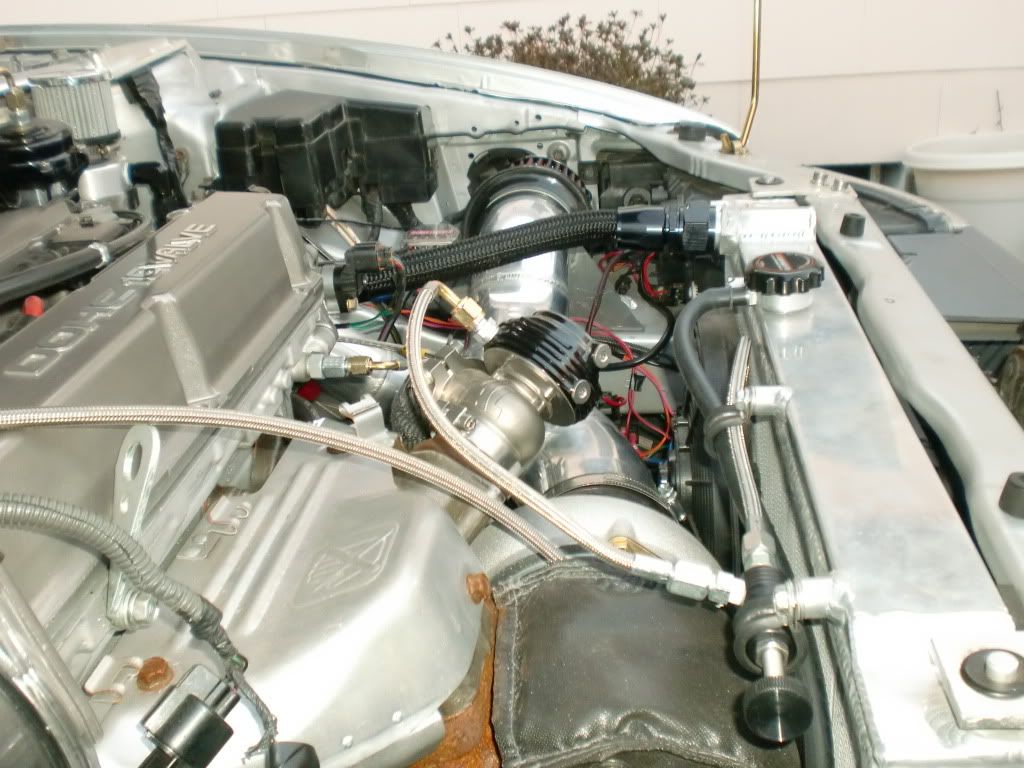
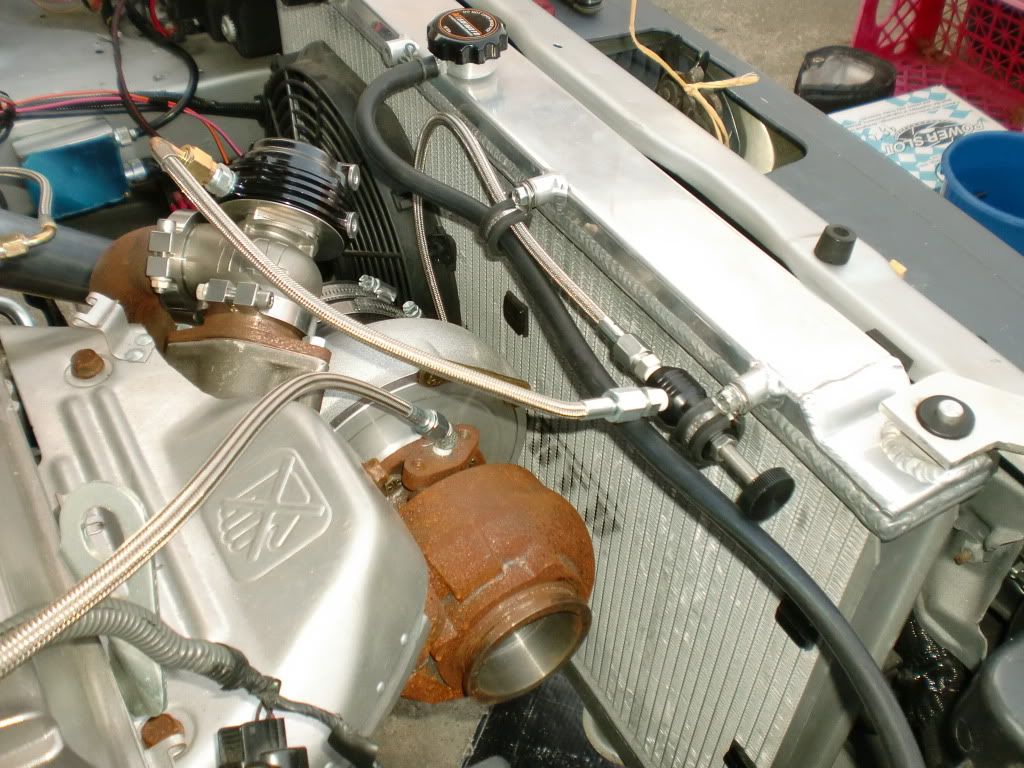
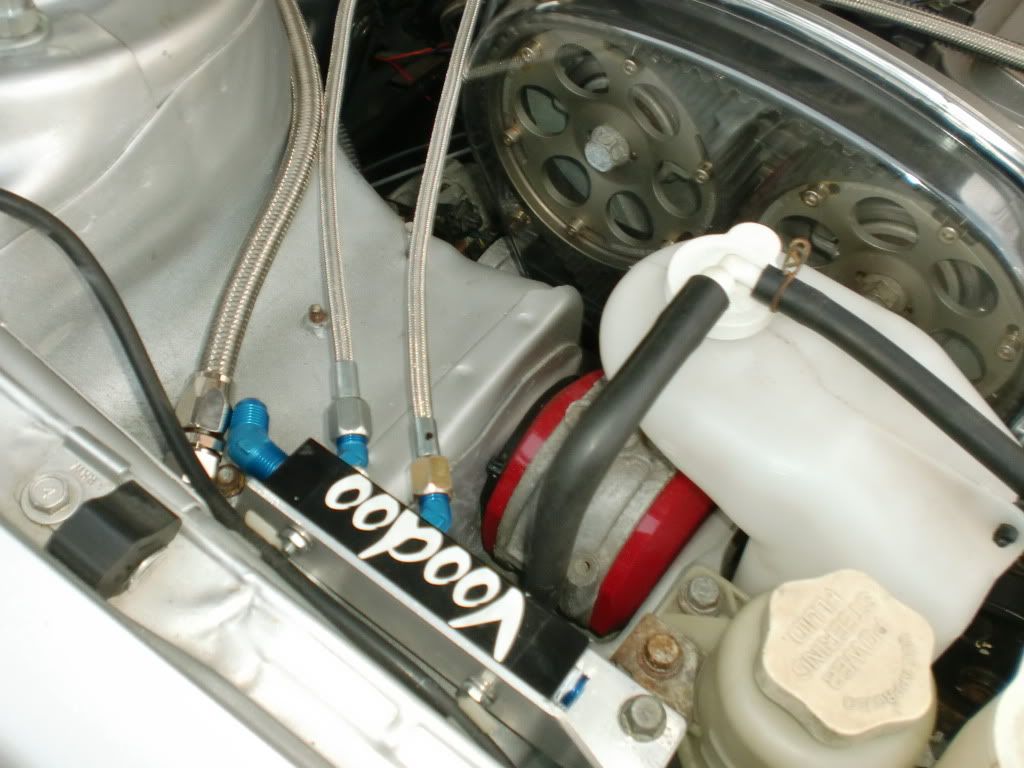
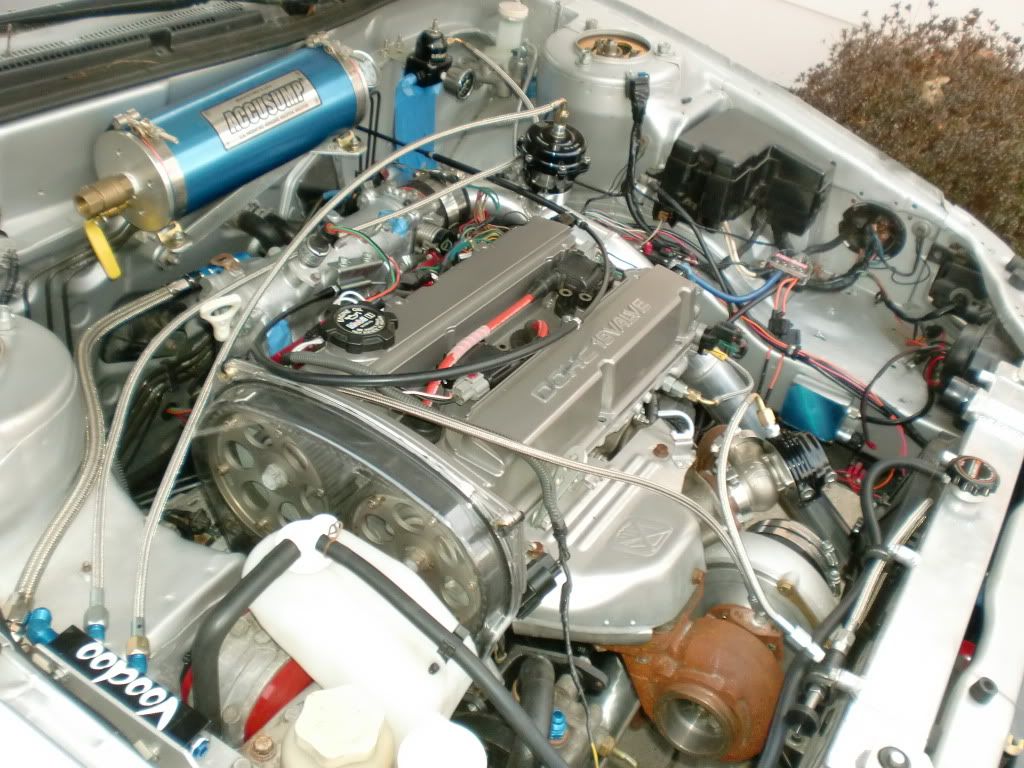
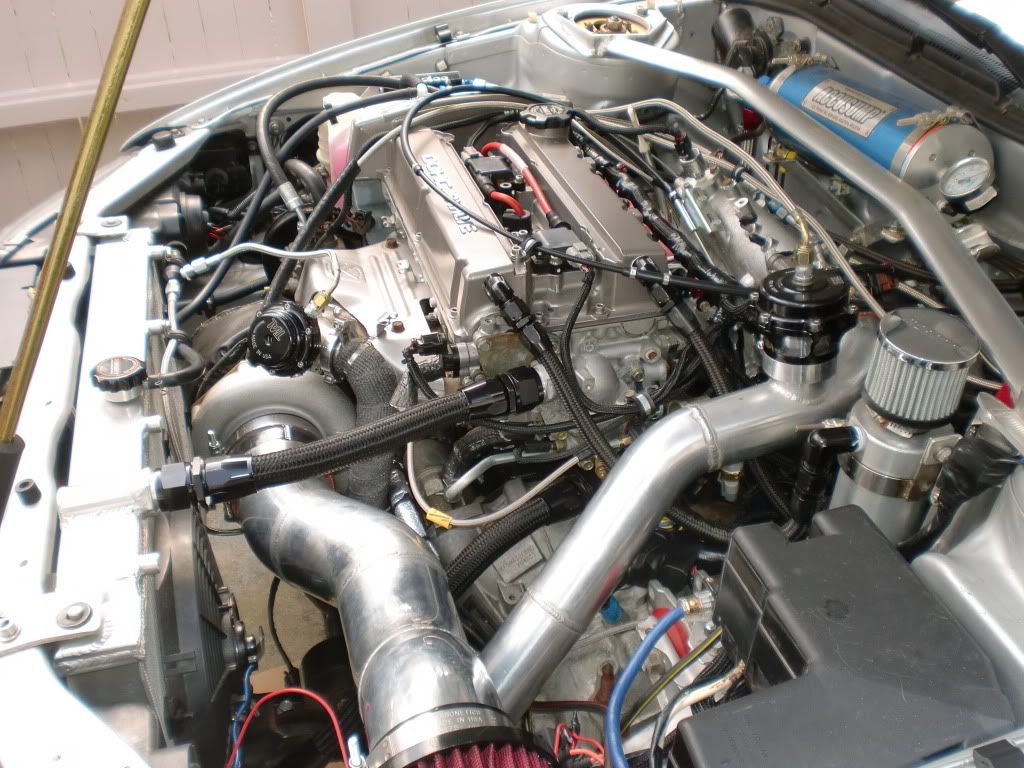
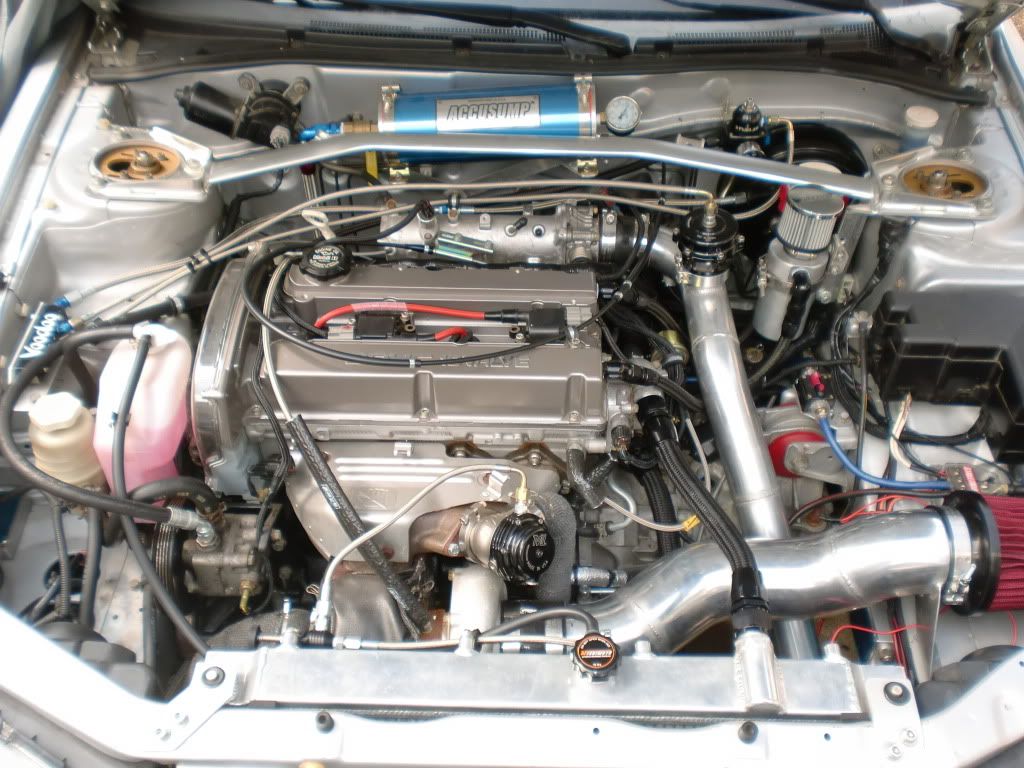
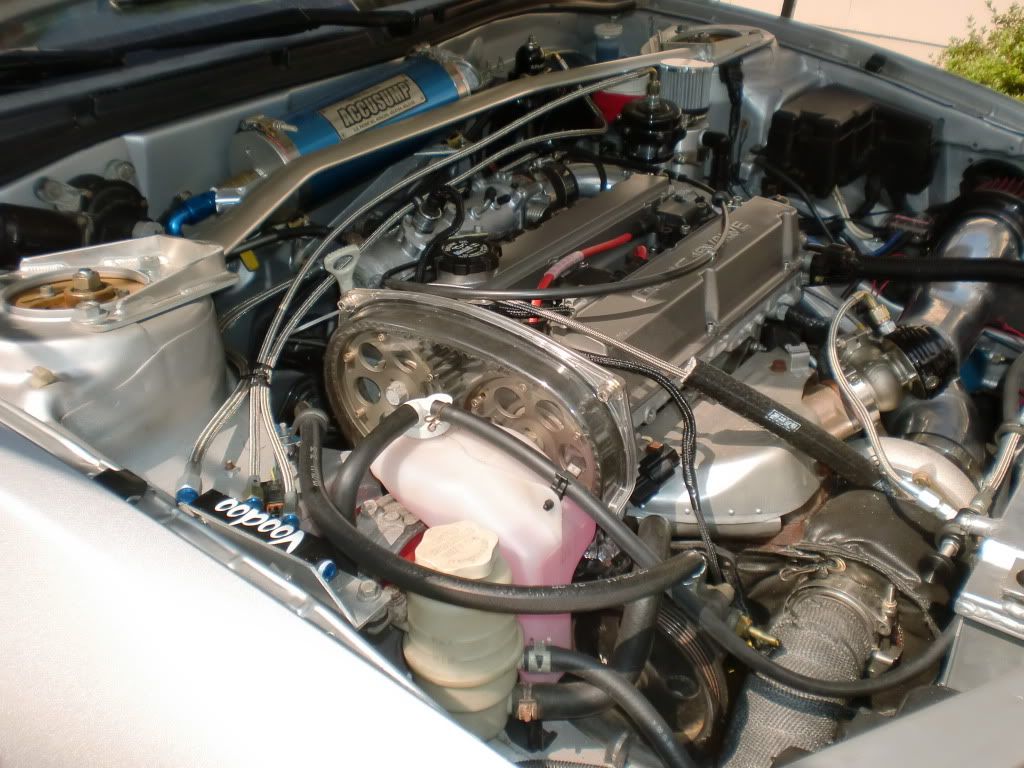
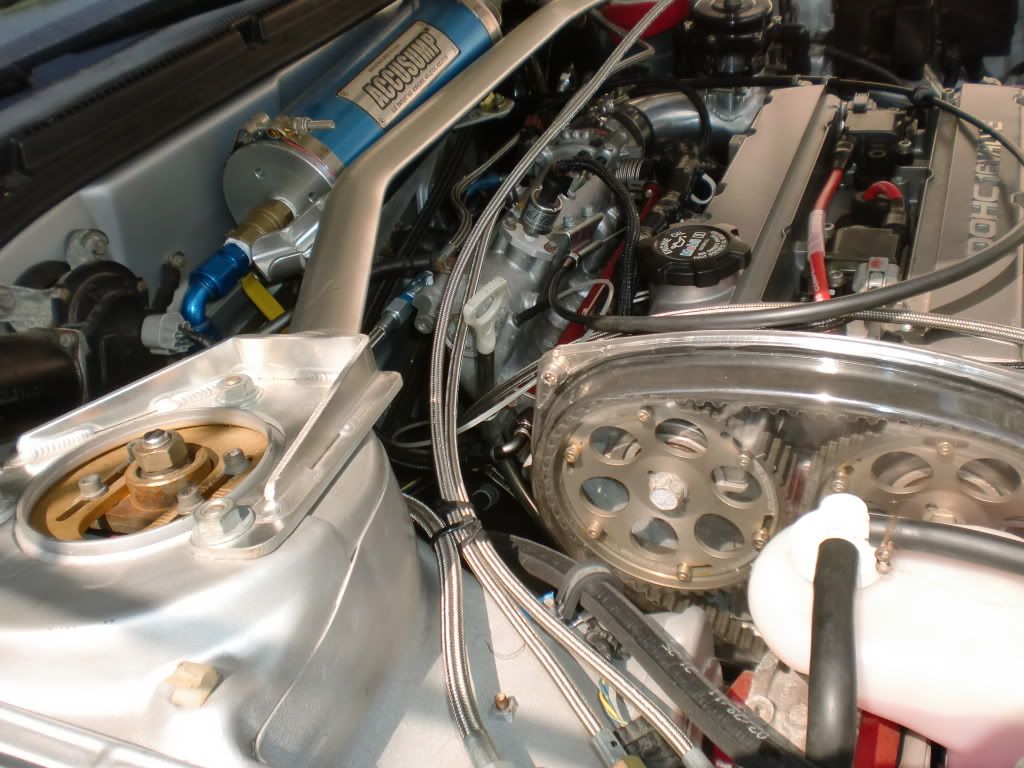
i was looking forward to this part through out the whole build,,, the AN Lines!!! i was going
for an OEM look so i used alot of black hoses and fittings, trying to be different lol!!! even the vacuum lines are AN. but in the end i felt like i shoulda add a lil bling to them, oh well next time.
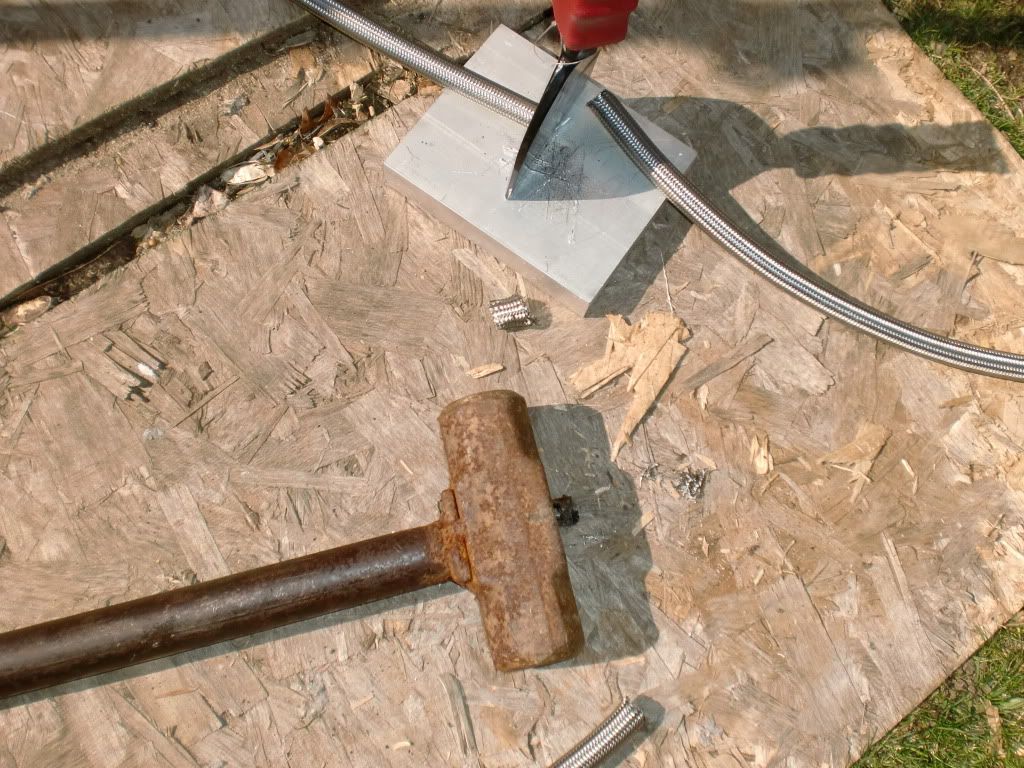
cutting it with a chisel and lump hammer
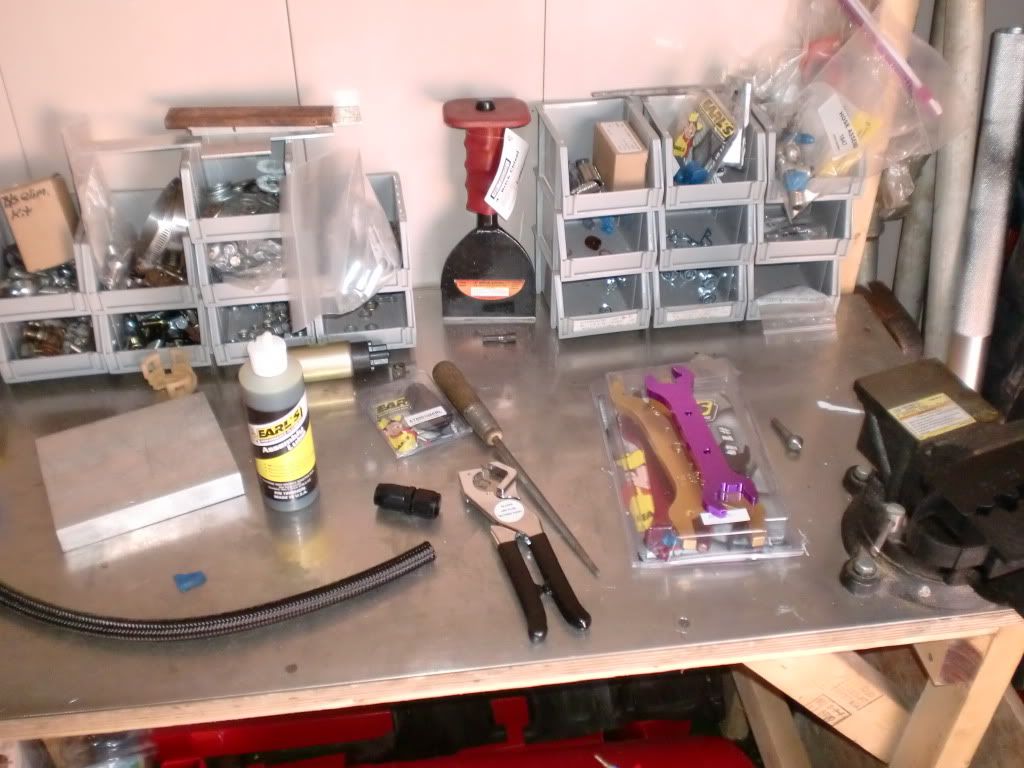
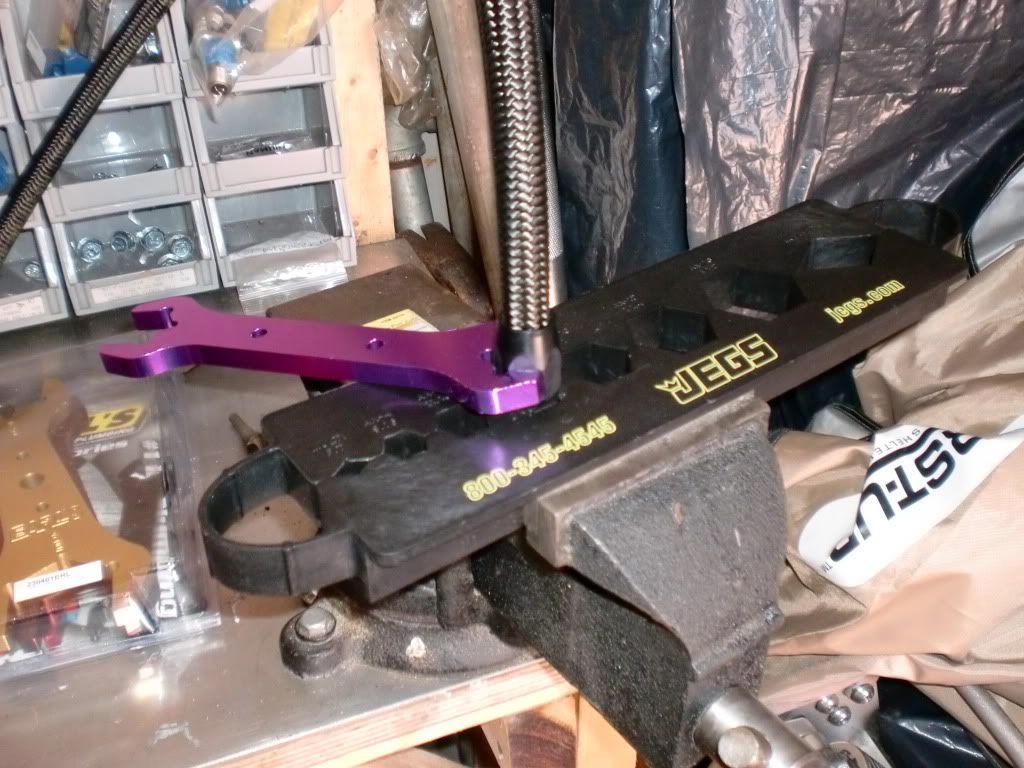
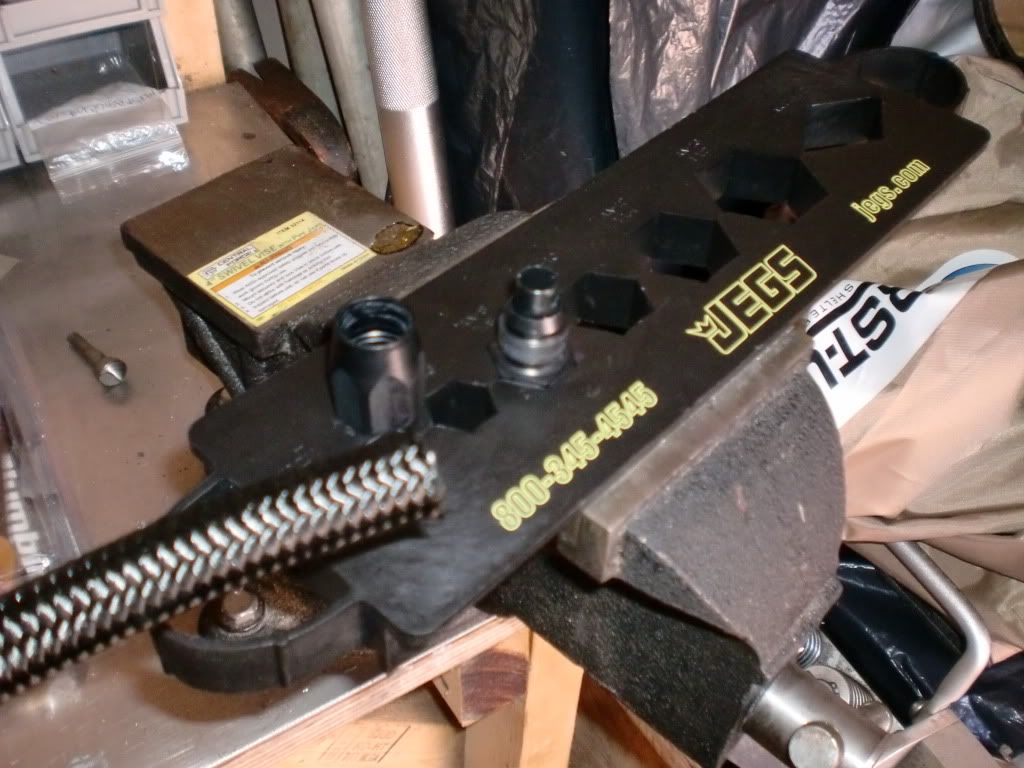
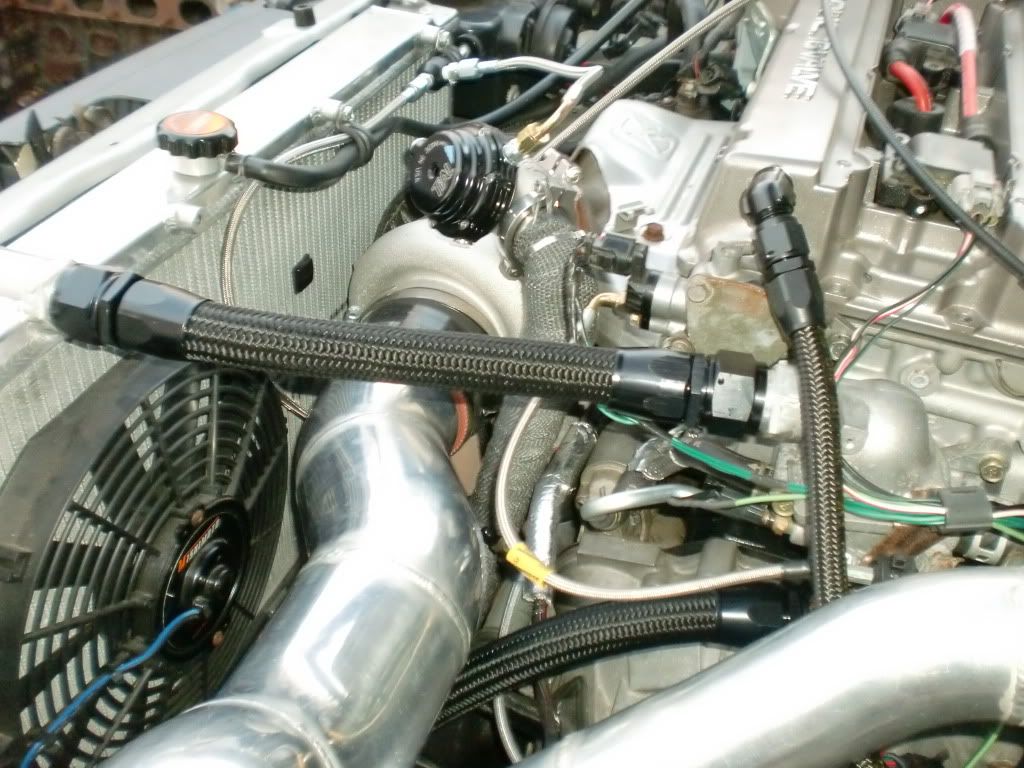

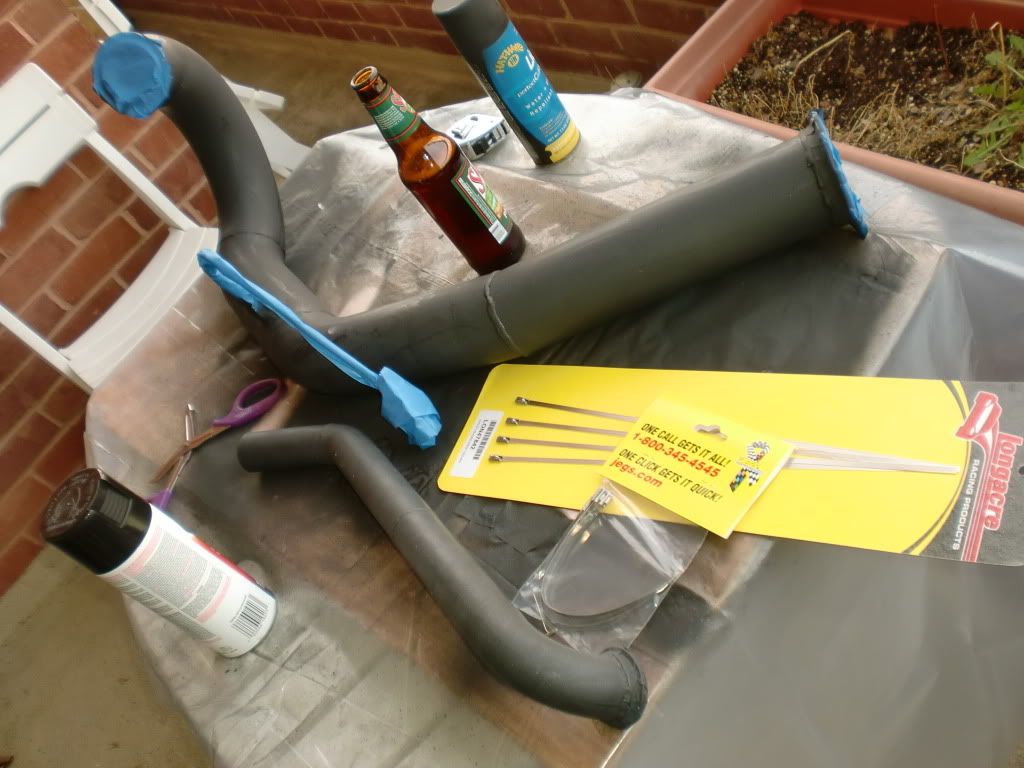
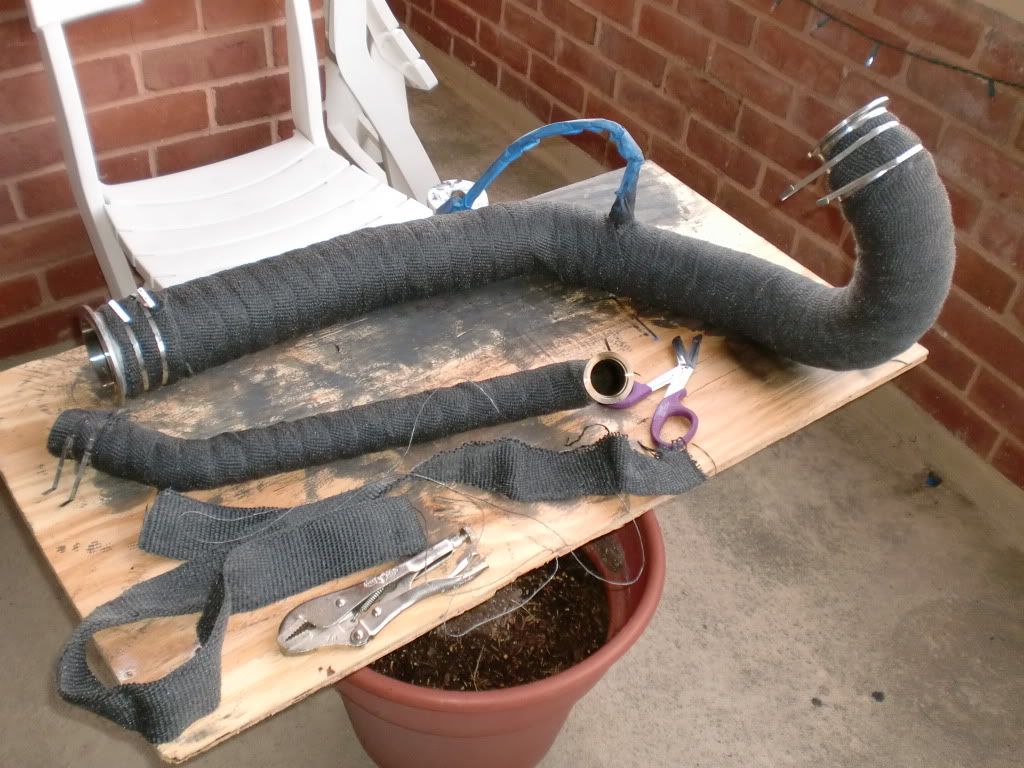
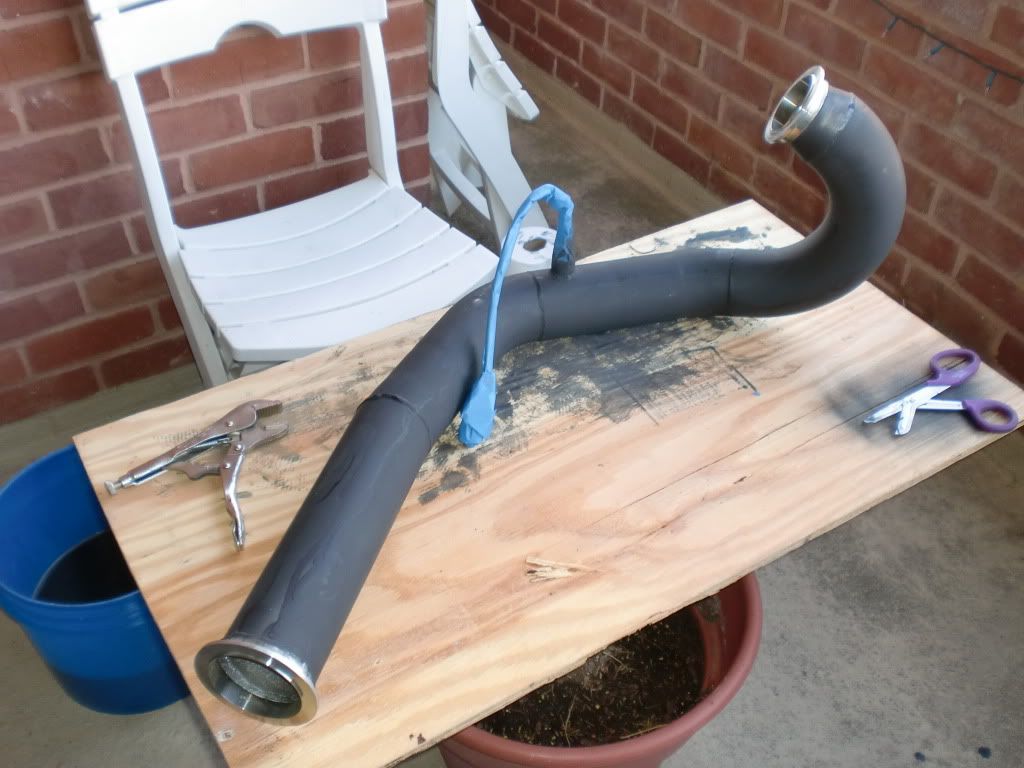
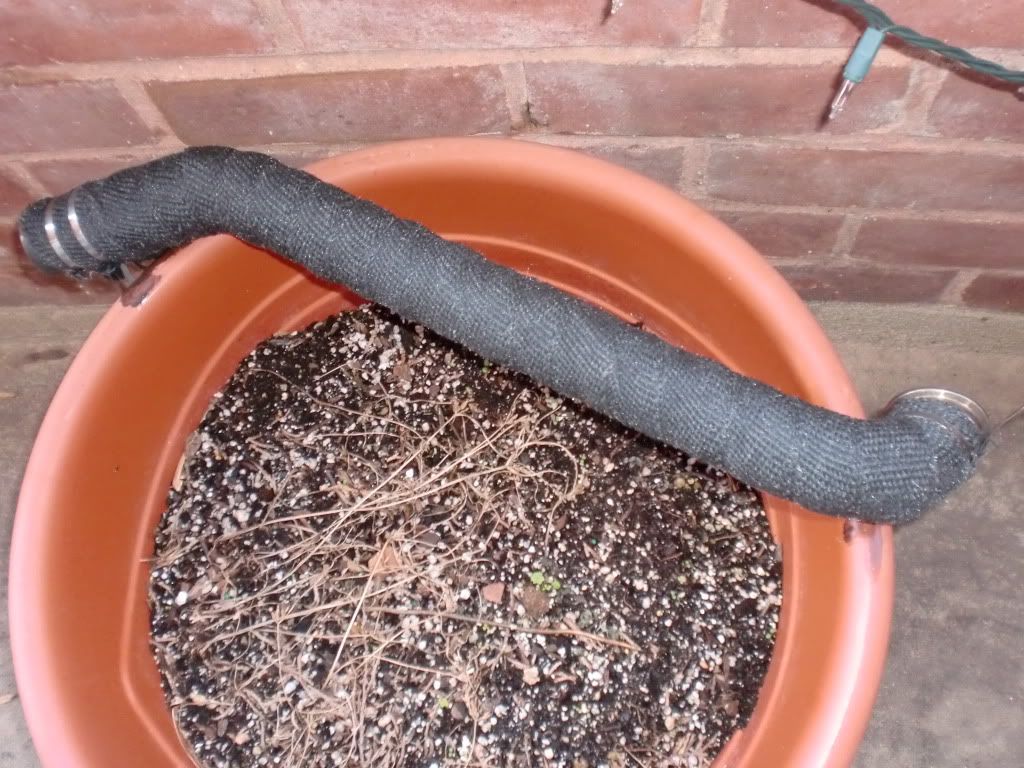
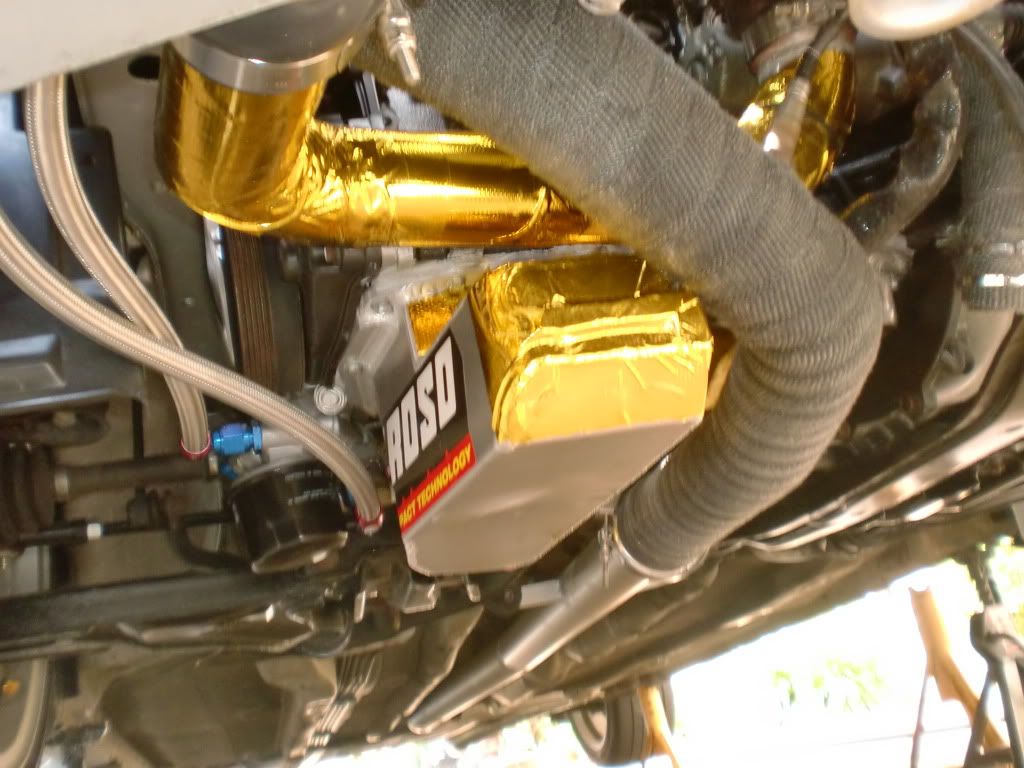
Next up are some heat insulations pics
naked pipes
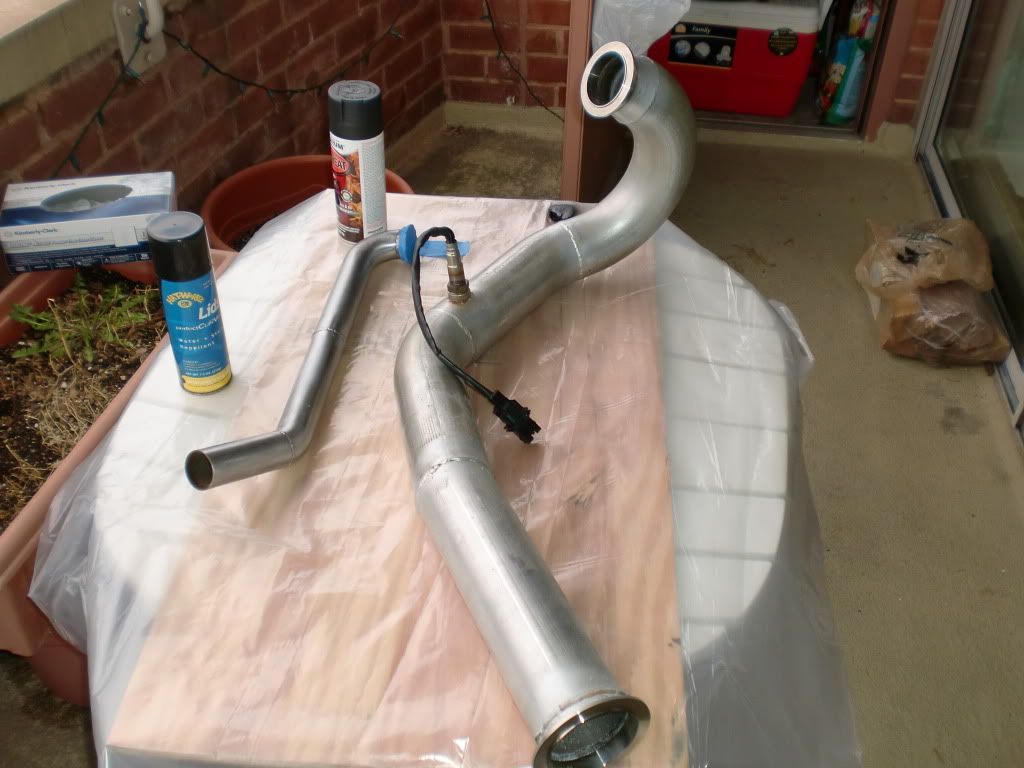
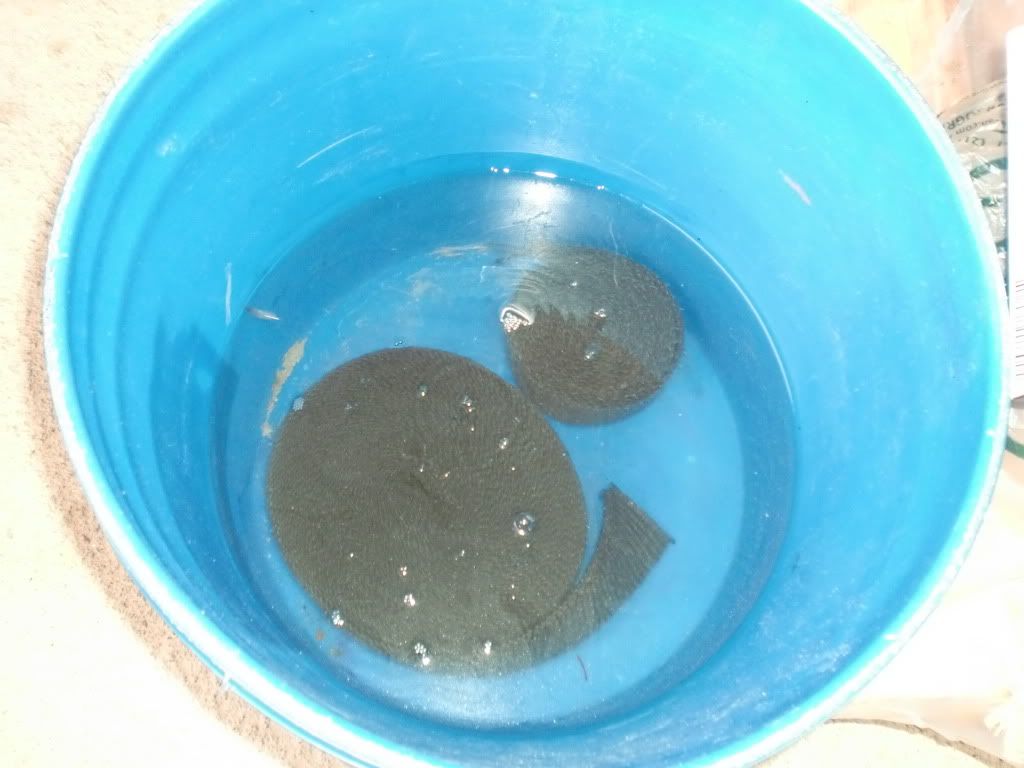
preping the wrap
painted with high temp paint
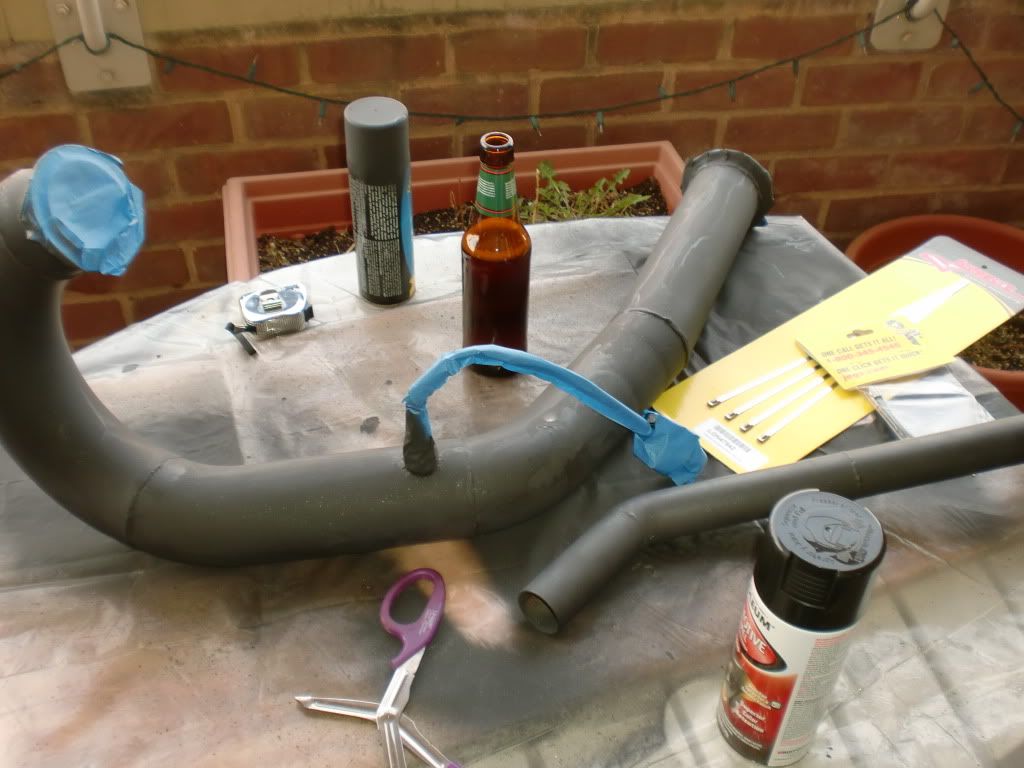
all wrapped up!
Looks good kid. Hey just looking thru the pics, make sure you put the bolts back in that hold the crash bar into the frame. Im working on getting that steering rack fitting for you, probably do it friday.
99' Galant ESOriginally Posted by qnz
4G64/63T
AEM EMS
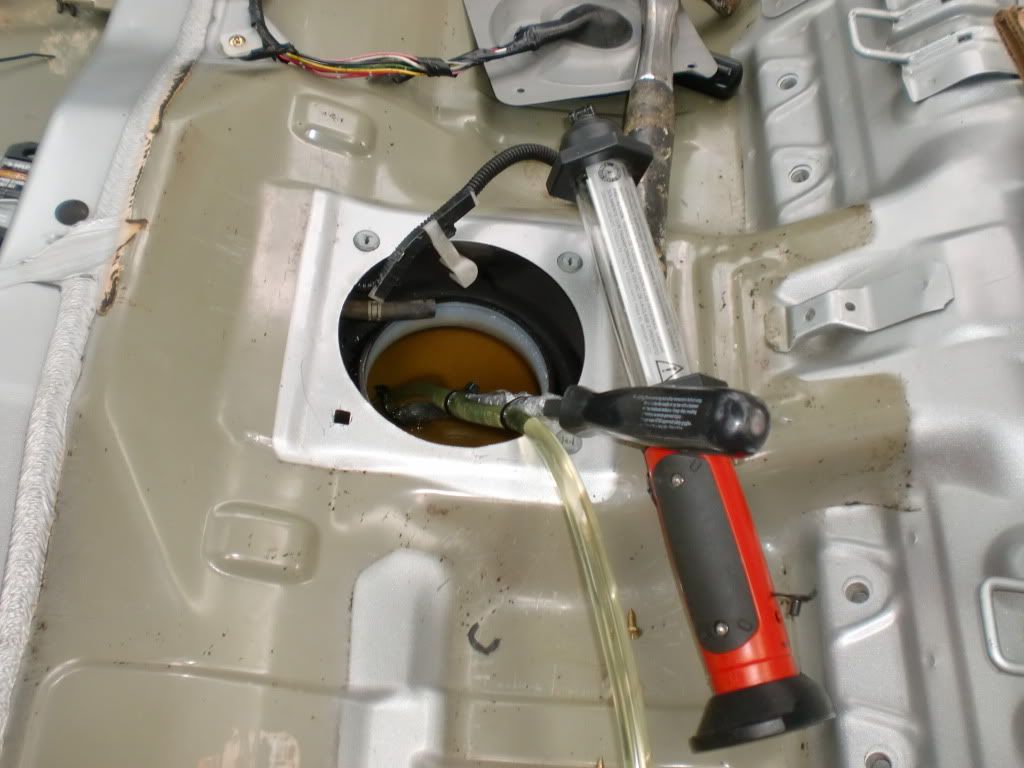
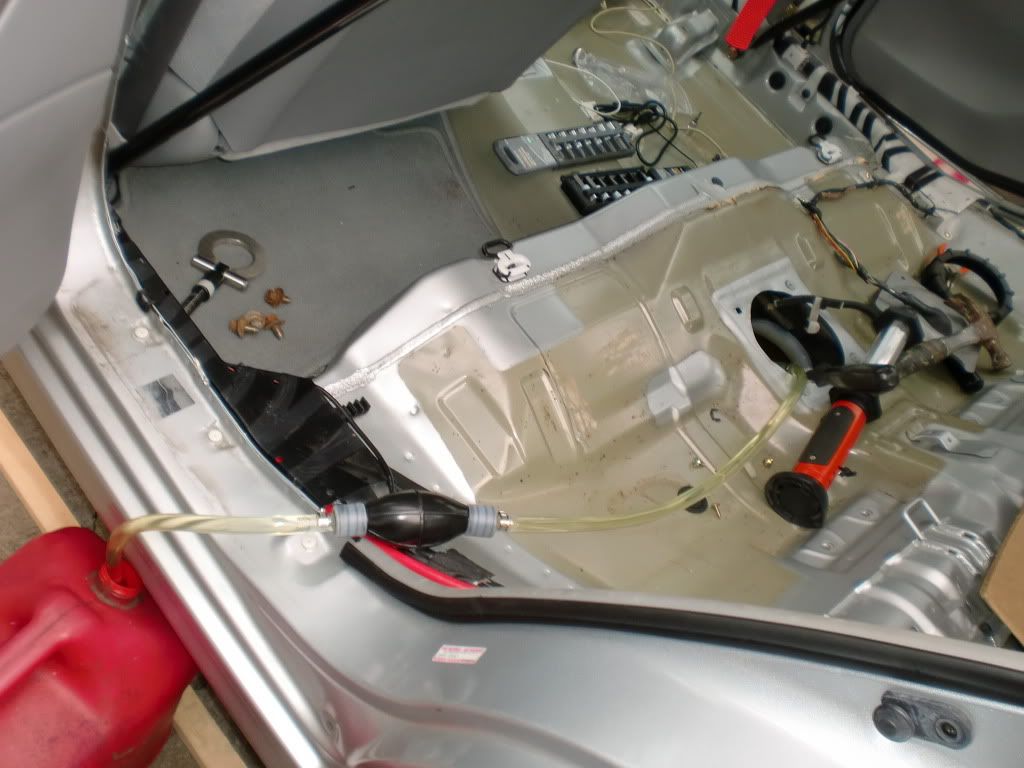
fuel pump upgrade and draining the tank of the old fuel with a hand pump,,,
Damn that some awesome work your putting in there... i cant wait to see it done, but i like watching the progress
Brandon - 2001 Galant GST 5speed
Wiseco // Eagle // PTE // Holset // Turbonetics // Supertech // Blox // Prosport // Vibrant // Innovate // OpenEcu // Mishimoto // Magnaflow // Walbro // XXR // Rotora // Brembo // Hawk // R1 Concepts // Dc Sports
Ok at this point everything is finished, i cleaned up the wires with some black braided wire loom but was unhappy in the end, i was imagining something much more clean looking but this will have to do.
this weekend ill put the steering rack back in and get the car back on the ground for a oldschool diy wheel alignment then a boostleak test. i got my work cut out for me this weekend!


Damn Bryant...lovely build!!
Great looking build!
Bookmarks