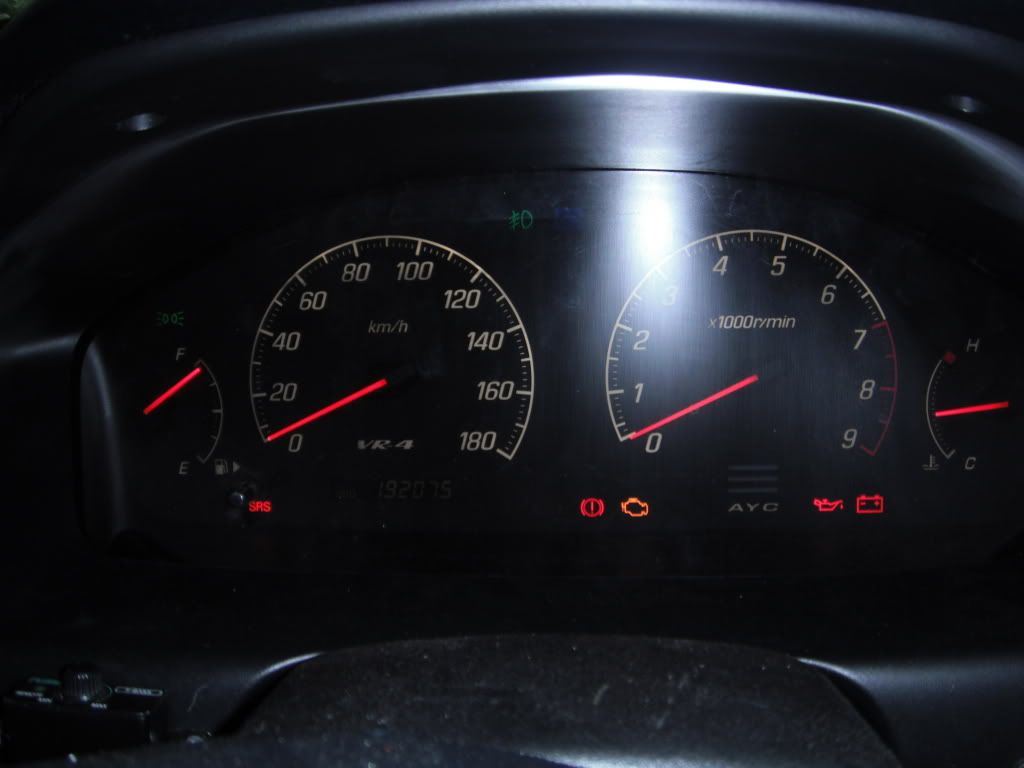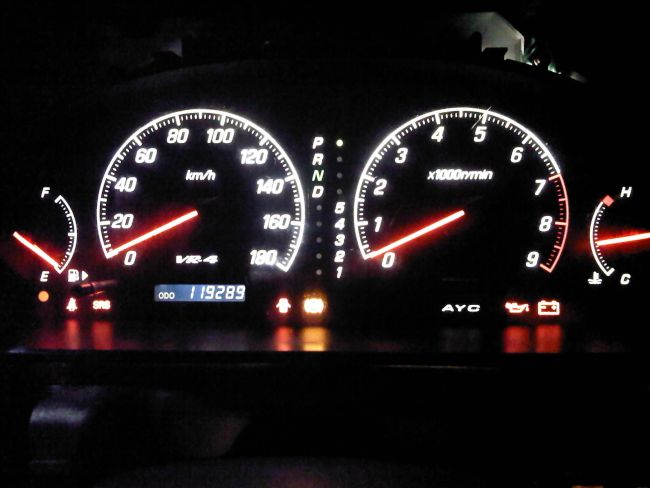
VRG instrument cluster swap for VR4 Cluster
Everything worked when I bolted it up except the lighting of the
panel itself. Had it wired by electrician friend of mine.
Last edited by Chosen; 12-21-2011 at 11:48 AM

Thanks. The blue looks great....
mate i cant make out what you did with the wiring,can you clarify where the white and the black are going to as i can only pinpoint the red wire soldered on the pc board ,i want to try your way mixed with my way to produce a complete working unit
www.qcustoms.co.nz

As seen in the pic the black and white where screwed down to the board
and the red was taped together with the white and black.
Currently am trying to figure out how to make the gas needle and temp
needle light up...
thats easy i ca show you how to do that..,but basically what your saying it theres only 1 wire soldered onto the board and then the joined to the 2 that are scrwewd down?
now to get your fule and temp needle to work your going to use the scrw terminals on the outer ends and youll work out wich ones they are,easy very easy
www.qcustoms.co.nz

Yep two wires connected to the red soldered down one.
ok so the red is soldered to the shown area and the black and white are screwed to the terminals of the needles,did you have to bridge 4 & 5 like most people do?
in theory what youv done here now bridge the wires to the outers now same way you found the big needle terminals is the same way youll find the smalls,youll only need to fire 1 set not both ok
www.qcustoms.co.nz
ok as you can see i soldered the wire onto the 3rd in pin as shown and it all lit up fine.. so the procedure you showed IS correct however i think your outer led's have been blown or you may have damaged something somewhere..but 1 wire to make everyhting work fine is awsum ..

www.qcustoms.co.nz

When I first started checking for the correct wire I blew something and
burn't a part of the board probably thats why its not lighting.
Where do you guys get the blue neons for the needles to buy?
I buy all my led lights from a Japanese site called http://wardenjp.com/ they are really trustworthy and fast.. I buy weekly from them
www.qcustoms.co.nz

Thanks, ended up putting a 6a13tt in my car so I got a new cluster with full wiring harness..

Really?. Wow great to hear. How's it going
www.qcustoms.co.nz
Many times ago my red\blue cluster

Galant EA3W\99\2400GDI\GLS\ SWAP to 6A13 A\T
Bookmarks