 Log in
 Register
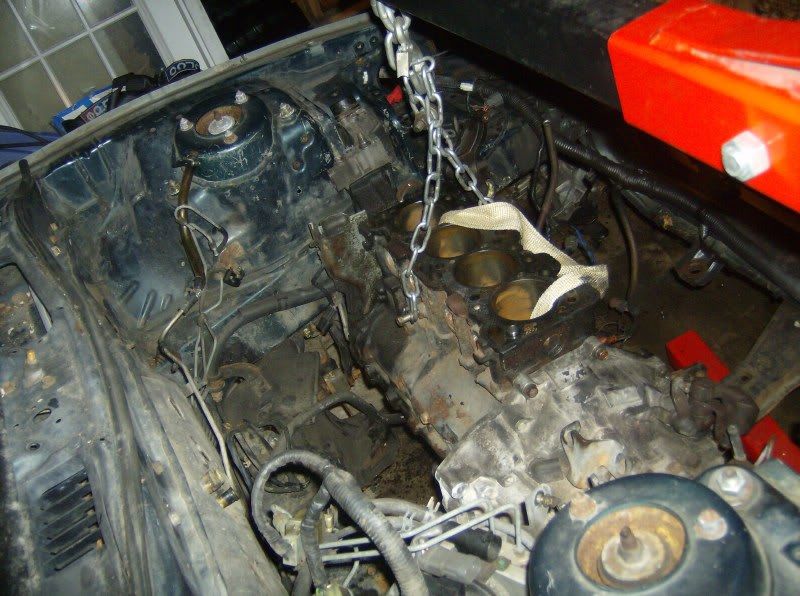


 Reply With Quote
Nice progress. Did you allow for some in/out play at the transfer case? The drive shaft shop wanted the yoke something like 3/4" away from completely seating down in the t-case.


The OBD2 alternator has 4 wires - red, white, green and blue and the OBD1 alternator has two wires - red and white. I capped off the green and blue and the red goes to red and white to white.Originally Posted by w/oarctic7g

Installed the spare 4g63 engine I have.
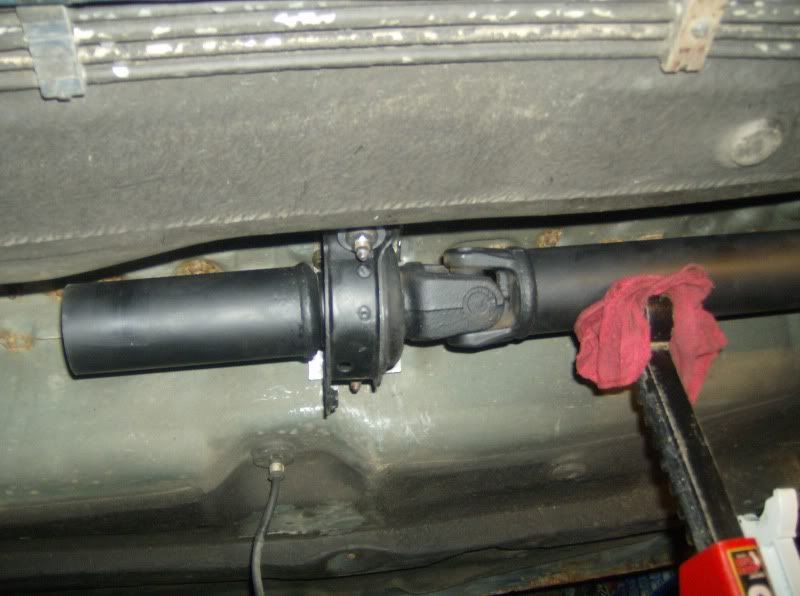
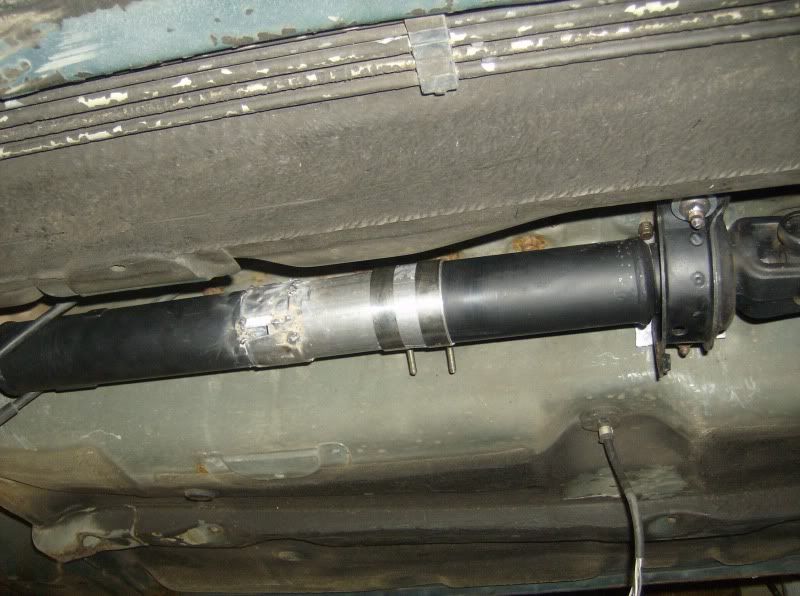
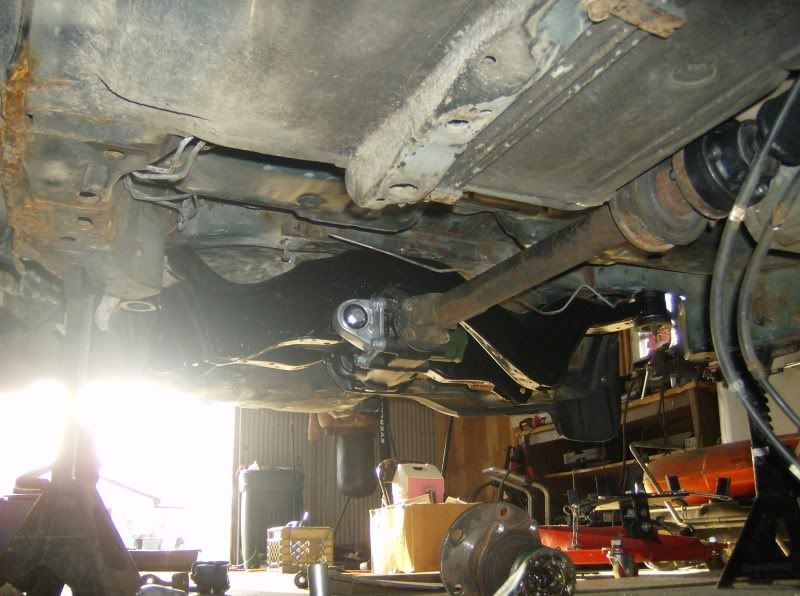
Eclipsh suggested that I cut the drive shaft in the middle, so there it goes
I used some exhaust pipes and t-bolt clamps to get the shaft to its correct length. I'll be taking it to the drive shaft shop this coming week
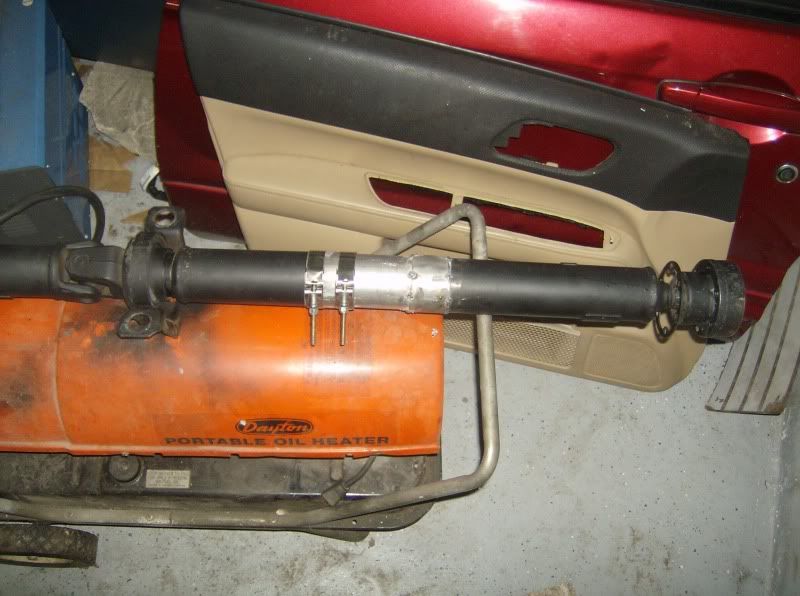
Full drive shaft installed.
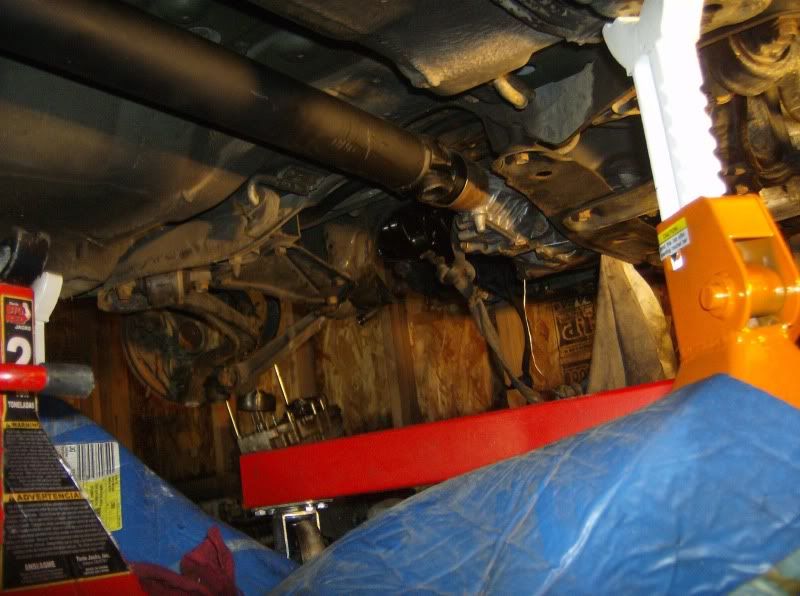
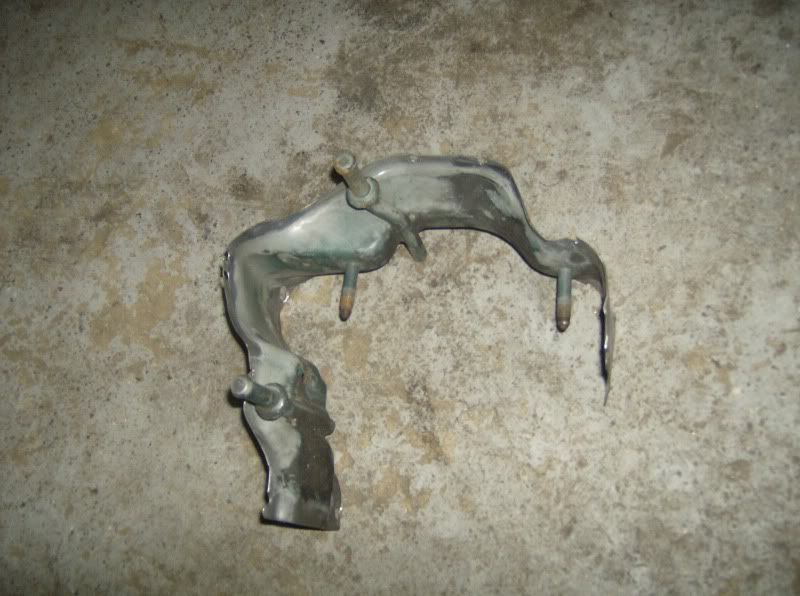
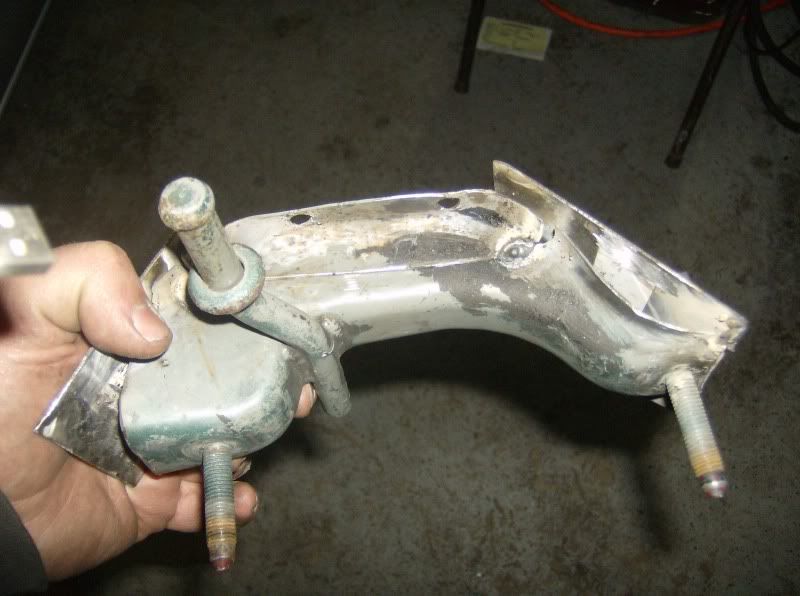
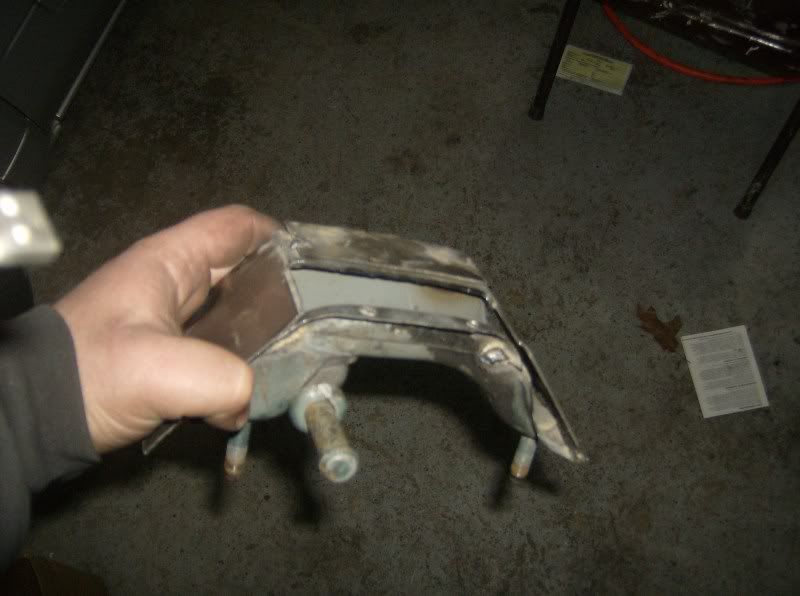
This is the piece that can be fit in the Galant's tunnel. I had to fab up a housing for it to make it beefier.
from this
to this
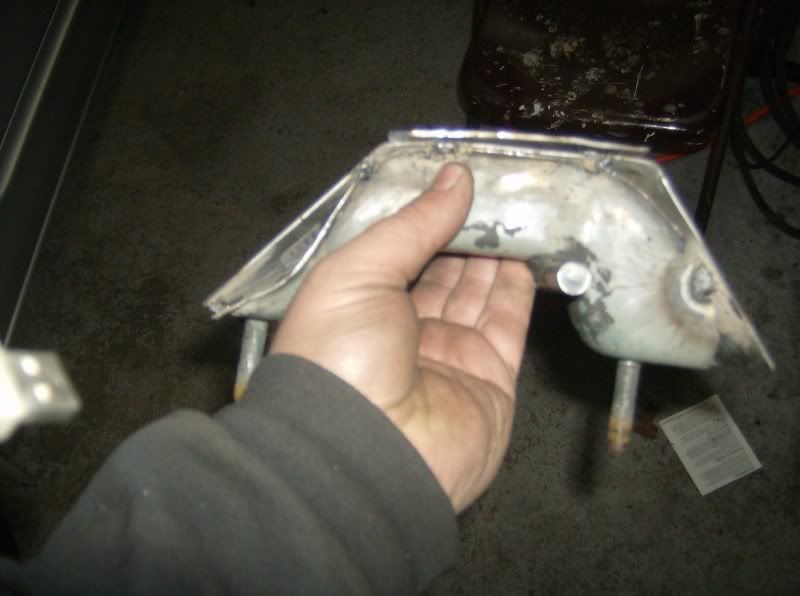
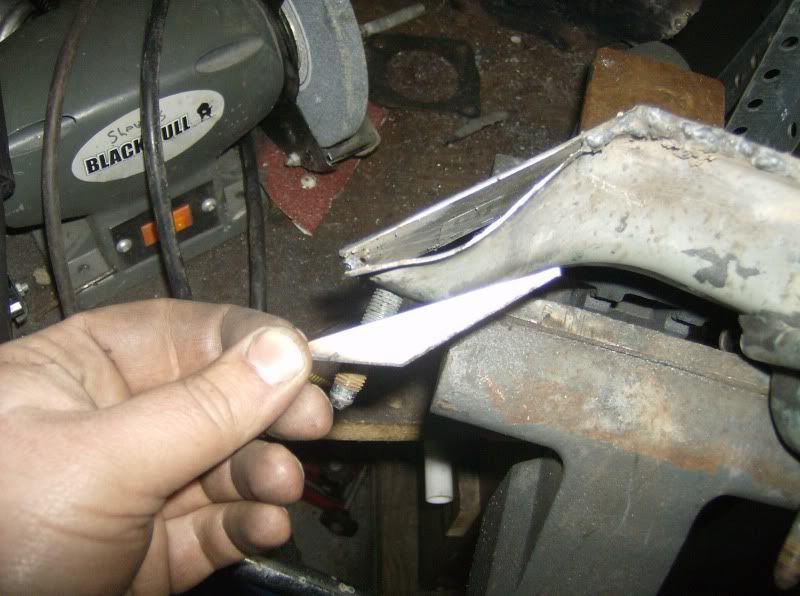
Filling the gaps
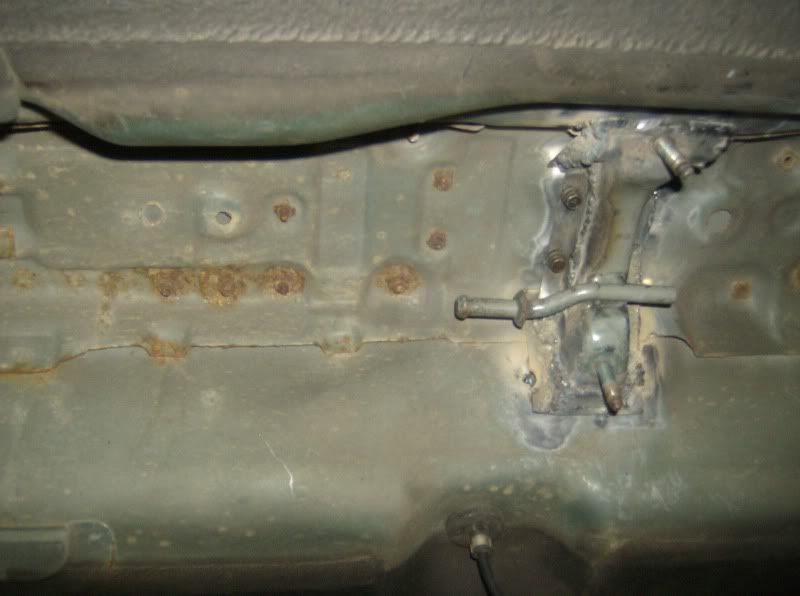
Carrier bearing tacked in its place.

Nice progress. Did you allow for some in/out play at the transfer case? The drive shaft shop wanted the yoke something like 3/4" away from completely seating down in the t-case.
- Nick, 94 Galant ES - 4G64 DOHC Turbo AWD, E3-16G & Manifold, 780cc inj, fmic, DS-MAP Speed Density
"Ignorance more frequently begets confidence than does knowledge..." - Charles Darwin
From what ive read, i understand that the carriers do that for the drive shaft. Especially the rear one and it has that cone shape to move in and out.
You're correct BTW. Thanks for mentioning it.
Since I like where the carrier sits and Its already tacked in place, Im gonna have to tell the shop to shorten the front piece of the drive shaft 3/4''
Glad I could help :)
- Nick, 94 Galant ES - 4G64 DOHC Turbo AWD, E3-16G & Manifold, 780cc inj, fmic, DS-MAP Speed Density
"Ignorance more frequently begets confidence than does knowledge..." - Charles Darwin

Nice work MKO !!!!
Is it possible for you to measure your driveshaft from T-CASE to Diff ?
I just got my finishing pieces to drop my motor in and will be tackling this next.
Also did you eliminate a carrier bearing? from the pics it looks like there is only one located towards the rear of the car?
---||| 97Galant, E3 16G, Safc, 5spd,Drifter Body |||---
Look at the last two pages - its all about the carriers and the driveshaft
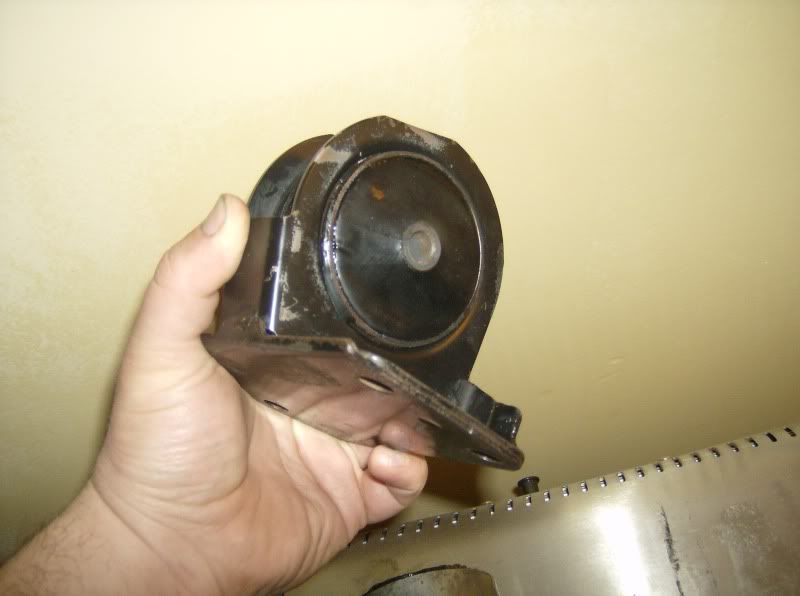
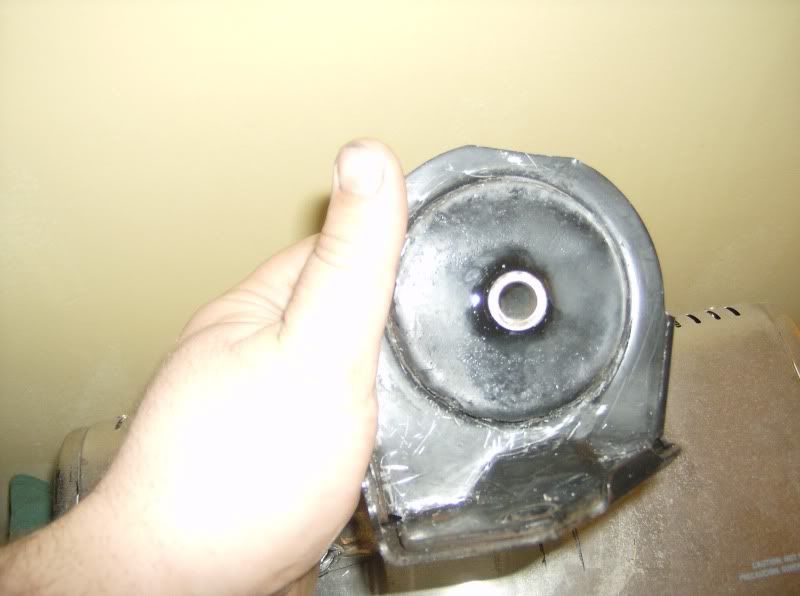
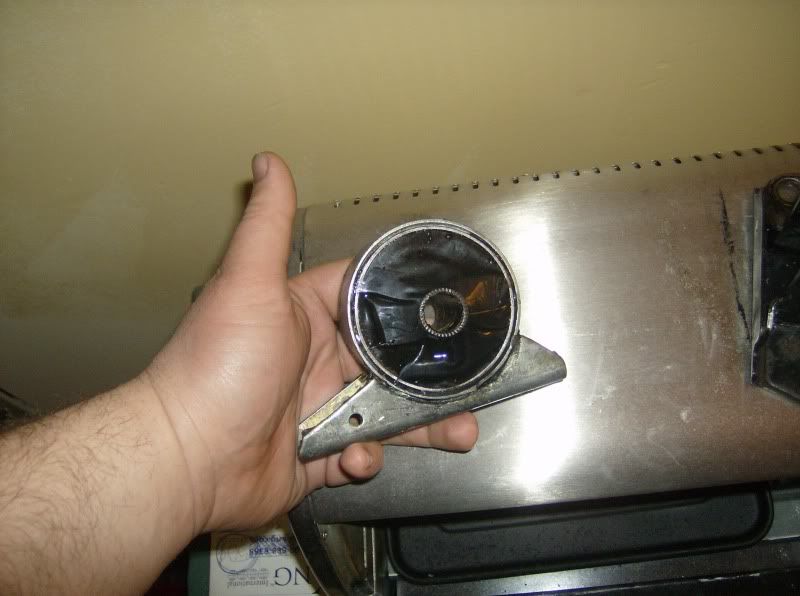
Been sick for a couple of days and havent been at the garage.
I did the roll stoppers with liquid urethane and its not the Windo weld urethane or any home depot roofing urethane, but the very same that the motor mount inserts are made of.
I had the partial insert in the rear one and full race welded front one which actually was kind of harsh.
If anyone cares, this is what I used:
http://www.energysuspensionparts.com...&PARTNER=gbase
Everything is coming off tomorrow and I'll be coating the undercarriage.
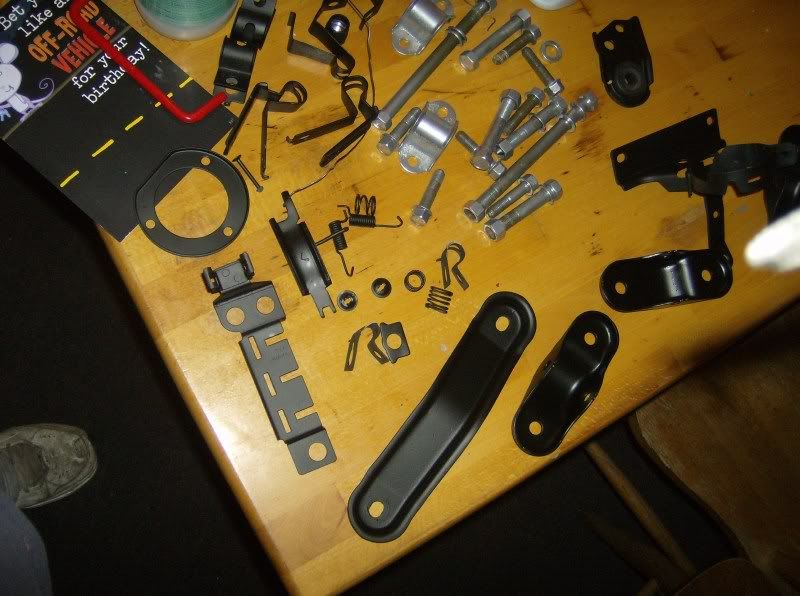
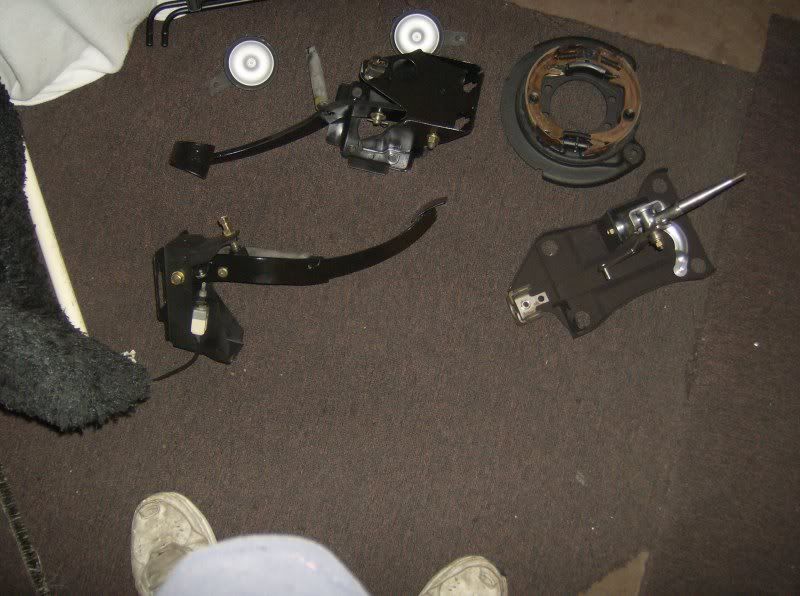
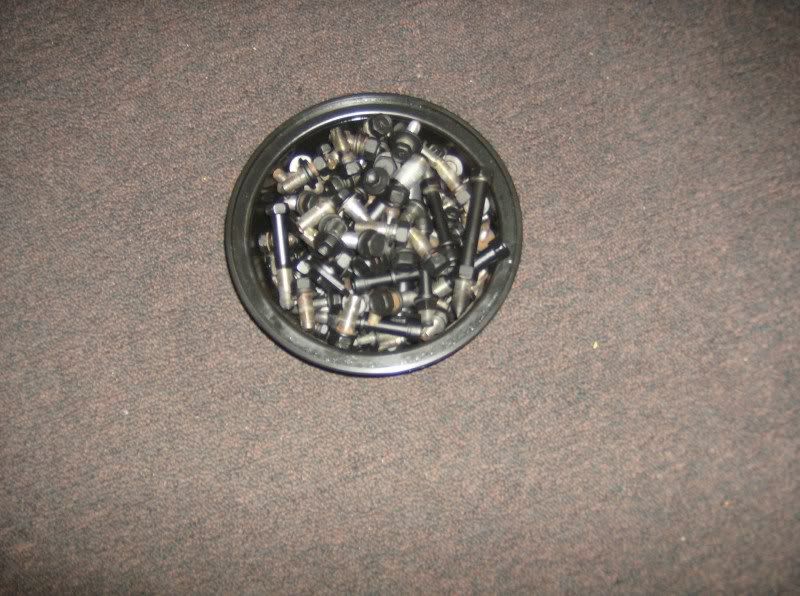
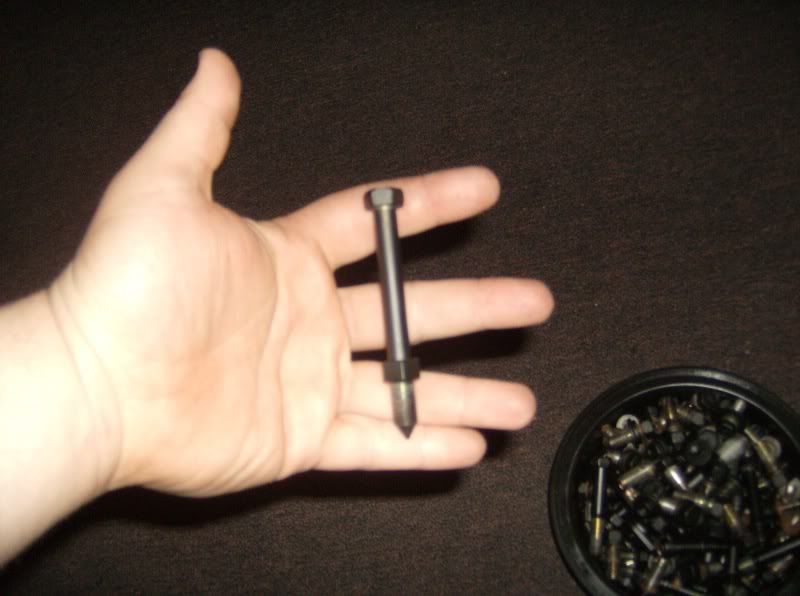
Just a quick few pictures of all brackets, bolts, nuts and washers being coated.
For all 7g and 8g owners - there's a factory upgrade for the rear trailing arms from 2g Diamante. The pipe of the control arm is probably twice as big as any other 7g or 8g trailing arm.
I'll have pictures soon.

Hell yea! Glad you're out there finding things that'll work on our cars, first the Intrepid end links and now this!
-Greg
"I smashed up the grey one, bought me a red;
Every time we hit the parking lot we turn heads!"
-Pimp C, "International Players Anthem"


you mean the thing that most of us snap at some point?
"DSM's, making people mechanics since 1985"

I am going to print this entire thread and eclipsh's and all the tutorials
Make me a 7G textbook
I respect y'all cars and y'all as creators
Keep it up
Shout out to anyone that still uses hand tools for their work
With elbow grease for power and determination for a battery
Maybe your broke maybe your old school
Me I'm a lil of both

More info on this plz

The 2G Diamante suspension is pretty much the basics for the 8G suspension...actually the frame is more like the basics for the 8G, just reduce in size, as the 2G was release in 1997 while the 8G in 1999. Just beefier parts because the Diamante is consider a full size sedan.
94 Galant GS: 4G67 head, 1G IM, Evo 8 TB, DeltaCam 272/264 Cams, Test Pipe, OE Avenger V6 60mm catback w/muffler, modified Outlander header, DIY COP setup, B/S delete, 315cc injectors, AEM UEGO WBO2, Black case 3G ECU
1994 GS FYI
DSM/CSM Manuals
The two little rust spots on each side of the rear fender well (pics are a couple of pages back) turned out to be 1/3 of the rocker panel rust spots. It pretty much took me the whole day to clean that up. I had a nice little pile of rust debris from both sides.
Now I need sheet metal and start welding it back together.
Got me an Evo 8 rear hub, so thats been taken care of. I just removed both rear brake lines, so tomorrow I'll have to run and bend the new lines. After that the rear end is to be put together, so I can drop the front subframe and work on that. Unfortunately, there are no polyurethane bushings for the front subframe (only solid aluminum and they are pricey), so I might just use that stock ones.

Good work bro. Keep it up.
Triple Diamond Motors East Cost
02 2.5L Fully Built Galant 5 speed
SOHC Turbo
http://www.thegalantcenter.org/showthread.php?52330-Isaurio-s-Turbo-Built-quot-4G64T-quot-Heavy-pics>My 4G64 Turbo Built
Nice work.. Quick question for ya.. I found a 97 sonata in the JY and removed the mdp Sensor/bracket. I remember you pointing out that this sensor could be used when running a 1g Eclipse intake manifold. was wondering where you attached this sensor too and if it works without any cell?
---||| 97Galant, E3 16G, Safc, 5spd,Drifter Body |||---
wherever you want bro. You can extend the harness ans have it on the firewall, or tuck in under the intake manifold....you know what i mean...
Yep Iam attaching it to the manifold via bracket, but don't know what boost/vacum source Iam going to tap. Was wondering if I could tap it into the same source fort the boost guage.
---||| 97Galant, E3 16G, Safc, 5spd,Drifter Body |||---
 Posting Rules


 1997 Mitsubishi Galant DE

Bookmarks